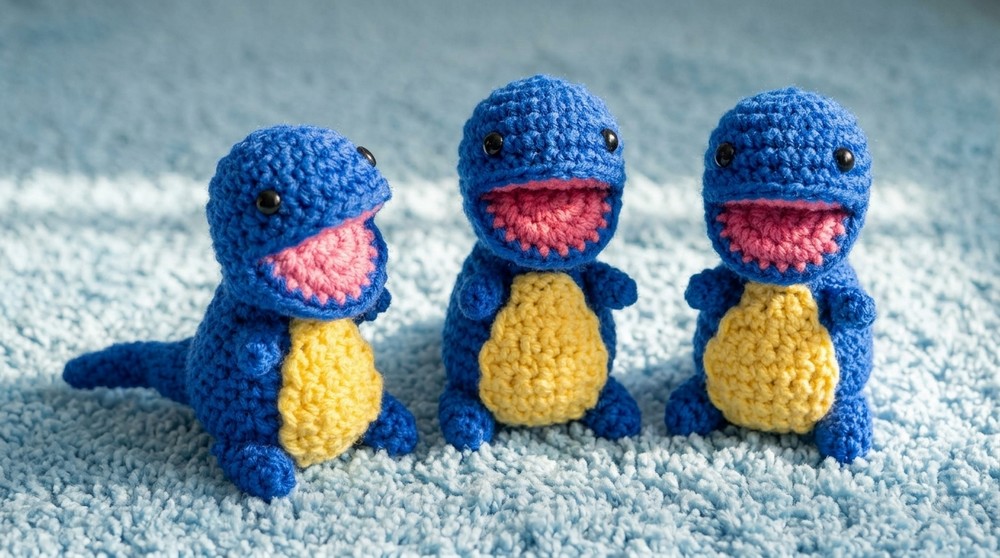
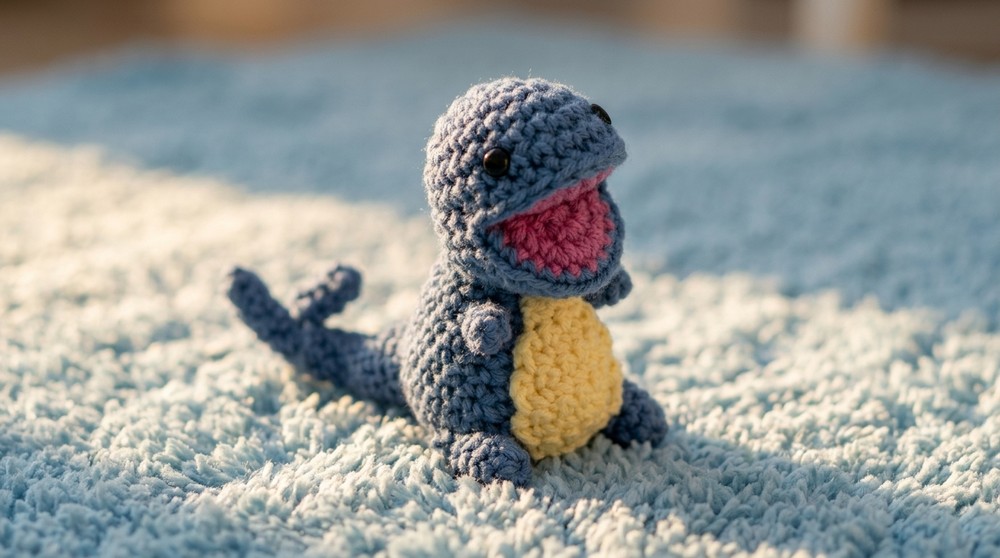
Kawaii Free Crochet Dinosaur Pattern for Kids’ Rooms
Charm your space with a playful prehistoric friend using a free crochet dinosaur pattern and enjoy a delightful project everyone will love.
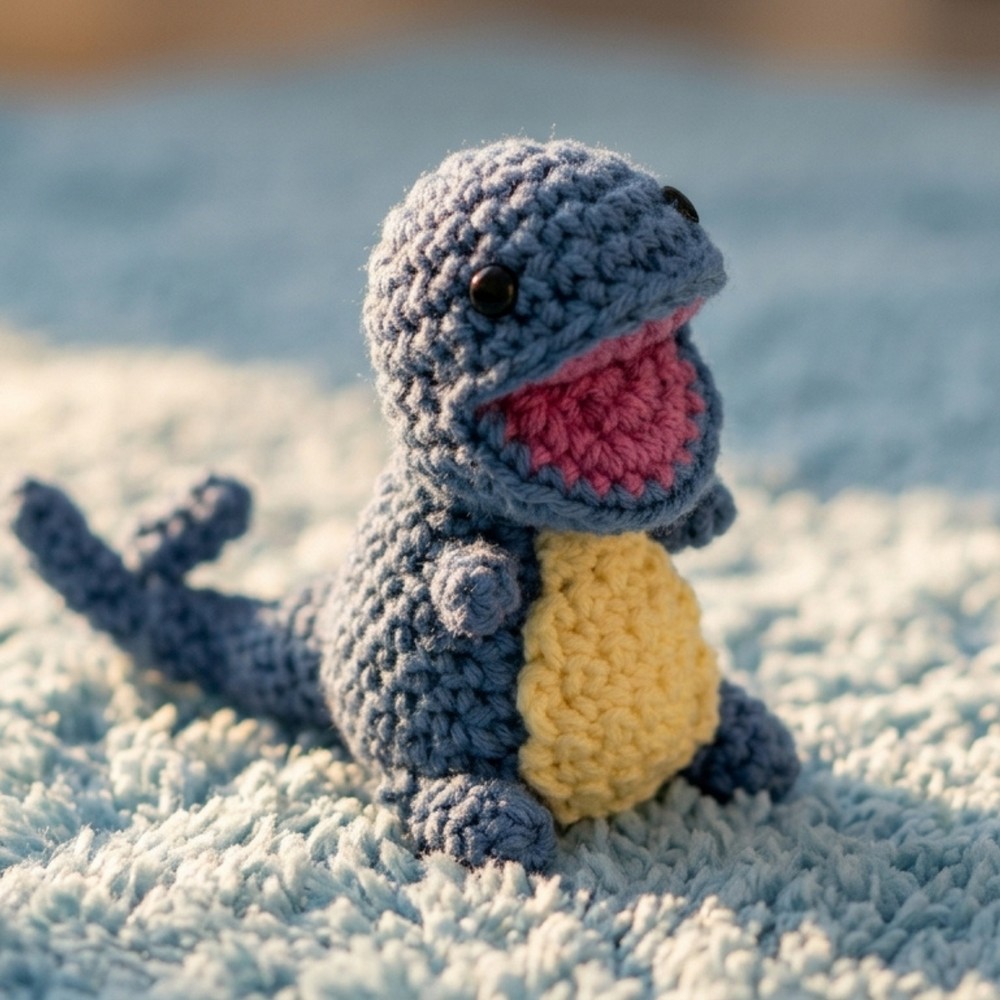
A soft, colorful creature can turn any lonely moment into a time of joy and laughter. With a Crochet Dinosaur pattern, anyone can create a wonderful new friend out of yarn. The dinosaur you make is not only cute, it’s squishy and easy to hug, with a big smile and bright eyes that make people feel welcome. Pick your favorite color—maybe blue, purple, or even rainbow—and watch your dinosaur come to life, step by step.
Cheerful Free Crochet Dinosaur Pattern for Happy Homes
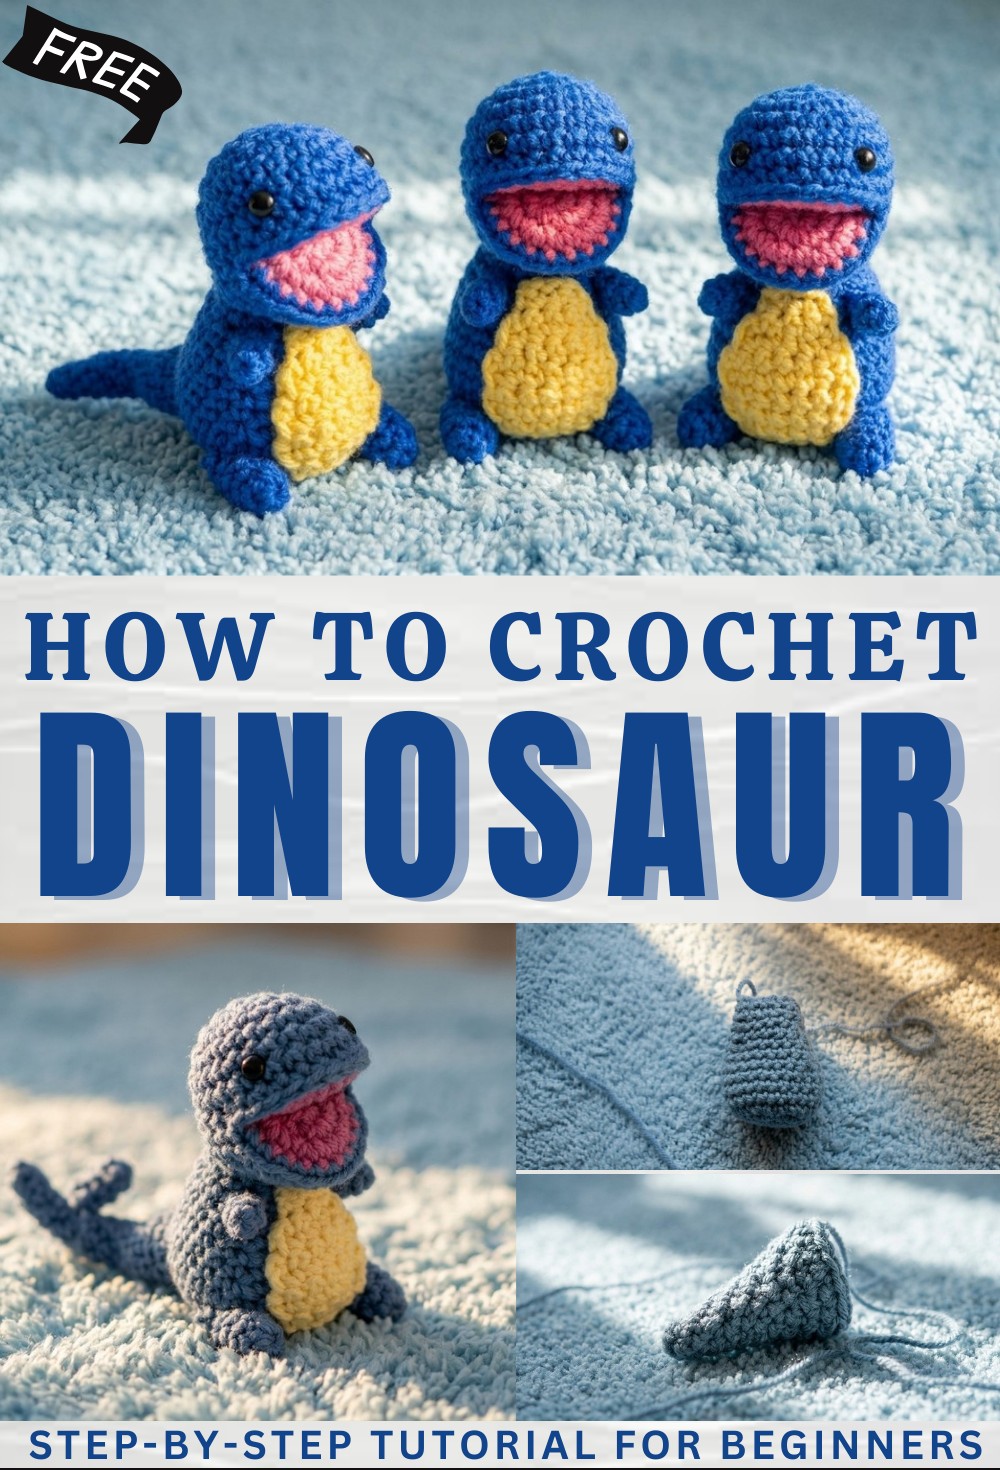
The pattern is simple, with clear pictures, so even those who have never crocheted before can follow along and have fun. This friendly dinosaur loves to sit on pillows or join children on playtime adventures, making it popular for both kids and grown-ups. A finished dinosaur brings warmth to a room, comfort to a heart, and joy to every day, making the Crochet Dinosaur pattern a perfect choice for anyone wanting a little happiness.
Free Crochet Baby Dinosaur Pattern
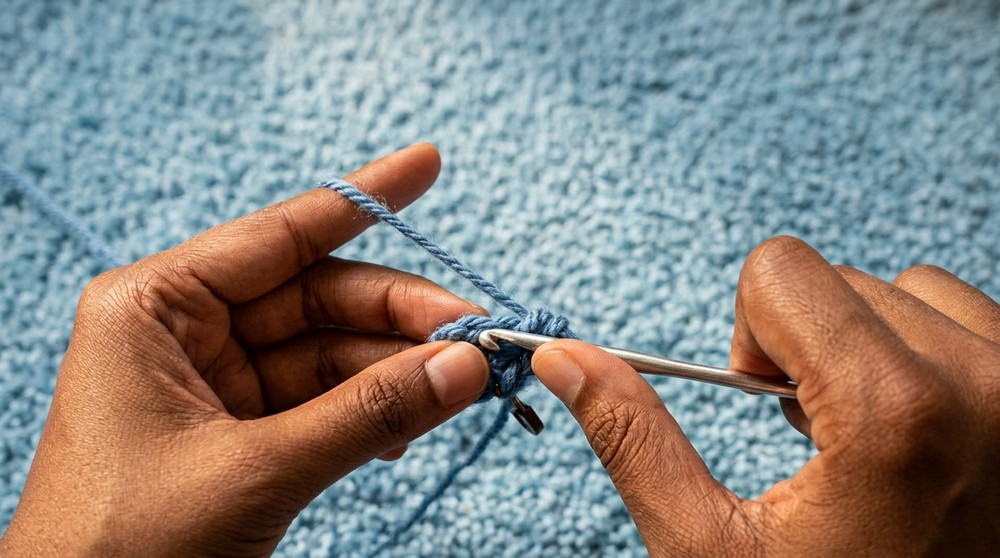
Materials
- Yarn: Worsted weight yarn in desired dinosaur color(s), plus yellow (optional for belly patch)
- Crochet Hook: 3.5 mm or size appropriate for your yarn
- Notions:
- Stitch marker
- Yarn needle
- Scissors
- Fiberfill stuffing
- Safety eyes (optional for head, head pattern referenced below)
⚠️ Note: The dinosaur head uses “Eliza’s Amigurumi Open Mouth Bass” head pattern (not included here). Begin your dinosaur by making that head, then return for the body, limbs, and tail.
Key Abbreviations (US Terms)
| Abbreviation | Meaning |
|---|---|
| MR | Magic ring |
| ch | Chain |
| sc | Single crochet |
| inc | Increase (2 sc in next st) |
| dec | Decrease (sc 2 together) |
| st(s) | Stitch(es) |
| FO | Fasten off |
Special Notes
- Work in continuous (spiral) rounds unless instructed otherwise.
- Mark the last or first stitch of each round with a stitch marker or scrap yarn.
- Do not overstuff arms/legs/tail. They should be left unstuffed for a soft, stubby effect.
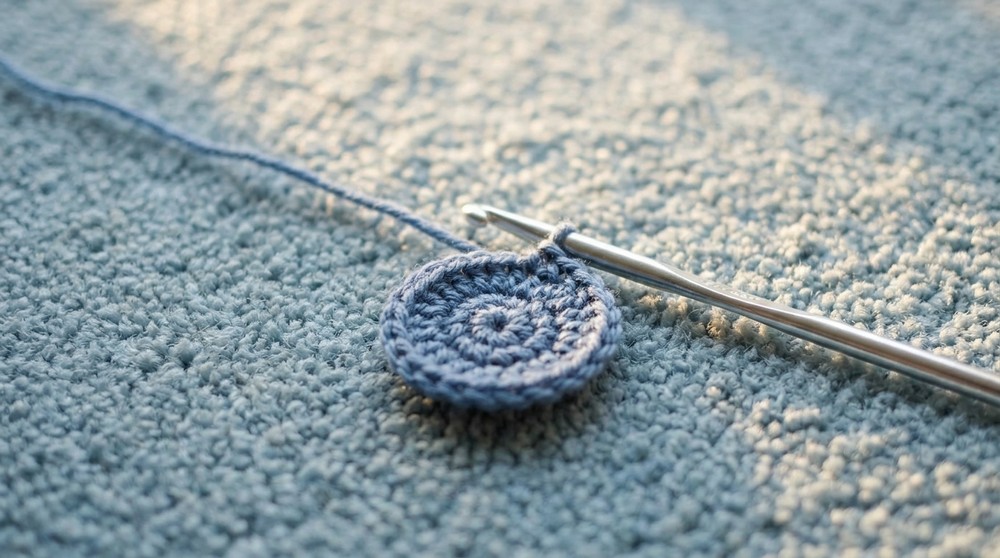
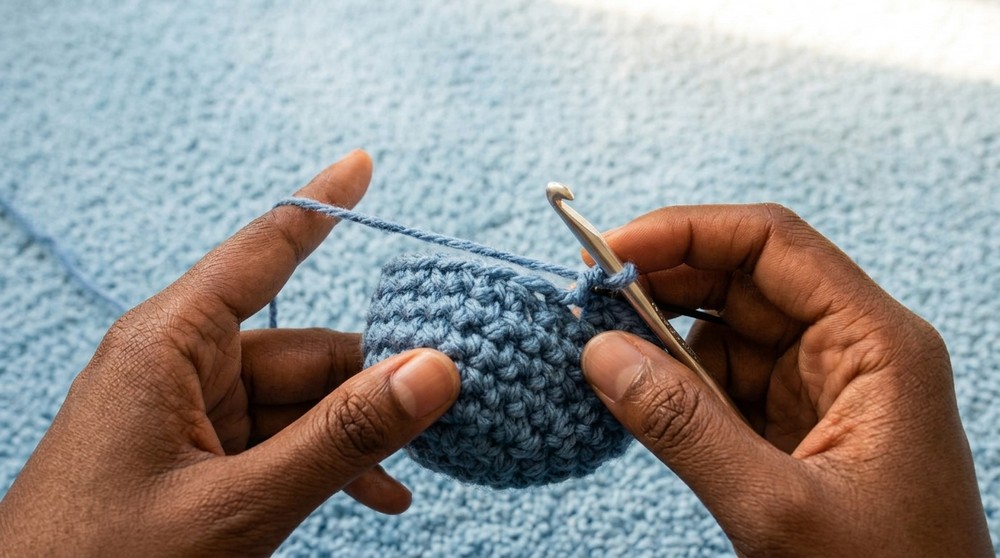
Pattern
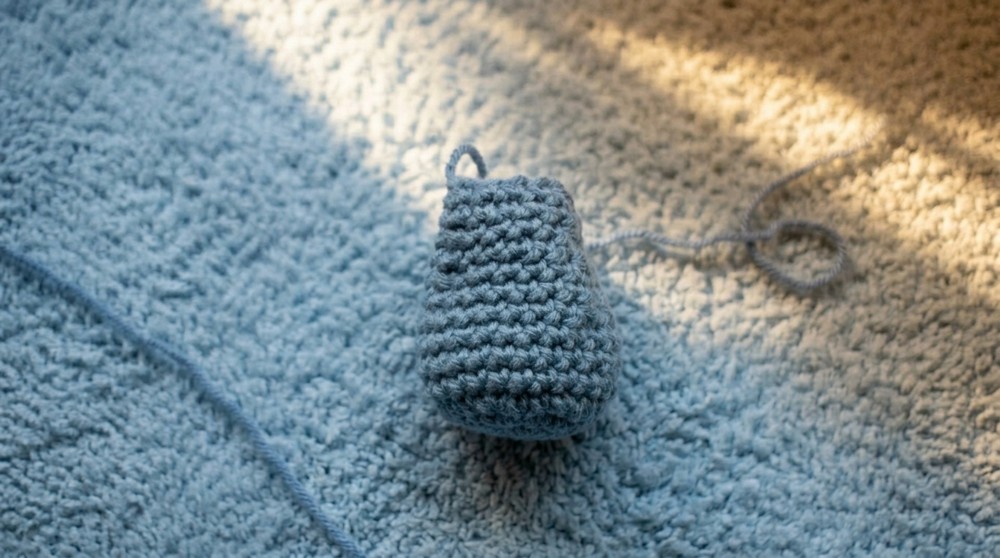
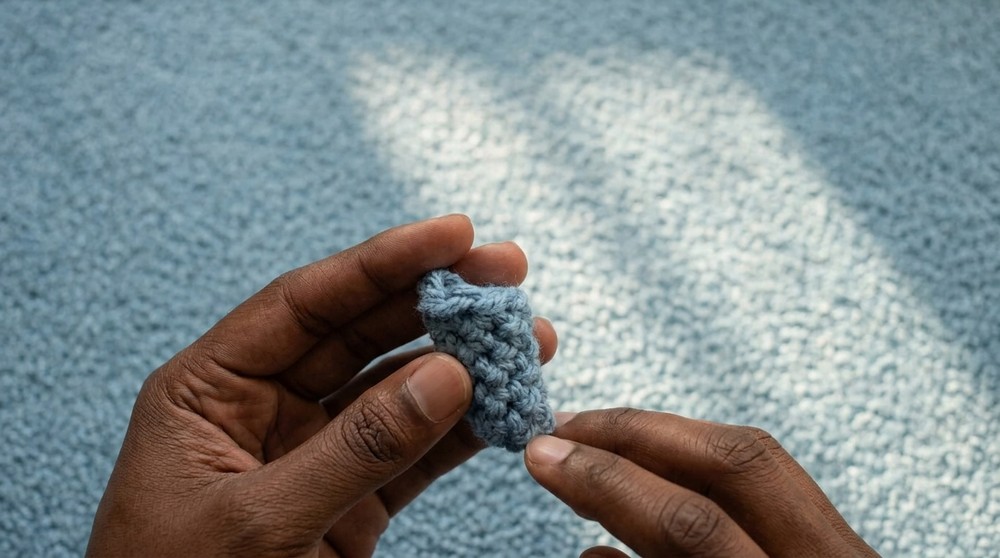
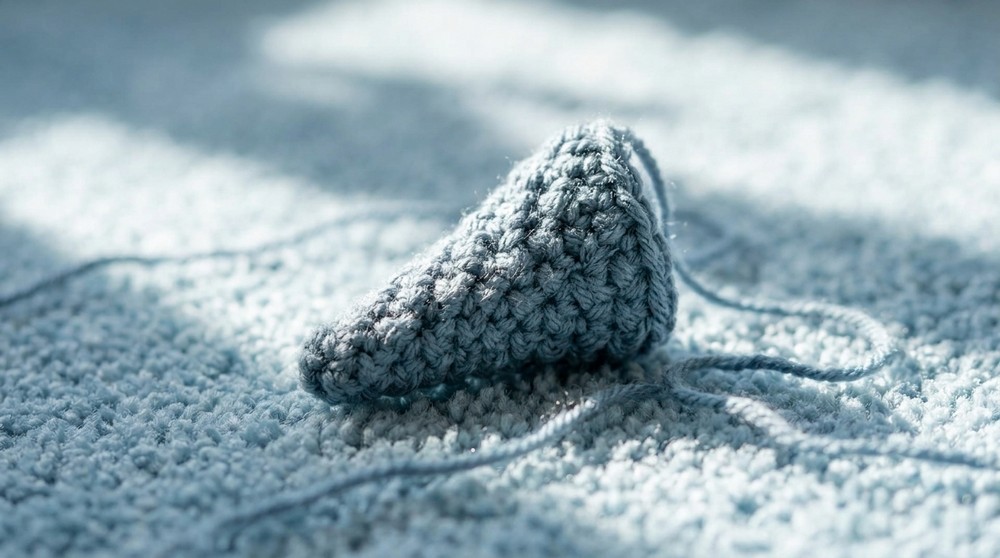
Body
- Rnd 1: MR, 6 sc into ring (6)
- Rnd 2: Inc in each st around (12)
- Rnd 3: (Inc, sc) around (18)
- Rnd 4: (Inc, sc, sc) around (24)
5–7. Rnd 5–7: Sc in each st around (24 per round) - Rnd 8: (Dec, sc in next 6 sts) around (21)
- Rnd 9: Sc in each st around (21)
- Rnd 10: (Dec, sc in next 5 sts) around (18)
- Rnd 11: Sc in each st around (18)
- Rnd 12: (Dec, sc in next 4 sts) around (15)
- Rnd 13: Sc in each st around (15)
- Rnd 14: (Dec, sc in next 3 sts) around (12)
- FO, leaving a long tail for sewing to the head. Stuff firmly.
Feet (Make 2)
- Rnd 1: MR, 6 sc into ring (6)
- Rnd 2–6: Sc in each st around (6, for 5 rounds)
- FO. Do not stuff.
Arms (Make 2)
- Rnd 1: MR, 4 sc into ring (4)
- Rnd 2–3: Sc in each st around (4, for 2 rounds)
- FO. Do not stuff.
- Optional: If you find 4 sts too tight, use 5 sc per round.
Tail
- Rnd 1: MR, 4 sc into ring (4)
- Rnd 2: Sc in each st around (4)
- Rnd 3: (Inc in first st, sc in each of next 3 sts) (5)
- Rnd 4: Sc in each st around (5)
- Rnd 5: (Inc in first st, sc in each of next 4 sts) (6)
6–7. Rnd 6–7: Sc in each st around (6) - Rnd 8: (Inc, sc, sc) around (8)
- Rnd 9: Sc in each st around (8)
- Rnd 10: (Inc, sc, sc, sc) around (10)
- Rnd 11: Sc in each st around (10)
- FO. Do not stuff.
(Optional) Belly Patch
- With yellow yarn, ch 5.
- Row 1: Sc across (4), ch 1, turn.
- Row 2: Inc in first st, sc in next 2, inc in last st (6), ch 1, turn.
- Rows 3–5: Sc across (6), ch 1, turn.
- Row 6: Skip first st, sc in next 5 (5), ch 1, turn.
- Row 7: Skip first st, sc in next 4 (4), ch 1, turn.
- Row 8: Skip first st, sc in next 3 (3), ch 1, turn.
- Row 9: Skip first st, sc in next 2 (2)
- FO, leaving a long tail for sewing.
- To finish, sew around edges of patch to belly.
Assembly
- Stuff body firmly.
- Using yarn needle and tail, sew body to underside of the pre-made head (see bass head pattern).
- Sew arms and feet to appropriate sides of body (arms high/close together, legs low/outward).
- Attach tail to the back base of the body.
- Sew on optional belly patch to the underside/center of body if desired.
- Weave in all yarn ends neatly.
- Shape as needed to finish your baby dinosaur!
Conclusion
This pattern creates a classic baby dinosaur plush with a chunky body, stubby limbs, and a slight curve to the tail—perfect for customizing with your favorite colors or adding accessories like hats or spikes. Using a referenced head pattern allows for variety and different expressions.
Pattern Corrections & Tips
- Make sure to count your stitches at the end of each round to maintain the correct amigurumi shape.
- For a chubbier dinosaur, add extra rounds in body before starting decreases.
- Arms and legs are intentionally unstuffed for optimal cuteness and easier sewing.
- Use a blunt yarn needle for easier joining.
- Customize: Add felt spots, embroider nostrils, or use different head options.
Tip: For a “weighted” dinosaur, add a small bean bag or poly pellet pouch in the body before stuffing.