How to Knit A Triangular Scarf for Beginners
With a step-by-step tutorial, learn how to knit a triangular scarf, also referred to as a neck warmer or shawl, using two needles. The project is designed to be quick and easy, suitable for beginners, and can be completed in under two hours. It covers materials, casting on, increasing stitches to create the triangular shape, loosely closing stitches, and adding tassels for a finished look. Follow through with us for the complete tutorial to knit this lovely black scarf!

Two-Needle Sol Collar Tutorial
This video provides a step-by-step tutorial on how to knit a triangular scarf, also referred to as a neck warmer or shawl, using two needles. The project is designed to be quick and easy, suitable for beginners, and can be completed in under two hours.
I. Project Overview and Materials
-
Project Goal: The video aims to teach viewers how to knit a triangular scarf, which can also function as a neck warmer or shawl.
-
Ease of Project: It’s highlighted as a quick and easy project, suitable for those new to knitting, and can be finished in a short amount of time.
-
Materials:
-
Yarn: A thick, soft mohair yarn is recommended, specifically one that is not itchy. The thickness of the yarn contributes to the project’s fast progress.
-
Needles: The creator advises using knitting needles that are two sizes larger than what the yarn manufacturer suggests. This is to ensure the resulting fabric is loose and airy, rather than dense.
-
II. Basic Knitting Steps
-
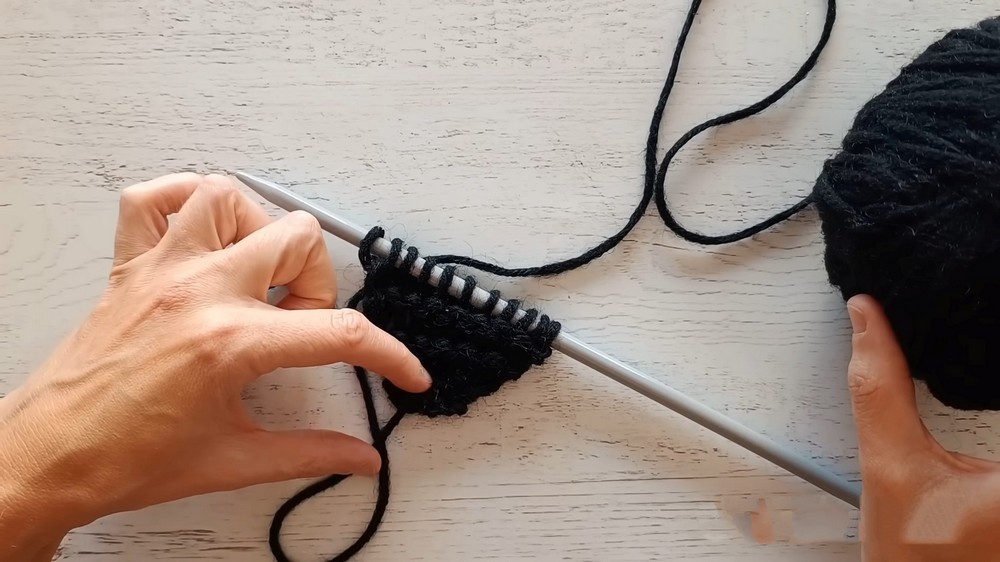
Casting On: The tutorial begins by demonstrating how to cast on a small number of stitches to start the project.
-
Basic Stitch: The entire scarf is knitted using the garter stitch. This simple stitch involves knitting all stitches in every row, creating a reversible fabric with a textured appearance.
III. Shaping the Triangular Scarf
-
Increasing Stitches: To achieve the desired triangular shape, increases are made strategically. This involves performing a yarn over at both the beginning and the end of every other row.
-
Working Yarn Overs: In the subsequent row, these yarn overs are knitted as regular stitches. A crucial tip is to pick them up from the front loop to prevent the creation of holes in the fabric.
-
Repetition for Length: This process of increasing stitches is repeated consistently until the scarf reaches the desired width. The video provides a general guideline for the final width.
IV. Finishing the Scarf
-
Closing Stitches: One of the most important steps emphasized in the tutorial is to close the stitches very loosely. This is critical to ensure that the finished scarf remains flexible and drapes well when worn. The creator provides a tip to stretch the stitches with a finger if necessary to maintain this looseness during the bind-off process.
V. Adding Tassels (Optional Embellishment)
-
Tassel Creation: The video includes a demonstration on how to make and attach tassels to the ends of the scarf.
-
Process: This involves wrapping yarn around a cardboard cutout (a specific length is suggested for this project) multiple times. The wrapped yarn is then tied at the top, and the bottom loops are cut. Another piece of yarn is wrapped around the top section to form the head of the tassel.
-
Attaching Tassels: The completed tassels are then attached to the points of the scarf, and any loose ends are carefully hidden within the tassel for a neat finish.

VI. Conclusion
-
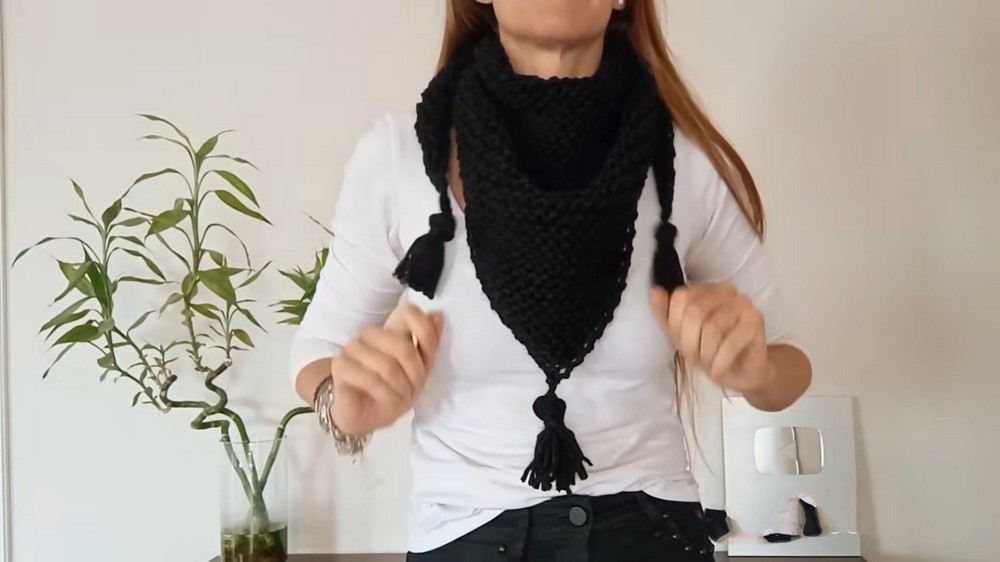
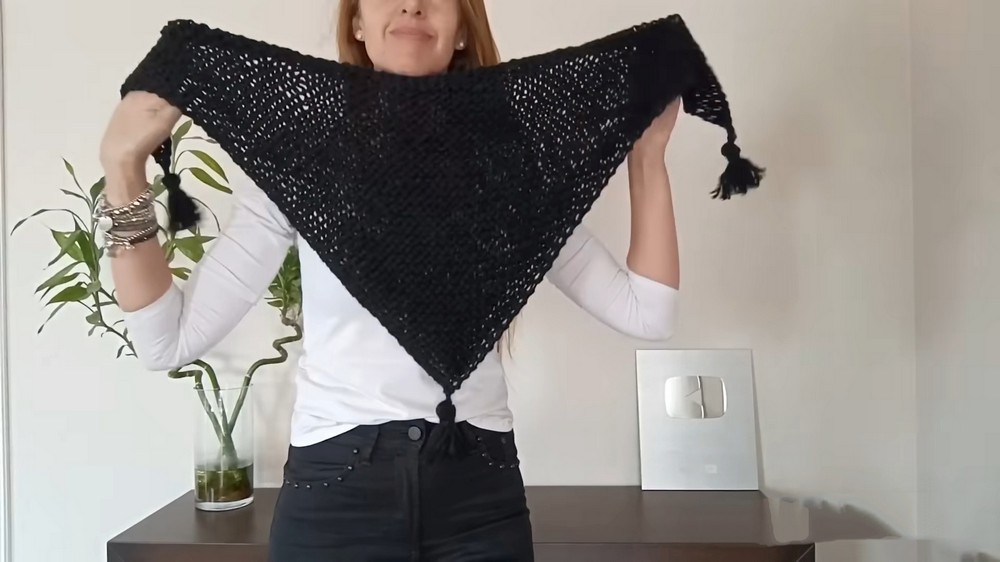
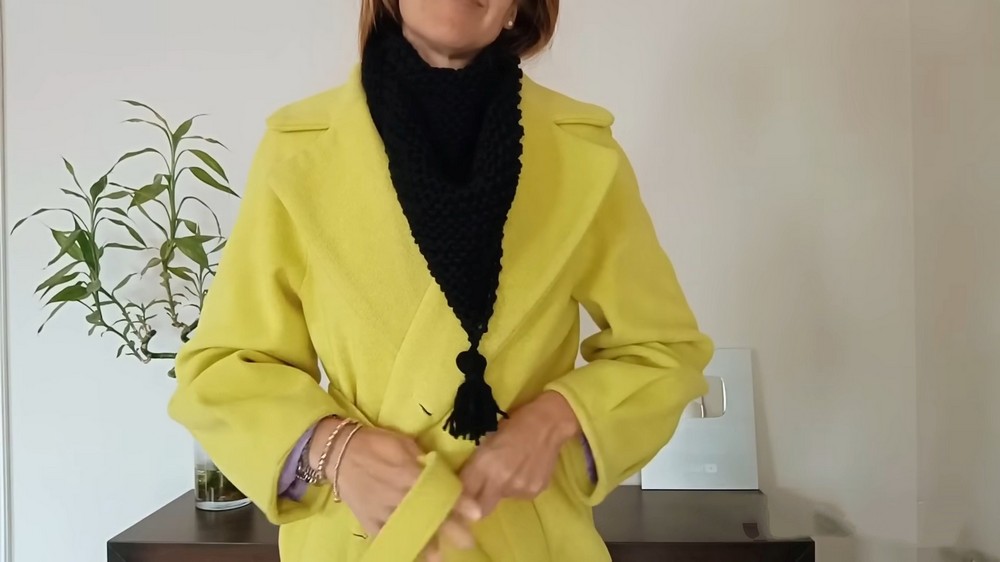
Finished Product: The video concludes by showcasing the completed scarf, describing it as a warm, soft, and versatile accessory.
-
Versatility: It’s presented as suitable for personal use, gifting, or even selling, highlighting its broad appeal.