DIY Lumi Bag Crochet Bag Tutorial for Beginners
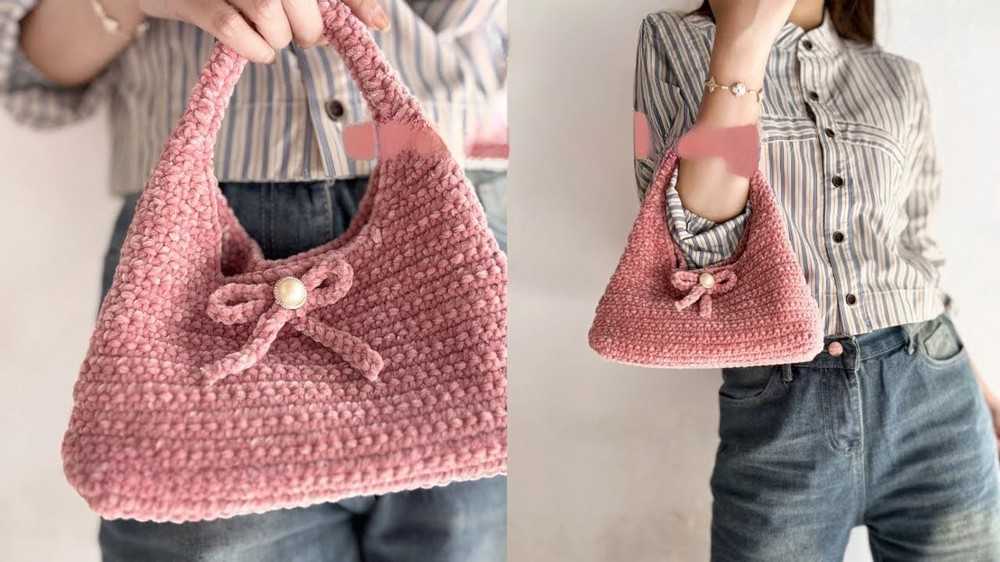
With a step-by-step tutorial, learn crocheting a stylish Lumy bag perfect for beach visits and outings. It covers everything from measuring dimensions to selecting materials, including Mini Aster yarn and hook sizes. The creator meticulously explains techniques like single crochet stitches, decreasing stitches, and creating the bag’s base, handle, and embellishments. Additionally, tips for reinforcing the base with plastic canvas and sewing the edges neatly are shared.
The final design includes a decorative ribbon and optional magnetic buttons for closure, resulting in a durable and elegant handmade bag.

Materials and Tools
- Yarn: 1 spool of Mini Aster yarn, which is made of fine bluere comprising three plies.
- Crochet Hook: Size 7 or 4.0 mm hook.
- Optional Materials: Plastic canvas for a sturdy bag base and additional yarn for layering.
- Accessories: Magnetic buttons, a tapestry needle, and decorative embellishments.
Bag Dimensions
- Height: 13 cm
- Handle Length: 19 cm
- Base Size: 10 cm x 22 cm
Steps to Create the Bag
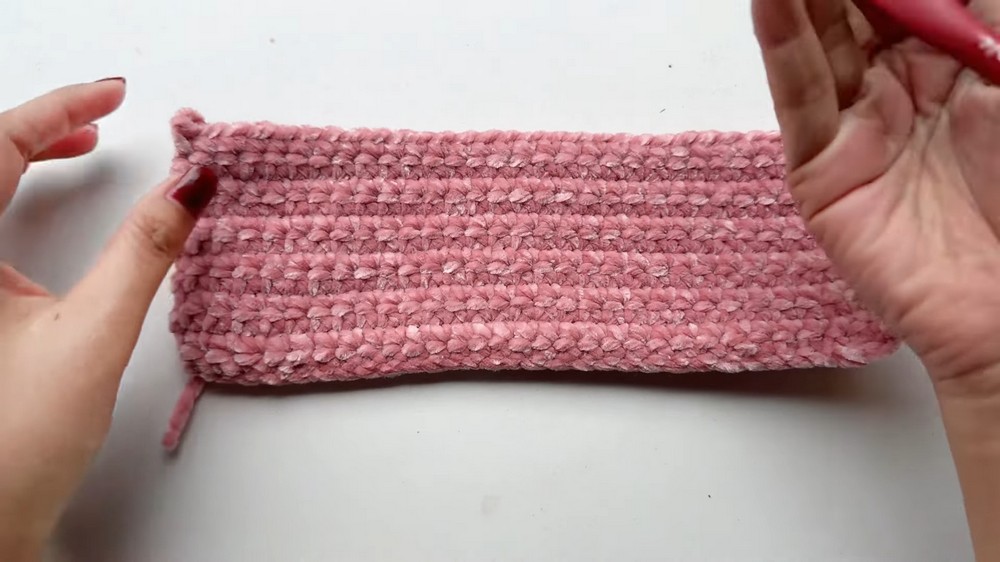
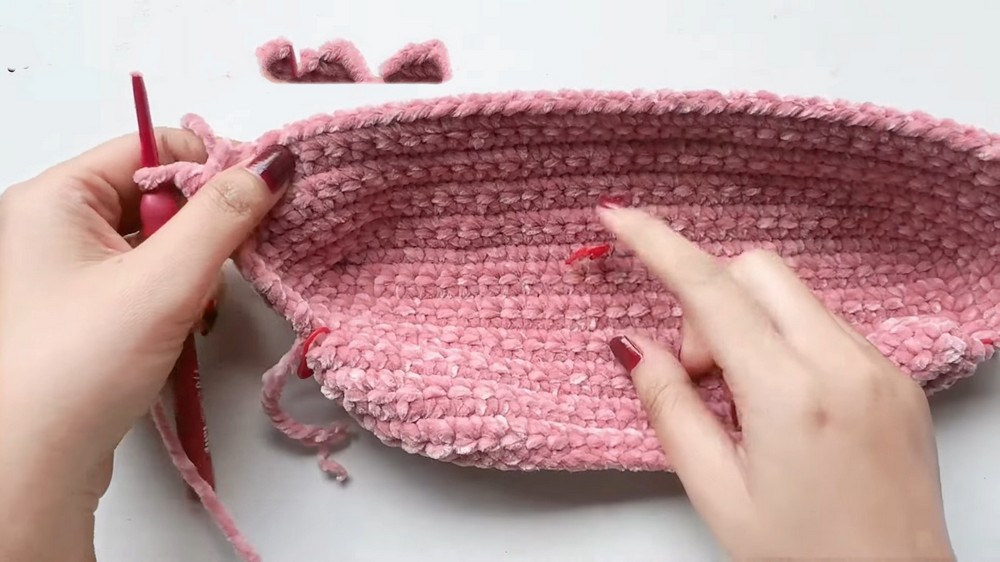
1. Making the Base
- Begin with an initial chain.
- Work simple single crochet stitches across rows to create an even rectangular base.
- Stop after the required number of rows.
- Secure the thread and cut, ensuring all ends are secured.
- Optional: Mark the midpoint and sides of the base with stitch markers to guide the subsequent steps.

2. Creating the Bag Body
- Attach yarn at the starting point.
- Crochet stitches along all sides of the base, forming the foundation of the bag’s body.
- Work repeated rows of single crochet stitches to build height. Adjust the number of stitches in each row based on the shaping requirements.
- In specific rows, reduce stitches (decrease) to slightly taper the bag upwards.
- Continue until the required height of the bag is achieved.
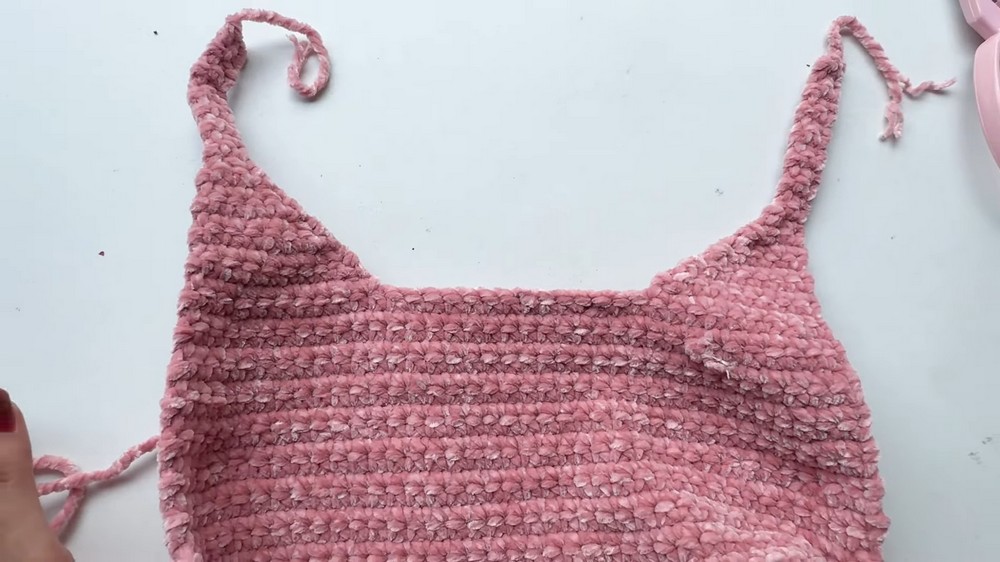
3. Adding the Handles
- Left Handle: Identify the starting point and create the handle section. This involves working reduced rows of single crochet stitches to form a narrow, sturdy strip. Continue crocheting rows for the desired handle length.
- Right Handle: Repeat the same process on the opposite side of the bag to create a symmetrical handle.
- Once both handles are completed, ensure all edges are smooth through additional finishing stitches.
Assembly and Finishing
1. Stiffening the Base
- (Optional) Add a layer of plastic canvas to the base for stiffness and sturdiness.
- Cover the plastic canvas with another layer of fabric or yarn to ensure it holds in place and blends with the bag.
2. Sewing the Sides
- Use single crochet stitches to sew the edges of the bag. This step joins the sides together while providing a neat finish.
- Repeat on the opposite side of the bag.

3. Attaching and Finishing the Handles
- Use single crochet stitches and a tapestry needle to securely attach the handles to the body of the bag.
- Once attached, turn the bag inside out to reveal a clean exterior.
- Add single crochet stitches along the handle edges for additional strength and uniformity.
Final Touches
- Magnetic Button Closure: Install a magnetic button as a fastening mechanism.
- Decorative Ribbon: Create a double-chain ribbon for decorative purposes and attach it to the bag securely.
- Optional Decorations: Embellish the bag using accessories such as decorative appliques, attached using a glue gun or thread.
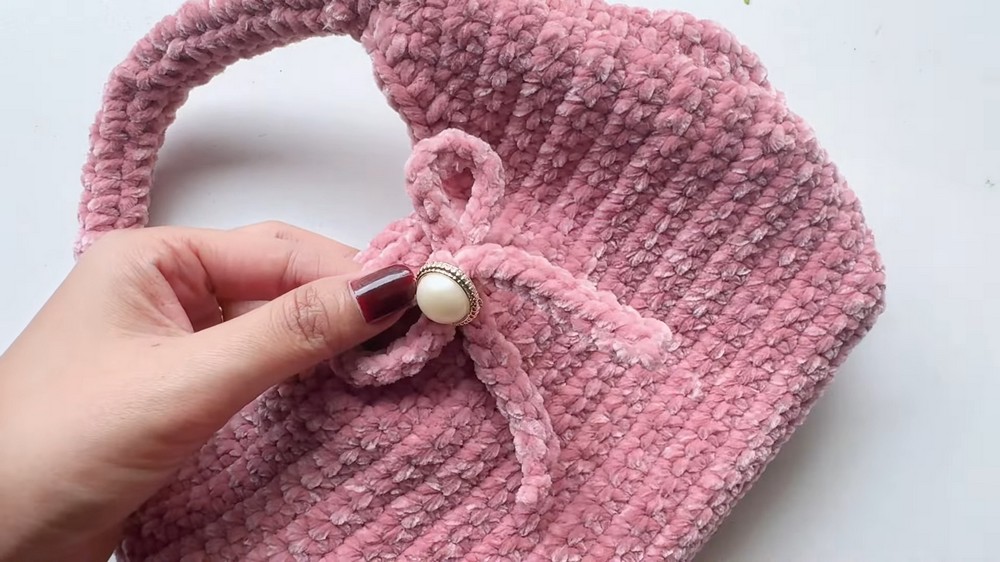
Conclusion
The tutorial concludes with showcasing the completed Lumy bag, emphasizing its elegant structure and versatility. This easy-to-follow project is ideal for both beginner and intermediate crocheters. The finished product is a functional and stylish handmade bag that can be customized further with your choice of embellishments and colors.