Trendy Free Crochet Poncho Pattern That’s Perfect for Layering
Beautify your seasonal wardrobe with this Free Crochet Poncho Pattern that provides a cozy layer for your outfits and feels very soft daily.
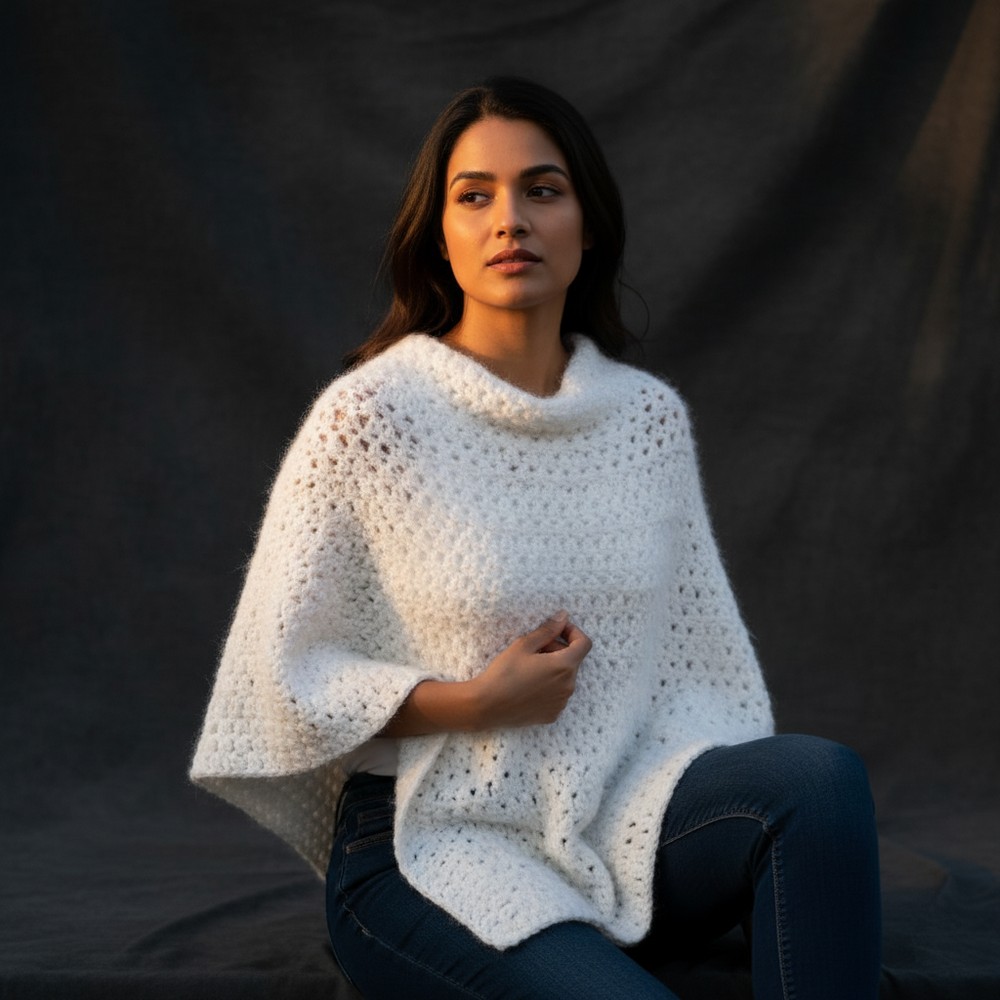
Every single person feels wonderful when a soft wrap makes life much more cozy and bright. This lovely garment flows gently over your shoulders and drapes down with a graceful look that fits every person perfectly. A crochet poncho pattern gives you the way to form a lovely item that is very light but keeps your skin warm. It works well for a big party or just a quiet time at home. The pretty loops and soft yarn make it look like a treasure from a dream.
Stylish Free Crochet Poncho Pattern for Any Wardrobe

This special piece is great because it has no tight sleeves so it is very easy to put on and feels very free. A major plus is that it keeps you warm while letting your skin breathe at the same time. This single piece can turn a plain outfit into something very special and bright. It is truly a classic item that stays soft and keeps your body feeling cozy and happy always.

Crochet Poncho Pattern
Materials
- Yarn: 1 “Dream” gradient cake (approx. 900 meters / 550 grams; 50% cotton, 10% mohair, 20% wool, 20% acrylic) or similar yarn.
- Hook size: 4 mm (G/6) crochet hook (adjust size as needed for your tension and yarn)
- Other notions:
- 2 stitch markers (for points/increases)
- Yarn needle (for weaving in ends)
- Scissors
- Measuring tape (optional, for dimensions)
Key Abbreviations (US Terminology)
| Abbreviation | Meaning |
|---|---|
| ch | chain |
| sc | single crochet |
| dc | double crochet |
| sl st | slip stitch |
| fpdc | front post double crochet |
| bpdc | back post double crochet |
Special Notes
- Pattern is worked in the round from the collar downward.
- Adjust foundation chain to fit over your head comfortably. Must be divisible by 2 and result in an odd number of stitches for symmetry.
- Points are created with increases marked with stitch markers.
- The alternating rows give the poncho its texture and fullness. Choose your preferred color progression if using gradient or variegated yarn.
Pattern
1. Collar (Ribbed Neckband)
- Foundation:
Ch 80 (or as needed to fit over head comfortably).
Join with a sl st to the first ch, being careful not to twist. - Round 1:
Ch 3 (counts as dc here and throughout). Dc in each ch around. Join with a sl st to top of beg ch-3. (80 dc) - Rounds 2–4:
Ch 3. [fpdc in next dc, bpdc in next dc] repeat around.
Join with sl st to top of beg ch-3.
(You will have 4 rows total for collar: 1 plain dc, 3 ribbing.)
Add more rows for taller collar if desired.

2. Yoke Setup & Point Placement
- Count your stitches.
- For a classic fit, divide: 47 sts for each side (front, back) + 2 points × 2 sts each (94 in total; original worked with 98 but adjust to your number).
- Place stitch markers at the start of your points (after each section of 47 sts; these mark increases for the “V” at front and back).

3. Body Pattern: Textured Rows
Repeat the following 2 rows throughout the length of the poncho.
Row 1: Single Crochet Points
- Ch 1 (does not count as st).
- [In same st:] sc, ch 2, sc.
- Skip next stitch, in following stitch (and in each odd-numbered stitch after): [sc, ch 2, sc]
- Continue in this manner across until you reach a marker.
- At marker point:
- Skip next st, sc, ch 3, sc in marked st (this creates the point). Move marker to ch-3 space.
- Repeat pattern to next point, at marker make the sc, ch 3, sc for the point.
- Continue pattern to end of round; join with sl st into the space between sc and ch-2 of first motif.

Row 2: Double Crochet Fill-In
- Sl st into ch-2 (or ch-3 for points) space of previous row.
- Ch 3 (counts as first dc), 2 dc into the same space.
- In each ch-2 space across, [3 dc in ch-sp].
- At the ch-3 space of each point: [3 dc, ch 1, 3 dc] all in same space. Move marker to ch-1.
- Continue pattern around; join with sl st to top of starting ch-3.
Row 3 onward:
For the next single crochet round, begin with a sl st to the center dc of a 3-dc group to keep motifs centered:
- Ch 1, [sc, ch 2, sc] in center dc of each 3-dc group, across.
- At the points (ch-1 spaces): [sc, ch 3, sc] in the ch-1 space.
Continue alternating Row 2 (double crochet groups) and Row 3 (sc, ch-2 “bobbles” in center dc) for each round, with increases at each point until desired length is reached.
4. Finishing
- The sample worked 45 total pattern rows (alternating rows as above), ending on a single crochet / chain motif round, for a clean finish.
- Measurements: Approx. 62 cm from top of collar to point; ~50 cm on sides.
- Fasten off, weave in all ends.
- Block gently if desired for shape.

Pattern Correction
- Foundation chain count: Check you have an odd number of stitches between each marker (e.g., 47 or 49 per side) plus 1 stitch for each “point.” Adjust for your tension and yarn if needed.
- Increases: Ensure increases are always made in the tip ch-space and markers are moved up every round.
Tips
- Sizing: To make larger/smaller, adjust the starting chain in multiples of 2, making sure left and right sides are even and ending up with an odd number for each half.
- Color play: Start with the yarn end you prefer for color fade (dark to light or reversed).
- Count often: Especially on the first several rounds, count your motifs and stitches to keep pattern correct.
- Blocking: Lightly steam or wet block after finishing to allow the stitches to relax and the shape to settle evenly.
Conclusion
This gradient poncho is striking in appearance and richly textured but easy to execute. Versatile for different yarns and customizable in length and color, it’s a warm layer with visual movement. The clean edges and point shaping work well with gradient yarns.