How to Turning Bed Sheet into a Tote Bag

Learn how to transform an old sheet into a practical crochet tote bag using homemade yarn with this tutorial for beginners. She provides step-by-step instructions, from preparing the sheet by cutting strips to crocheting the tote bag with thick yarn and a large hook. The process is beginner-friendly, quick, and inexpensive, requiring minimal materials.
Elizabeth also shows how to create sturdy straps and finish the bag by hiding loose ends. The result is a stylish, durable tote perfect for everyday use.

Turning a Bed Sheet into Tote
-
Introduction:
Elizabeth introduces the project, showing viewers how to upcycle a sheet into a tote bag. She emphasizes the advantages: it’s easy, cheap, beginner-friendly, quick, and potentially free if you’re using an old sheet. -
Optional Materials:
- Instead of a sheet, you can use old T-shirts to make yarn. The cutting process differs due to the circular nature of T-shirts, but she suggests searching for tutorials on making T-shirt yarn.
-
Materials Needed:
- A sheet (flat or fitted).
- Fabric scissors (or regular scissors).
- A crochet hook.
-
Prep Work:
- Remove any seams, elastic (for fitted sheets), or non-uniform areas from the sheet.
- Use a queen-sized flat or top sheet for better results.
-
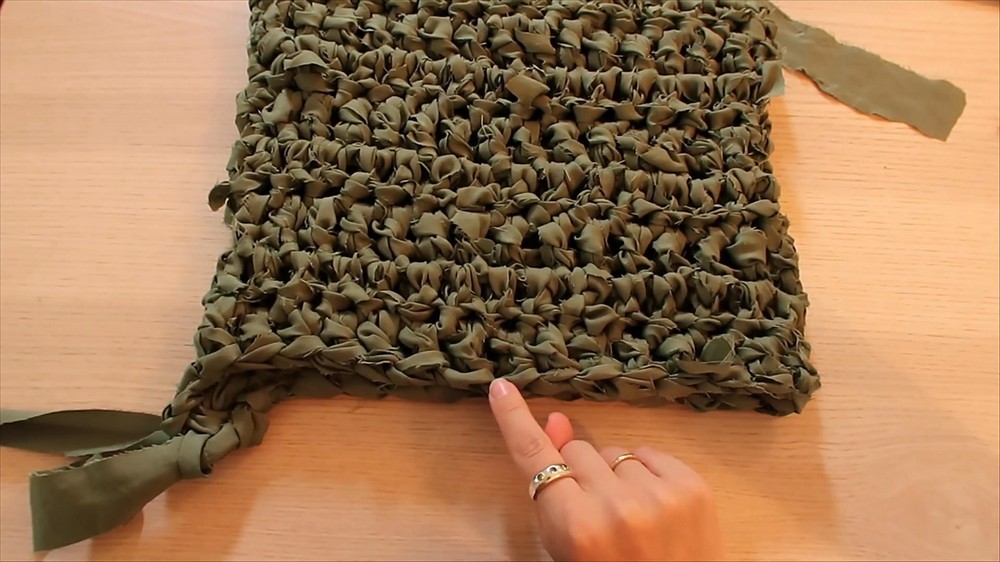
Cutting the Sheet into Yarn:
- Fold the sheet lengthwise several times for easier cutting but ensure the folds aren’t too thick.
- Cut strips about one inch wide, stopping a couple of inches before the edge to keep the fabric intact.
- For the top layer, cut through every other strip to separate them.
- Repeat the cutting process for the other side, creating a continuous piece of yarn.
- Roll the yarn into a ball for easy handling.

-
Starting the Tote Bag:
- Create a chain as the foundation for the bag.
- Use double crochet stitches to build the base and body of the bag.
- Crochet in the round, working on both sides of the foundation chain while maintaining even stitches.
-
Building the Bag’s Body:
- Continue crocheting in rounds to create the body of the tote.
-
- Once the desired height is achieved, prepare for the bag straps.
-
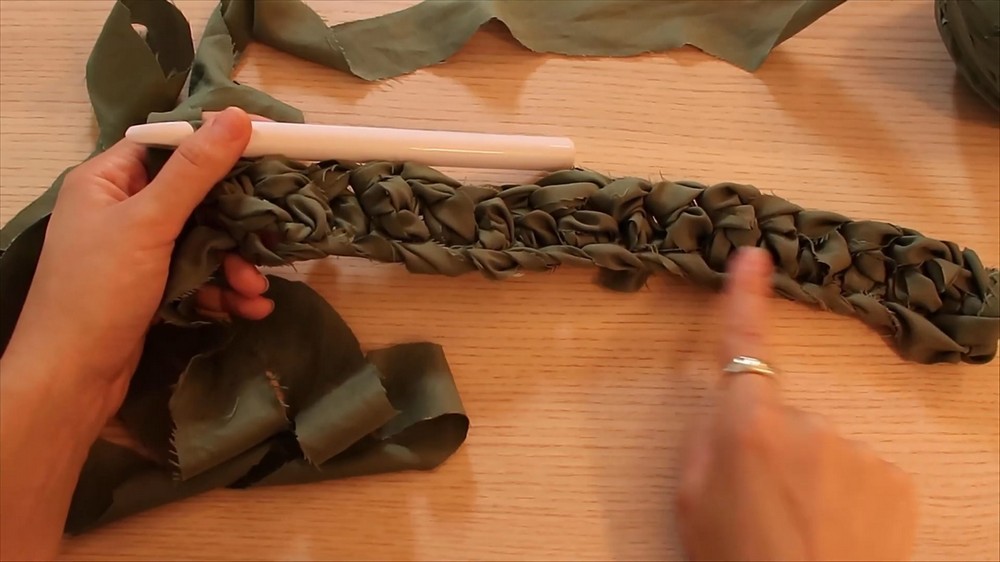
Adding the Straps:
- Mark strap placement using stitch markers on both sides of the bag.
- Attach yarn to create straps of your desired length using chain stitches.

-
- Secure the straps to the opposite side and reinforce them with additional rows of double crochet.
-
Final Steps:
- Weave in any loose yarn tails on the inside of the bag for a neat finish.
- Trim excess yarn and ensure all stitches are secure.

-
Finished Tote Bag:
- The bag is durable, functional, and ready for use. Elizabeth suggests ideas like taking it apple-picking in fall.
-
Closing Remarks:
- Elizabeth encourages viewers to leave comments, follow her on social media, and suggests the project can be completed in about an hour.
This DIY project demonstrates how to sustainably repurpose old fabric while creating something stylish and practical.