Braided Headband Free Crochet Pattern with Twist

Embrace casual chic quickly through this free crochet headband pattern that’s designed to offer soft texture and flattering appeal for any hair type.
It’s always a treat to make your own accessories, especially ones you can use every day. The amazing designer from the YouTube channel Rajutan Whita shows you how to make a beautiful and practical hair accessory. With this Free Crochet Headband Pattern, you can follow along to produce a stylish item that is perfect for cool weather. The instructions are very clear, making this a wonderful project for anyone who enjoys working with yarn.
Free Crochet Braided Headband Pattern for a Stretchy Fit
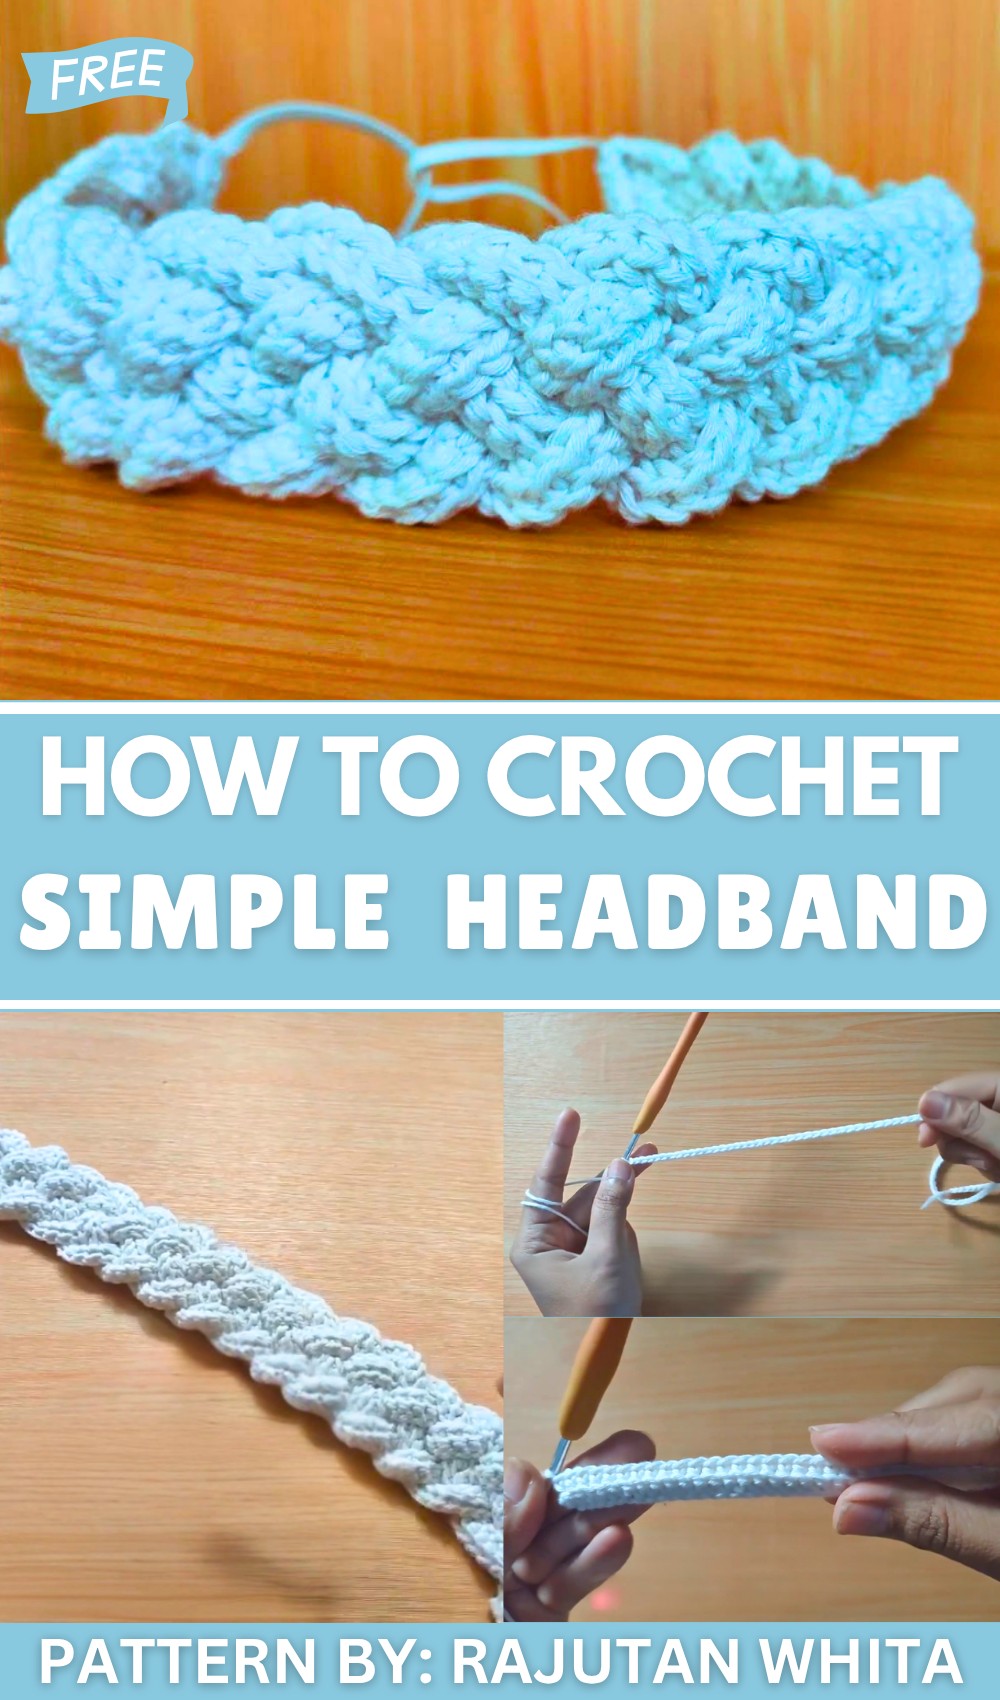
The design of this headband is both smart and beautiful. Its main attraction is the clever twist located at the very front. This detail forms a gathered, knotted look that sits wonderfully on your head, adding a touch of elegance. The body of the band is built with a deep, ribbed stitch pattern. This technique gives the finished item a thick, cushion feel and a lovely texture that looks quite professional. It has plenty of give, which means it will fit comfortably without ever feeling too snug or too loose.
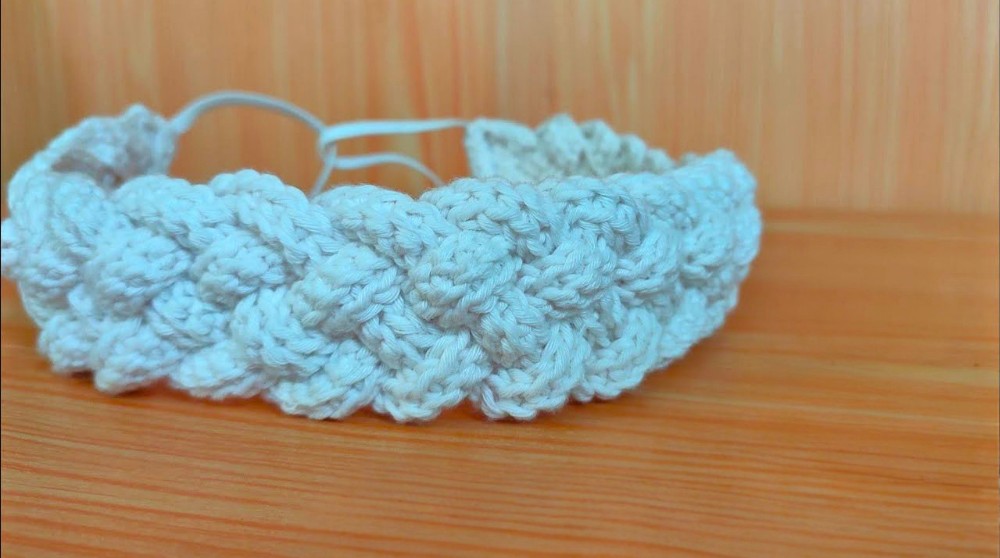
This accessory is a fantastic addition to your wardrobe. It functions as a cozy ear warmer, with its generous width providing full coverage to protect you from cold winds. It is also an excellent way to keep your hair neatly tucked away from your face. You can choose a yarn color that matches your favorite coat or complements your personal style. It’s a very versatile piece that looks just as good with a casual jacket for a walk as it does with a comfy sweater for a day out with friends. This handmade headband is a lovely way to add a bit of personal flair to any autumn or winter outfit.
Five-Braid Crochet Bandana Pattern – Beginner-Friendly Step-by-Step Guide
Welcome! In this tutorial, you will learn how to crochet a stylish five-braid bandana. This pattern is perfect for yarns that do not stretch (like cotton or polyester). The bandana is adjustable and suitable for children, adults, and small heads. We’ll cover everything from measuring, crocheting the strips, braiding, attaching elastic, and finishing for a neat and comfortable bandana. Let’s get started!
Pattern Highlights
- Creates a beautiful five-strip braid bandana
- Works wonderfully with non-stretchy yarns
- Adjustable to fit many head sizes (children to adults)
- Uses simple crochet techniques: chains (ch) and single crochet (sc)
- Incorporates elastic straps for a secure and flexible fit
- Detailed braiding and assembling instructions included
- Option to add decorative flowers for personalization
Important Notes
- This pattern is ideal for cotton or polyester yarns which are not stretchy.
- Measure the wearer’s head carefully and add extra length for comfortable fitting.
- Elastics are used on the bandana ends to provide flexibility and better fit.
- Keep stitch tension consistent for smooth, even strips.
- Hand sewing is required to join pieces and attach elastic securely.
- Yarn tails should be woven in neatly to maintain a polished finish.
Skill Level
Perfect for beginners who:
- Know how to make chains (ch) and single crochet (sc) stitches
- Can measure crochet strips and count stitches accurately
- Are comfortable doing simple hand sewing
- Have basic understanding of braiding
Materials Needed
- Non-stretchy yarn such as cotton or polyester (Balinese cotton fitplay recommended)
- Crochet hook size 2.5 mm (size 40 equivalent)
- Two pieces of elastic (approximately 20 cm each for adults, 10 cm for small children)
- Scissors
- Sewing needle and thread for assembly
- Stitch marker or safety pin (optional)
Measurements / Sizing
- Measure from the center of the left ear, across the forehead, to the center of the right ear
- Example measurement: 38 cm (this will vary by wearer)
- Add 10 cm to this measurement to allow for braid and sewing (~48 cm)
- Length of elastics: approx. 20 cm (or 10 cm for smaller heads)
Gauge & Stitch Pattern
- Uses single crochet (sc) stitches worked over foundation chains
- Strip width is narrow, just enough for braiding
- Consistent tension produces uniform strips
Stitch Abbreviations
| Abbreviation | Meaning |
|---|---|
| ch | Chain |
| sc | Single crochet |
Step-by-Step Instructions
Step 1: Measure and Chain Foundation
- Measure your head as described (e.g., 38 cm)
- Add 10 cm for ease (38 + 10 = 48 cm)
- Chain enough stitches to create a chain approximately 48 cm long (approx. 100-500 stitches depending on yarn thickness)
- Use a measuring tape to confirm length

Step 2: Single Crochet Row – First Strip
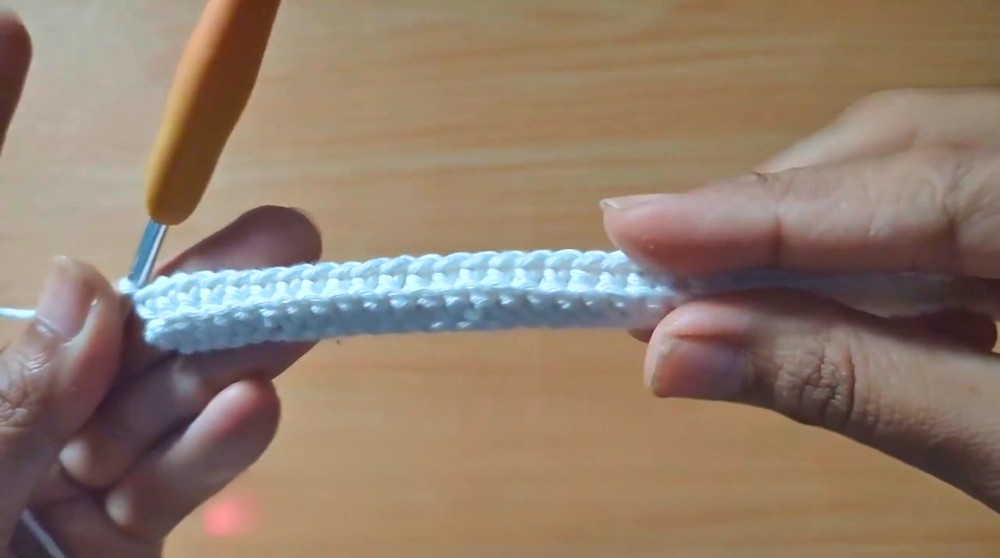
- Starting from the second chain from your hook, make single crochet (sc) across the entire chain
- Turn your work, chain 1 to start the next row (if making wider strip)
- Repeat sc rows to desired width for each strip (usually 1-3 rows)
- Cut yarn leaving a short tail, tidy by weaving in ends
Step 3: Repeat to Make Five Strips
- Repeat the above steps to create five identical strips
- Keep the fifth strip’s yarn attached for easier joining later
Step 4: Arrange the Strips for Braiding
- Lay the five strips flat side by side
- Position the strips so one stands out on top, with the concave curve (if any) facing downward
- Prepare for braiding by folding and positioning the strips
Step 5: Braiding Instructions
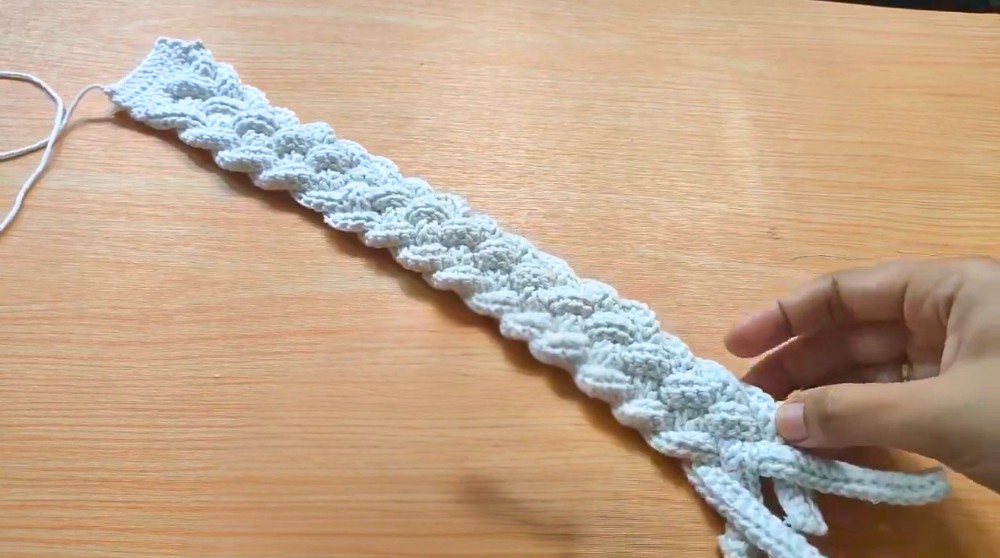
- Take the rightmost strip, place it over the next strip on its left, then under the following strip
- Repeat this over-under alternating braiding sequence across the strips
- Maintain even tension to keep the braid neat and tight
- Continue braiding until all strips are fully intertwined
- Near the end, adjust tightness and tuck in any loose ends
Step 6: Joining and Sewing the Braided Band
- Sew the braided ends securely together using yarn and a sewing needle
- Prepare two elastic pieces (~20 cm long each)
- Attach one elastic to each end of the braid
- Use sturdy stitching to fix elastics firmly in place, ensuring elasticity when stretched
Step 7: Finishing Touches
- Fold and sew any remaining loose ends for a clean look
- Trim excess yarn tails
- Adjust the elastic stretch and sew any necessary reinforcements
- Optionally, sew or crochet decorative flowers onto one side for added flair
Assembly & Finished Size
- The finished bandana fits heads approximately 48 cm in circumference (adjustable)
- Width depends on strip width and braid tightness (usually 4–6 cm)
- Elastic provides flexibility for comfortable wear
- The bandana is neat, durable, and can be worn by adults or children with minor adjustments

Conclusion
You have successfully crocheted a five-braid bandana using simple single crochet and chains, assembled with elastics for flexibility. This project is beginner-friendly, adaptable to many head sizes, and perfect for non-stretchy yarns. The braid technique adds charming texture and style. Thank you for following along! Please like, share, and subscribe for more helpful crochet tutorials.