Free Crochet Mask Ear Saver Pattern for Sensitive Ears
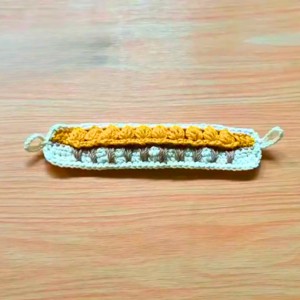
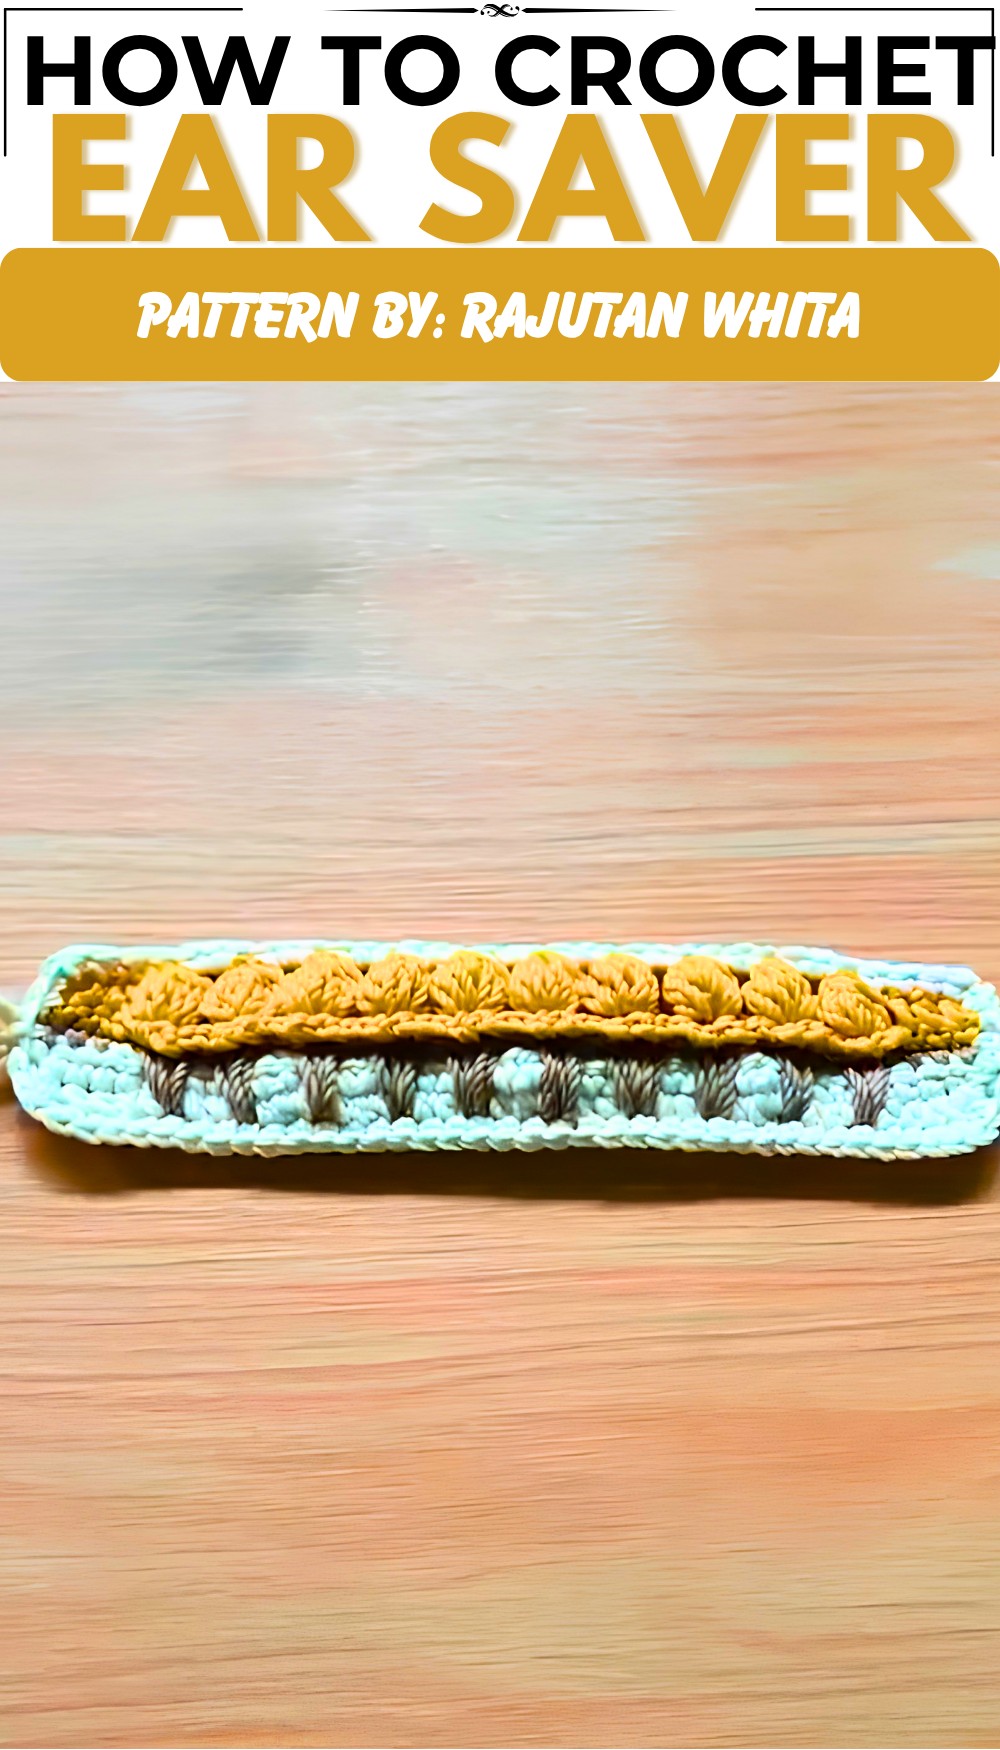
Protect your ears from discomfort all day long with this free crochet mask ear saver pattern that works up in just minutes.
Mask Ear Saver Free Crochet Pattern for All-Day Comfort
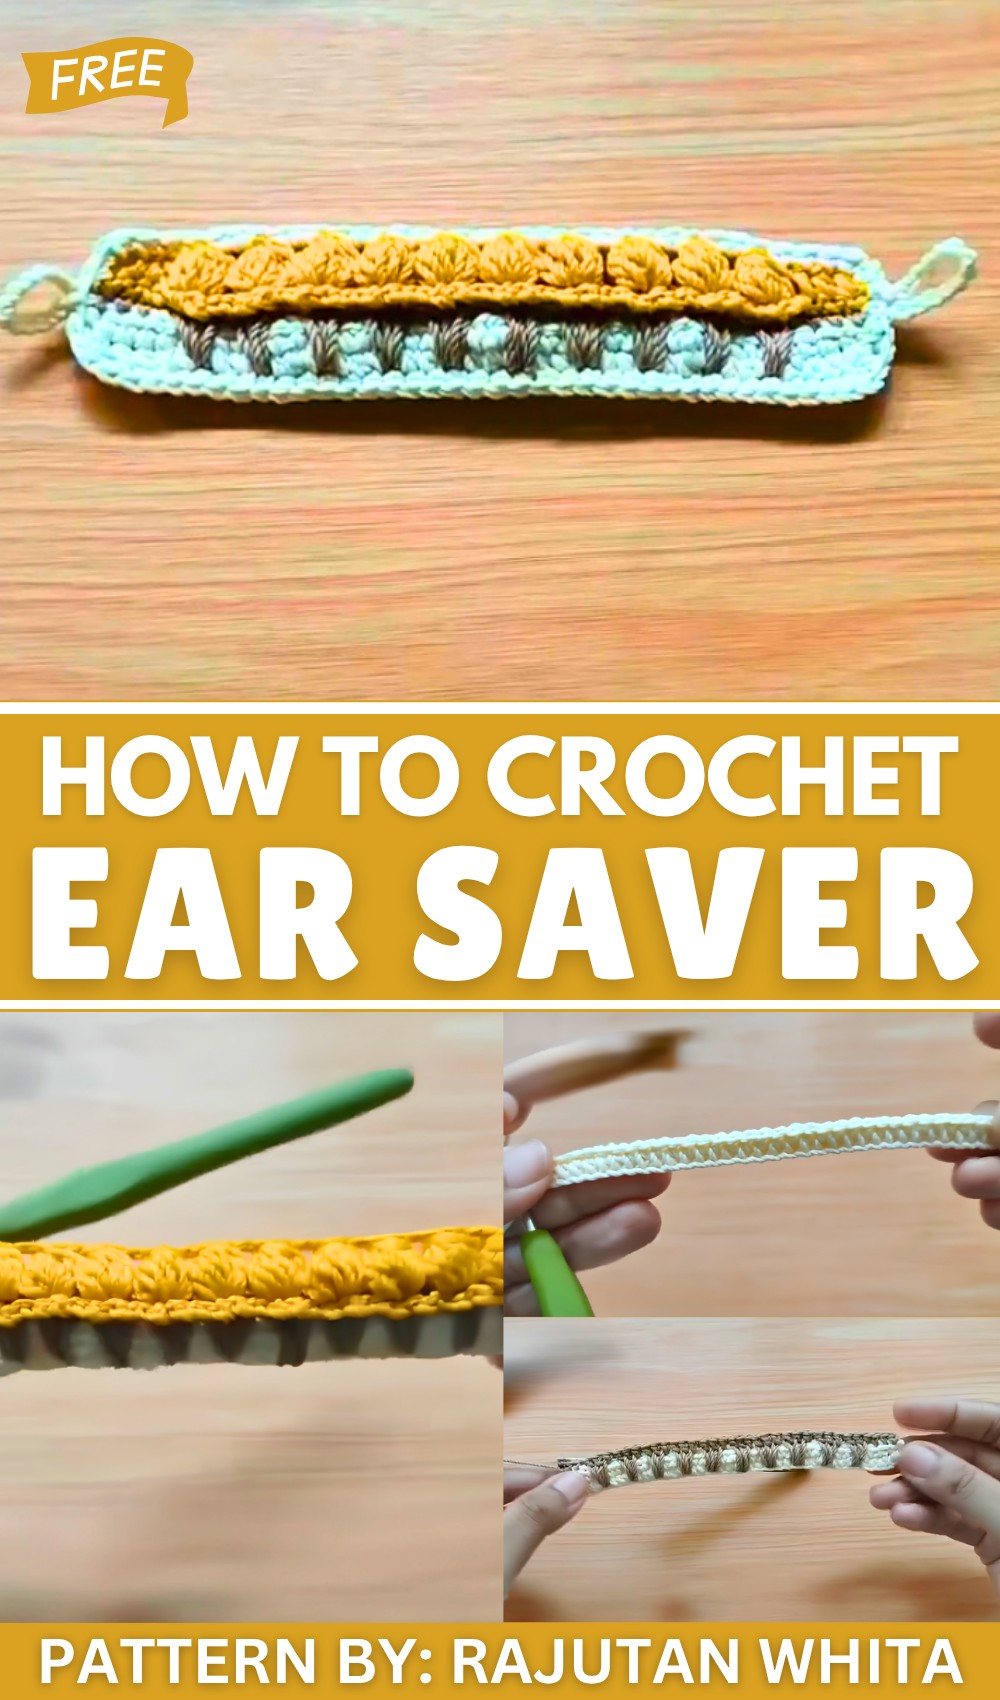
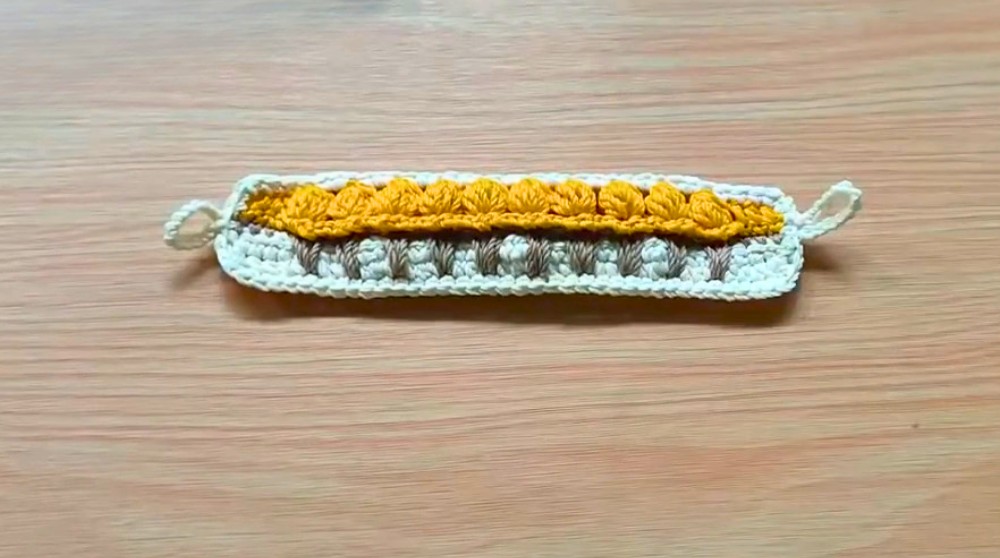
These handy bands make thoughtful gifts for friends, family members, or coworkers who need extra comfort during busy days. Handmade presents carry a deep personal touch that shows true care and makes the receiver feel extra special. The compact size also makes it a quick and fun project to complete in just a little free time.
Ice Cream Mask Connector Crochet Pattern
This cute and practical Ice Cream Mask Connector will make wearing your mask more comfortable while adding a whimsical touch. Using three colors and simple stitches, this project is approachable and enjoyable. Follow along carefully!
Materials Needed
- Yarn: 3 colors
- Cream (for the base)
- Light Brown (for the cone)
- Yellow (for the ice cream scoop)
- Crochet Hook: 2.0 mm
- Scissors
- Lighter (for sealing yarn ends)
- Decorative Buttons
- Tapestry Needle (for sewing and weaving in ends)
Quick Pattern Overview
- Step 1: Foundation Base in Cream yarn (Half Double Crochet – HDC)
- Step 2: Cone Pattern in Light Brown yarn (Single Crochet – SC & Double Crochet – DC)
- Step 3: Bottom border texture in Yellow yarn (Slip Stitch – SL ST, SC)
- Step 4: Ice Cream Scoop texture with Bobble Stitches
- Step 5: Final Edging and Button Loops (SC and chains)
Important Notes
- Keep stitches consistent with comfortable tension for neat edges.
- Change colors cleanly by finishing the last stitch of the previous color with the new yarn.
- Use the lighter cautiously to seal yarn ends and prevent fraying.
- Bobble stitches add texture but take your time to count stitches carefully.
- Button loops can be lengthened or shortened based on your button size.
Skill Level
Suitable for beginner to intermediate crocheters familiar with:
- Chain (ch)
- Single Crochet (sc)
- Half Double Crochet (hdc)
- Double Crochet (dc)
- Slip Stitch (sl st)
- Bobble Stitch (easy with instructions below)
Stitch Abbreviations
| Abbreviation | Stitch Name |
|---|---|
| ch | Chain |
| sc | Single Crochet |
| hdc | Half Double Crochet |
| dc | Double Crochet |
| sl st | Slip Stitch |
| bobble | Bobble Stitch (7 loops) |
Special Stitches
Bobble Stitch:
- Yarn over, insert your hook into the stitch, yarn over, pull through (3 loops on hook)
- Yarn over, pull through 2 loops (2 loops remain)
- Repeat 5 times in the same stitch (resulting in 7 yarn overs/pull loops total)
- Yarn over, pull through all loops on hook to complete the bobble
Detailed Pattern Instructions
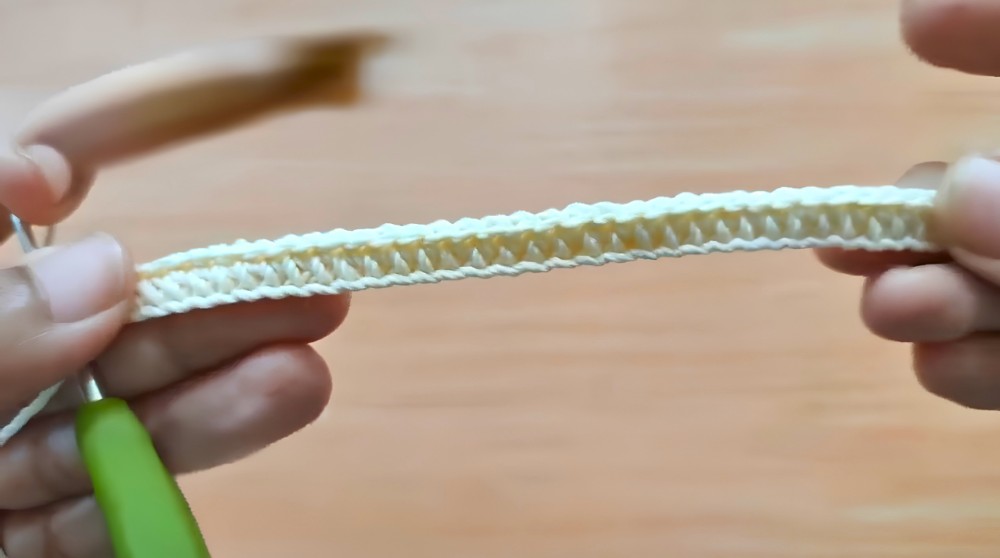
Step 1: Foundation Base (Cream Yarn)
- Chain 37.
- Row 1: Starting in the 2nd chain from the hook, work 36 Half Double Crochet (hdc) stitches across. Turn your work.
- Row 2: Chain 1, work 1 hdc into each stitch across (36 stitches). Turn.
This creates a firm, flat base for the connector.
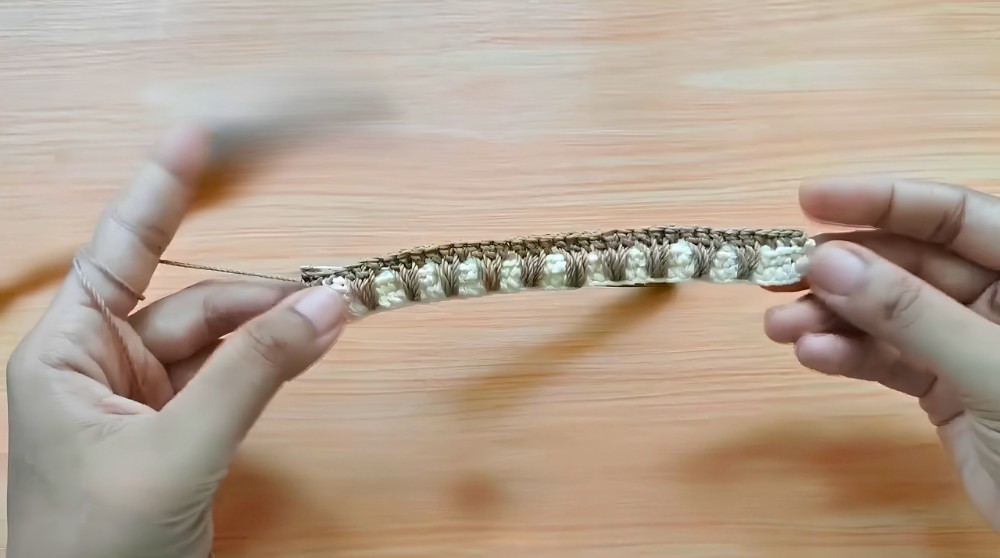
Step 2: Creating the Cones (Light Brown Yarn)
- Switch to light brown yarn.
- Row 3:
- Work 3 Single Crochet (sc) stitches along the edge to start.
- Skip 4 stitches on your base row, then in the 5th stitch, work 3 Double Crochet (dc) stitches — this forms the first cone “peak.”
- Skip 2 stitches, then 3 dc stitches in the next stitch.
- Repeat skipping 2 stitches and working 3 dc in the next stitch until you have worked this pattern across, leaving 3 stitches unworked at the end.
- Finish with 3 sc stitches to complete the edge.
Step 3: Ice Cream Texture / Bottom Border (Yellow Yarn)
- Change to yellow yarn.
- Start from the back side of your work.
- Row 4:
- Work 3 sc stitches for the edge.
- Into the cones created in Row 3, work slip stitch (sl st) into back loop only of each “cone stitch,” then chain 2, then sl st back into the same stitch.
- Repeat this sl st and chain 2 sequence across the row to form a decorative bottom edge.
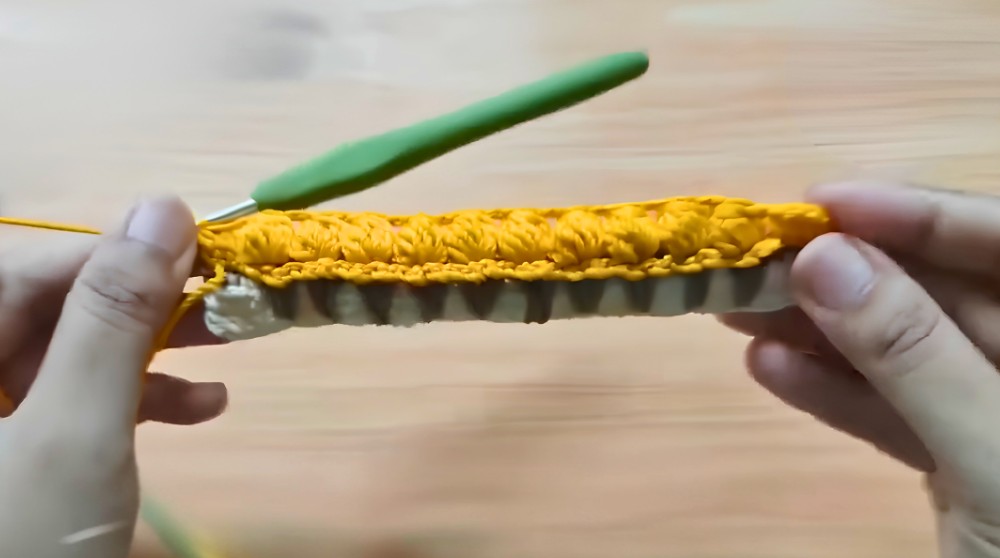
Step 4: Ice Cream Scoop with Bobble Stitches (Yellow Yarn)
- Row 5:
- Work 3 Half Double Crochet (hdc) stitches for the edge.
- Chain 1, skip the first double crochet (dc), then in the second dc, work a 7-loop bobble stitch (see Special Stitches section).
- Chain 2, skip 2 stitches.
- Repeat the bobble stitch every 3 stitches across the row, creating raised “bubbles” like ice cream scoops.
- Finish with 3 hdc stitches to complete the edge.
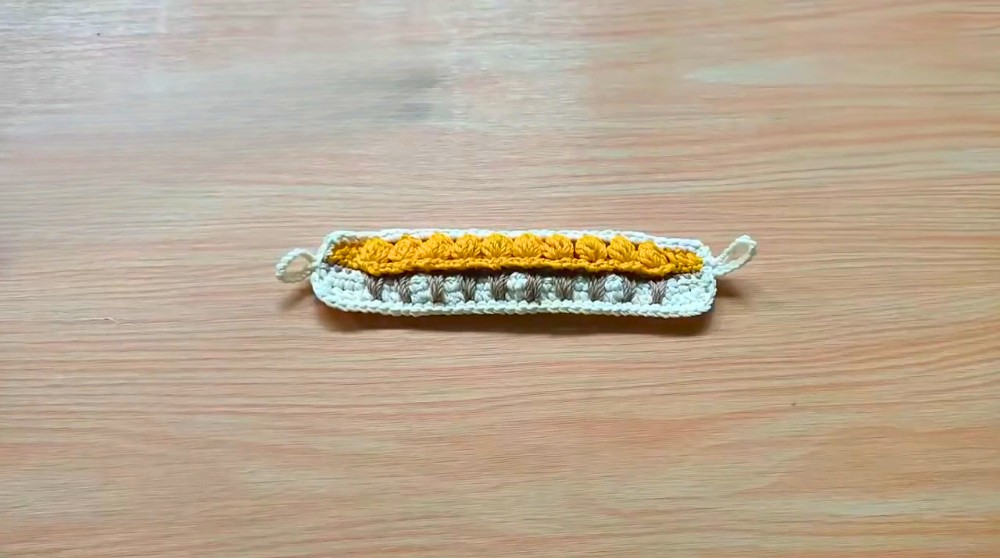
Step 5: Final Edging & Button Loops
- Round 6:
- Work single crochet (sc) stitches evenly around the entire piece to create a neat, strong border.
- At each end of the rectangle:
- Chain 12 stitches to form the button loops.
- Slip stitch into the base to secure each loop firmly.
- Attach your decorative buttons using a tapestry needle, sewing them opposite each button loop for closure.
Assembly and Finishing
- Make sure all yarn tails are woven in neatly.
- Use a lighter carefully to seal ends if working with synthetic yarn.
- Sew buttons securely with matching thread or yarn.
- Check button loops for proper fit before final attachment.
Finished Size
- The mask connector fits comfortably between mask ear loops, approximately 10–12 cm wide depending on your tension and yarn thickness.
- Button loops are sized to fit average small decorative buttons but can be customized.
Conclusion
You have now created your own fun and functional Ice Cream Mask Connector! This pattern introduced you to working with colors, textures like bobble stitches, and creating beautiful edges and button loops. It’s an easy way to add comfort and style to your mask-wearing experience.