How to Crochet 5-Petal Flower For Beginners

Learn how to crochet a flower for fall, suitable for beginners, that is divided into multiple sections, each focusing on a specific part of the flower. The tutorial begins with crocheting the pistil, the center of the flower, followed by instructions on how to crochet five individual petals. It then guides you through crocheting a long, cylindrical stem and a leaf.
Finally, the video demonstrates how to assemble all the crocheted parts, including sewing the petals to the center, attaching the flower to the stem with a wire for support, and sewing the leaf onto the stem. So, follow through with us for the complete tutorial.

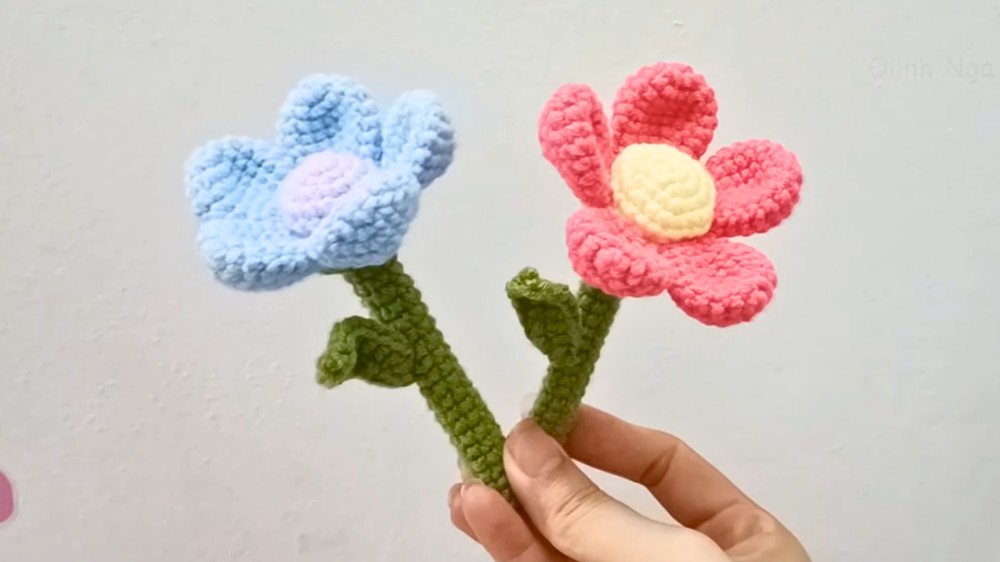
How to Crochet a Flower Keychain or Flower Pot Decoration
This tutorial demonstrates the step-by-step process of crocheting an adorable flower that can be used as a keychain or turned into a decorative flower pot. With clear guidance and detailed instructions, the creator uses milk cotton 5-ply yarn, a 2.5mm crochet hook, and provides separate steps for crafting the flower’s pistil, petals, stem, and leaves. Below is a concise summary:
Materials Needed
- Milk cotton 5-ply yarn in purple (for the pistil), blue (for petals), and green (for the stem and leaves).
- 2.5mm crochet hook.
- Scissors and a sewing needle.
- Optional: Wire for shaping the stem.

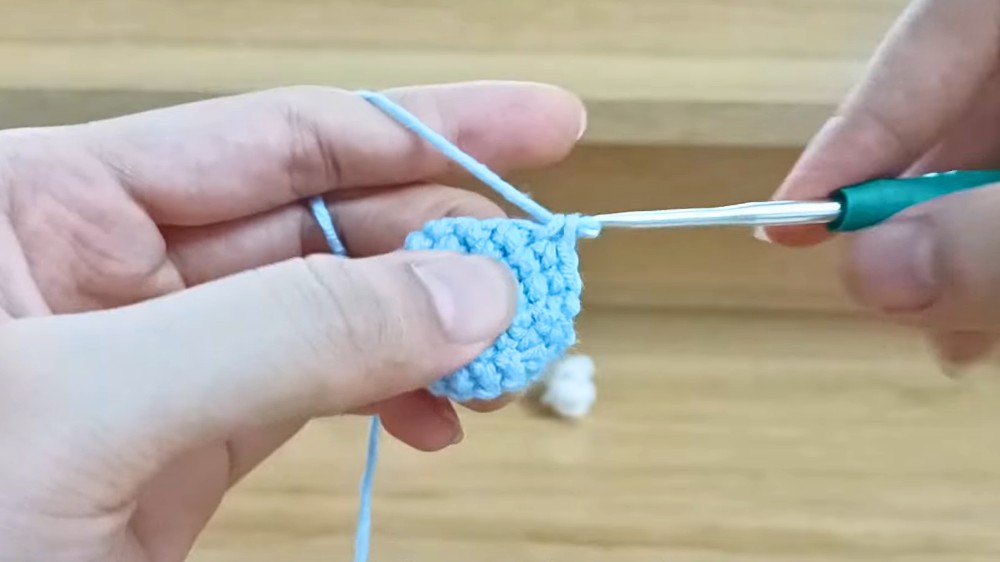
Section 1: Crafting the Flower Pistil
- Magic Ring: Start with a magic ring as the foundation.
- Building Rows: Use single crochets and gradual increases to form a rounded pistil.
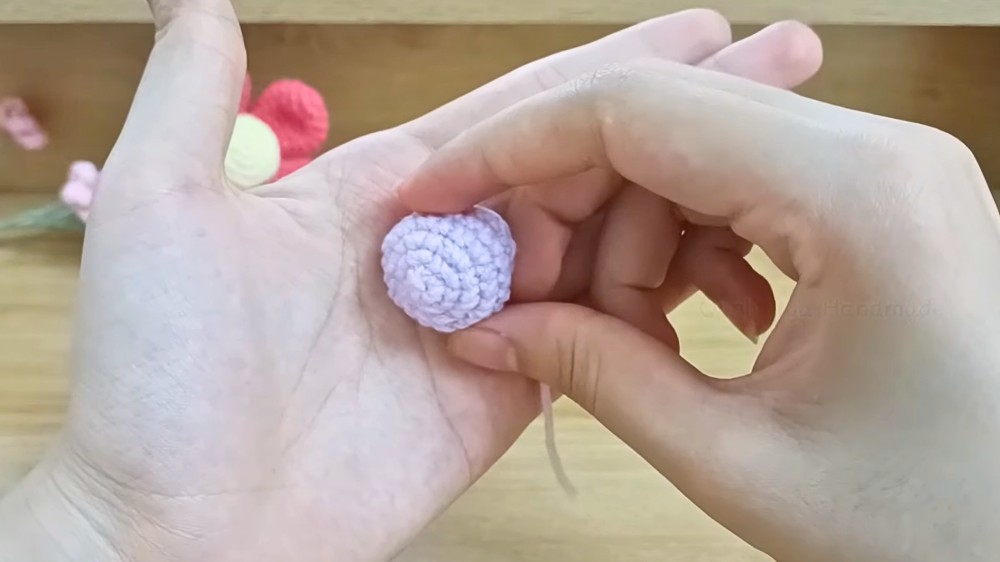
- Shaping the Pistil: Continue crocheting rows with alternating patterns of single crochet and decreases to shape the pistil neatly.
- Finishing: End by cutting the yarn and setting it aside for attachment to other elements later.
Section 2: Making the Flower Petals
- Magic Ring Foundation: Start each petal with a magic ring.
- Crochet Rows: Work through rows using single crochets and increases to build a rounded petal structure.
- Repetition: Repeat the process to make five identical petals.
- Final Shaping: Complete each petal by cutting the yarn and preparing it for sewing onto the pistil.
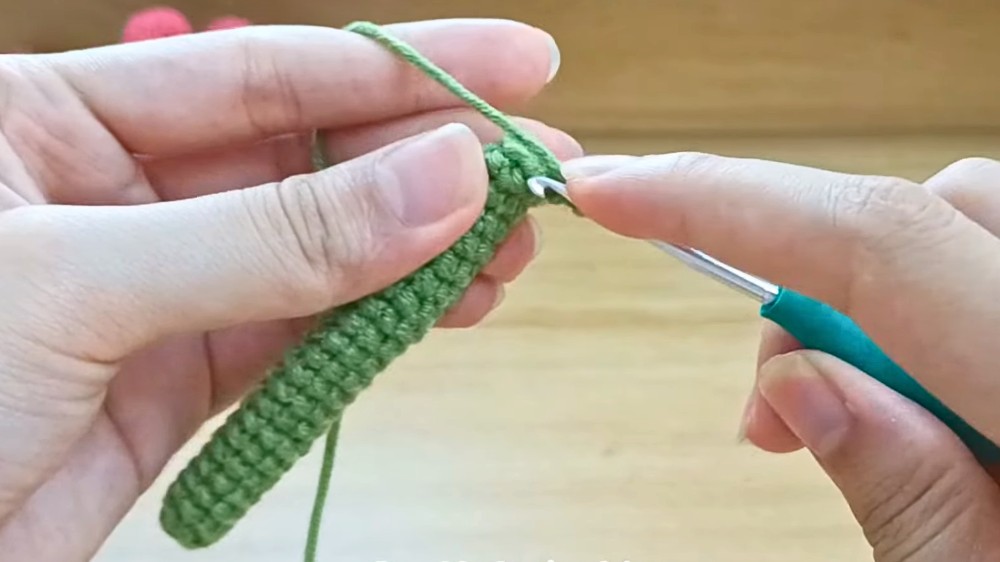
Section 3: Crafting the Flower Stem
- Building the Stem: Start with a magic ring and crochet consistent rows of single crochets until the stem reaches your desired length.
- Shaping the Base: Gradual increases and alternating patterns are used to shape the base of the stem.
- Finishing: Cut the yarn, leaving a long tail for sewing. Optional: Insert wire into the stem to provide stability and shape.
Section 4: Creating and Shaping the Leaves
- Foundation Chain: Begin with a chain stitch to create the base for the leaf.
- Crochet Patterns: Use single crochets and half double crochets strategically to create an oval-shaped leaf design.
- Finishing Touches: Add curved edges and three-dimensional detail by working around the foundation chain. Cut the yarn and leave a tail for sewing onto the stem.
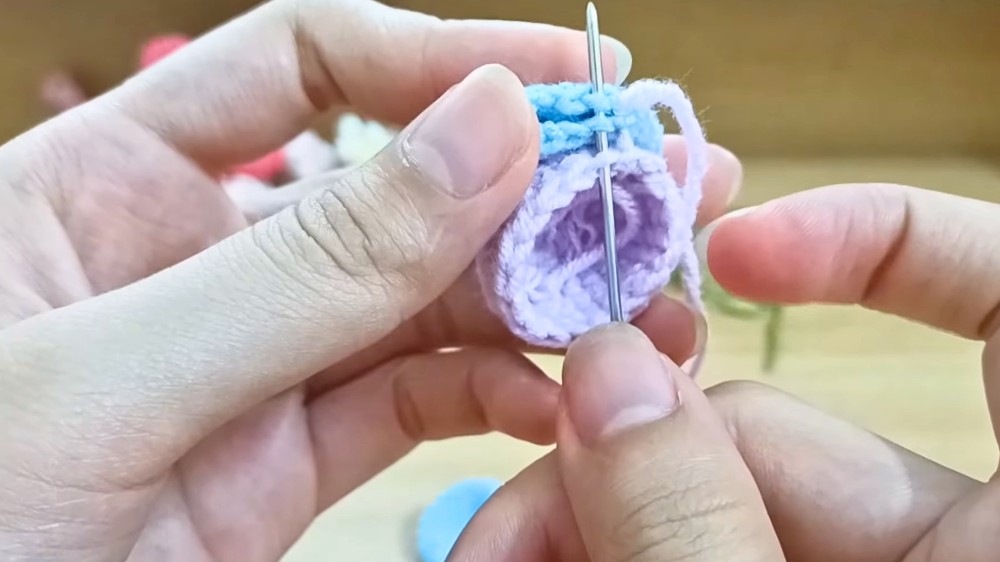
Section 5: Assembly and Final Touches
- Attaching Petals to Pistil: Use a sewing needle to secure the petals around the pistil. Weave in all loose yarn tails for a neat look.
- Connecting Stem to Pistil: Attach the stem to the flower’s base and use wire inside for better support and structure.
- Adding Leaves: Sew the crocheted leaves onto the stem to complete the floral appearance.
- Finishing the Flower: Trim excess yarn, ensuring all attachments are securely in place.

Final Product
In the end, you’ll have a charming handmade flower that can be used as a keychain or displayed in a decorative flower pot. The tutorial allows room for creativity, with options to customize the colors and sizes of the flower components.
Conclusion
This tutorial provides easy instructions for crocheters of all experience levels, resulting in a versatile and visually appealing craft. The step-by-step guide encourages personalization while ensuring quality results. If you enjoy this project, explore more tutorials on the creator’s channel!