How to Crochet A Granny Square Worked From The Corner

With a step-by-step tutorial, learn how to crochet a classic granny square using four different colors of cotton yarn and a size 4 crochet hook. The instructor begins with a magic circle and shows how to create clusters of double crochets at each corner, separated by chain spaces, while seamlessly transitioning between colors using a knot-joining technique to avoid weaving in ends.
As the granny square grows, clusters are added between previous rows, making it adaptable for various projects like blankets, coasters, or bags. The tutorial is beginner-friendly and emphasizes creative freedom in color combinations for unique and personalized designs. So, follow through with us for the complete tutorial.

Granny Square Crochet Tutorial
This tutorial teaches viewers how to crochet a classic granny square in four different colors using cotton yarn and a size 4 crochet hook. The instructor shares an efficient approach for creating seamless color changes without weaving in ends, making the process quicker and more enjoyable. Detailed instructions are provided for each step, from the foundation to finishing touches, along with creative tips for adapting the granny square for versatile applications.
Introduction
The tutorial begins by explaining the materials used: four colors of cotton yarn of the same weight and a size 4 crochet hook. The instructor aims to create a four-round granny square and emphasizes that the color changes will eliminate the need to sew in ends, making this method user-friendly for beginners and efficient for experienced crocheters.
Starting the Granny Square
- Magic Circle Foundation
- The magic circle is used to create the center of the granny square.
- The instructor demonstrates how to wrap the yarn around the finger and secure the loop to begin the first round.
- First Round
- The initial round consists of clusters of double crochet stitches separated by chain spaces to form four initial corners.
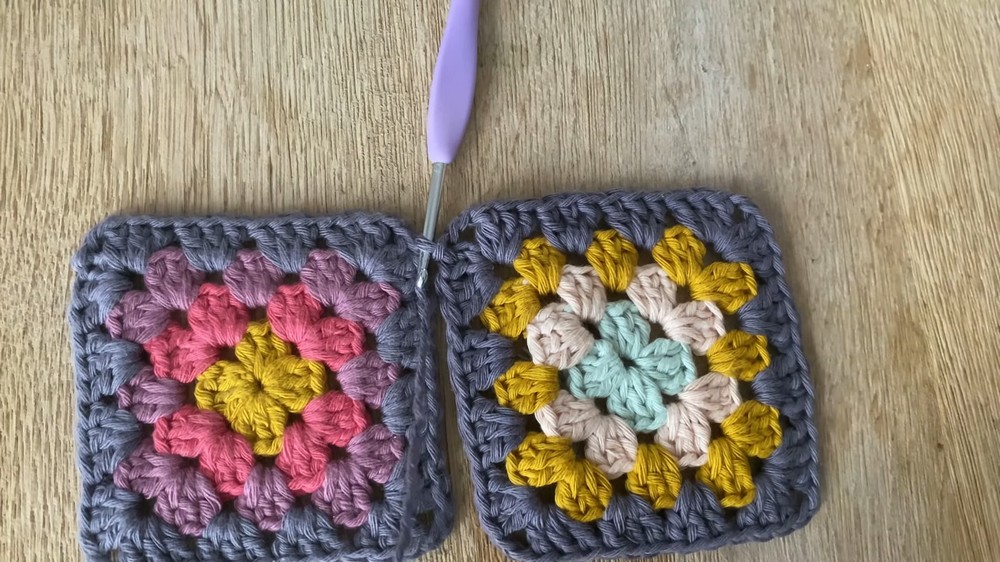
- To transition to the next round, a special stitch (half double crochet) is used to make the square ready for the next color.
Color Changes and Knots
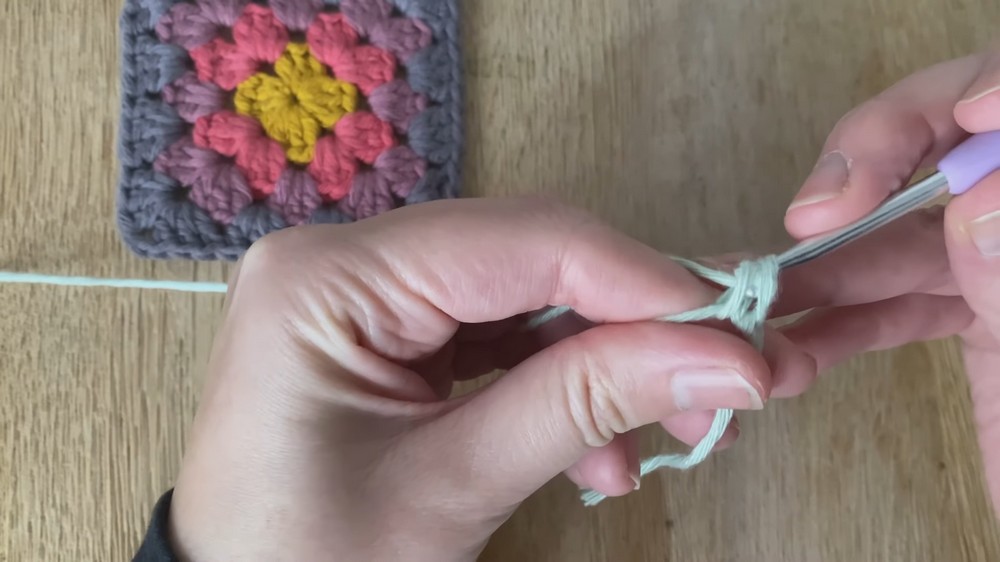
- Joining New Colors
- The tutorial introduces a practical method to join new colors without weaving in ends.
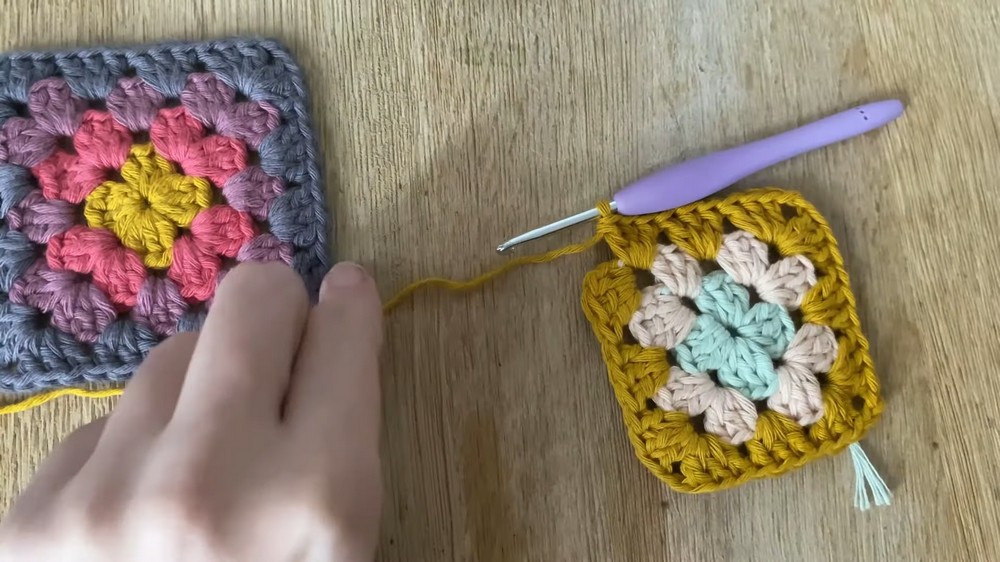
- Each new color is tied to the previous one using two knots. The excess yarn is trimmed, leaving a clean and seamless transition.
- This method eliminates the hassle of having to weave in multiple color ends later.
- Working with the New Color
- After joining the new color, the first half-double crochet prepares the project to start a new row of clusters.
Building the Granny Square
- Clusters Along Each Round
- Subsequent rounds consist of clusters of double crochet stitches, with chains forming corners.
- No chain spaces are added between the clusters along the sides, ensuring a tighter and more solid square.
- Corners
- Each corner contains two clusters separated by chains. The corners are consistent across all the rounds.
- Repeating the Pattern
- The same steps are repeated for each new round, with the instructor demonstrating how to alternate colors and maintain neat stitches.

Creative Tips and Suggestions
- Granny squares are highly versatile and can be adapted into projects like coasters, blankets, bags, pot holders, and clothing.
- The instructor shares personal tips for experimenting with color combinations, explaining how unexpected pairings can create visually appealing results.
- Cotton yarn creates absorbent, sturdy squares perfect for functional items like coasters.
Finishing the Granny Square
- Final Round
- The tutorial concludes with several options for finishing off the square, including making a half-double crochet or chaining and joining.
- The instructor offers a tip for leaving a longer tail if the square is to be sewn into a larger project or clipped shorter for standalone use.
- Advantages of Knot Joining
- By using the knot-joining method, there are fewer loose ends to weave in, reducing the finishing time.
- The final product looks clean, with hidden knots seamlessly incorporated into the stitches.
Conclusion
The instructor encourages viewers to experiment with yarn types, colors, and project ideas. Granny squares not only allow for creativity but can also be expanded indefinitely to any size. With the effortless method demonstrated, this tutorial provides an easier way to complete a classic crochet design. Viewers are thanked and encouraged to enjoy the process, turning simple stitches into versatile creations.