How To Crochet A Mini Octopus for Beginners
Learn how to crochet a mini octopus amigurumi with a smiling mouth with a step-by-step tutorial for beginners. It begins with creating a magic ring and then guides through the body construction with increasing and decreasing rounds.
The tutorial also demonstrates how to create the octopus’s legs using a specific sequence of stitches. An optional section on how to make a leaf is also included. So, follow through with us for the complete tutorial.
Crocheting the Octopus Body
-
Magic Ring
The tutorial begins by demonstrating how to create a magic ring.
-
Round 1
For the first round, you will single crochet in one stitch.
-
Marking the First Crochet
To keep track of your rounds, add a different colored yarn to mark the first crochet of the row.
-
Round 2
In the second round, crochet a single crochet and then increase, repeating this pattern.
-
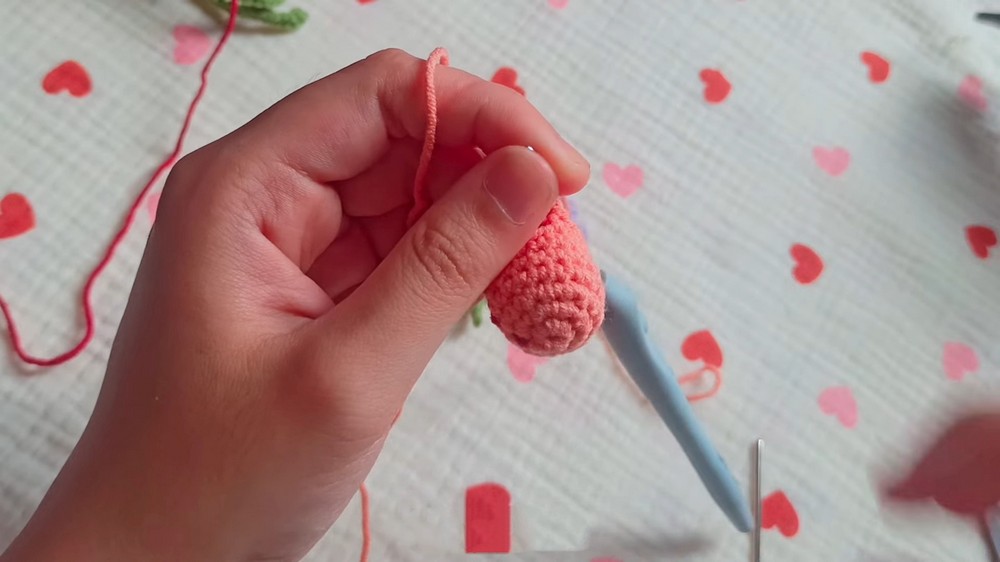
Rounds 3-6
For rounds three through six, crochet single crochet in each round.
-
Round 7
In round seven, crochet a single crochet and then decrease, repeating this pattern. To decrease, insert your hook into the first and second stitch, yarn over, and pull through all loops on the hook.
-
Removing the Mark Yarn
Once round seven is complete, remove the mark yarn.
-
Round 8
For the final round of the body, insert six decreases into the back loop. After this, the body of the octopus is finished.
Crocheting the Octopus Legs
-
Starting the Legs
To begin the octopus legs, insert your hook into the front loop.
-
Leg Pattern
The pattern for each leg involves chaining one, double crocheting in the same stitch, then triple crocheting, followed by another double crochet in the same stitch.
-
Finishing a Leg
Chain one and then slip stitch into the third stitch to complete one leg.
-
Repeating for All Legs
Repeat this process to create a total of five legs.
Crocheting the Leaf
-
Starting the Leaf
The video then moves on to making a leaf.
-
Chain
Begin by chaining seven
Video Guide