How To Crochet A Simple Bucket Hat for Summer

Learn how to crochet a stylish bucket hat step by step with a complete tutorial for beginners. Starting with a slip knot, the tutor explains how to make the crown with increasing rounds of double crochet stitches, building up to 80 stitches for the main body. The unique brim is crocheted by working into front loops and gradually shaping it with increases. Lynn also adds a decorative backward single crochet edge for a polished look.
Optional details, like “Friends”-inspired letters, can be sewn on for customization. The tutorial is beginner-friendly, with clear drawings and explanations to help viewers achieve a perfect finished hat. So, follow through with us for the complete tutorial.
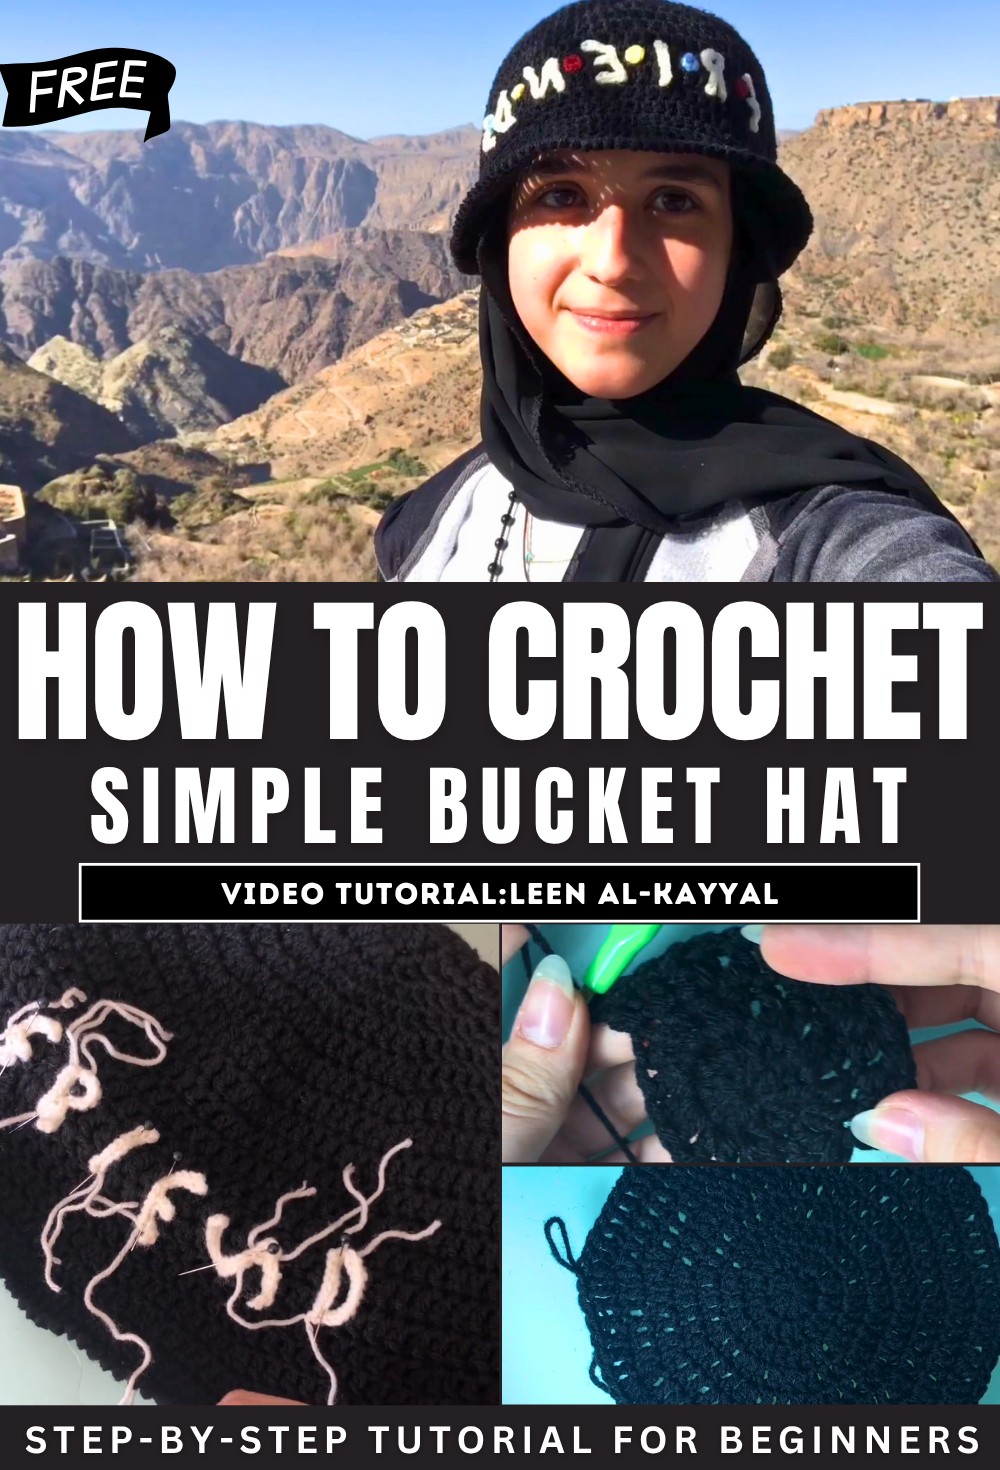
The tutorial, led by Lynn, demonstrates how to crochet a stylish and trendy bucket hat. The step-by-step guide is beginner-friendly, featuring clear explanations and visual aids, including drawings to simplify the process. Optional design elements, such as letters inspired by the “Friends” TV show, can be added for customization.
Materials Needed
- Approximately 100 grams of yarn.
- A 4.5mm crochet hook.
- A darning needle for finishing and attaching additions to the hat.
- Scissors for trimming loose yarn ends.
Starting the Top of the Hat
- Begin with a slip knot and a foundation chain.
- Create the crown of the hat by working in circular rows.
- Successive rows are built with gradual increases to shape the rounded top of the hat.
- At the end of each row, join the stitches with a slip stitch to close the round.

Creating the Main Body
- Once the crown is complete, transition to the body of the hat.
- Build the body by crocheting rows without increases, ensuring the shape remains consistent.
- Continue working evenly around the hat, creating a smooth cylinder.
- Lynn demonstrates six rows for the body, but further customization is possible depending on preference.

Shaping the Brim
- The brim starts after completing the body, designed to flare slightly outward.
- Begin by working into the front loops of the stitches for the first row of the brim, which ensures a structured and natural fold-away from the body of the hat.
- Additional rows are built with gradual increases to give the brim its characteristic bucket hat shape.
- The brim’s gradual widening allows for a comfortable fit while maintaining the hat’s stylish design.

Optional Decorative Edging
- Lynn adds a final edging to the brim using the backward single crochet technique.
- This creates a textured, decorative edge for a polished finish.
- Although this feature is optional, it is highly recommended as it adds durability and visual interest to the hat.
Finishing Touches
- Once the hat is complete, finish by weaving in the loose ends using a darning needle.
- This step ensures the stitches remain secure, and the final product looks neat and professional.

Optional Customization
- Lynn includes optional instructions for adding decorations to personalize the hat.
- In her example, she adds letters and dots inspired by the TV show “Friends.”
- The letters are crafted by following the desired shape and are then sewn onto the hat using a needle.
- Viewers are encouraged to get creative and attach any design they prefer, making the hat uniquely their own.
Final Look
- The completed bucket hat is stylish, functional, and customizable for all tastes.
- Viewers are encouraged to experiment with yarn colors, edging, and additional decorative elements for a personalized touch.