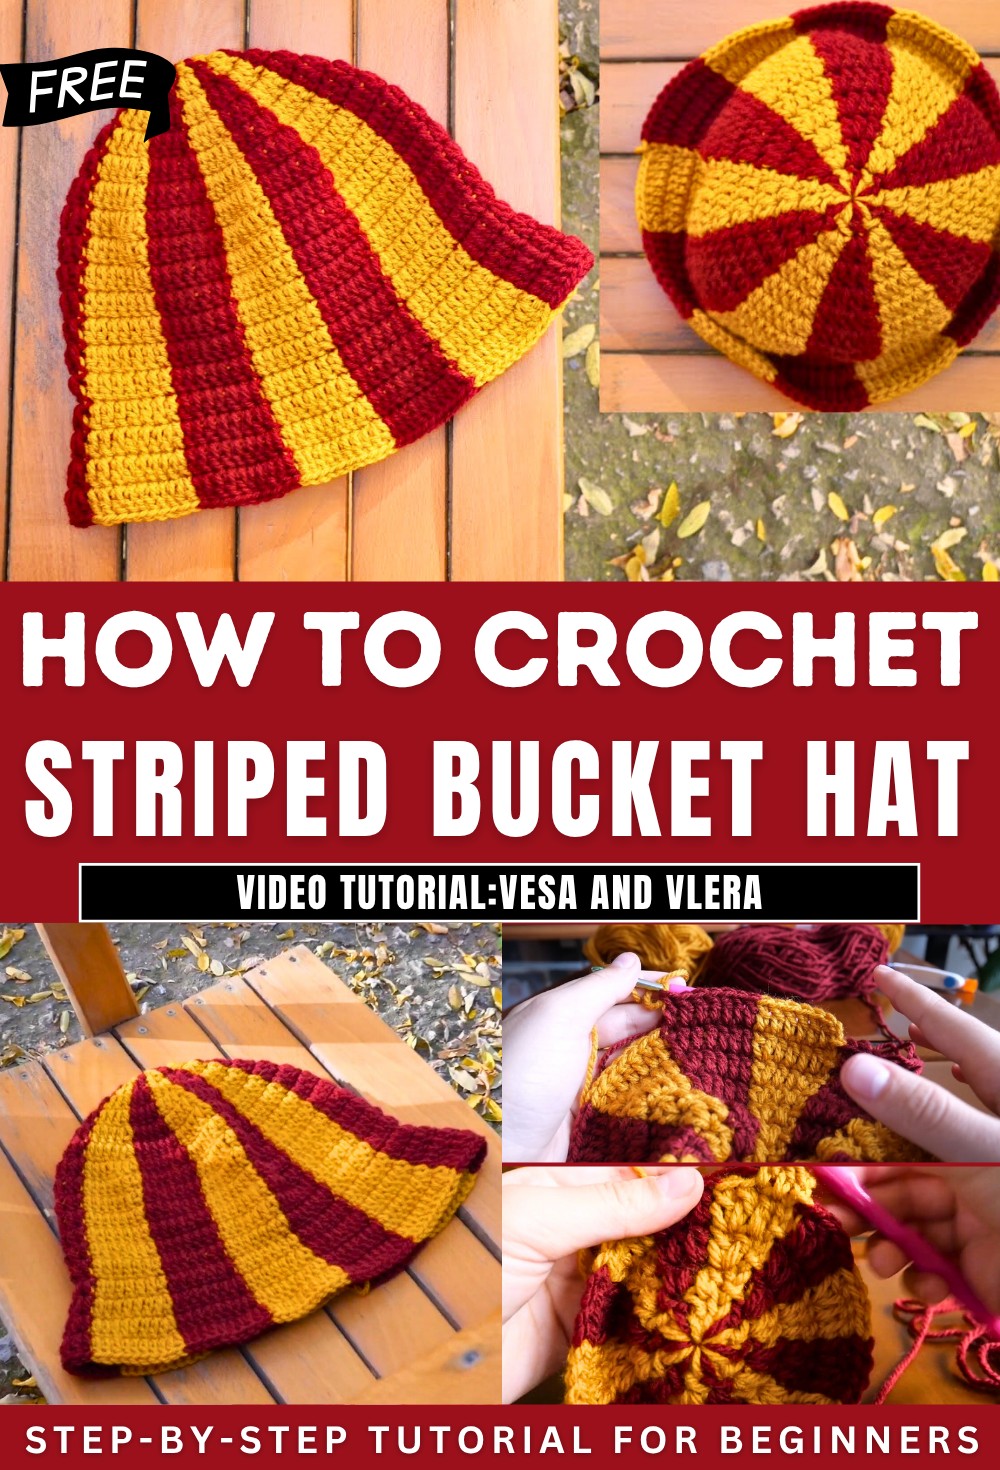
HOW to Crochet A Striped Bucket Hat for Summer

Learn how to crochet a checkered pattern hat inspired by Harry Potter using a magic ring technique, perfect for beginners. It provides a step-by-step tutorial, starting with selecting the correct yarn and tools. The process involves alternating colors to create the checkered design, increasing stitches across rows, and transitioning smoothly between colors. The tutorial is detailed, making it ideal for beginners!
Materials and Preparation
- Materials Needed:
- Yarn (recommended for 3.5–4mm needles or 4–5mm hooks).
- A 4.5mm crochet hook.
- Scissors.
- One needle.
- Yarn Details: The video uses two different yarn colors for creating the checkered hat design.
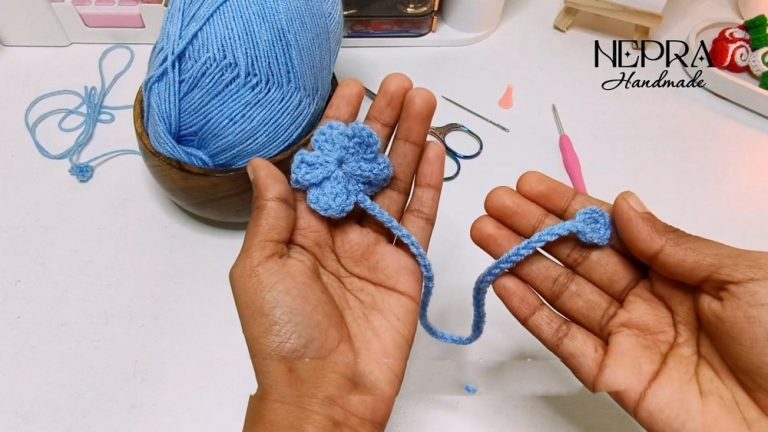
- First Step: Begin by creating a magic ring, a foundational technique for crocheting in the round.
Creating the Magic Ring and Starting the Hat
- Magic Ring Instructions:
- Use your fingers and yarn to form the ring as demonstrated in the video.
- Chain stitches within the ring to secure the foundation.
- Starting Stitches:
- Introduce the second yarn color using the double crochet technique.
- Alternate yarn colors for each stitch, holding the threads securely to incorporate the checkered design.

Row-by-Row Crochet Instructions
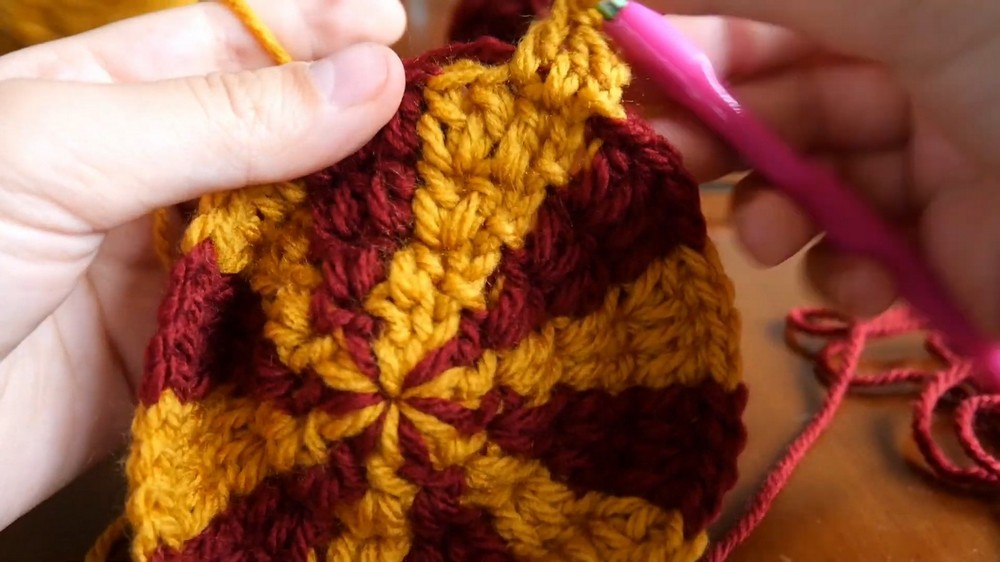
First Row: Alternating Colors
- Use double crochet stitches while consistently changing between the two yarn colors.
- Focus on hiding the yarn tail after switching colors.
- Continue alternating colors for the entire row to establish the foundation of the checkered pattern.
Subsequent Rows: Increasing Stitches
- Gradually increase stitches within rows to expand the hat’s diameter.
- Maintain the alternating color pattern for the checkered effect.

- Follow the sequence of one double crochet, two double crochet (in the same stitch) for rows requiring increases.
- Always finish a row by changing the yarn color and joining with a slip stitch.
Establishing the Hat Shape
After 7 Rows: Top of the Hat
- By the seventh row:
- The top portion of the hat is fully formed.
-
- The checkered pattern is evenly distributed, with seven stitches of each color.
- Transition to No-Increase Rows: Begin crocheting without increasing stitches to build the sides of the hat.
6 Rows Without Increases
- Use the same alternating color pattern with double crochet stitches.
- Continue without adding stitches to maintain the hat’s shape.
- Transition smoothly between yarn colors at the end of each row.
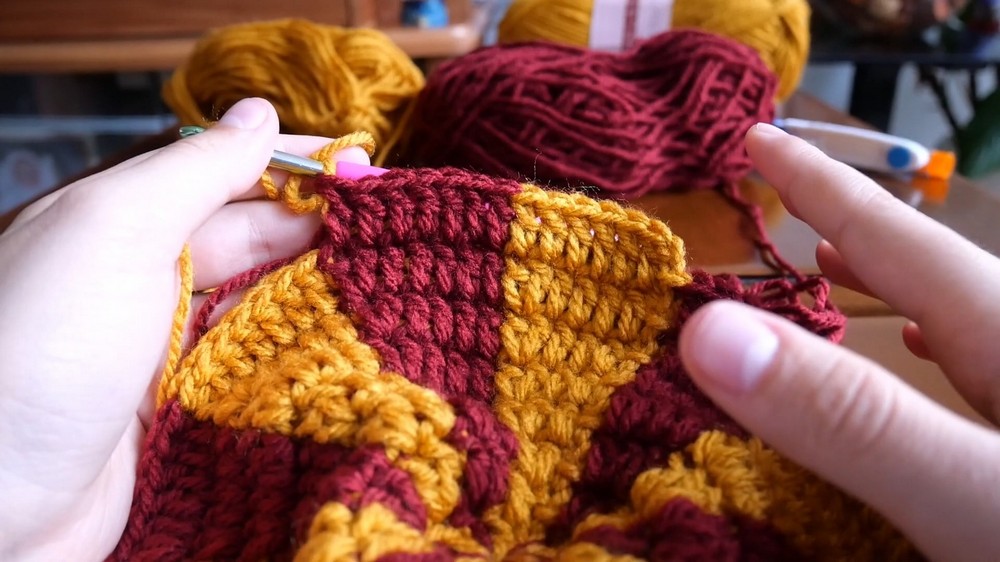
Creating the Hat Brim
Front Loop Technique
- Work only in the front loop of each stitch to create texture.
- Alternate colors while ensuring uniform stitching across sections.
Final Rows: Increasing Again
- Add increases in the last stitch of each row.
- Repeat the alternating color pattern throughout these rows until ten stitches of each color are achieved.
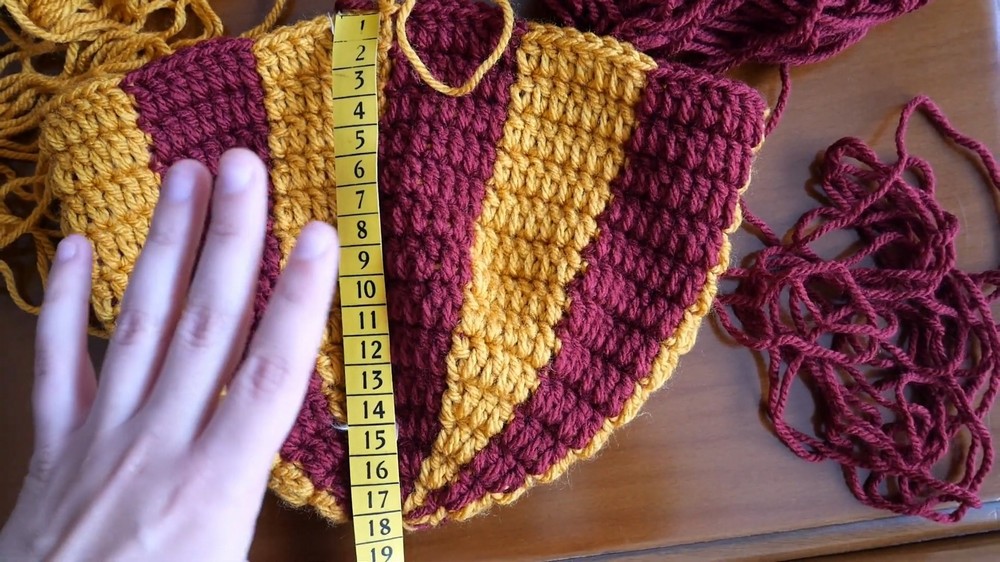
Completing the Hat
- Finish the hat after completing all rows (including increases).
- Secure the end by tying off the yarn and weaving in the loose ends.
- Measurements: The finished hat measures approximately 23 cm long.

- Optional: Tying yarn ends together before weaving them creates a neat finish.
Closing Notes
- The final result is a stylish checkered hat with alternating colors throughout.
- Personal touches, such as weaving or tucking in yarn ends, complete the project.