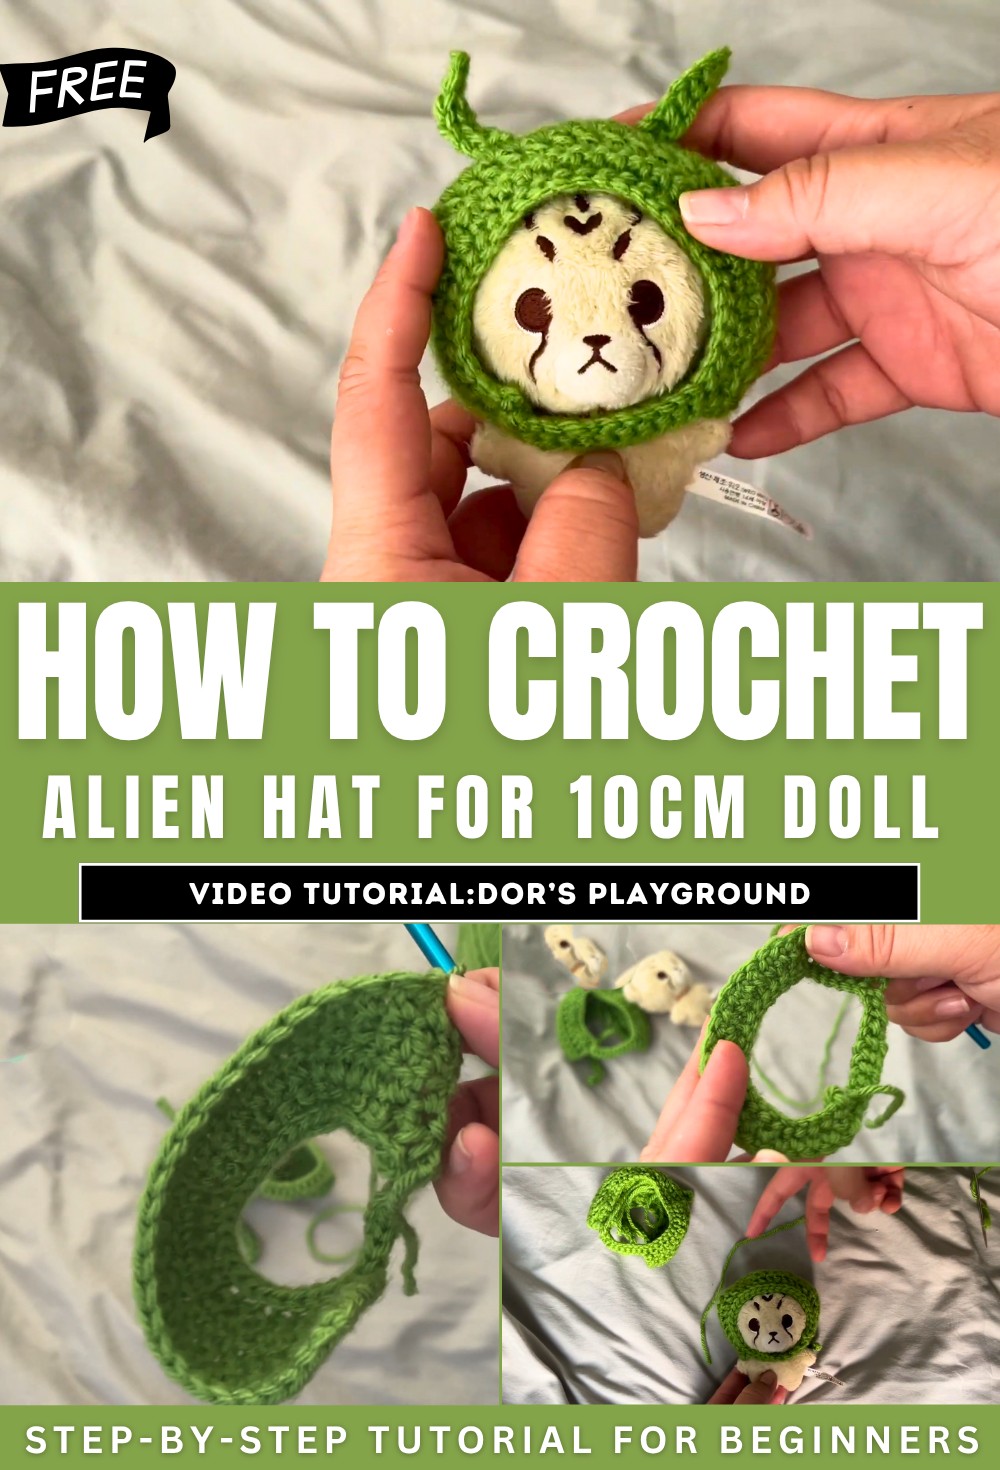
How to Crochet Alien Hat For 10cm Doll

This video is a crochet tutorial on how to make an alien beanie for 10-centimeter dolls. The video provides a step-by-step guide on the process, including the necessary materials and instructions for each part of the beanie. The creator uses a 5mm hook and yarn, and demonstrates how to size the beanie for different dolls.
The tutorial covers creating a base with chains, making rows with double chain stitches, and decreasing stitches to form the top of the beanie. Finally, it shows how to create and attach the strings and antennae to complete the alien beanie.
Alien Beanie Crochet Tutorial
This tutorial explains how to crochet an alien beanie for a 10-centimeter doll. The project is designed with a simple pattern, making it beginner-friendly and customizable. Below is an organized summary of the steps and important points shared in the video.
Materials Needed
- Yarn (single color used in the tutorial).
- 5mm crochet hook.
- A needle for sewing.
Initial Steps
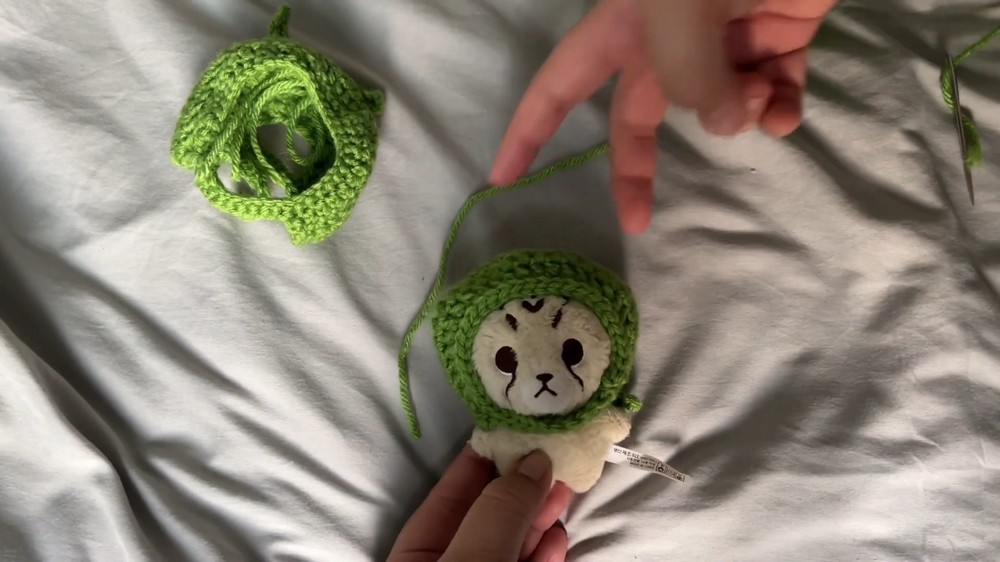
Measuring for Fit
- The beanie size is based on the doll’s head circumference.
- Adjust the number of chains in the foundation row to fit different dolls.
Creating the Foundation Chain
- Form a slip knot and begin with the recommended number of chains to form the base of the hat.
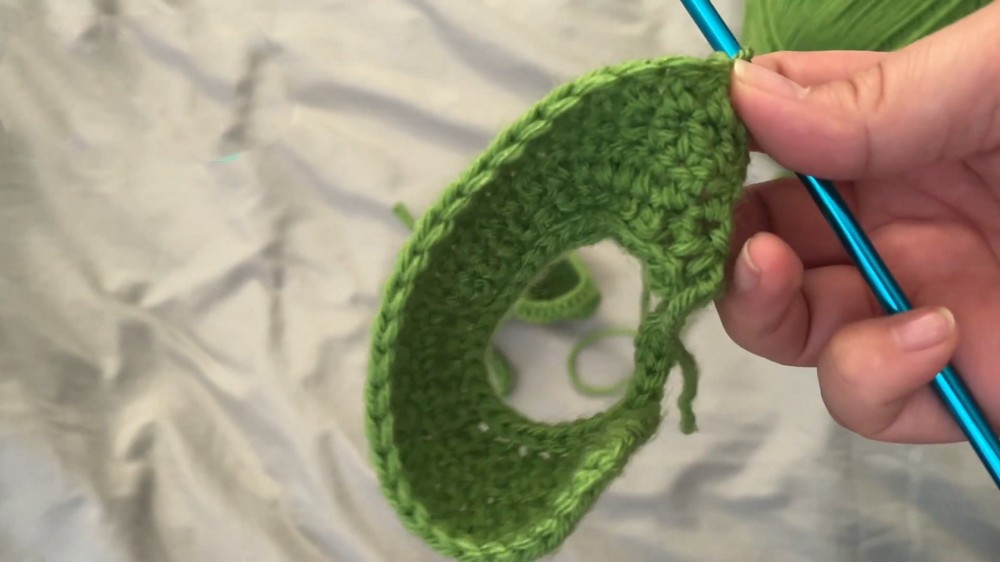
Connecting the Foundation Chain
- Connect the ends of the chain to form a circle.
- Ensure the chain is not twisted when making the join.
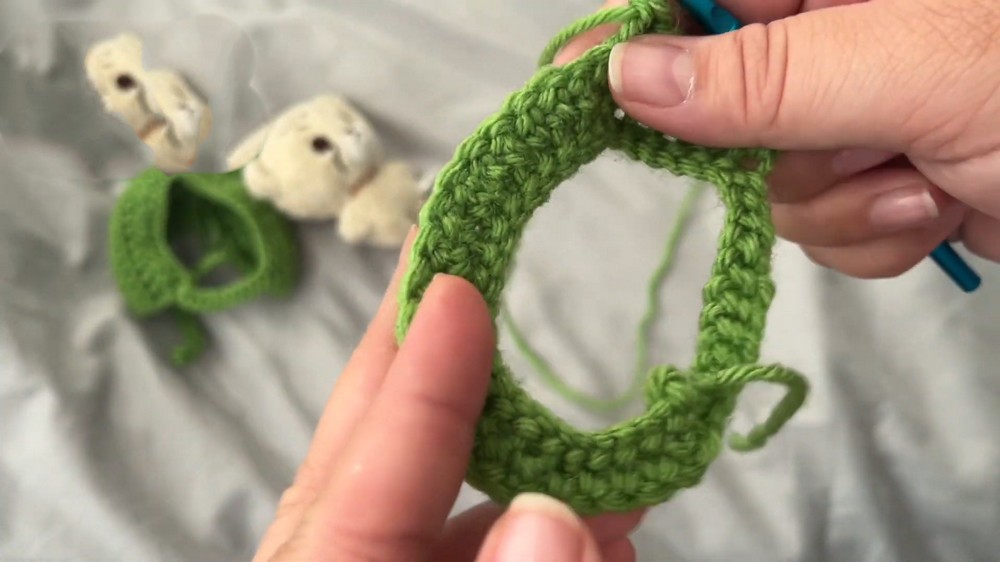
Building the Beanie
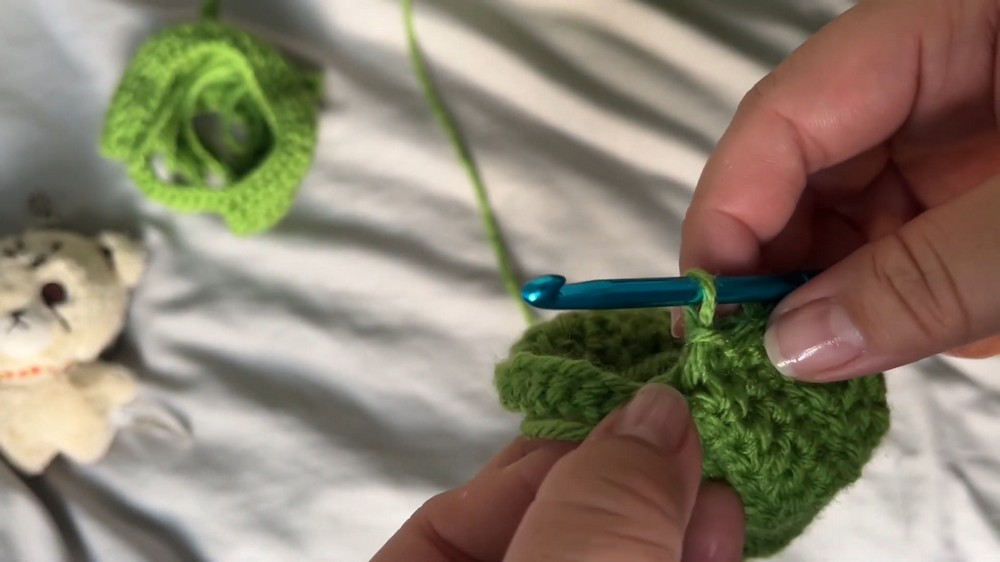
Rows 1–5: Double Crochet Stitches
- Work a set number of double crochet stitches for each row.
- Use consistent spacing for an even shape.
- Stop periodically to check the fit on the doll’s head; the beanie should fit snugly over the ears.
Row 6: Decreasing Stitches
- Begin decreasing the rows by working double crochet stitches in intervals, ensuring the stitch count is divisible by three.
- This decreases the beanie’s width to start creating the dome shape.
Final Rows: Completing the Top
- Continue decreasing the stitch count in subsequent rows to close the top.
- Once complete, secure and knot the yarn.
Adding Ear Ties
Attaching the First Tie
- Create a chain to form a tie at the back of the beanie.
- Use single crochet stitches to reinforce the ties.
Repeating on the Other Side
- Attach a second tie at the opposite side of the beanie.
- Ties should align symmetrically to secure the hat.
Creating and Attaching Antennae
Crocheting the Antennae
- Form chains to create short rectangular pieces.
- These will serve as the alien’s antennae on top of the hat.
Positioning and Securing the Antennae
- Decide on placement for the antennae, ensuring they are evenly spaced.
- Use a needle to attach them securely to the top of the beanie.
- Tie knots and weave in the ends to avoid loose threads.
Final Steps
- Finish the project by trimming and hiding any loose ends.
- The hat can be flipped inside out depending on which side looks better.
- The alien beanie is now complete and ready to use.
Key Tips from the Tutorial
- The project is beginner-friendly, so don’t worry if stitches are not perfect.
- Consistently check for symmetry (especially for the antennae) to ensure a polished look.
- Experiment with chain adjustments to fit different doll sizes.