How To Crochet Autumn Leaves for Beginners
In this post, you’ll learn how to crochet realistic autumn leaves with a step-by-step tutorial for beginners. Starting with the center leaf, the video guides through creating the ridges, side leaves, and the stem using techniques like single crochets, back loop stitching, and chaining. It emphasizes symmetry and proper turning, with optional use of stitch markers for beginners.
The tutorial also highlights the importance of blocking, using a fabric glue-water mixture to stiffen the finished project. It’s a perfect craft for seasonal decor! So, follow through with us for the complete tutorial.

Autumn Leaves Crochet Tutorial
This tutorial, presented by Andre Craft Show, walks viewers through the step-by-step process of creating beautiful autumn leaves using crochet techniques. The design features intricate details, such as realistic ridges and a center stem, making it perfect for fall-themed decorations or craft projects. Here’s the detailed breakdown of the tutorial:
Introduction
- The video begins with an introduction to the Autumn Leaves crochet project.
- The host explains that a written pattern can be created by noting down the text prompts on the screen.
- Viewers are encouraged to prepare the necessary materials before starting.
Materials Needed
- Yarn for the autumn leaf design.
- A crochet hook appropriate for the yarn size.
- Stitch markers (optional) for beginners to maintain accuracy.
- Optional blocking tools: fabric glue and water solution mixture for stiffening the finished piece.
Step-by-Step Instructions
1. Creating the Center Leaf
- The project starts with forming the center part of the leaf.
- The tutorial explains making a slip knot and crocheting a base chain.

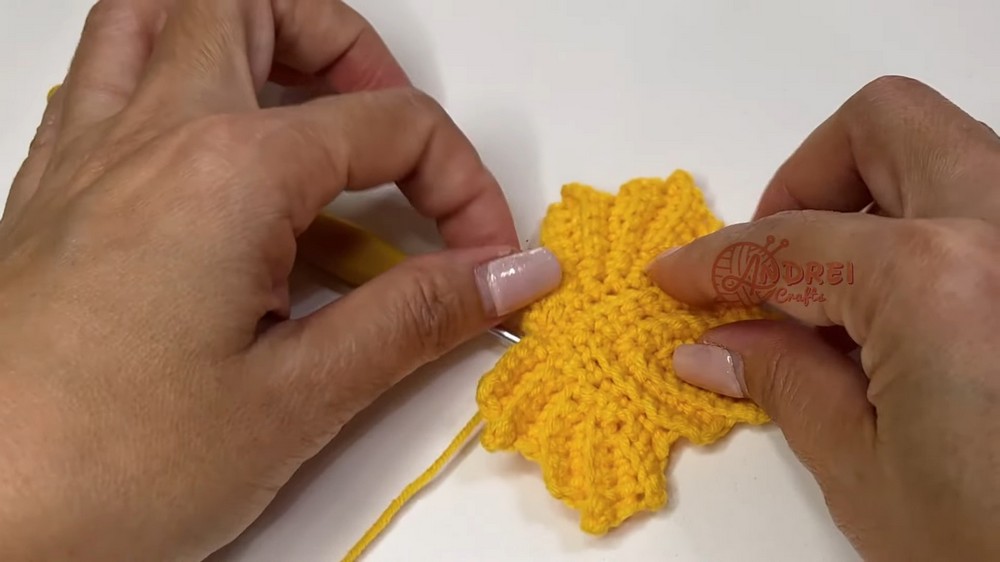
- Single crochets are used for shaping the center, forming a smooth curve at the tip.
- The instructor emphasizes proper techniques like turning the work and maintaining symmetry in the leaf structure.
- Advice is given to beginners regarding the placement of stitch markers to track the middle stitch.
- The center leaf is completed through repetitive rows of single crochets, with the additional details forming a realistic leaf texture.

2. Constructing the Side Leaves
- The next step covers adding two side leaves to the center leaf.
- Viewers are guided through the process of creating ridges for the side leaves. These ridges enhance the design by mimicking the natural curves of a real leaf.
- The side leaves are worked progressively from the base to the tip, with specific turning instructions provided to maintain consistency.
- The pattern for creating the first side leaf is later repeated on the opposite side, resulting in two identical side leaves.

3. Adding the Stem
- Once the leaves are complete, the final step is to crochet the stem.
- The stem is created using a straightforward process of chaining and single crochet stitches.
- It is seamlessly attached to the main leaf structure.
Finishing the Project
1. Weaving in the Ends
- The tutorial demonstrates how to weave in the loose yarn ends for a neat finish.

- Tips are shared on keeping the ends secure and smooth for a polished look.
2. Blocking the Leaf
- Blocking is emphasized as an essential step to improve the shape and structure of the leaf.
- The instructor explains using a fabric glue and water mixture for blocking. This method stiffens the crochet piece, helping it retain its shape.
Conclusion
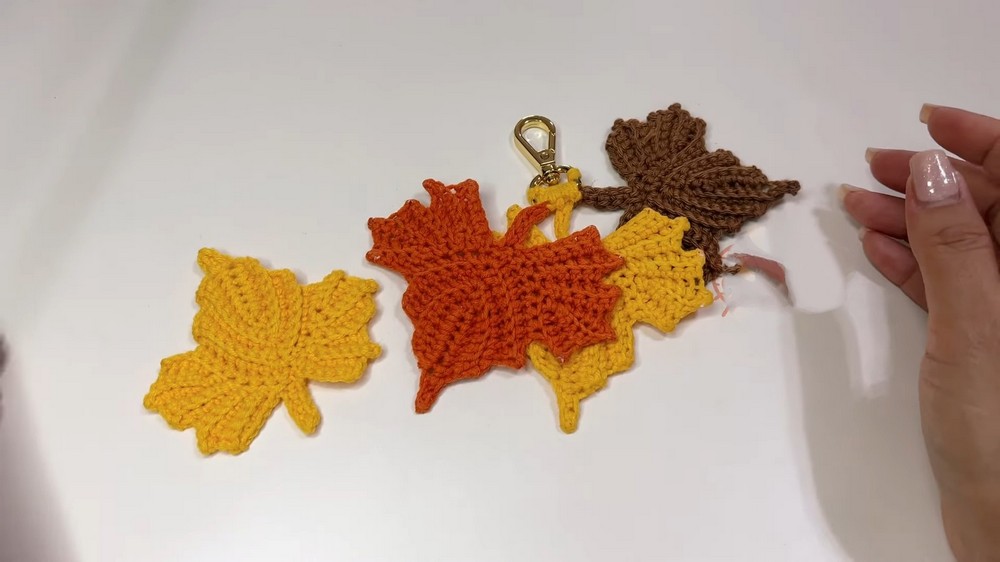
- The finished autumn leaf is presented, capturing the beauty of fall in a crochet design.
- The tutor wraps up by sharing hopes that viewers enjoyed the tutorial and encourages them to explore other crochet projects.
Final Thoughts
This tutorial is beginner-friendly while offering intermediate-level detailing that will appeal to more experienced crocheters as well. By carefully following the instructions and utilizing the tips provided, viewers can create lifelike, decorative autumn leaves perfect for enhancing their seasonal crafts or gifts.