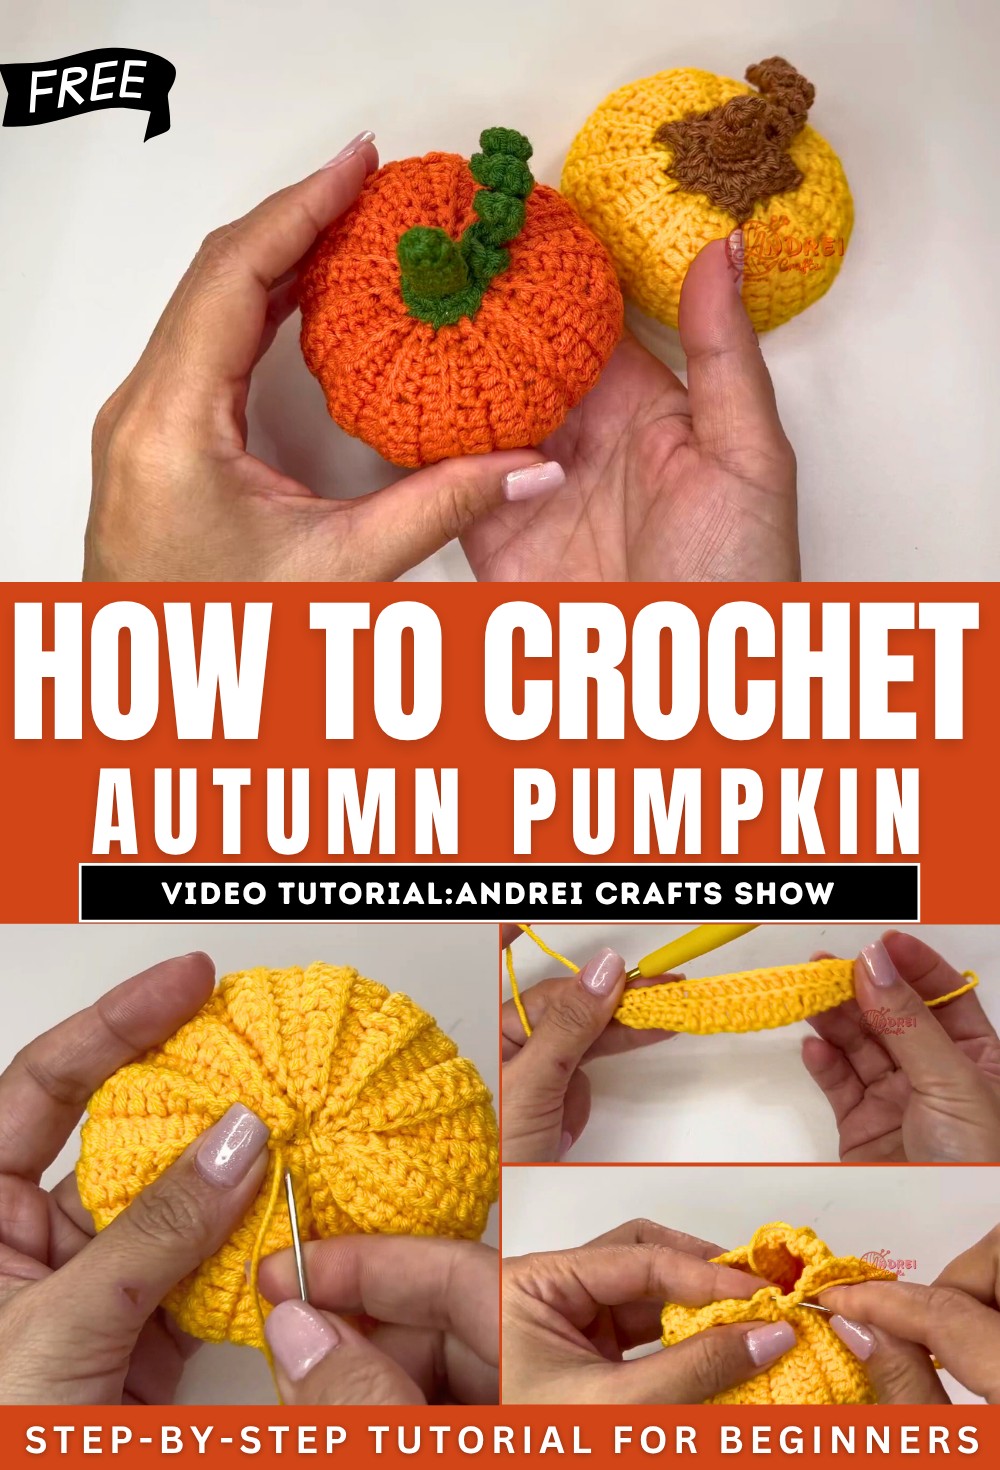
How to Crochet Autumn Pumpkin for Beginners
In this beginner-friendly post, you’ll learn to crochet an adorable pumpkin perfect for the autumn season for beginners. Using simple stitches and a one-row repeat pattern, the video demonstrates how to create the pumpkin’s body, seam it securely, and stuff it with fiber.
It also guides you through making a cute stem and curly leaves for added detail. With clear step-by-step instructions, this project is quick, fun, and ideal for beginners or anyone looking to add seasonal charm to their crochet collection. So, follow through with us for the complete tutorial.
How to Crochet an Autumn Pumpkin – Beginner-Friendly Tutorial
In this tutorial, you’ll learn how to create a cute crocheted pumpkin, a perfect project for the autumn season. The step-by-step instructions focus on making the pumpkin body, sewing it together seamlessly, adding stuffing, and crocheting the stem and leaves for a decorative finish. This quick and simple tutorial makes it ideal for beginners or anyone looking to create festive handmade décor.
Introduction
- The tutorial starts with the host introducing the crocheted pumpkin project as easy, quick, and beginner-friendly.
- She encourages viewers to gather materials and crochet along with her step-by-step instructions.
Materials Needed
- Yellow yarn for the pumpkin body.
- Green yarn for the stem and leaves.
- A crochet hook (the host uses a 2.5 mm hook, but any size can work).
- Fiberfill or recycled stuffing for filling the pumpkin.
- Scissors and a needle for sewing.
Pumpkin Body
-
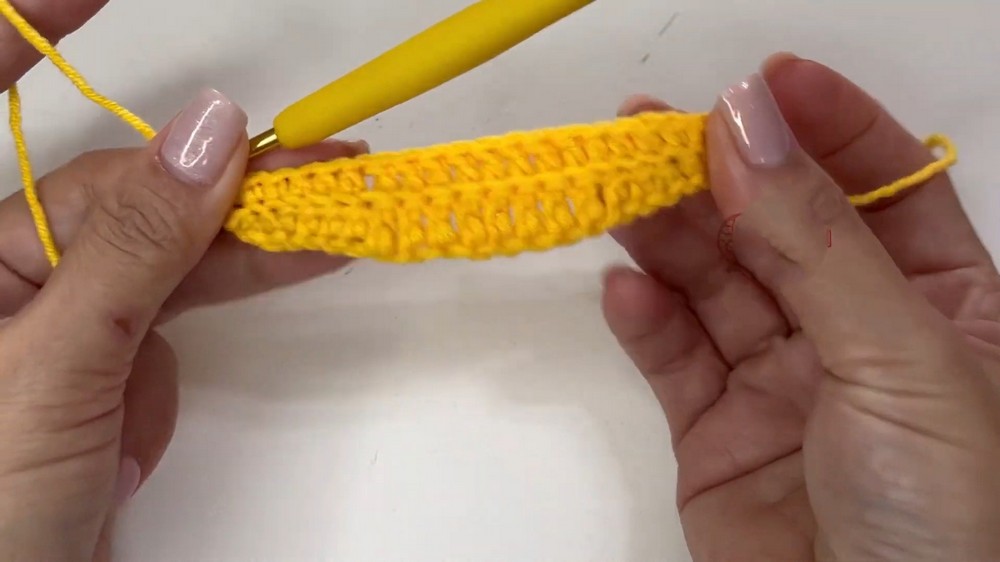
Foundation Chain:
- The pumpkin body begins with a foundation chain, following a simple one-row repeat pattern.
-
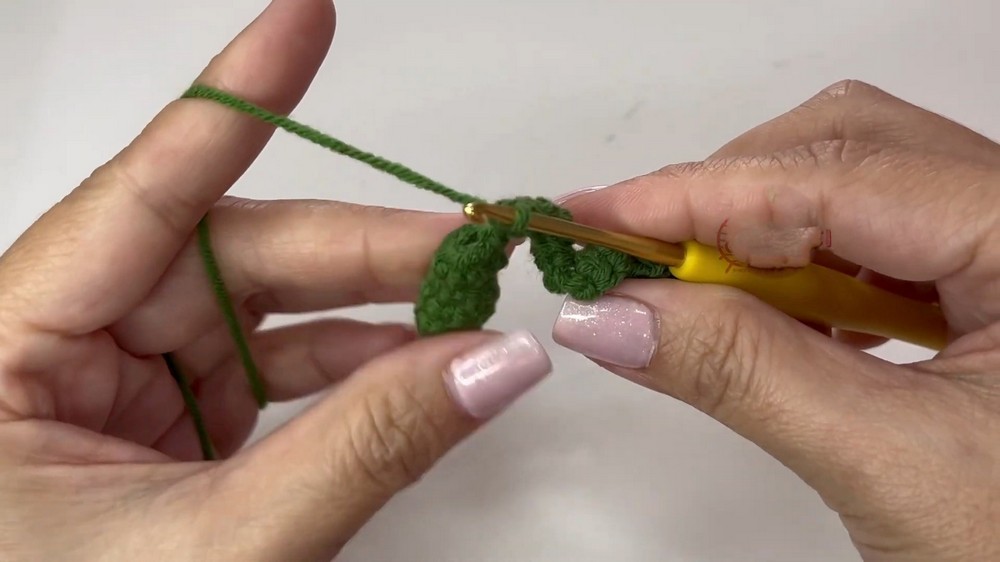
One-Row Repeat Stitch Pattern:
- A combination of single crochet, half-double crochet, and double crochet stitches are worked back and forth in the back loops only.
- The back-loop-only technique creates a ribbed texture that resembles the natural lines of a pumpkin.
- The row is repeated until the desired height (25 rows) is achieved for the pumpkin shape.
-
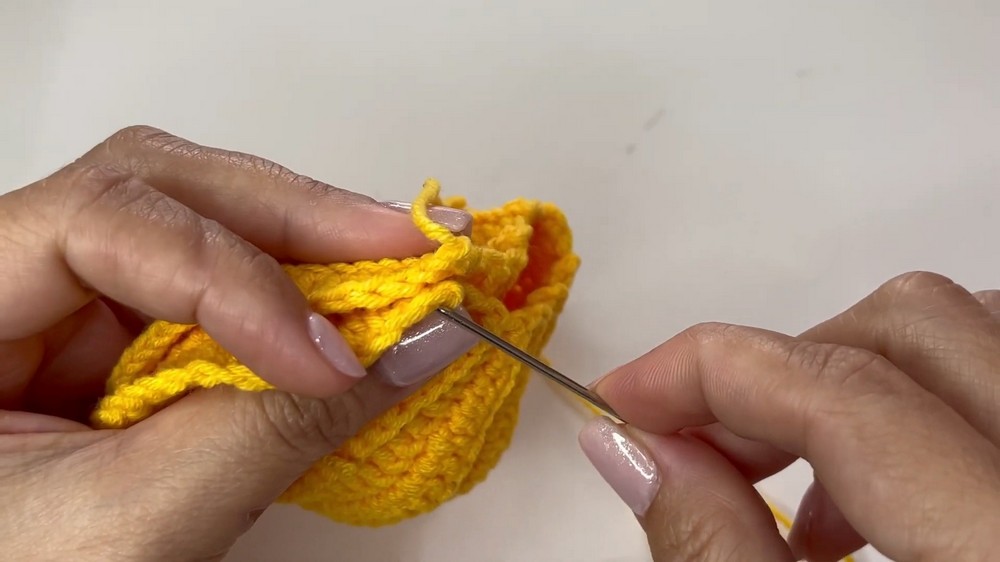
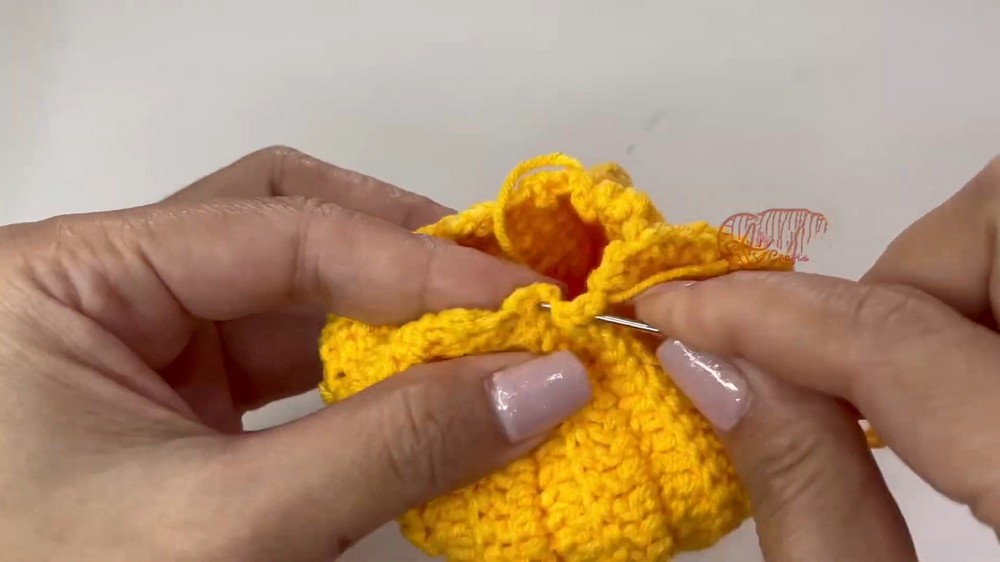
Seaming the Pumpkin:
- The host demonstrates how to sew the edges of the piece together using the leftover yarn tail.
- She carefully joins the front loop of one edge with the back loop of the opposite edge to ensure the seam blends with the ribbing pattern.
- This technique makes the seam look cohesive with the overall design.
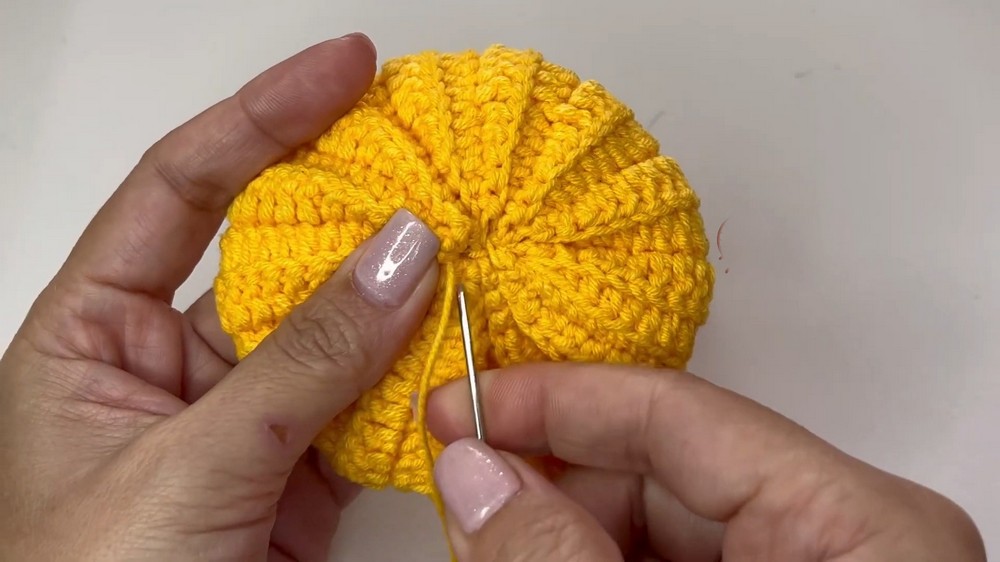
Stuffing the Pumpkin
- The pumpkin is stuffed using fiberfill material or recycled stuffing from pillows.
- The host ensures all parts of the pumpkin are filled evenly and securely to achieve a plump shape.
Crafting the Stem
- Using a Magic Ring:
- The stem begins with a magic ring (or magic circle) and continues with single crochet rounds in repetition.
- Viewers are encouraged to adjust the length of the stem to suit their preferences, based on the number of rounds completed.
Crocheting the Leaves
-
Creating Curly Leaves:
- The leaves start with a chain of 15 stitches, turning back with single crochet stitches to create a natural curl.
- The curl effect is achieved by adding multiple single crochet stitches into each chain loop.
-
Optional Leaf Variations:
- Viewers are invited to add more single crochets or experiment with other techniques to customize the look of their leaves.
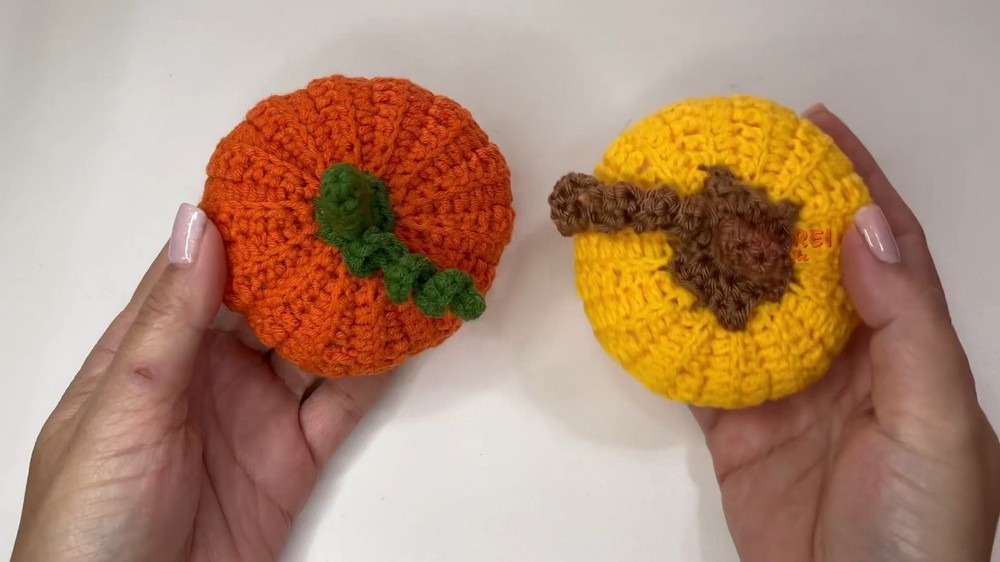
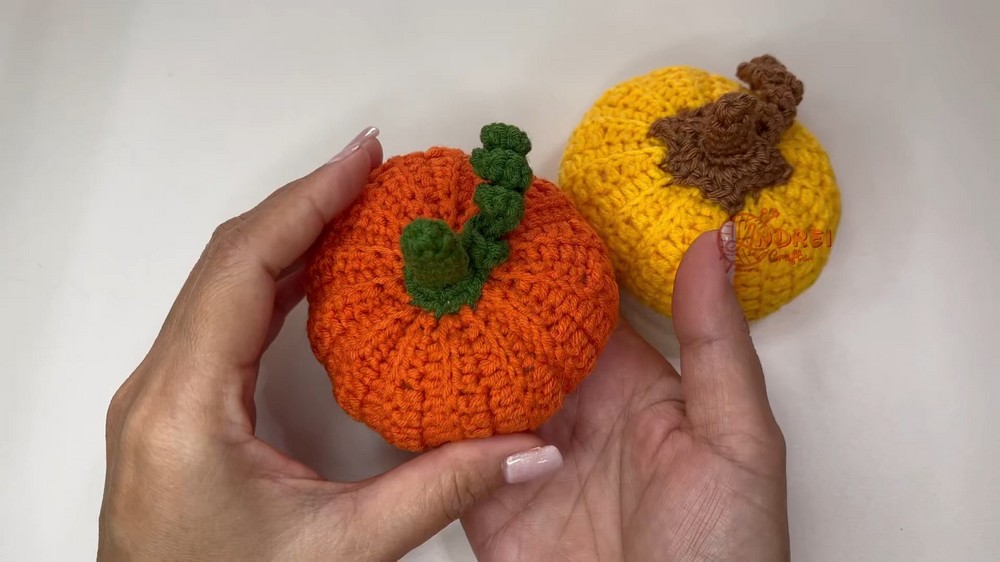
Adding Final Details
- The stem and leaves are sewn onto the pumpkin to complete the design.
- The host demonstrates several ways to make the stem wider or add decorative elements for extra personality.
Conclusion
- The finished pumpkin is presented as a festive autumn decoration.
- The host encourages viewers to share the project with friends and family.
- She hints at future crochet projects, such as autumn leaves, and invites subscribers to stay updated with her content.