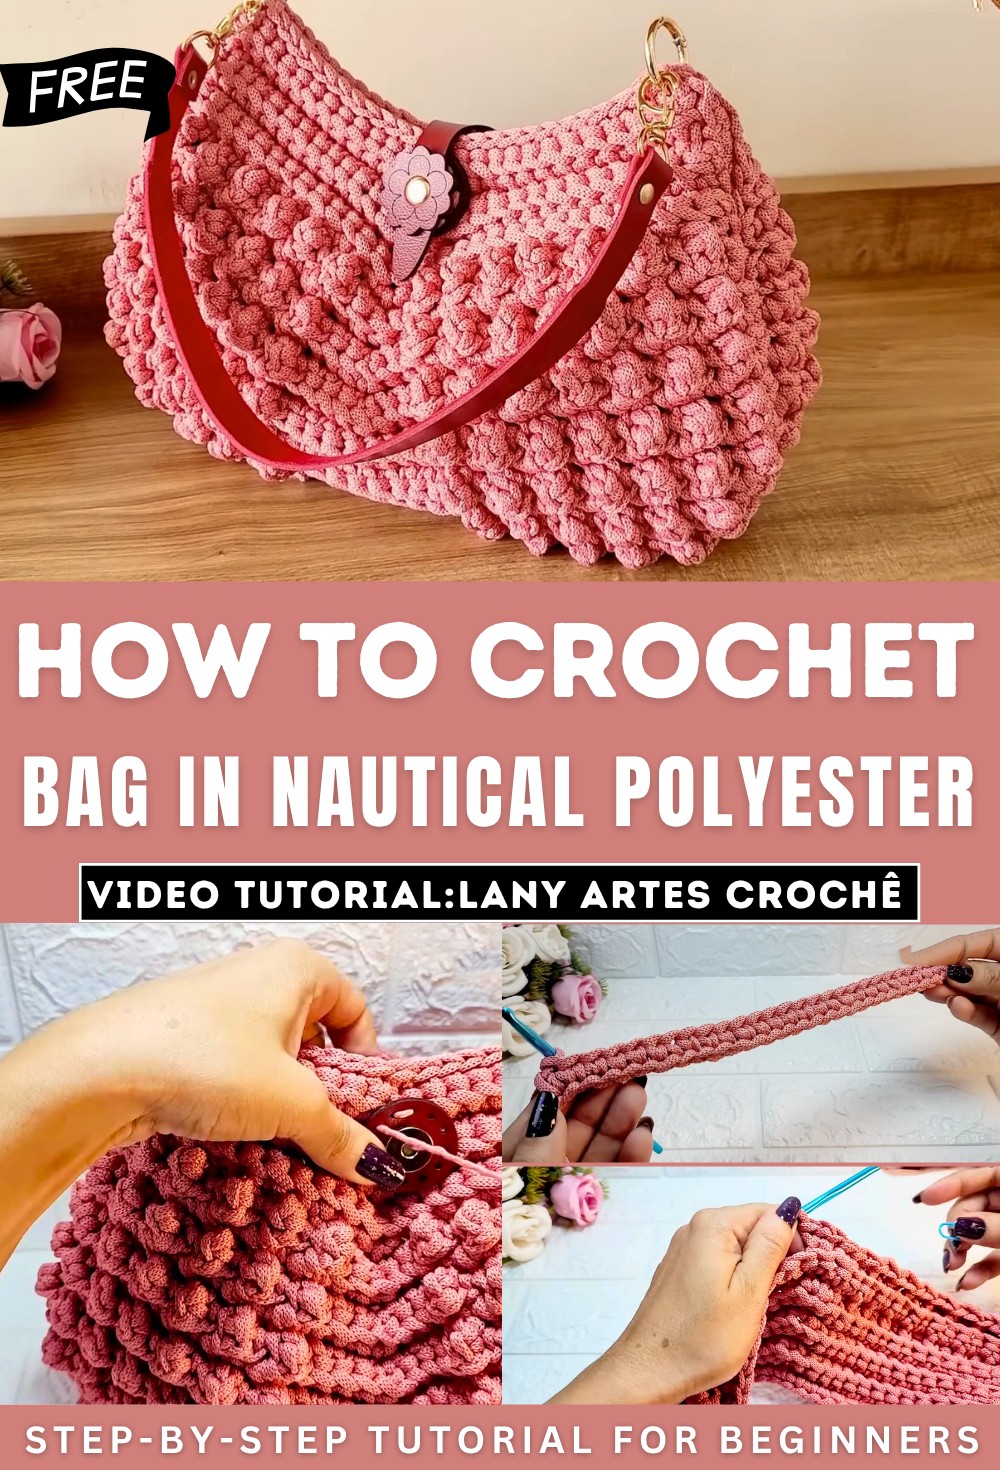
How to Crochet Bag In Nautical Polyester Yarn for Beginners
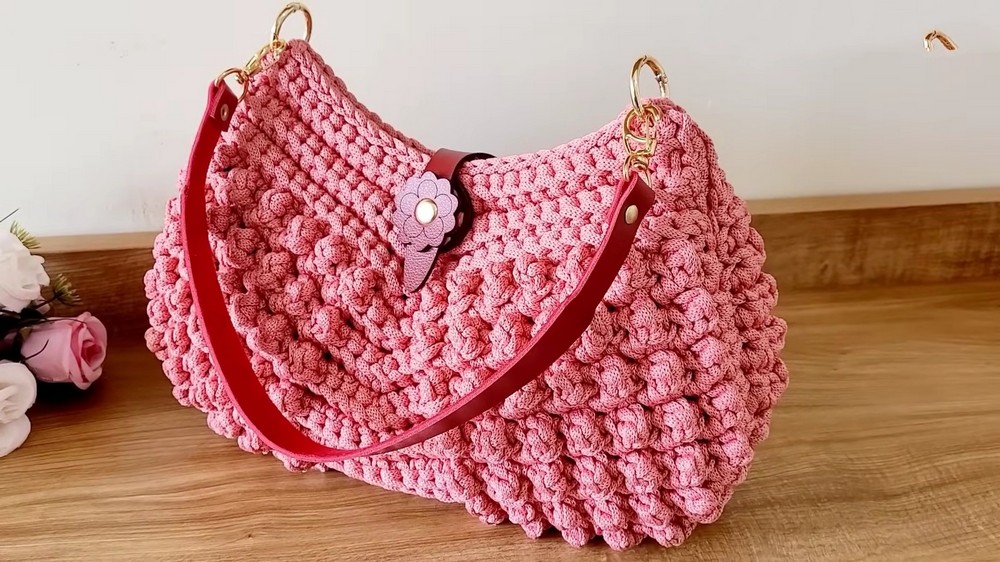
With a detailed, step-by-step tutorial, learn how to crochet a textured Bag using 7mm nautical polyester yarn for beginners. Lany covers techniques like creating fantasy relief stitches, adding zippers, articulated rings, and eco-leather accessories for a professional finish. The bag measures 37cm wide and 21cm high and includes guidance for adjustments to size or depth. With clear instructions for sewing and decorative touches, the video ensures beginners can follow along to crochet a beautiful, durable handmade bag. Let’s get started!
Crochet Bag In Nautical Polyester Yarn Tutorial
- Project Overview: Lany introduces a tutorial for creating a beautiful handmade crochet bag using Nautical polyester yarn.
- Features of the Bag: The bag’s standout characteristics include:
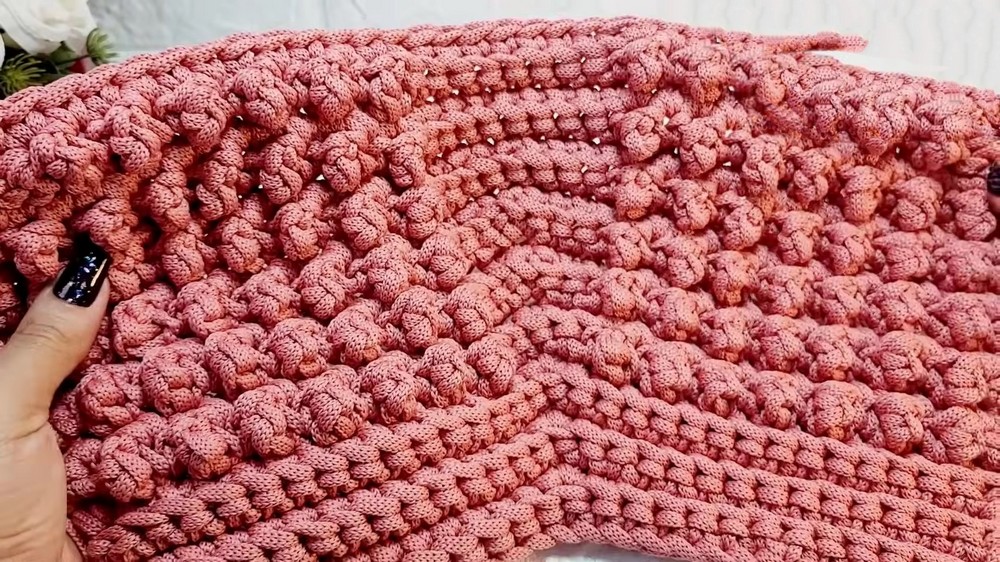
- Fantasy relief stitches.
- Ecological zipper with a flower decoration.
- Professionally finished sewing details.
- Encouragement to Subscribe: Lany invites viewers to subscribe to her channel, activate the notification bell, and leave a like for more free crochet tutorials.
Materials Required
- Main Yarn: Nautical polyester thread (7 mm or 5 mm options).
- Crochet Hook: 5.5 mm hook.
- Bag Accessories:
- Lapel clasp with a magnetic button.
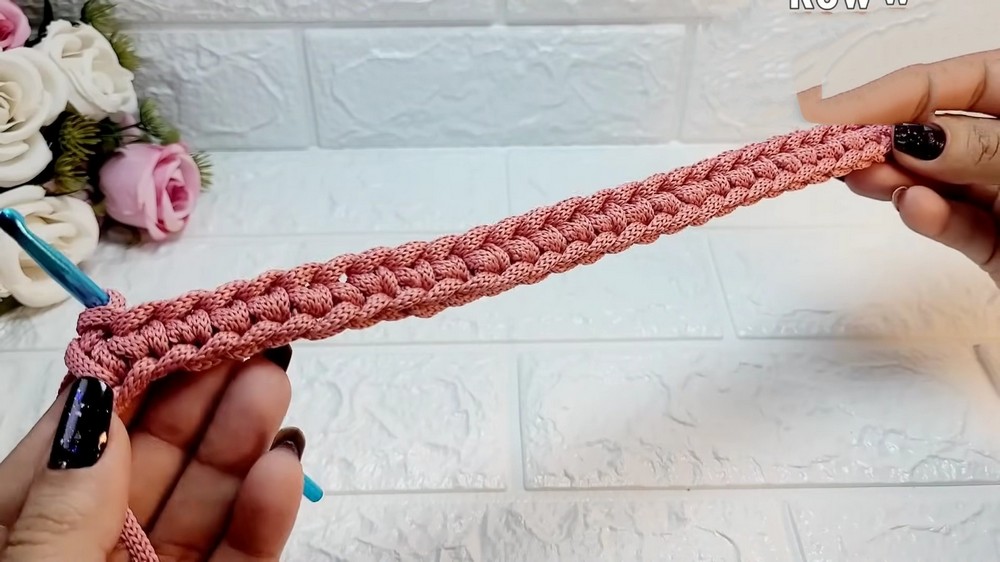
- A shoulder strap.
- Pair of articulated rings (3 cm size).
- Additional Materials: Lany mentions the supplier for eco-leather accessories is linked in the video description.
Crochet Process
Foundation Chain
- Begin the bag with 28 chains to create the base and turn the chain upside down for the first row.
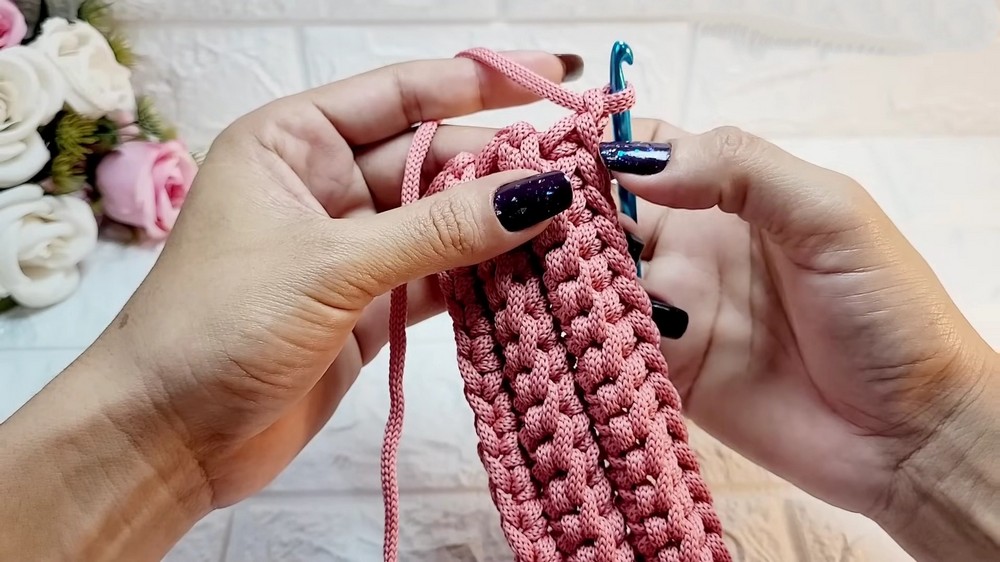
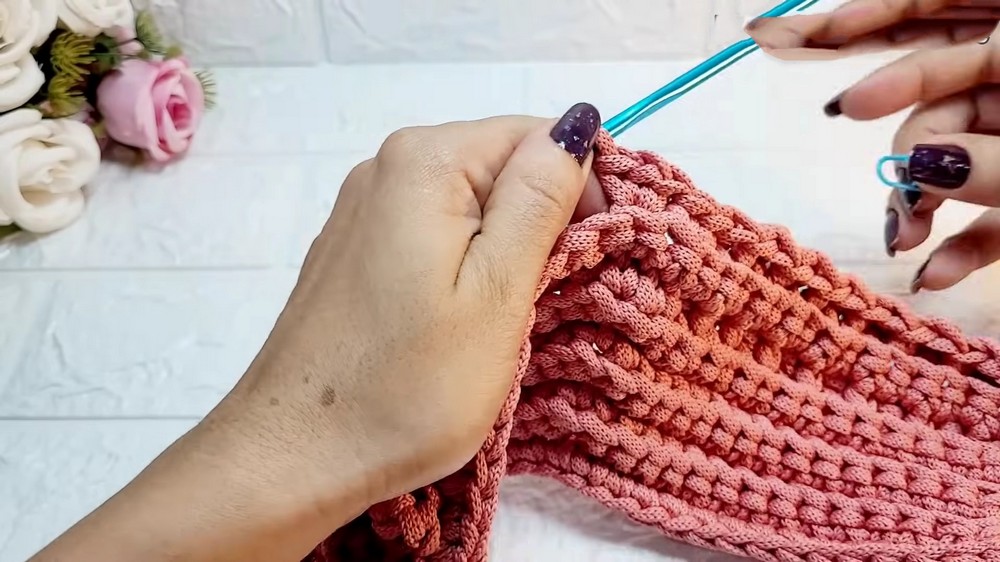
Rows and Stitch Patterns
-
First Rows:
- Work single and relief stitches for shaping the bottom layer.
- Introduce increases to build the base width.
-
- Maintain symmetry by marking specific stitches as reference points.
-
Motifs Rows:
- Use fantasy stitch patterns with alternating double crochet and single crochet motifs.
- Even distribution of motifs ensures consistency across both sides.
- Middle stitches are worked in relief style to maintain structural integrity.
-
Neutral Rows:
- Alternate motif rows with rows of single crochets.
- Relief stitches in the center are used to highlight the bag’s design.
-
Reduction Rows:
- Gradually reduce motifs for tapering the bag edges.
- Relief stitches are continued in the middle section for form stability.
Finishing Touches
Adding the Contour
- Outline the bag’s edges using slip stitches to create clean finishing lines around the bag’s shape.
- Work on both sides to ensure symmetry and avoid uneven edges.
Joining the Parts
- Two identical sides of the bag are sewn together using slip stitches.
- Lany emphasizes stitching through the outer loops for professional-looking seams.

Final Detailing
- Invisible Closure: The edges are finished with neat invisible stitches using the lighter flame for sealing threads.
- Accessory Attachment:
- Sew the magnetic clasp by aligning it with the center of the bag flap.
- Attach articulated rings and the shoulder strap securely for a practical finish.
Finished Product
- Dimensions: The final bag measures approximately 38 cm in width and 22 cm in height.
- Features: Professionally finished edges, zipper, decorations, and structure ensure durability and craftsmanship.