How to Crochet Bag With Granny Square for Beginners
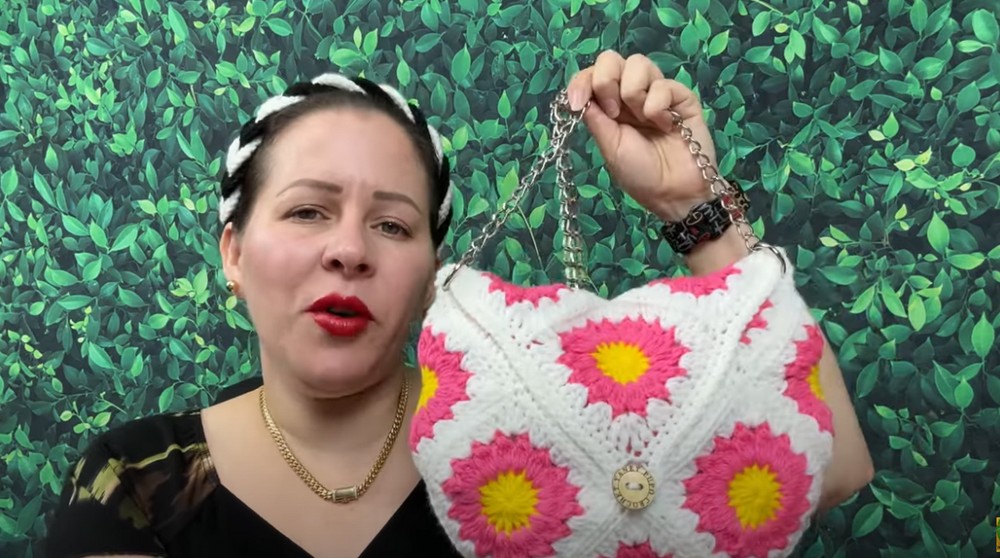
In this post, you’ll learn how to crochet a bag using square pieces, perfect for beginners looking for a square sewing technique. With 160g of number four wool, tutorial demonstrates techniques like forming magic rings, working double crochets, and joining petals to create intricate designs. The video also covers assembling the squares, sewing them together, and adding finishing touches like edges, buttons, and a strap. It is perfect for beginners and experts!
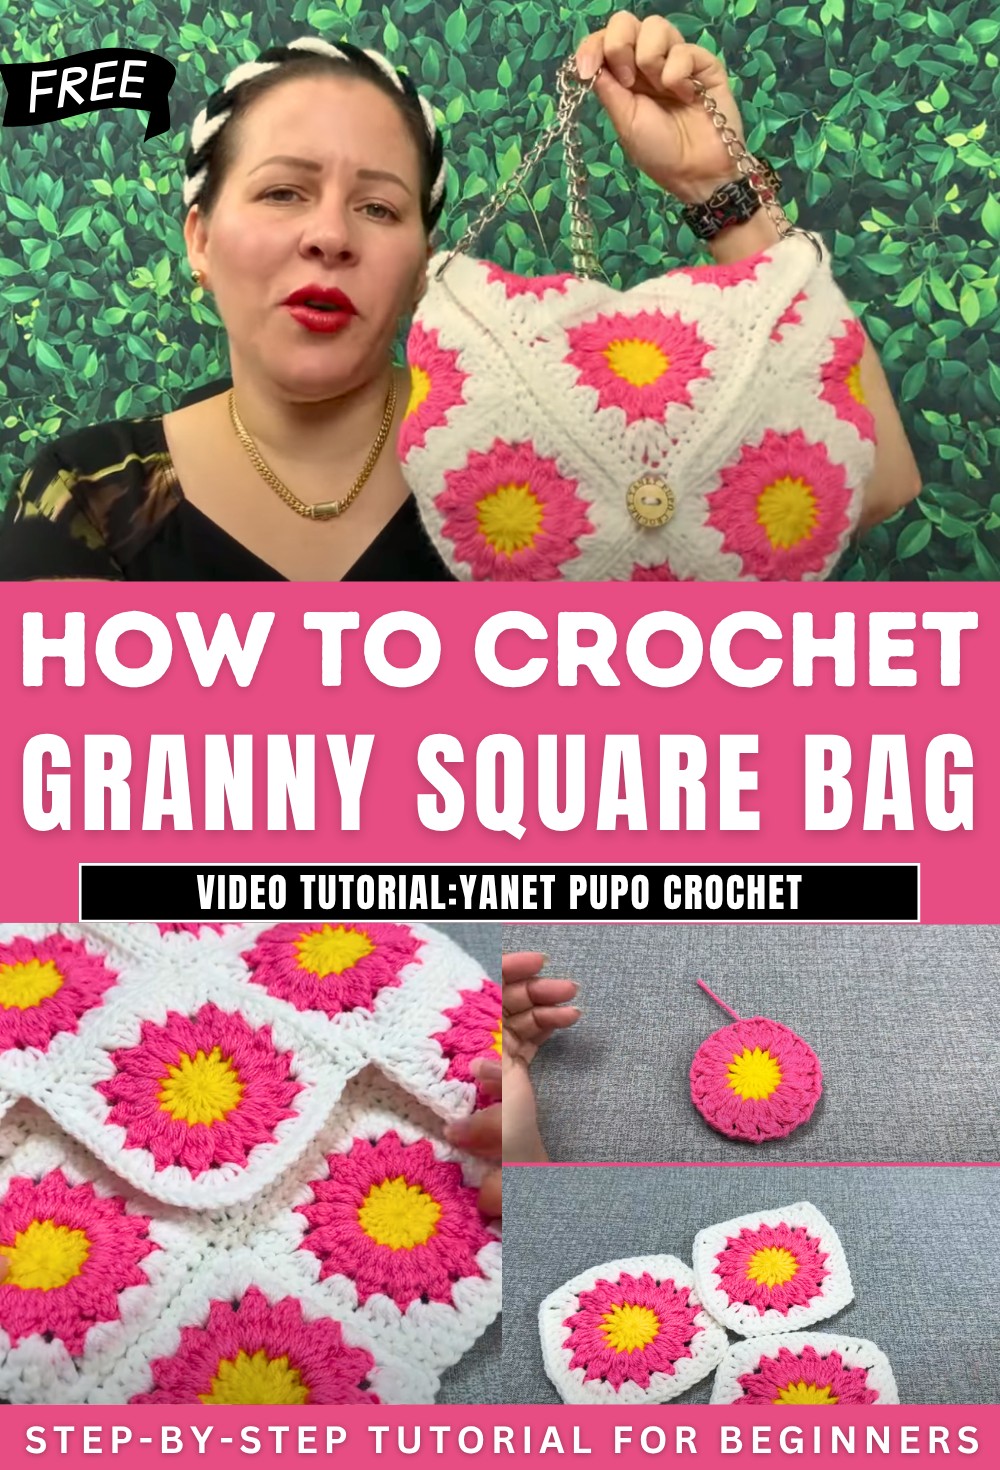
Crochet Granny Square Bag Tutorial
- This project focuses on crafting a crochet bag or wallet by combining square pieces.
- Materials needed for the project: ~160 grams of #4 wool and a 3.75mm aluminum crochet hook.
Step-by-Step Instructions for Making the Square Pieces
-
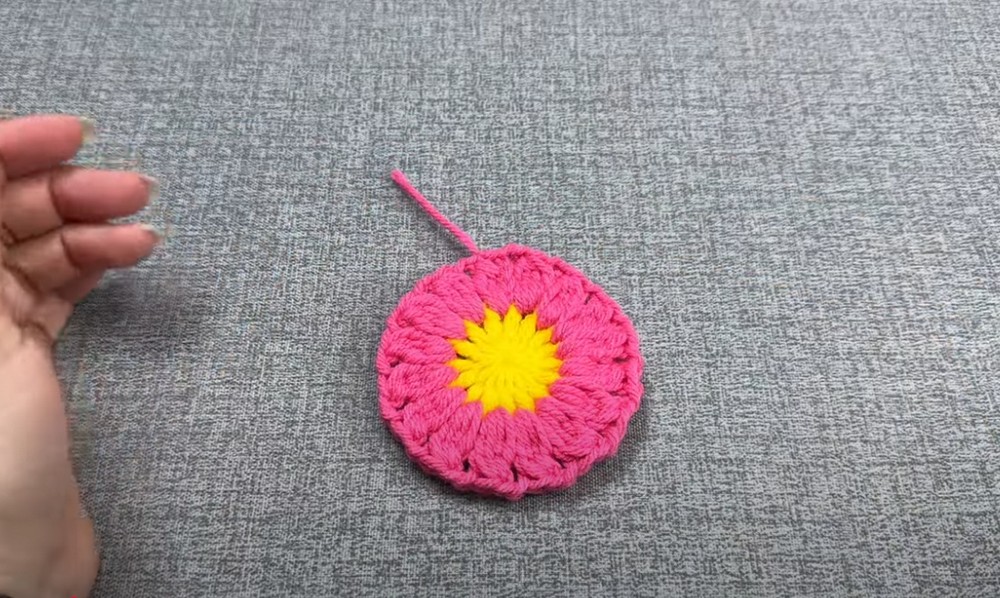
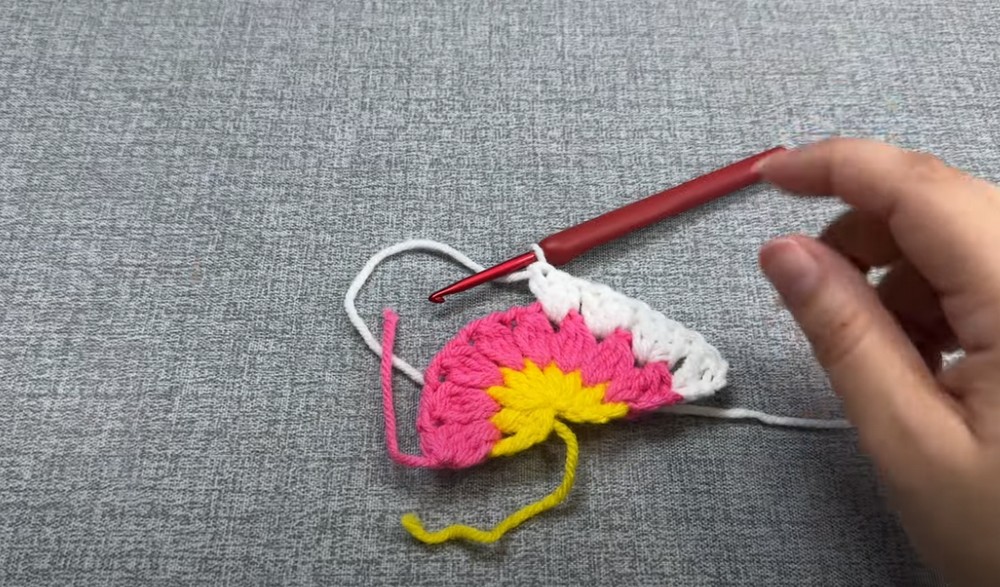
Creating the Base (Magic Ring)
- Begin with a magic ring wrapped around the finger.
- Secure the knot with the crochet hook and adjust.
-
- Chain four and perform double crochet stitches inside the ring.
- Complete 16 double crochet stitches, join the last stitch with a slip stitch, and cut the yarn to change colors.
-
Adding the Petals (Second Color)
- Use a contrasting color, which can vary based on personal preference.
- Work unfinished stitches to create petals around the initial circle.
- After forming each petal, create two separation chains and repeat the process until a total of 16 petals are achieved.
- Slip stitch the first petal and cut the thread in preparation for the next step.
-
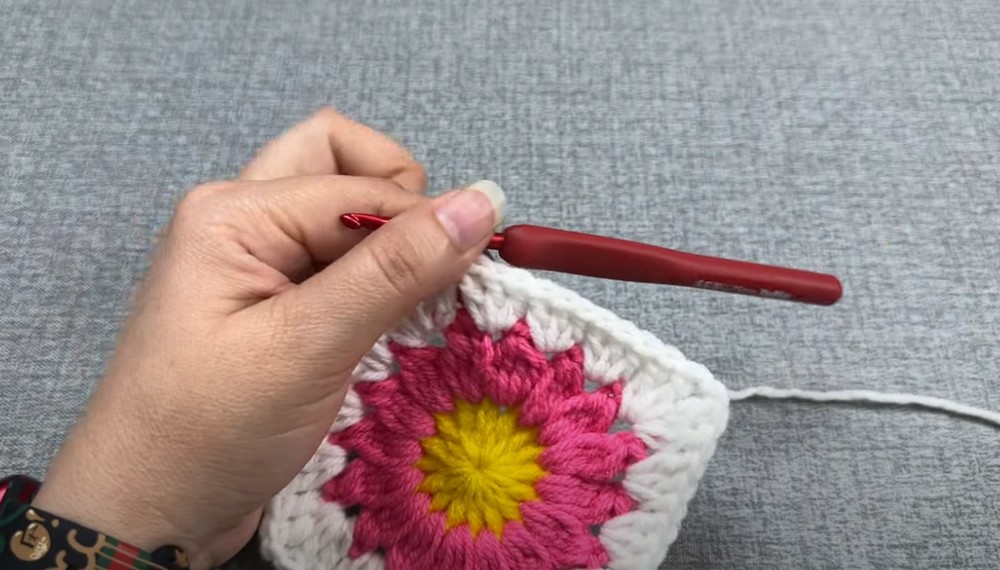
Adding Corners (Third Color)
- Introduce a third color (white in Yanet’s tutorial).
- Create corners using double crochet stitches with two pulls.
- In each chain space, work groups of three regular double crochets and adjust the length of stitches for the corners.
- Continue this process to complete the square, ensuring equal number of corners and edge groups.
-
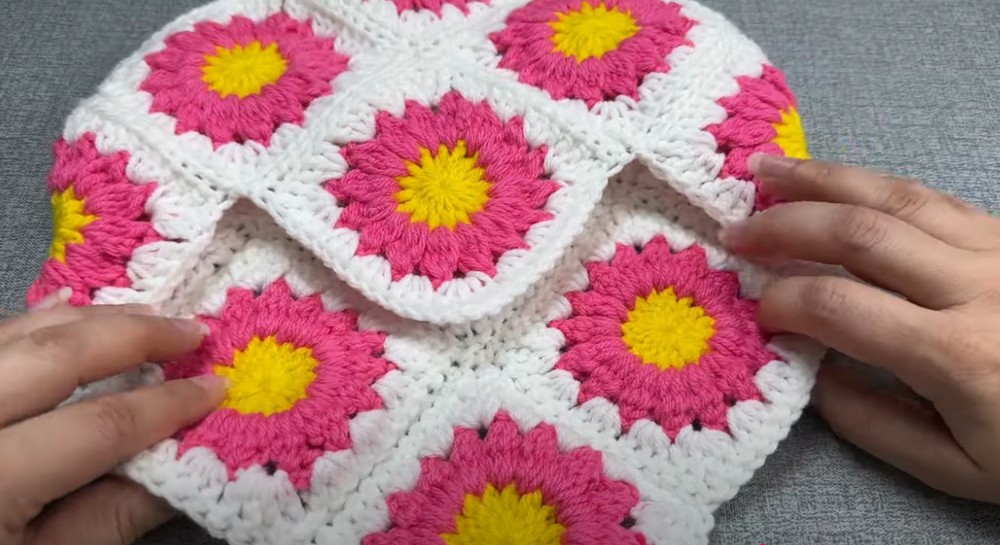
Finalizing the Squares
- Each square measures approximately 10 cm.
- A total of 12 square pieces are required for the bag, which must be pre-prepared before assembly.
Making Half-Square Pieces
- Create half-squares to supplement the full squares.
- Follow the same process, but reduce the number of stitches to ensure the square remains halved.
- Repeat with all required colors and prepare both halves for later use.
Assembly and Sewing
-
Joining Squares
- Lay the pieces wrong-side up to ensure correct orientation.
- Begin by joining the front and back squares.
- Form a triangular shape at the top by sewing together three squares each on the upper and lower portions.
- Use a wool needle or slip stitch to sew edges securely.
-
Adding Additional Pieces
- Attach three more squares at the front to form the cover.
- Position and sew additional full squares and half-squares to complete the front and back of the bag.
-
Final Assembly
- Fold, align, and sew pieces to finish forming the bag’s body.
- Ensure certain parts (like the lid area) are correctly joined.
Creating the Border
- Work single crochets along the edges to provide a neat finish.
- Add extra stitches at unions for a smoother and polished look.
- Form and secure a buttonhole at the top by chaining stitches.

Adding Finishing Touches
-
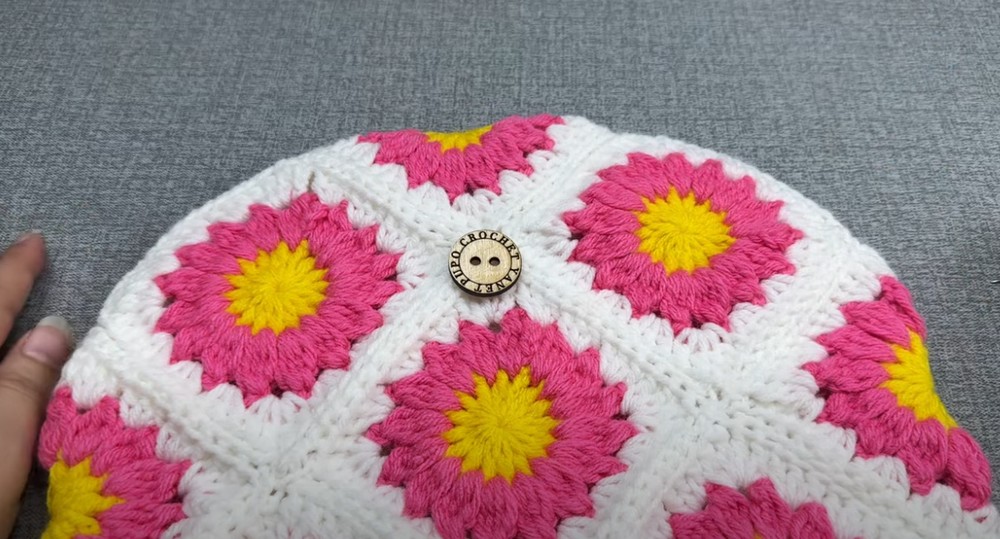
Button
- Sew a wooden button on the front flap as a closure.
- Use a thinner wool needle for accurate placement.
-
Handle
- Attach a pre-made chain handle with adjustable rings on both sides.
- Yanet also mentions that viewers can crochet their own handles if desired.
- Yanet showcases the finished bag, highlighting its colorful and functional design.
- Encourages viewers to share their thoughts, like the video, and subscribe to her channel for more tutorials.
Video Guide
https://youtu.be/48qiVmLzf5w