Easy Free Crochet Giraffe Baby Hat for Baby Shower
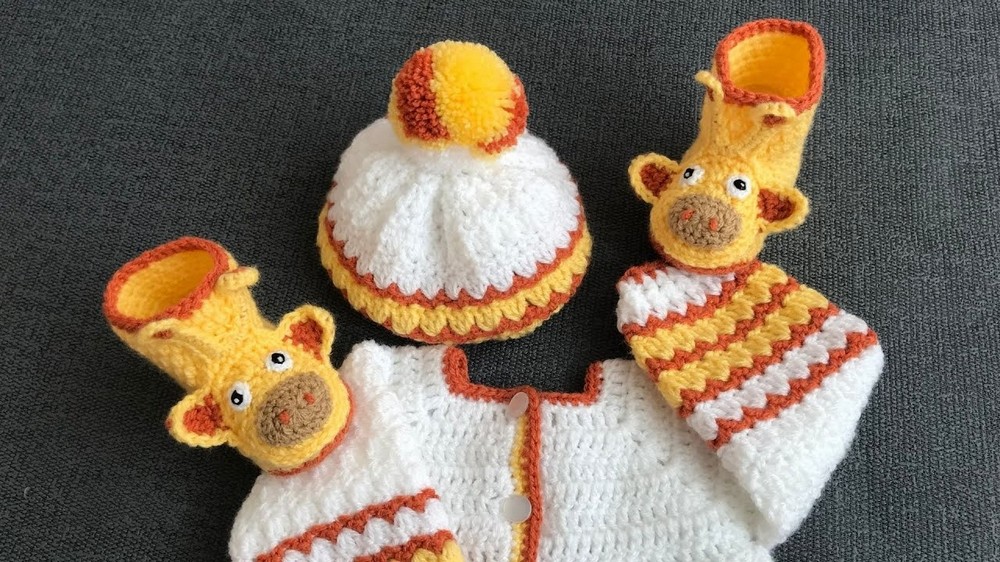
Learn to crochet a beautiful and easy baby hat perfect for beginners with a step-by-step tutorial. The tutorial includes a complete guide to making the hat in various sizes, detailed explanations, and matching accessories like giraffe boots and a cardigan. The hat uses double-knit yarn and a 4mm hook, and it showcases simple techniques like double crochet and color changes. With clear instructions, even novices can create a comfortable and adorable hat for babies.
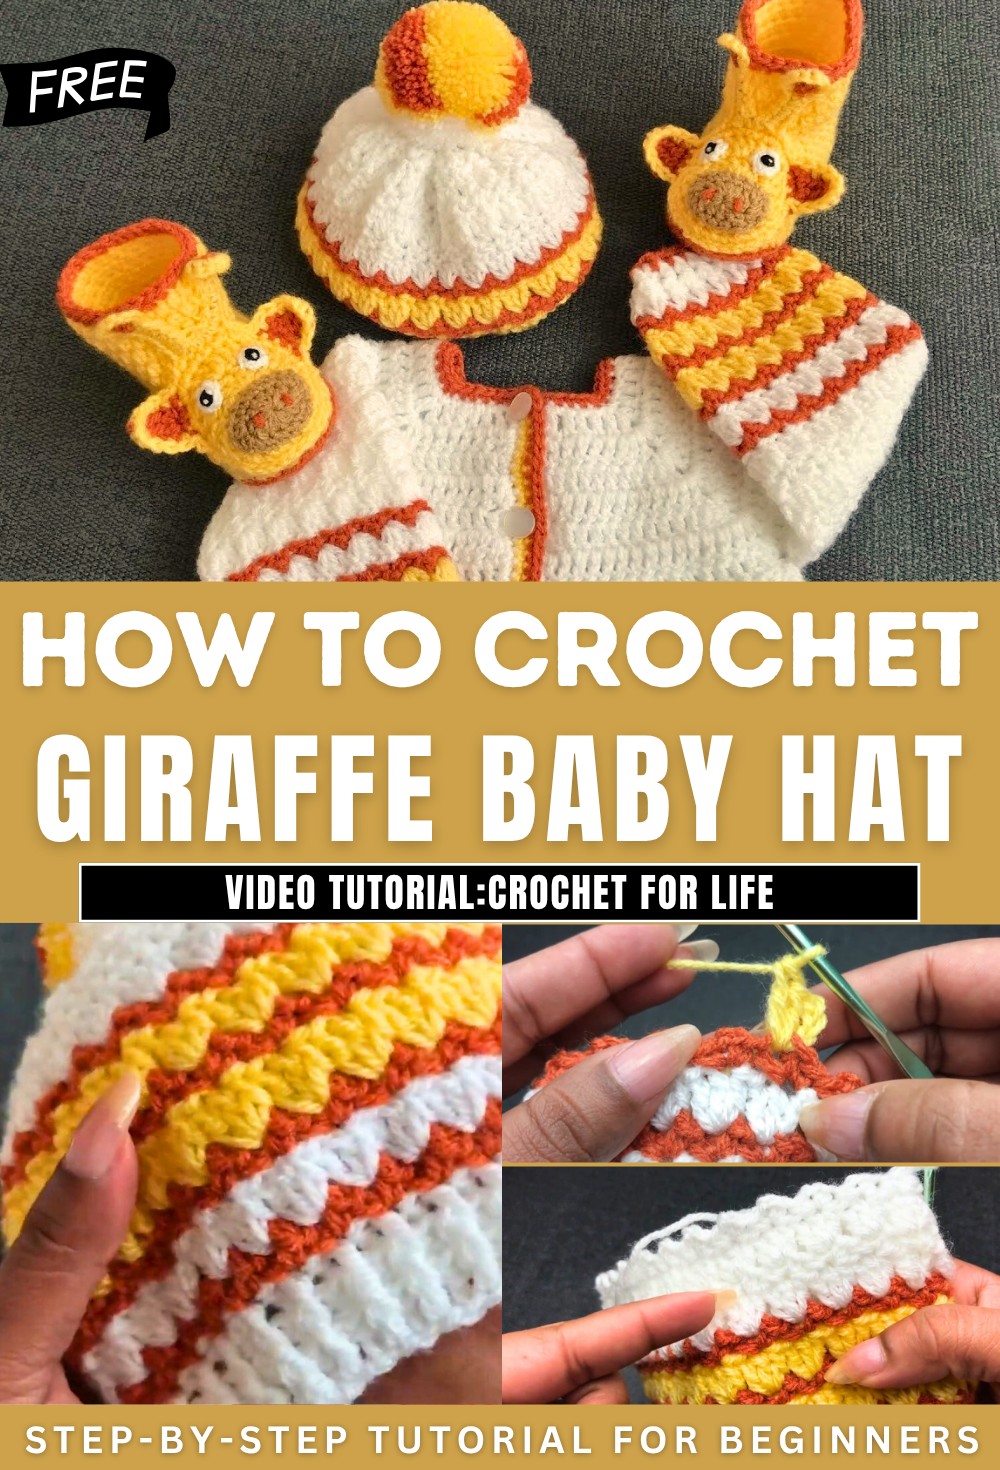
Easy Baby Hat Free Crochet Pattern (with Pom-Pom)
Materials
- Yarn: Double knitting (DK) yarn
- Main Color: White (~1 ball, 100g/330m; enough for hat and cardigan)
- Accent Colors: Yellow and Brown (small amounts for stripes and pom-pom)
- Hook: 4 mm crochet hook (or size needed for gauge)
- Tapestry/yarn needle (for finishing and closing top)
- Pom-pom maker (or thick card if making by hand)
- Scissors
- Measuring tape (for checking hat/child’s head size)
Key Abbreviations (US Terms)
- ch: chain
- sl st: slip stitch
- sc: single crochet
- dc: double crochet
- FPdc: front post double crochet
- BPdc: back post double crochet
- st(s): stitch(es)
Sizing and Starting Chain
| Hat Size | Foundation Chain | DC per Round | “Loop” Rounds |
|---|---|---|---|
| 0–3 months | 58–60 | 56 | 28 |
| 3–6 months | 62 | 60 | 30 |
| 6–9 months | 66 | 64 | 32 |
| 9–12 months | 70 | 68 | 34 |
| 1–2 years | 74 | 72 | 36 |
Special Notes
- The hat is worked in joined rounds from the brim up.
- Color changes and texture are achieved by alternating stripes and post stitches.
- “Round” and “row” are used interchangeably.
- The last rounds form the crown and closing; add or subtract rounds for more or less slouch/length.
- There is no separate ribbing; the base uses post stitches for a soft but fitted band.
- Pom-pom uses all three colors for a playful finish.
Pattern
Step 1: Hat Base
- Start with Main Color (White):
- Make a slip knot.
- Ch 62 (for 3–6 months; see chart for other sizes).
- Dc in 4th ch from hook and each ch across. (You have 60 dc for 3–6 mo; adjust for size.)
- Join with sl st to top of beg ch-3 to form a ring (be careful not to twist chain).
- Rounds 2–4: Post-Stitch Ribbing
- Rnd 2: Ch 3 (counts as dc), FPdc in next dc, BPdc in next dc; repeat around. Join with sl st.
- Rnd 3: Ch 3 (counts as dc), FPdc in FPdc, BPdc in BPdc around; join.
- (For 0–3 and 3–6 months, work 3 rounds in total; for larger sizes, work 4 rounds.)

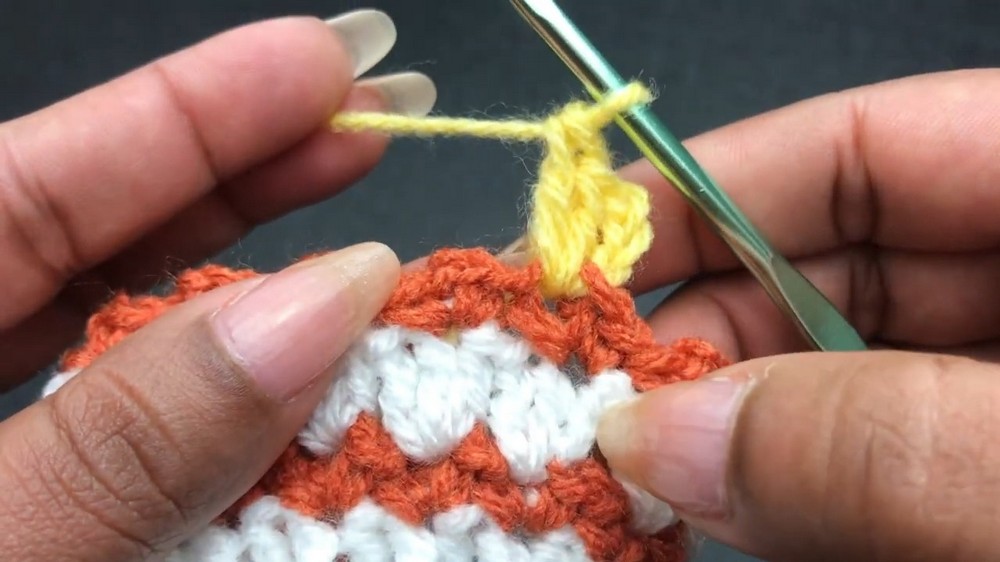
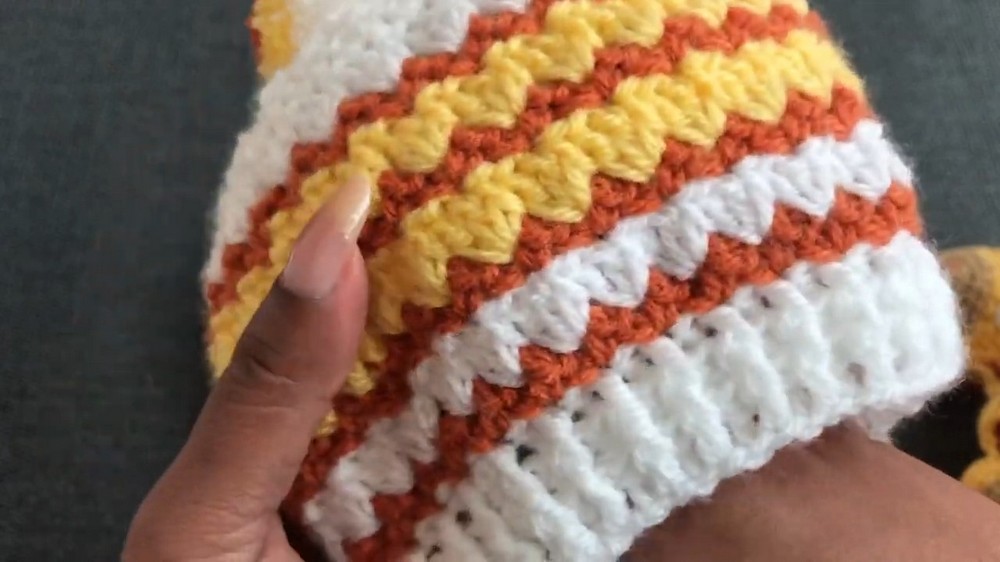
Step 2: Begin Stripe and Loop Pattern
- Join Accent Color (Brown):
- Do not cut white yarn—carry it up as you go for neat color changes.
- Insert brown, ch 2, in same st: sc, ch 2, sc (all in FPdc from previous round).
- Skip BPdc, in next FPdc repeat (sc, ch 2, sc).
- Continue around, always working into each FPdc (skipping each BPdc). (Total loops = per size chart.)
- Join with sl st to starting st.
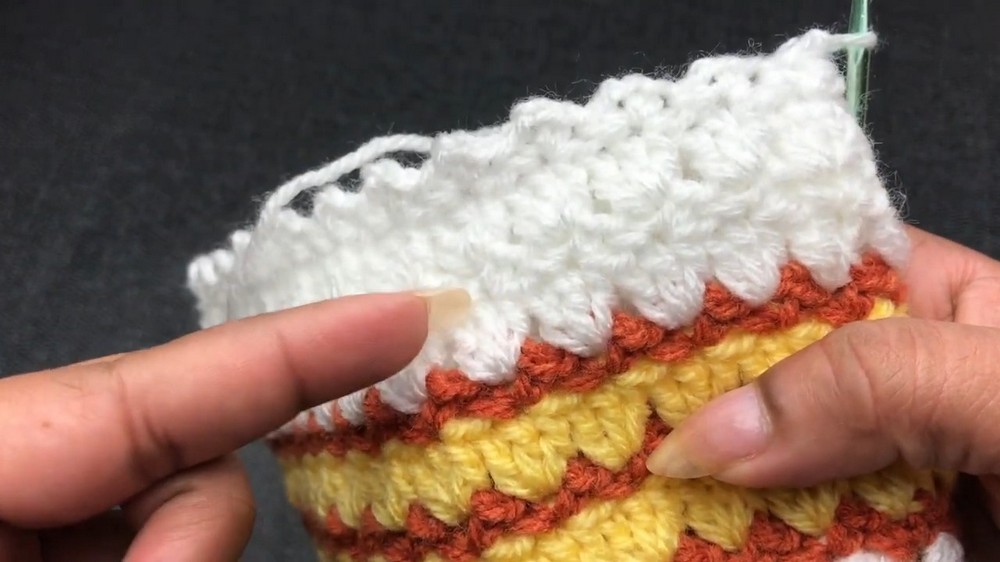
- Join White:
- With white, ch 3 in any loop, 2 dc in same space (counts as first dc cluster).
- In each ch-2 space around, 3 dc; join with sl st to top of starting ch-3.
- Drop brown to WS (wrong side), pick up in next round.
- Continue with Loop and Cluster Rounds:
- Change to brown: [sc, ch 2, sc] in each middle dc of 3-dc group (always the second/middle dc).
- Change to yellow: Repeat white dc round with yellow as in step 4.
- Continue alternating dc cluster rounds (white/yellow) and loop rounds (brown), always working clusters in ch-2 spaces and loops in the middle dc of clusters.
- Repeat these two rounds for the desired hat length, alternating colors as given in the video or as preferred.
Step 3: Crown Shaping and Reducing
- Reduction Rounds (For 3–6 months):
- After 11 total rounds (as instructed), change to all-white.
- First reduction round: Ch 3, 1 dc in same ch-2 space, (now 2 dc in each ch-2 space); join.
- Next round: Brown, work [sc, ch 2, sc] in the middle dc of each 2-dc group.
- Final rounds: Work all in SC as follows—
- With white, sc in each ch-2 space around for 2–3 rounds.
- For last 2 rounds, sc in every other st to close crown, as needed for your size (see video).
- Pull together and close with a yarn needle if a hole remains. Fasten off.
Step 4: Add Pom-Pom
- Create a multi-color pom-pom:
- Using white, yellow, and brown, wind around pom-pom maker (or cardboard). Make one half mostly white, the other half divided between yellow and brown for a patchwork look.
- Cut yarn, tie center very tightly with white yarn.
- Fluff and trim pom-pom as desired.
- Sew securely to top of hat using yarn needle.
- Weave in all ends.
Conclusion
You have made a plush, textured, and cheerful baby hat with color detail and a fun pom-pom! The base ribbing ensures a cozy fit, and the color loops add a playful, giraffe-inspired look. Make the complete matching set for a thoughtful gift.
Pattern Correction
- Double-check stitch counts per round after joining the foundation chain.
- Always use the middle dc for loops, and be consistent with color changes for a neat finish.
- Crown: If too loose at the top, work an extra decrease round; if too tight, add a round before reducing.
Tips
- Carry unused yarn loosely inside the hat when changing colors to prevent puckering.
- Adjust hat length by working additional cluster/loop rounds before shaping the crown.
- Pom-poms can be reinforced by tying twice and sewing securely through several hat stitches.