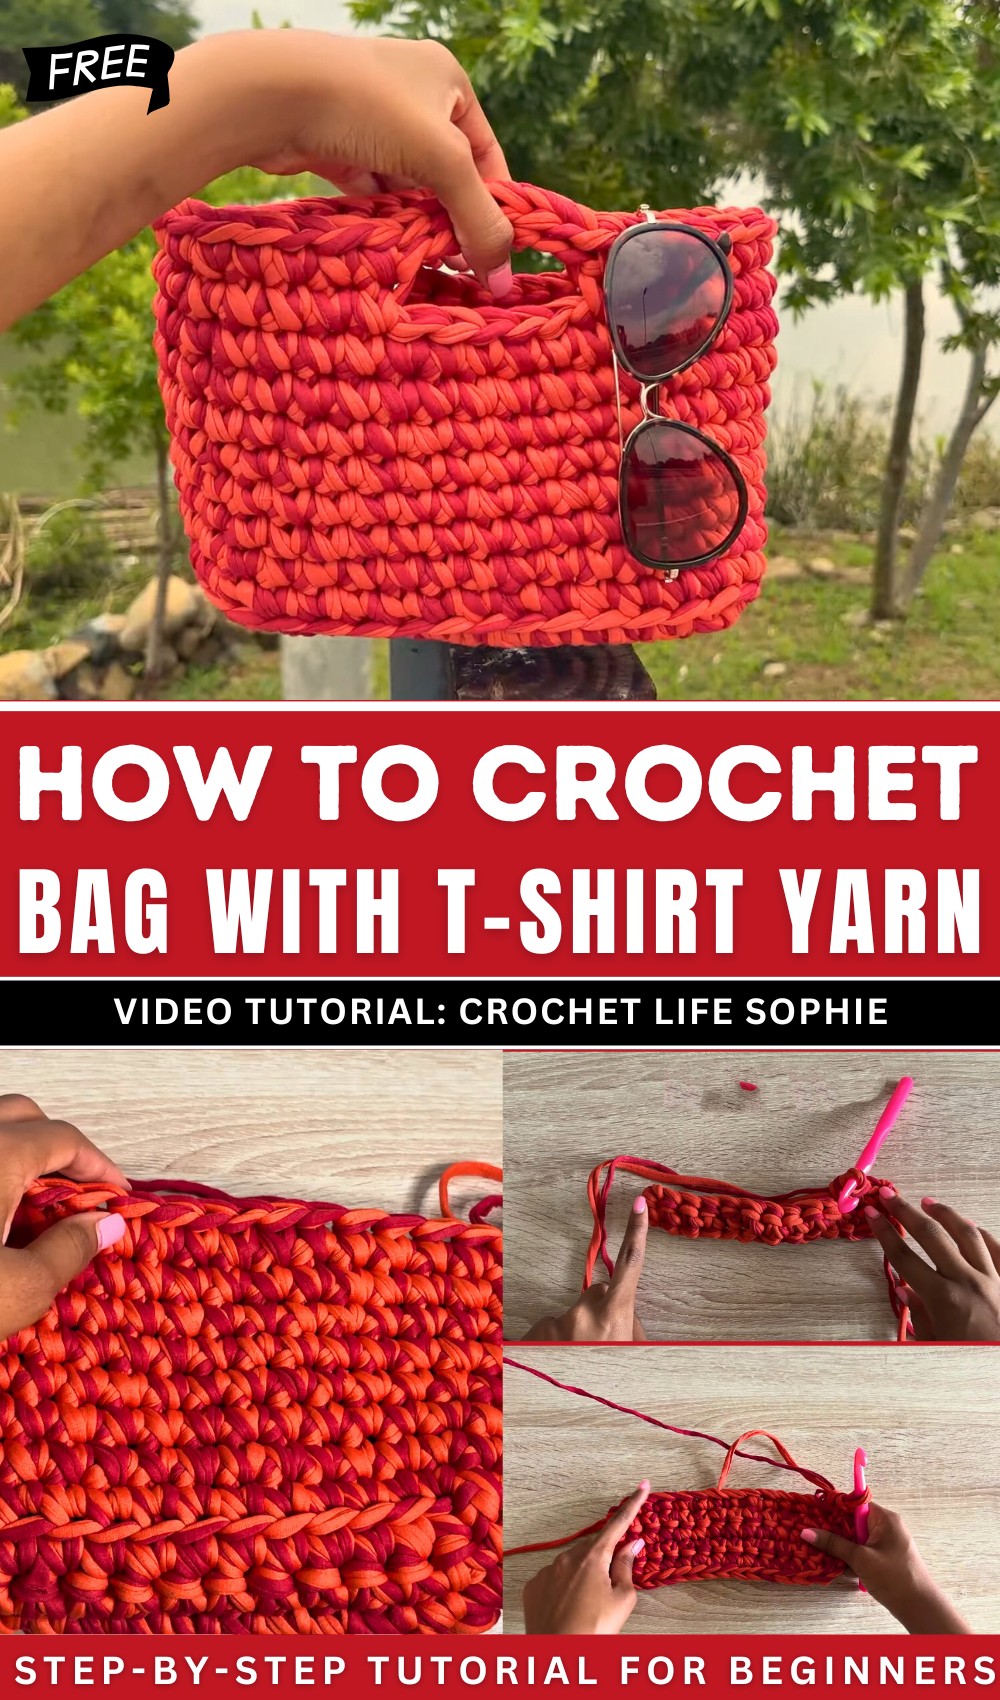
How to Crochet Bag with T-shirt Yarn for Beginners
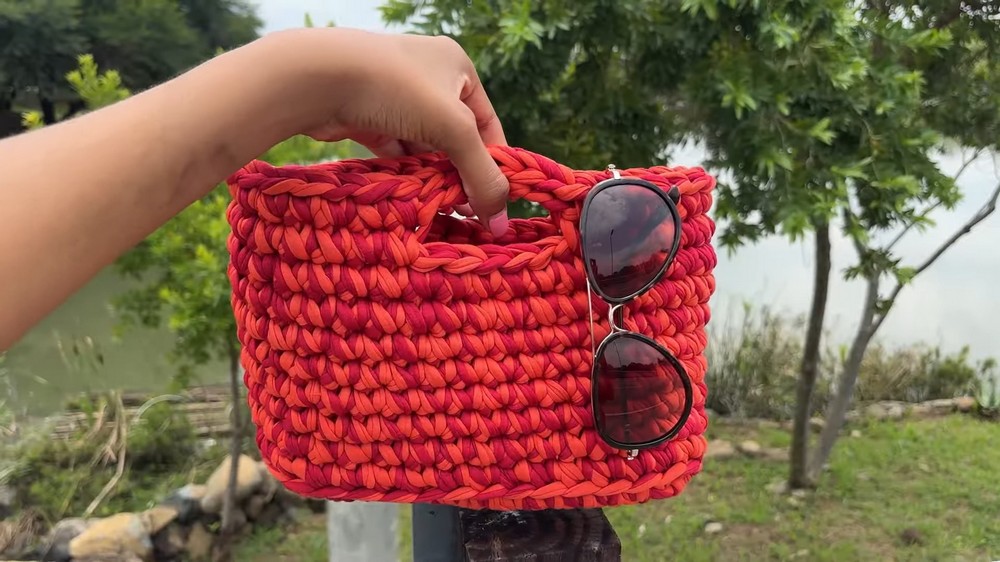
In this tutorial, you’ll learn how to crochet a chunky bag using two strands of t-shirt yarn – durable and super sturdy for everyday use. The tutorial also covers crocheting sturdy handles and weaving in ends for a polished finish. Perfect for beginners and crochet enthusiasts! Follow through with us for the complete tutorial!
- Objective: Learn to crochet a chunky bag. The process starts with a slip knot and chain of 14 (adjustable for size), followed by rows of single crochets to create the base. The bag is shaped through increases, and the sides are built using back-loop stitches.
Chunky T-Shirt Yarn Crochet Bag Pattern (FREE)
Materials
- T-shirt yarn: Two strands held together (approx. 300–400g depending on bag size)
- Crochet Hook: 12 mm
- Scissors
- Tapestry needle (for weaving in ends)
- Stitch markers (optional, recommended)
Key Abbreviations
| Abbreviation | Meaning |
|---|---|
| ch | Chain |
| sc | Single Crochet |
| sl st | Slip Stitch |
| st(s) | Stitch(es) |
| BLO | Back Loop Only |
| inc | Increase (2 sc in one st) |
| FO | Fasten Off |
Special Notes
- Pattern is worked with two strands of t-shirt yarn at once for extra chunkiness.
- Use a stitch marker to help keep track of rounds and handle placement.
- Adjust bag width or height by changing the number of chains or rows in the base.
- Handles will stretch over time; make them shorter initially if using t-shirt yarn.
Pattern
Base
- Make a slip knot.
- Ch 14 (for standard width; adjust as desired).
- Leave a long tail to weave in later.
- Row 1:
- Skip first ch, sc in 2nd ch from hook and in each ch across. (13 sc)
- Rows 2–5:
- Ch 1, turn, sc in each st across.
- You should have 5 rows total for the base (adjust for wider/narrower bag as desired).
Sides (Begin Working in the Round)
- After completing Row 5:
- In the last stitch, work 2 sc (inc).
- Begin working sc evenly along the side of the base (insert hook wherever possible along the edge).
- At edge and corner, always work 2 sc to create a curved structure.
- Continue working sc along all four sides of the base:
- On each “corner,” work 2 sc in the stitch to help create a rounded base.
- Use a stitch marker at the second sc in one corner to mark the start/end of rounds.
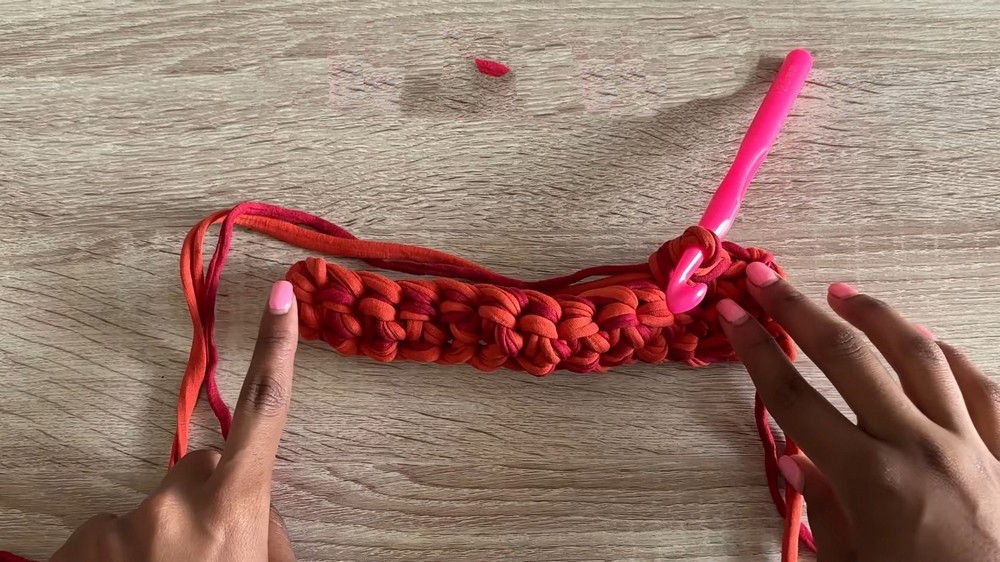
Body
- Continue working in the round:
- First round: Work sc in each stitch around, working into the back loops (BLO) for the first round only for a crisp, structured base edge. When you reach your stitch marker, finish the round.
- Subsequent rounds:
- Remove stitch marker, sc in both loops in each stitch around.
- Replace stitch marker at the first st of each round.
- Continue for a total of 8 rounds (or desired height).
- Adjust height by working more or fewer rounds.
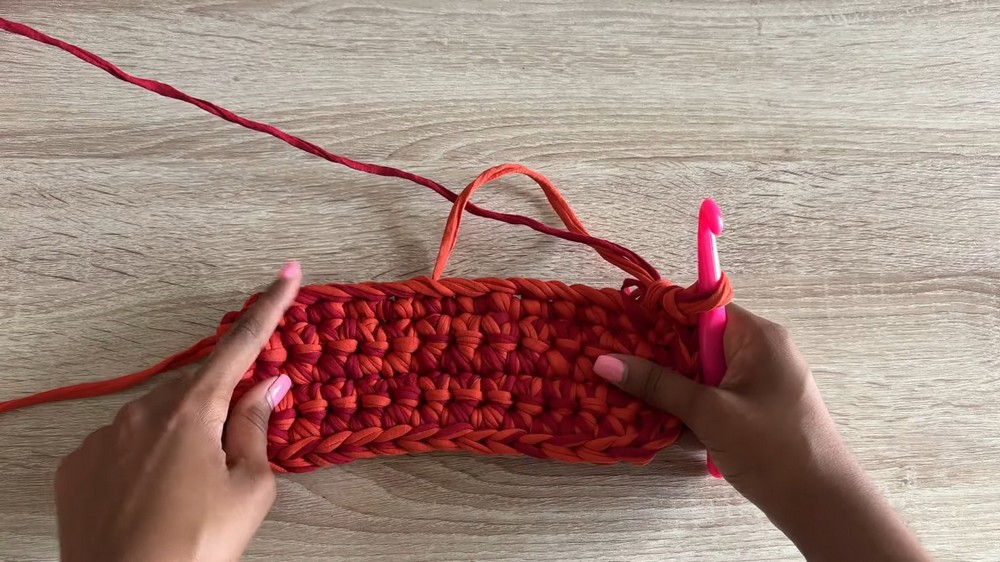
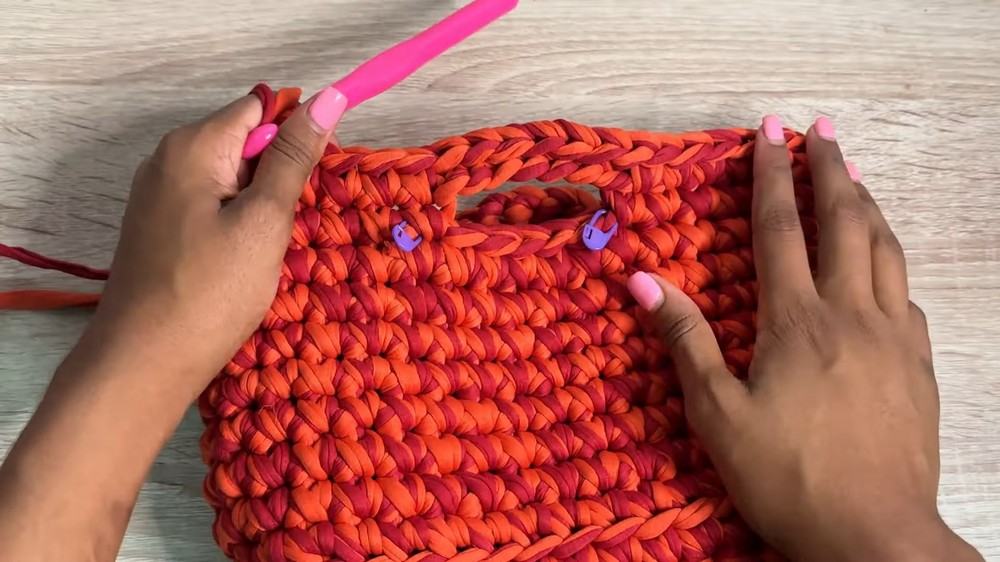
Handles
- Flatten bag and use stitch markers to plan handle placement:
- Count 6 sc from the side; place stitch marker at handle start; repeat on opposite side, matching front and back panels.
- For each handle:
- Sc from stitch marker to next marker (6 sc).
- Ch 7 (for short handles; add more chains for longer handles).
- Attach chain to next stitch marker with a sc.
- Continue working sc around the perimeter until next handle placement.
- Repeat handle process for opposite side.
- If stitch counts differ slightly (e.g., 6 sc on one side, 7 on the other), this is acceptable.
Handle Edging
- When you reach handles:
- Instead of sc, work sl st into each handle chain.
- Attach back to body with sc.
- Continue working sc around remainder of bag.
- Repeat for second handle.
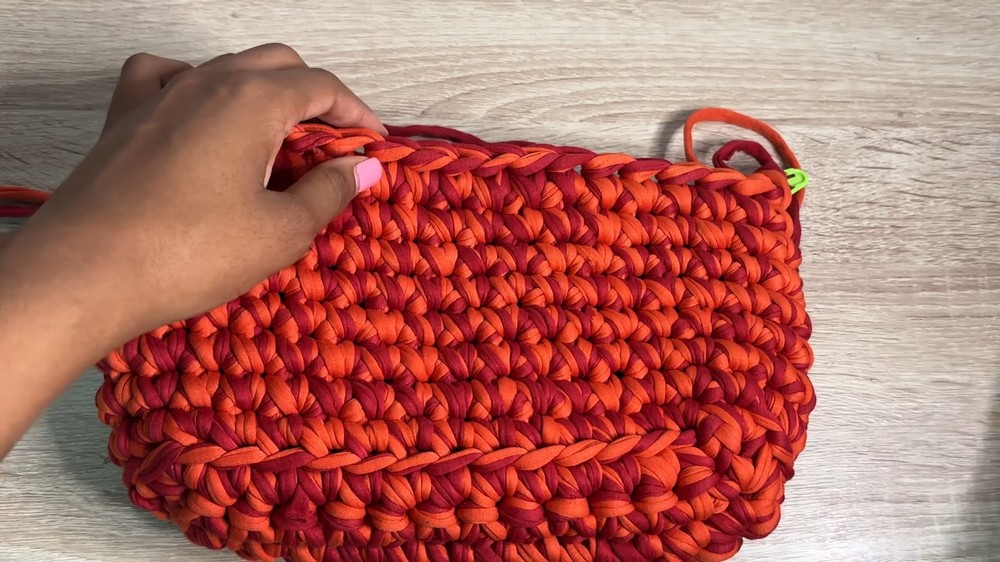
Finishing
- When round is complete:
- At last stitch marker, sl st, ch 1, FO.
- Leave a long tail for weaving in.
- Weave in ends:
- With tapestry needle, weave one yarn end at a time for security.
- Optional: Weave one end on one side, the other on the opposite side.
- Trim any excess yarn.
Conclusion
Your chunky crochet bag is ready! This easy, fast pattern is perfect for beginners, and t-shirt yarn delivers both strength and style. Customize your size, color, and handle length as desired.
Pattern Correction & Tips
- If your corners aren’t rounded, increase to 2 or 3 sc at corners.
- Handles will stretch: make shorter than desired length.
- If finding it difficult to sc up the sides, insert the hook wherever possible; slight irregularity is fine for chunky projects.
- Use stitch markers liberally, especially for handle placement and round starts.
- For extra structure, add a liner or base insert (optional).