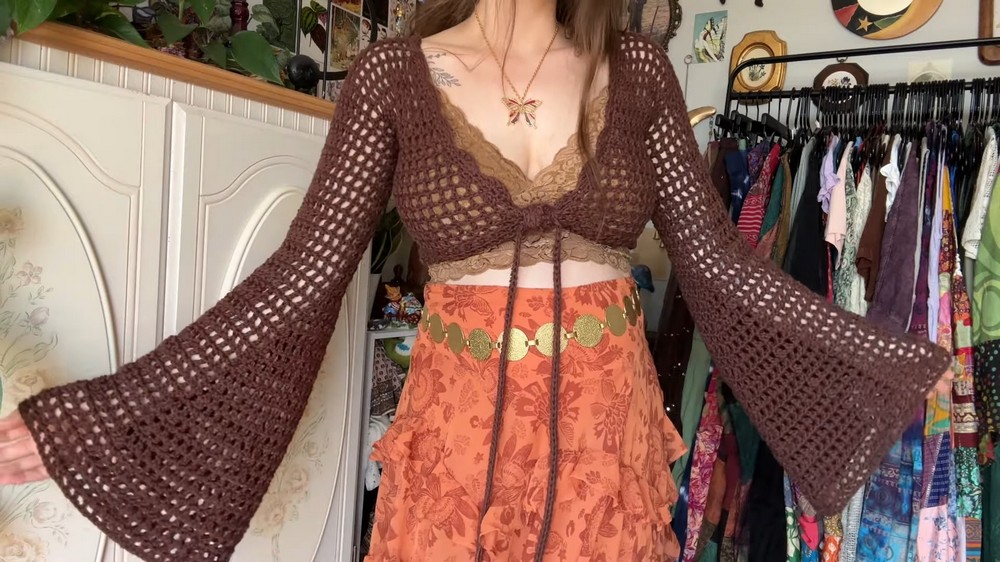
How to Crochet Bell Sleeve Tie Front Top for Ladies
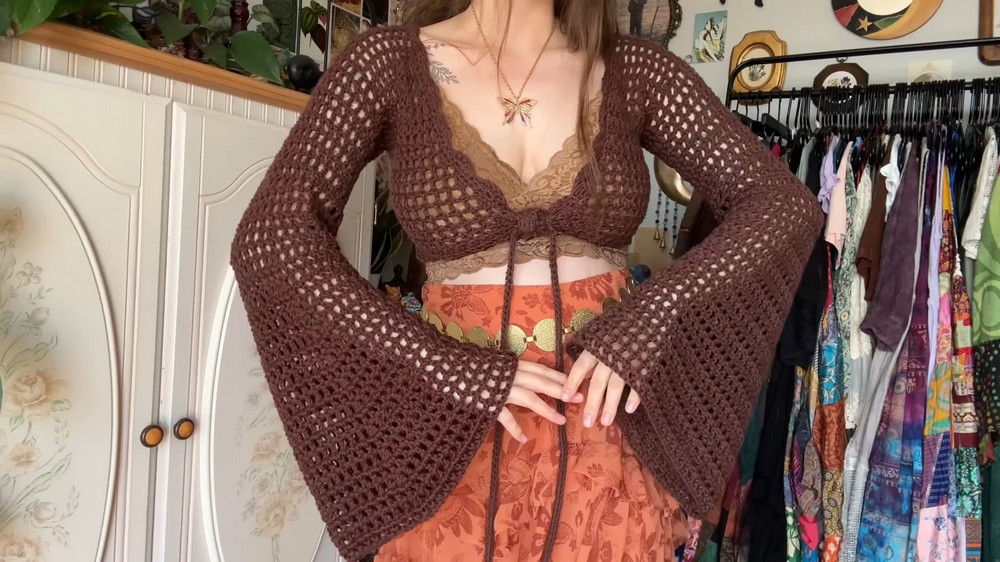
Learn how to crochet a 70s-inspired bell sleeve tie-front top with a step-by-step tutorial for beginners. The tutor will share detailed steps, tips, and techniques for creating this unique pattern, including crocheting the back panel, front ties, scalloped borders, and bell sleeves. With a focus on customization, tutors offer insights for adjusting measurements and ensuring a great fit.
Follow through with us for the complete tutorial for crocheting this bell-sleeve top perfect for all skill levels.
Crochet Bell Sleeve Tie Front Top Tutorial
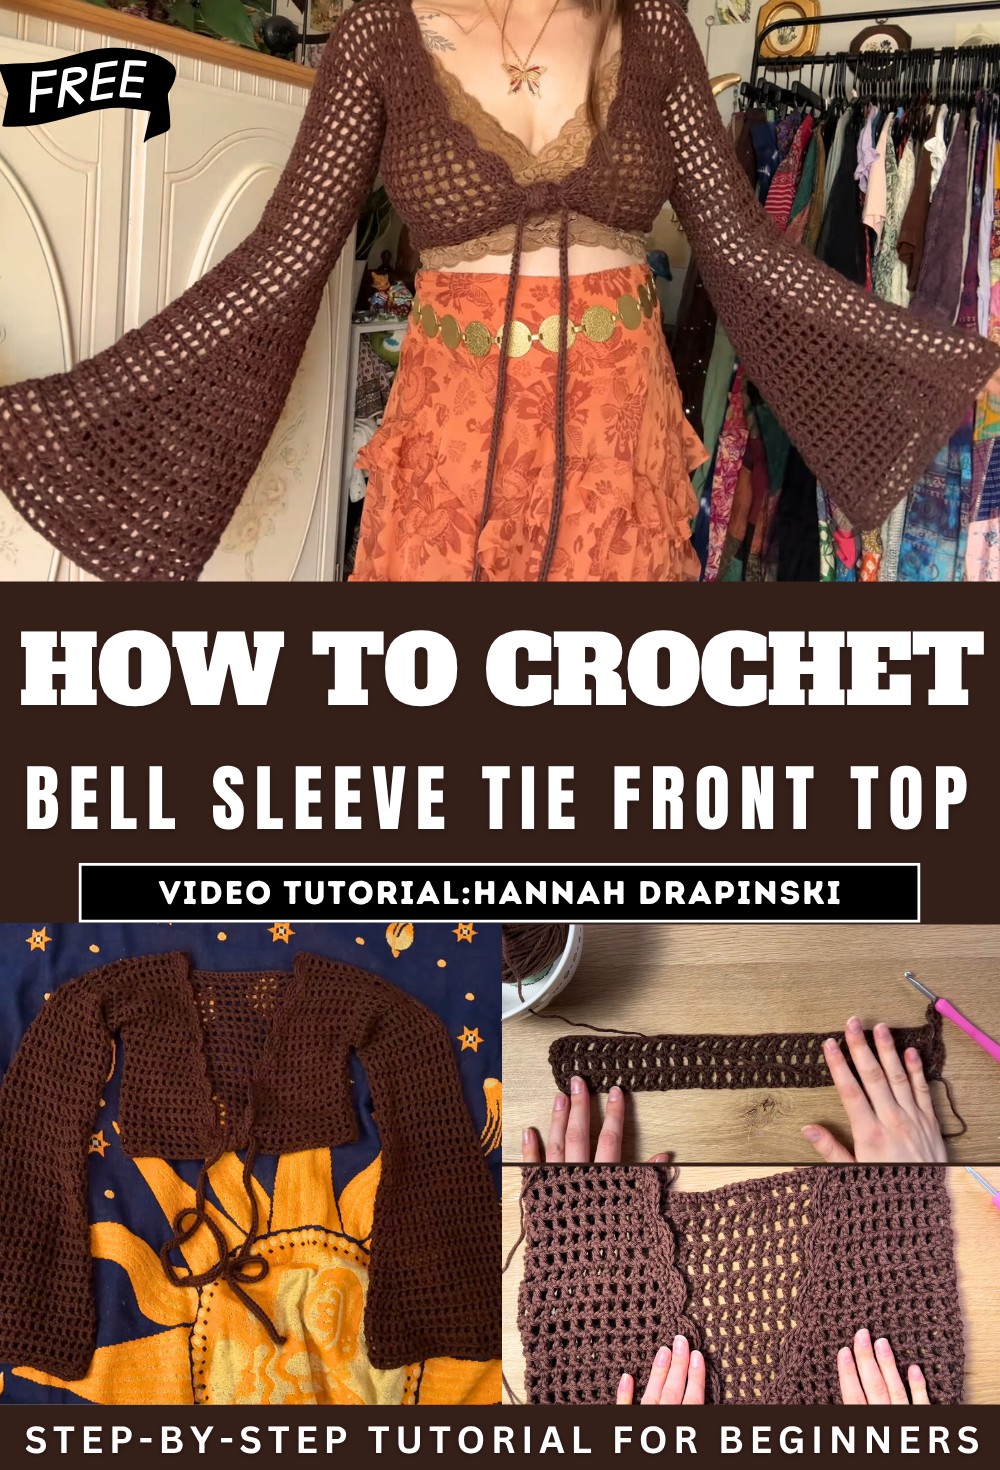
Crochet Bell Sleeve Tie Front Top Tutorial
The creator enthusiastically shares her excitement about introducing a new crochet pattern. Mentions her love for 70s-inspired bell sleeve tie-front tops and her collection of them. Expresses her belief in the endless creative possibilities of crochet, which inspired her to design this pattern. States that the pattern started as a personal project to create a brown bell sleeve top for layering. Discusses the journey of sketching and designing the pattern with multiple attempts over 10 pages of notes to get it right.
Materials Used
- A 5.25 mm crochet hook.
- 100% cotton worsted weight (size 4) yarn.
- Shares her general philosophy of customization and encourages viewers to adapt the pattern based on their yarn and personal measurements.
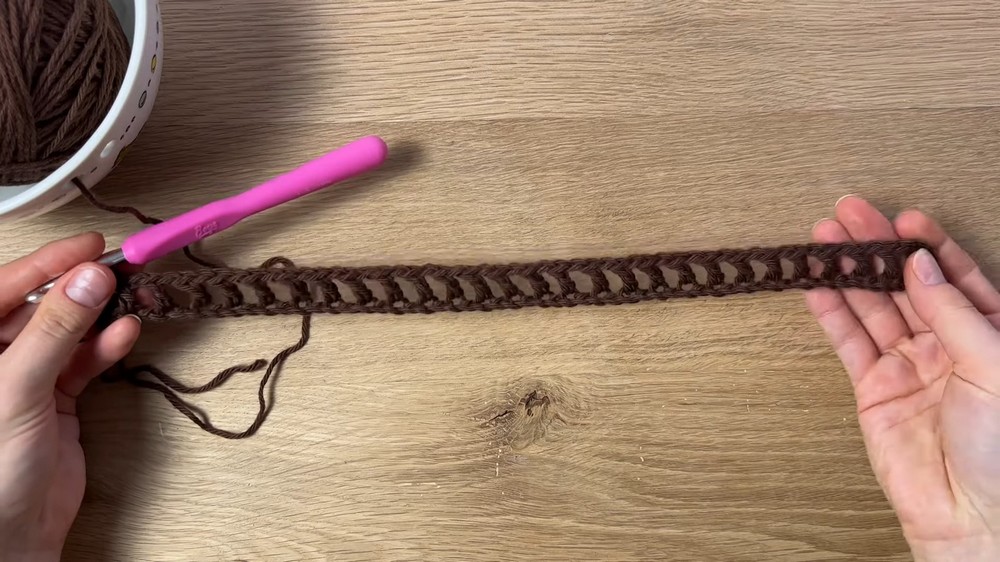
Back Panel
- Begins the back panel by creating a chain that measures the shoulder-to-shoulder width (slightly reduced for stretch and fit).
- Introduces the mesh stitch technique:
- Double crochet, chain one, skip a stitch, repeat.
- Emphasizes keeping the stitch count even to maintain uniformity and alignment throughout the rows.
- Reiterates the importance of maintaining straight edges by ending rows consistently in the right stitches.
- Offers customization tips, such as adjusting the number of rows to fit the shoulder-to-under-bust measurement.
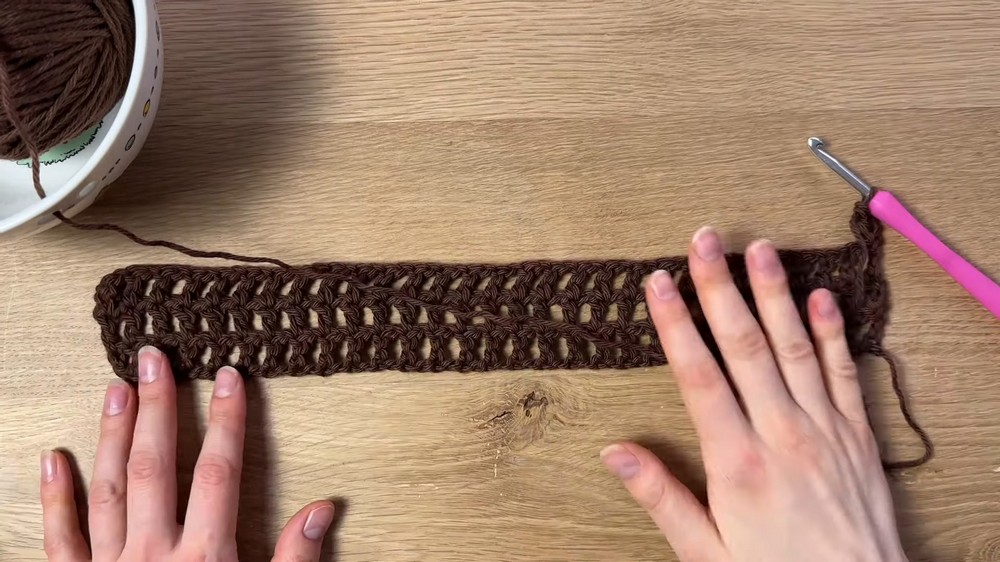
Shoulder Panels
- Divides the shoulder panels evenly on both sides of the completed back panel.
- Marks sections for each shoulder panel and outlines the structure needed for ensuring the panels are straight and evenly spaced.
- Works each shoulder panel individually, repeating the mesh stitch pattern.
- Ends the shoulder panels on an odd-numbered row for alignment in the next step.
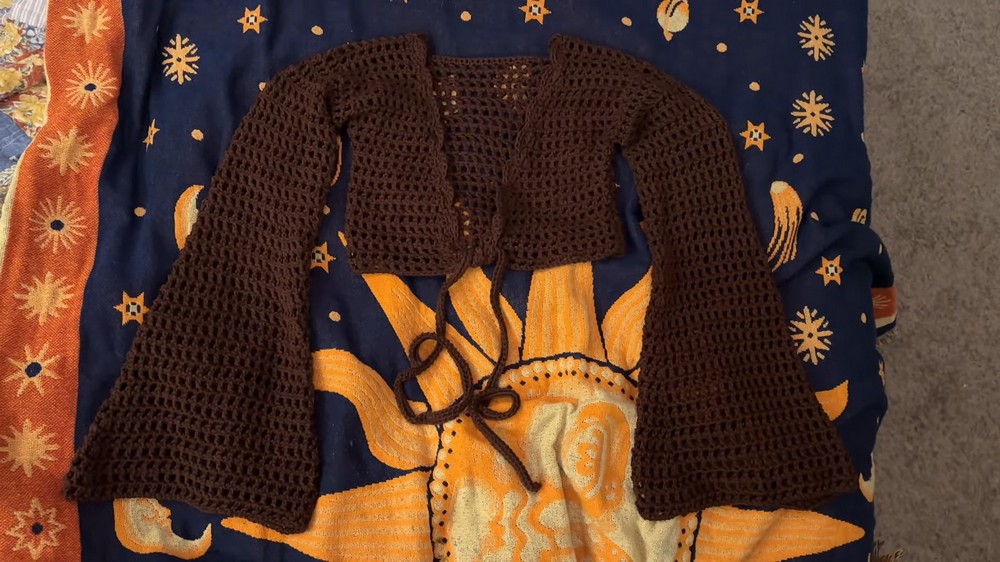
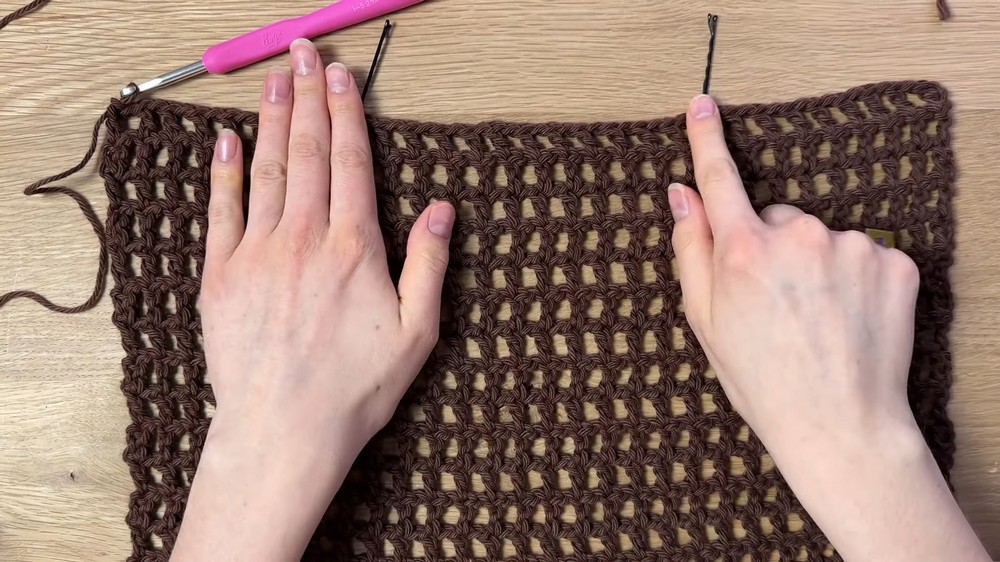
Front Panels
- Explains the process of turning the shoulder panels into front panels tied at the bust.
- Starts increasing on odd-numbered rows for the tie-front portion, ensuring increases are only on the inner edges to achieve the desired shape.
- Describes the intentional asymmetry of increases, creating the tapering design unique to this tie-front style.
- Loops in the formation of ties at the bottom of the front panels:
- Chained a specified length and added half-double crochets for the tie straps.
- Smoothens out the jagged edges of the panels with a single crochet border, improving the overall finish.
Seaming and Adjustments
- Aligns the side panels of the top perfectly flat for even stitching.
- Seams the sides of the top with a tapestry needle, leaving gaps for the armholes based on measurements.
Sleeves
- Explains how to attach yarn to the armhole seams to begin the sleeve construction.
- Describes continuing the mesh stitch pattern until the elbow.
- For bell sleeves:
- Marks points on both sides of the sleeve to create gradual increases every other row.
- Provides flexibility to adjust the flare width and sleeve length according to personal preference.
Scalloped Border (Optional)
- Adds a decorative scalloped crochet border around the edges for an aesthetic touch.
- Offers tips on proper yarn attachment and alignment for symmetry.
Final Thoughts and Customization
- Encourages viewers to try on the top during the process to ensure correct fit and to make adjustments if needed (e.g., increasing panel width or modifying rows).
- Highlights the overall versatility of the project and how it can be modified for various sizes and styles.
- Emphasizes how the top was designed to be layered and how it reflects her love for crocheted vintage-style clothing.