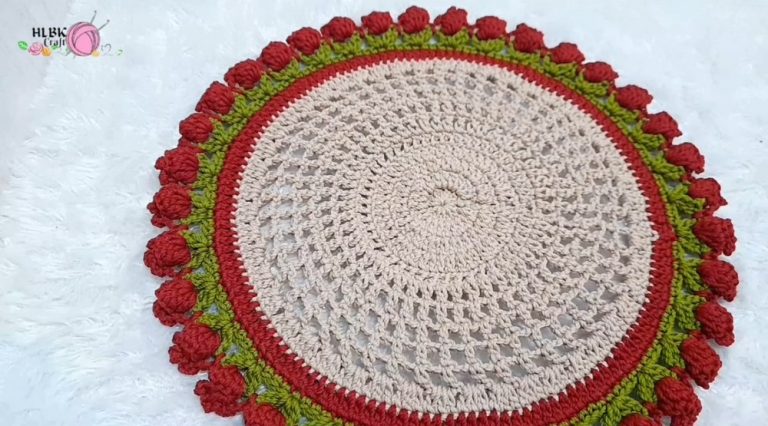
How to Crochet Blooming Rose Bag for Spring

Learn how to crochet a beautiful and beginner-friendly rose bag designed with a lovely rose flower border following a step-by-step tutorial for beginners. The step-by-step instructions guide viewers through crocheting and attaching the handle, resulting in a stunning and functional handmade bag. Perfect for beginners, this project blends creativity with simplicity, perfect for spring.

Crochet Blooming Rose Bag Tutorial
Prerequisite Crochet Stitches
- Basic stitches needed for the project include:
- Slip knot
- Chain stitch
- Single crochet
- Double crochet
- Slip stitch
Step-by-Step Process
1. Creating the Base
- Start with a slip knot, followed by creating a foundation chain based on the desired bag size.
- Work double crochets along the foundation chain, ensuring increased stitches at the edges for rounded shaping.
- Follow a specific pattern of double crochet and increases to shape the base.
- The creator demonstrates techniques to ensure the base is symmetrical and sturdy.
2. Building the Body
- Once the base is complete, begin working rows between the marked edges to form the body of the bag.
- The video explains progressive patterns of single and double crochets, working across multiple rows.

- The creator highlights tips for ensuring even shaping and neat edges as the bag grows in size.
3. Adding the Rose Design
- The roses are crocheted separately using a unique technique:
- Start with a foundation chain and then work into the stitches to form petals.
- The petals curl naturally to create a rose-like shape.
- The roses can be made in either a single color or multiple colors to suit personal preferences.
- After completing the roses, they are attached to specific areas of the bag to create the decorative effect.

4. Folding and Joining the Bag
- The completed rose-decorated fabric is folded into a bag shape.
- The edges are joined using a method of connecting back loops and front loops, ensuring neat seams and durability.
- The creator demonstrates how to turn the bag inside out to refine its final appearance.

5. Creating the Handle
- A separate strap is crocheted using chains and double crochets.
- The length of the strap depends on personal preference or intended use of the bag.
- Two identical straps are made and securely attached to opposite ends of the bag using the sewing technique.

Final Touches
- After attaching the handles, the finished rose bag is displayed.
- The creator concludes by showcasing how the project results in an attractive and functional crochet bag.
- The handmade bag combines utility and aesthetic appeal, making it ideal for gifting or personal use.

Key Features of the Tutorial
- Beginner-friendly instructions with detailed explanations of every step.
- Visual demonstrations of various techniques to ensure clarity.
- Creative use of basic stitches to create intricate designs like roses.
- Practical tips for neat joining and embellishing.

Conclusion
- This rose bag project is presented as an easy yet beautiful crochet design, suitable for all crochet enthusiasts, regardless of their experience level.