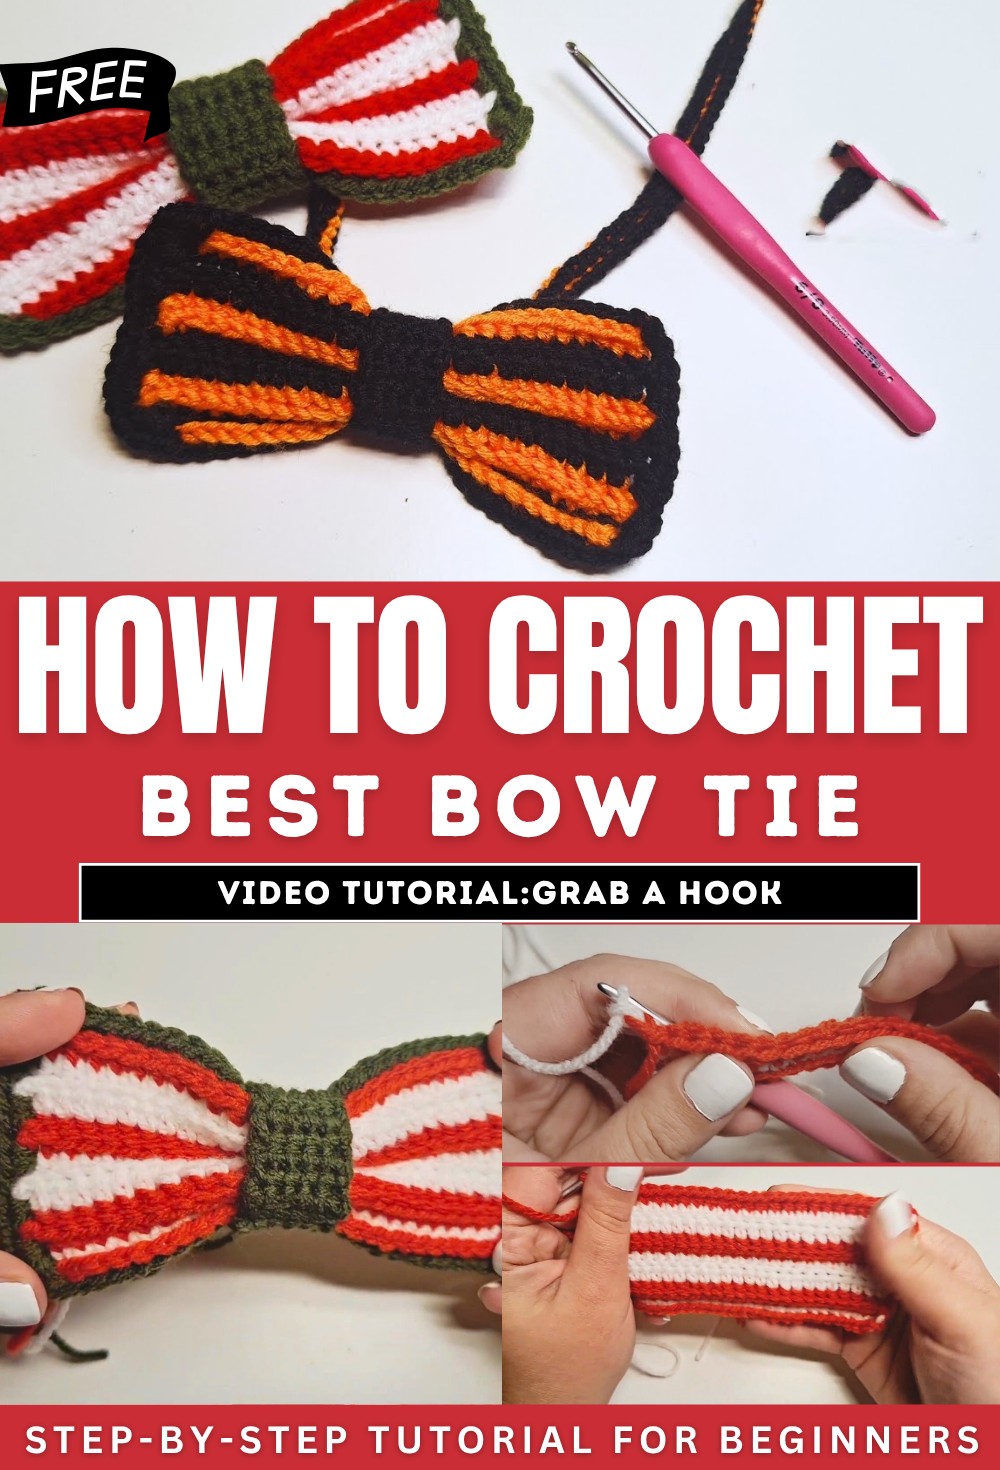
How to Crochet Bow Tie for Beginners
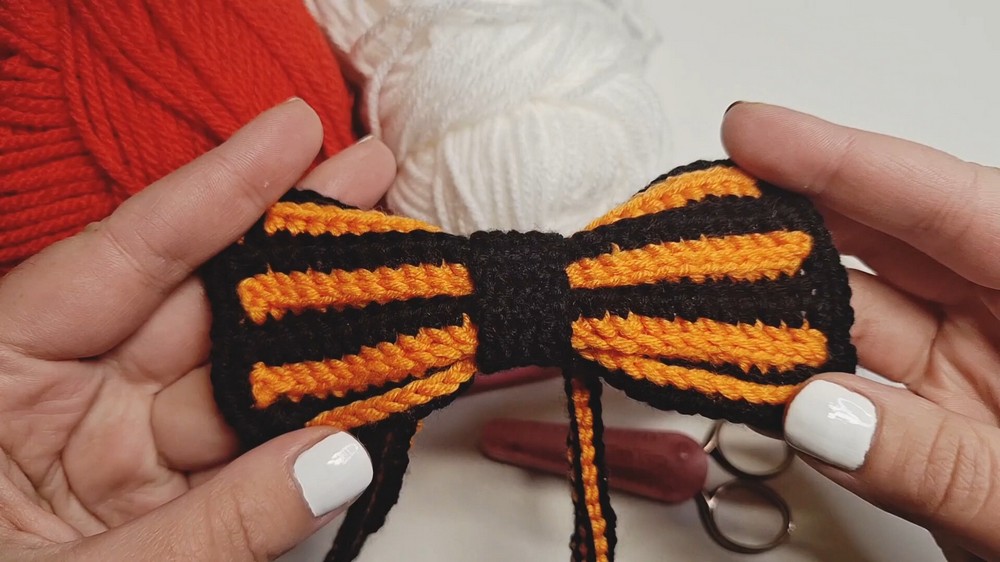
Learn how to crochet a beautiful bow tie using a unique two-string crochet technique for beginners and experts. The step-by-step guide showcases creating a dual-color design with acrylic yarn, optimizing hook size, and crafting intricate stitches like two-strand double crochet.
The video also covers adding an optional third color for a festive look and finishing touches, including single crochet edging and attaching the adjustable strap. So, follow through with us for the complete tutorial.
How to Crochet a Bow Tie
In this tutorial, the creator demonstrates how to crochet a bow tie using her unique two-string crochet technique. This method creates a distinct design with a right and wrong side, making it a versatile and creative project for different patterns and color combinations.
Materials Needed
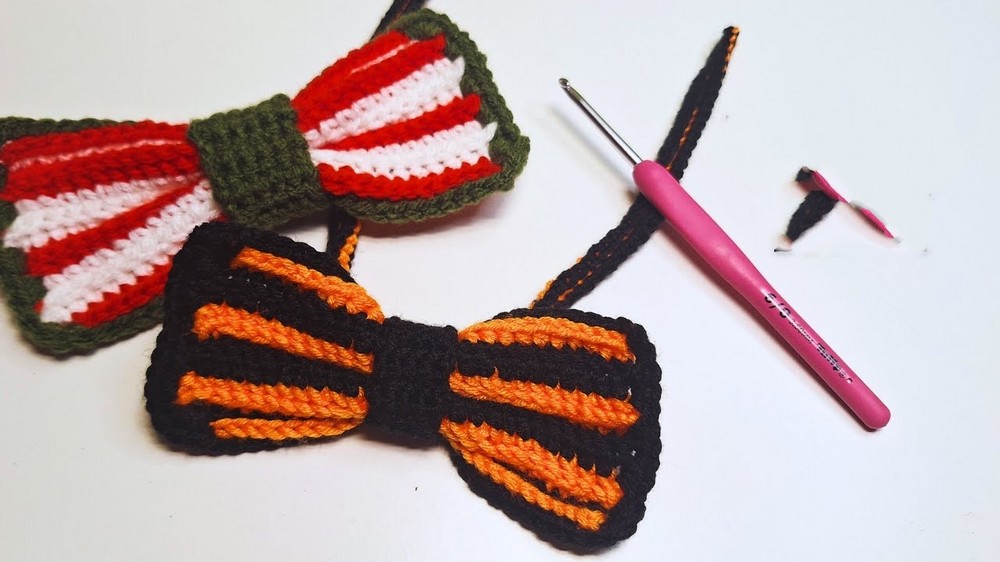
- Yarn: Two to three colors of 100% acrylic yarn. The creator uses red, white, and green for a festive look.
- Crochet Hook: Select a hook that is 1 mm to 2 sizes smaller than what is recommended for your yarn. For example, a 3.5 mm hook is used in this project instead of a 4.5 mm.
- Additional Tools: Scissors and a yarn needle.
Step 1: Creating the Foundation Cord
- Combine two yarn colors by making a slip knot.
- Hold one color as you would traditionally hold yarn, while the other color is positioned between other fingers to keep the strands separate.
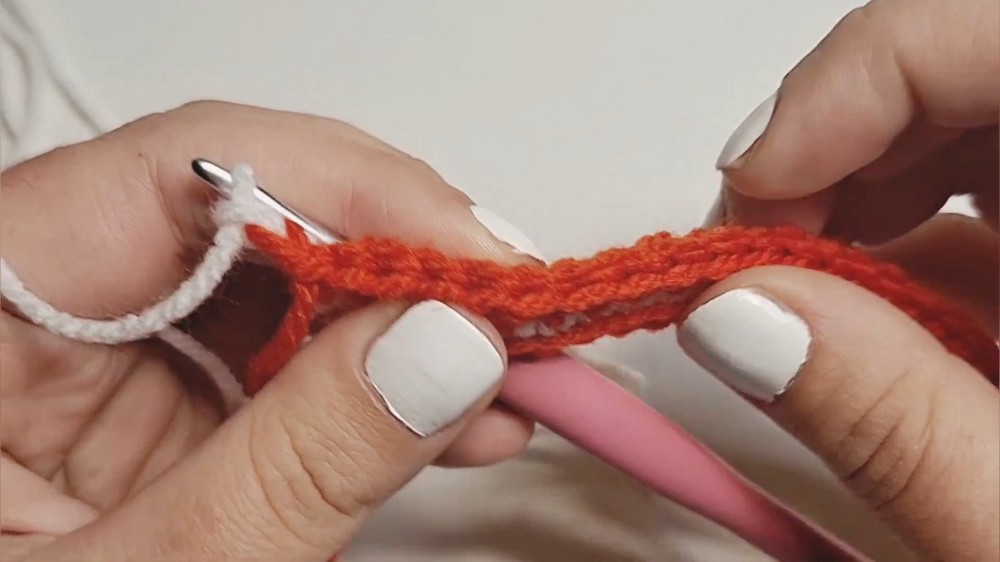
- Use a specific sequence to create the cord, involving moving the bottom yarn over the hook, yarning over with the top color, and pulling through the loops.
Step 2: First Row of Stitches
- Determine where to place stitches along the cord, focusing on the bottom loops of the foundation cord.
- Chain stitches with one color to prepare for height, then begin creating double crochet stitches using both strands.
- Follow a repetitive process to complete the first row, placing double crochet stitches in specified locations.
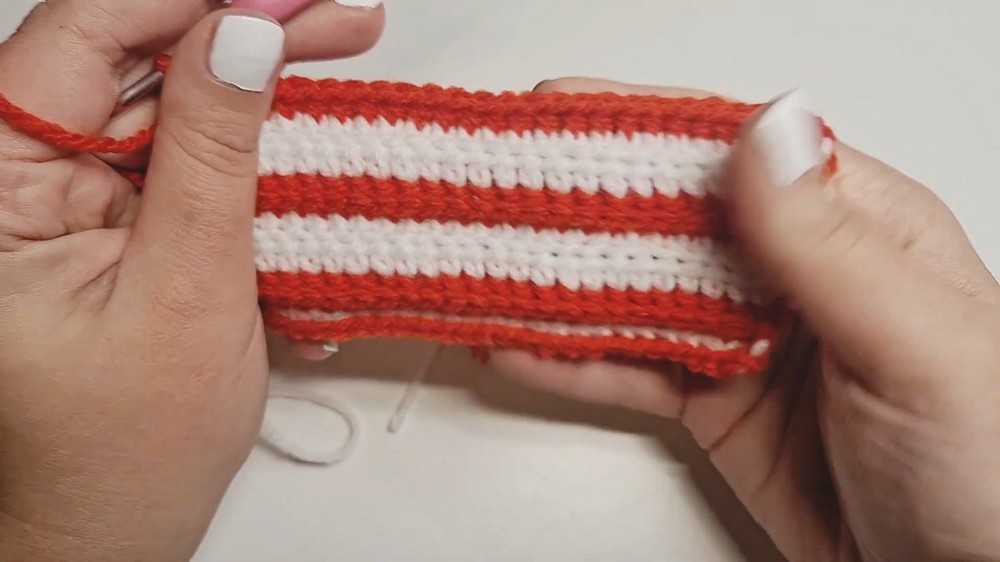
Step 3: Switching Colors
- Switch colors between rows by chaining with the current top color, then bringing the bottom color to the top for the next row.
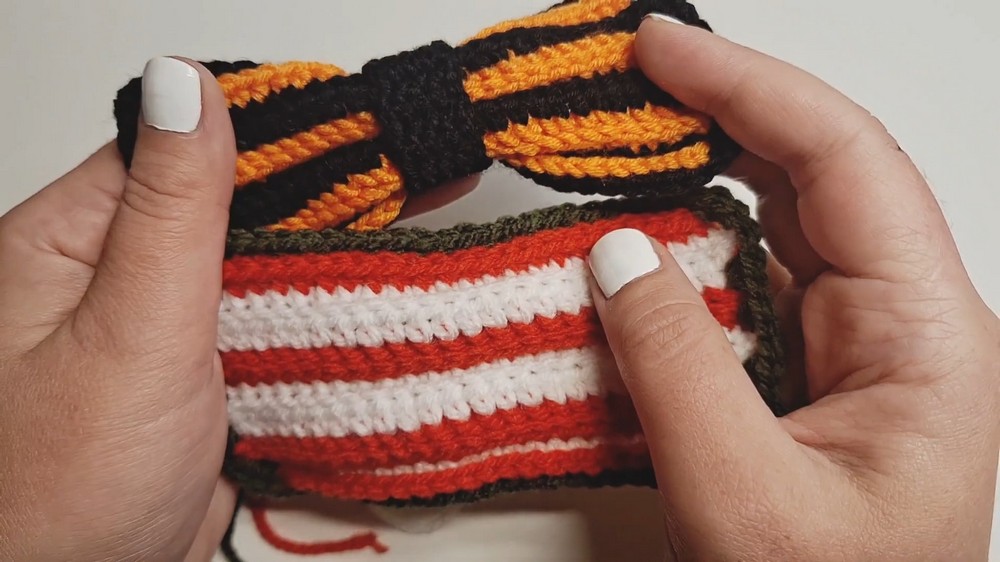
- Alternate colors to create a striped or two-tone effect.
Step 4: Additional Rows
- Create the second row by placing double crochets into the third loop of the stitches from the previous row.
- For the third row, the double crochets are worked into the back loops only.
- Repeat this structure for subsequent rows, alternating between third loops and back loops.
- Add rows as desired for a larger bow tie.
Step 5: Single Crochet Border
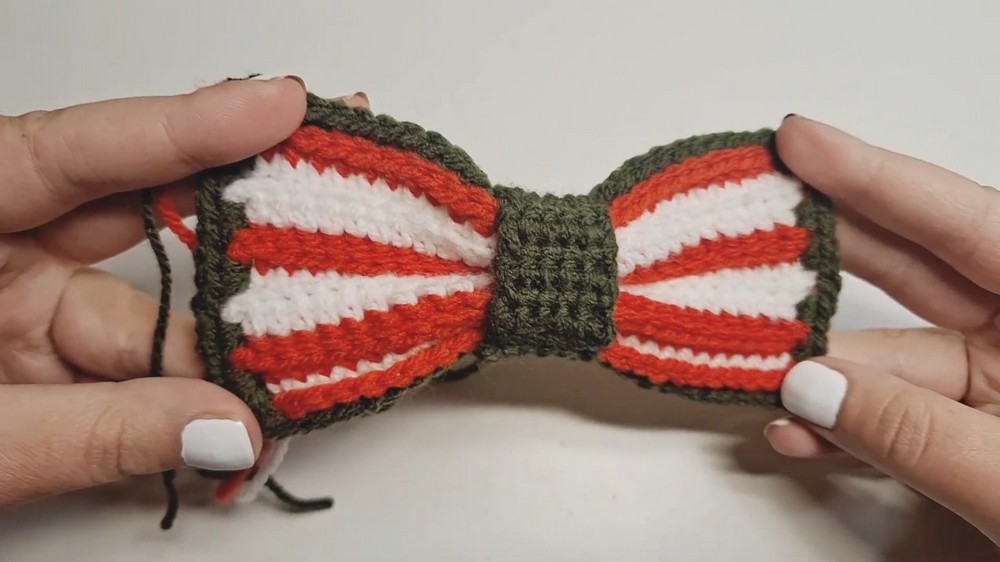
- After completing the rows, fasten off both strands and decide on a border color. The creator recommends introducing a third color for an accent (green in this example).
- Using single crochet stitches, work around the edges of the bow tie. Corners require extra stitches for a clean and structured finish.
Step 6: Finishing and Center Strap
- Create a center strap using single crochet stitches. This strap wraps around the center of the bow tie and is slip-stitched together.
- Adjust the strap to sit snugly in the middle of the bow.

Step 7: Adding a Cord or Attachment
- Decide on a neck attachment. Options include an elastic band, rope, or a crochet cord.
- Attach your choice of strap to the back of the bow tie, threading it under the center strap.
Final Touches
- Secure and weave in all loose ends.
- Adjust the bow tie as needed for symmetrical shaping.
- The finished product is a festive, hand-crafted bow tie perfect for various occasions.