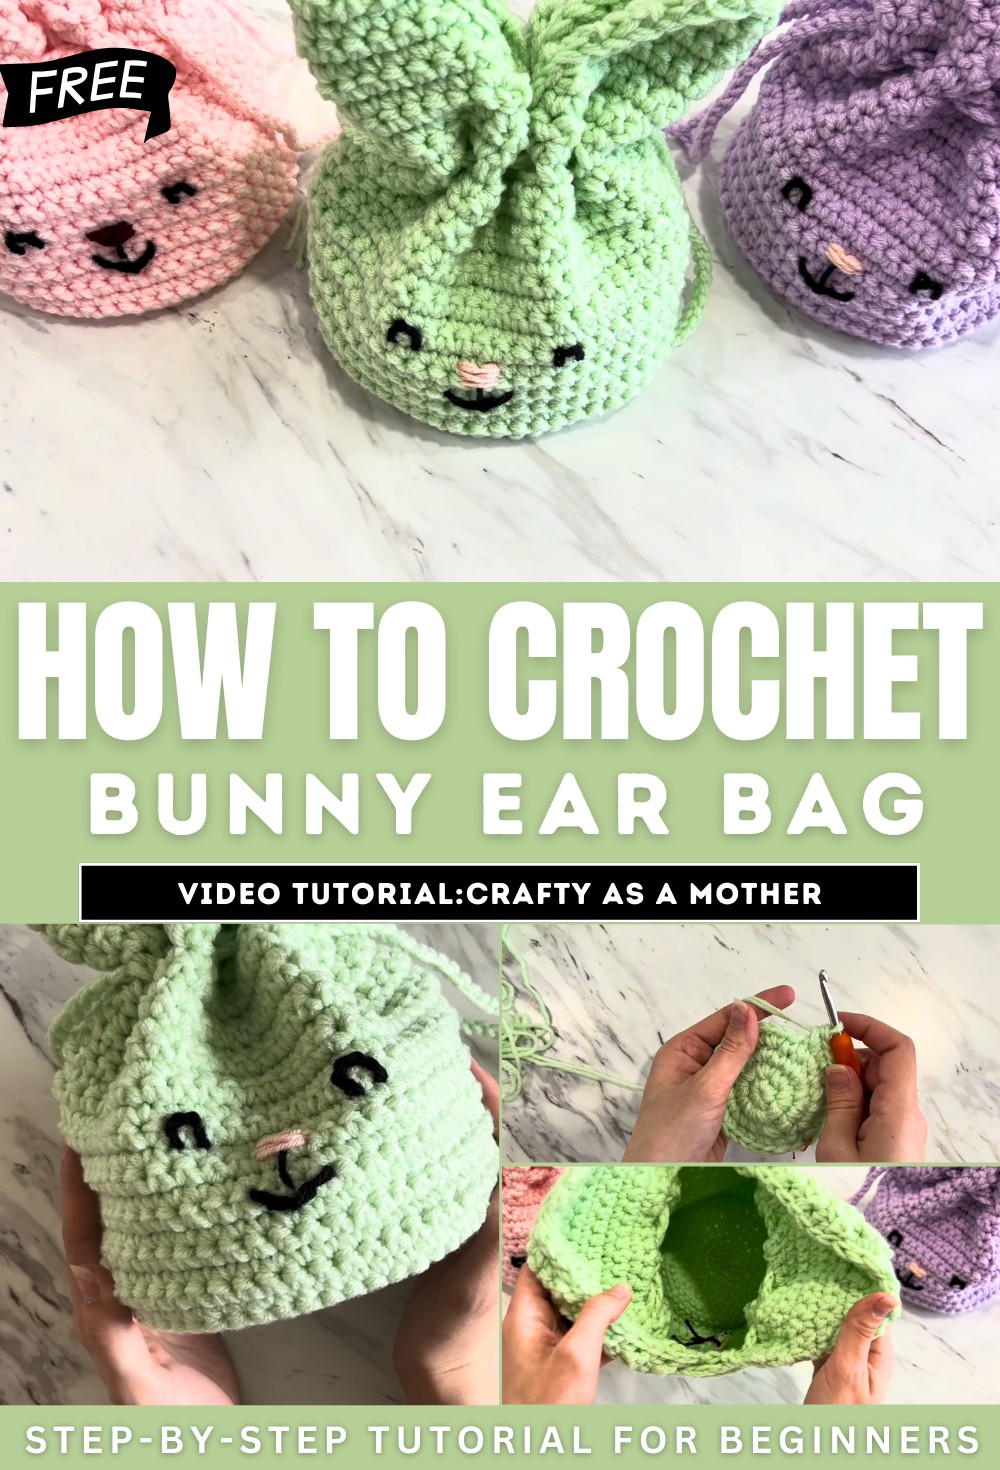
How to Crochet Bunny Ear Bag for Keeping Little Treats
Learn how to crochet adorable bunny ear bags, perfect for storing treats, goodies, or for egg hunts. This beginner-friendly project works up quickly in a day, requiring basic crochet skills like single crochet and slip stitches. Using “I Love This Yarn” from Hobby Lobby, Ashley walks you step-by-step through her clear pattern, which includes crafting the bag’s base, ears, drawstrings, and decorating the bunny face.
With accessible materials and easy-to-follow techniques, this creative project is perfect for adding charm to your Easter celebrations while staying budget-friendly and fun. So, follow through with us for the complete tutorial.
Bunny Ear Bag Crochet Tutorial
This tutorial, led by Ashley from “Craft as a Mother,” provides a beginner-friendly, step-by-step guide on creating an adorable crochet bunny ear pouch. The pouch is designed to hold treats, gifts, or goodies, making it a perfect accessory for Easter celebrations. While the tutorial is suitable for beginners, Ashley recommends that viewers have basic crochet knowledge, such as how to do single crochets and slip stitches. Below is a breakdown of the tutorial into its main steps and key points.
Overview of Materials
To create the bunny ear bag, Ashley lists the following required items:
- Yarn: “I Love This Yarn” from Hobby Lobby (color used: Menth).
- 5mm (H) crochet hook.
- Scissors for trimming yarn.
- Tapestry needle for weaving in ends and constructing the bunny face.
- Stitch markers (paper clips or other tools).
- Black and pink yarn for the eyes, nose, and mouth.
Ashley emphasizes that the project can be worked with just one skein of yarn, by pulling from the inside and outside, but using two skeins can avoid potential tangles.
Bag Creation Steps
Base of the Bag
-
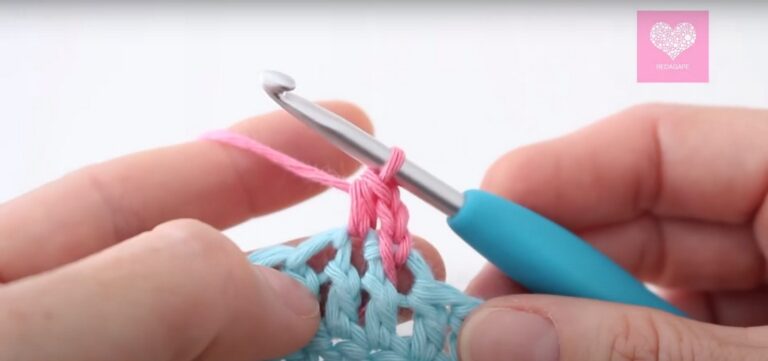
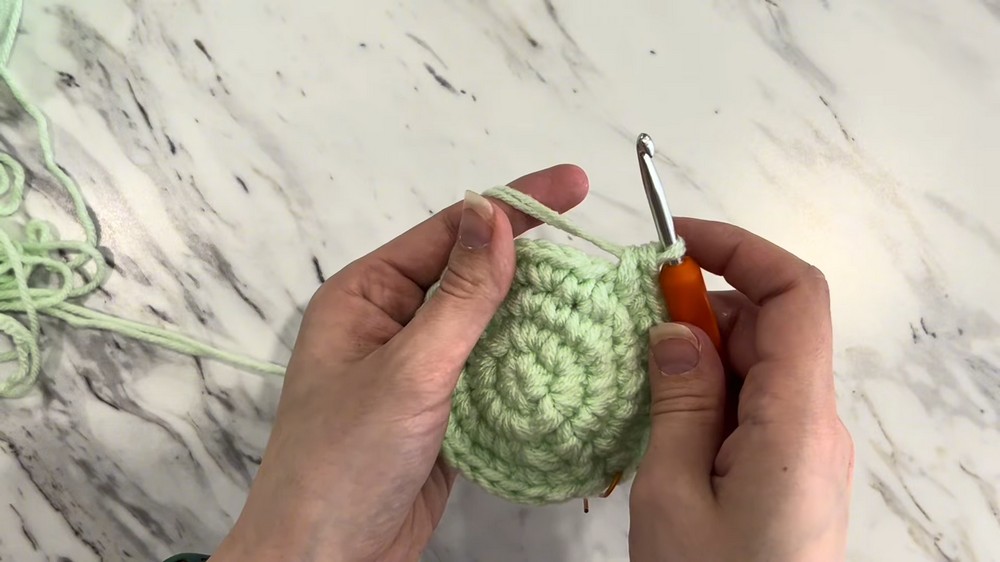
Starting the Magic Ring:
- Begin with a magic ring and make the base circular by crocheting consecutive rows in single crochet.
- The tutorial provides a specific sequence to ensure the base grows evenly.
-
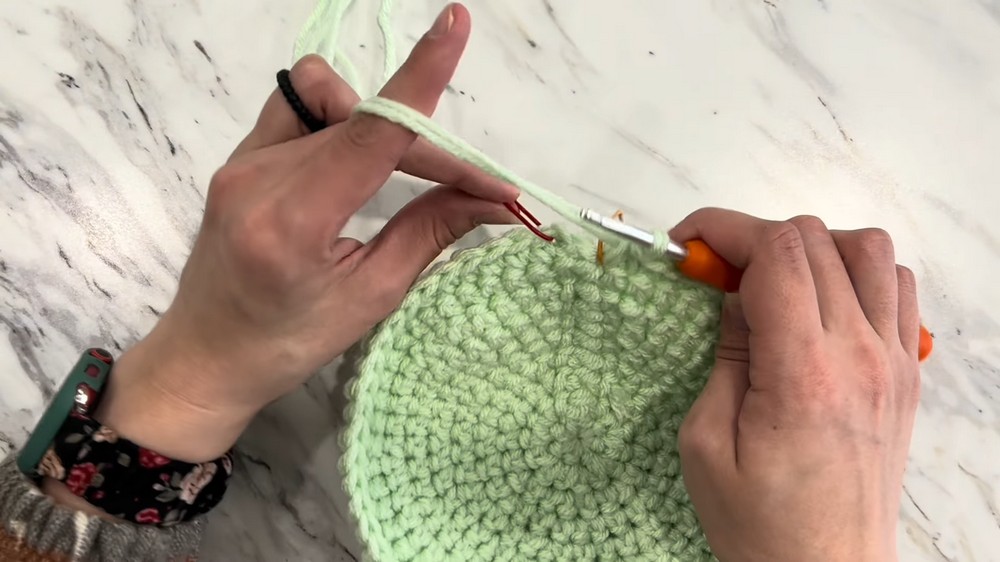
Shaping the Base with Borders:
- A clear border is created by working in the back loops only. This step helps define the circular base and prepares the bag for its height.
- Adjustments for the size and structure are discussed.

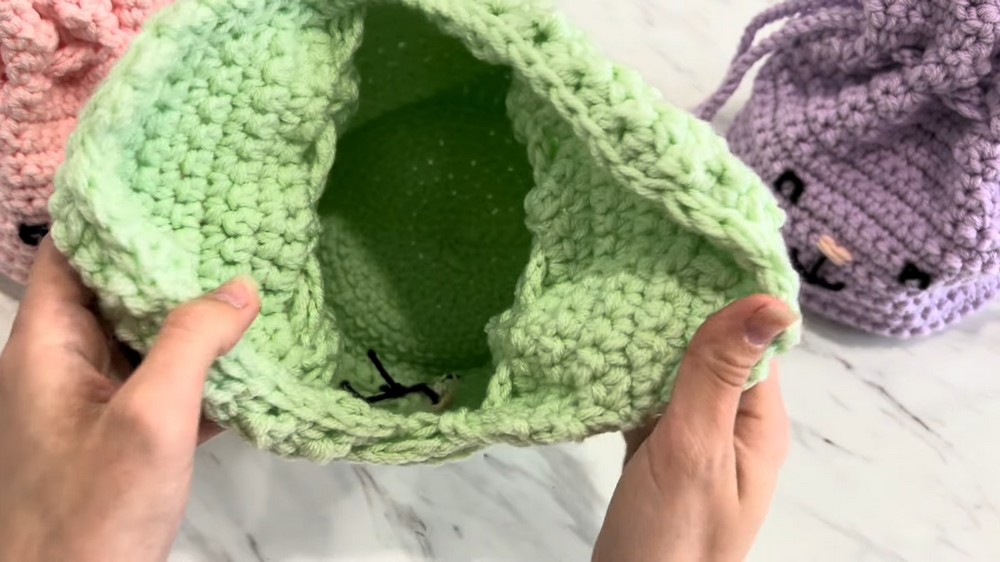
Building the Body of the Bag
- After completing the base, Ashley explains how to crochet rows for the bag’s height.
- She describes turning the work after each row to ensure the bag develops evenly and measurements are consistent.
- A combination of repeat patterns and turning rows achieve the desired height (approximately 6.5 inches).
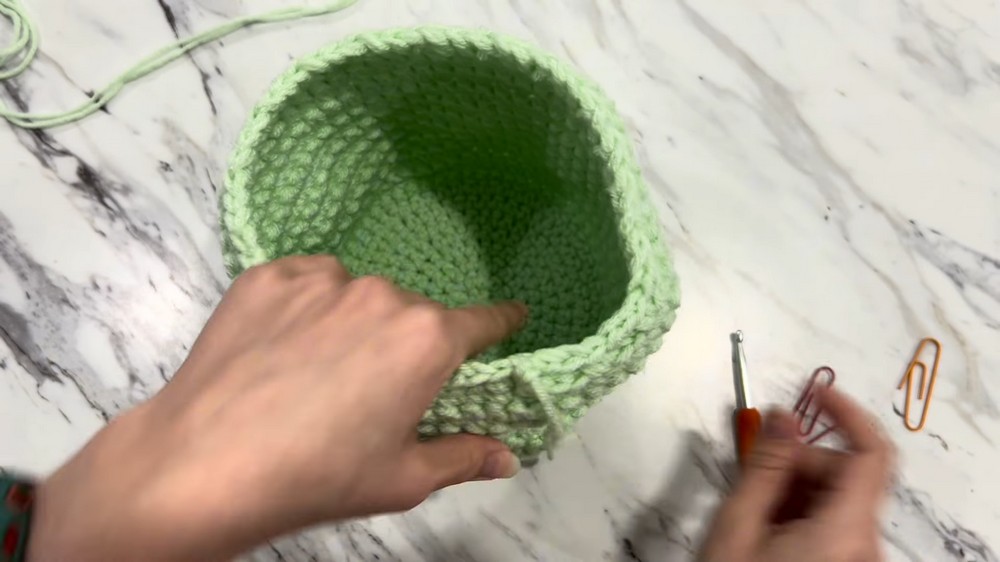
Finishing the Body
- The final row includes strategic stitch skipping and chaining to create holes for the drawstring.
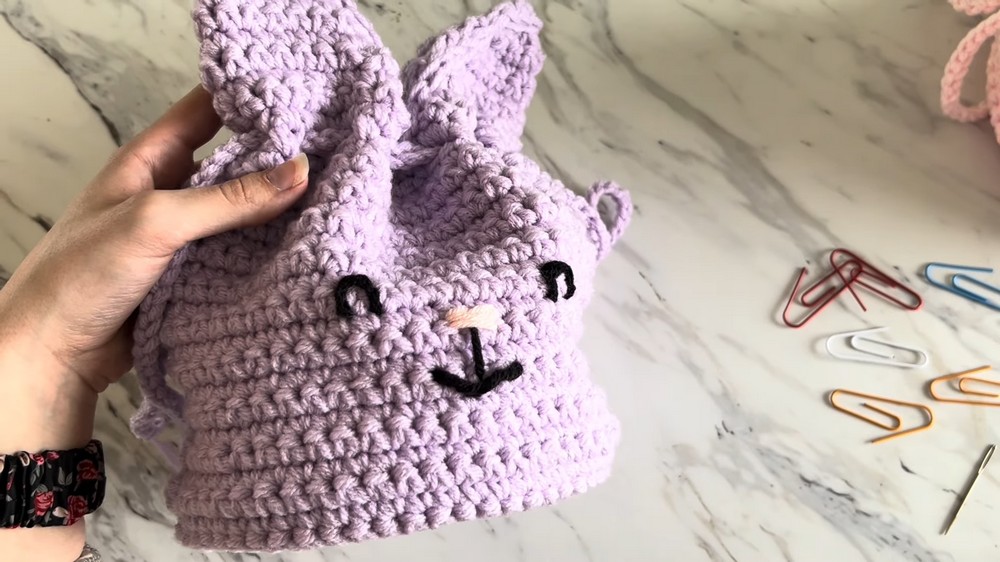
Adding the Ears
Marking the Ear Positions
- Ashley demonstrates how to locate and mark where the bunny ears will be attached using stitch markers.
- The ears are positioned based on the bag’s topmost rows, equally spaced across from one another.
Building Each Ear
- The ears are constructed by crocheting rows, gradually decreasing to create the tapering ear shape.
- A total of six to eight rows complete a bunny ear, with clean edges achieved by slip stitching along the sides.
Bordering the Ears
- A neat border is added to each ear using slip stitches to smooth out irregularities.
Adding the Drawstrings
- Ashley shows how to make two long drawstrings using chains and how to weave them into the bag.
- These drawstrings help close the pouch securely, while also adding to its decorative charm.
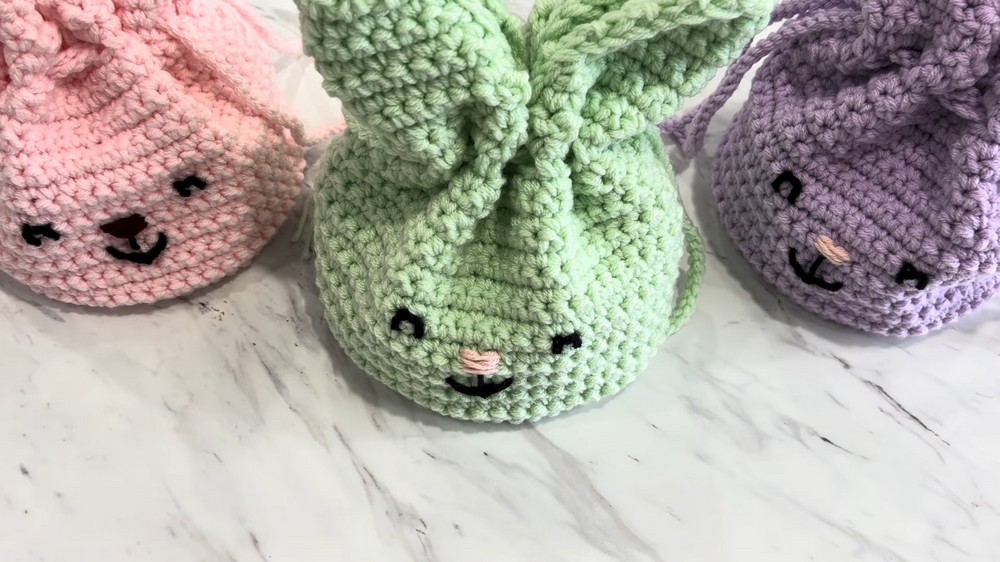
Creating the Bunny Face
Marking Facial Features
- Ashley demonstrates marking the positions for the eyes, nose, and mouth using stitch markers. These markers ensure that the facial features are symmetrically aligned.
Adding the Eyes, Nose, and Mouth
- Using the tapestry needle and yarn, the face is embroidered onto the bag:
- Eyes: Small black ovals.
- Nose: A pink triangle.
- Mouth: Two curved lines for a cute, smiling expression.
Final Steps
- The tutorial concludes with trimming, tightening, and adjusting the drawstrings.
- The finished product is a charming, functional pouch with floppy ears and a cute bunny face, perfect for Easter or as a handmade gift.