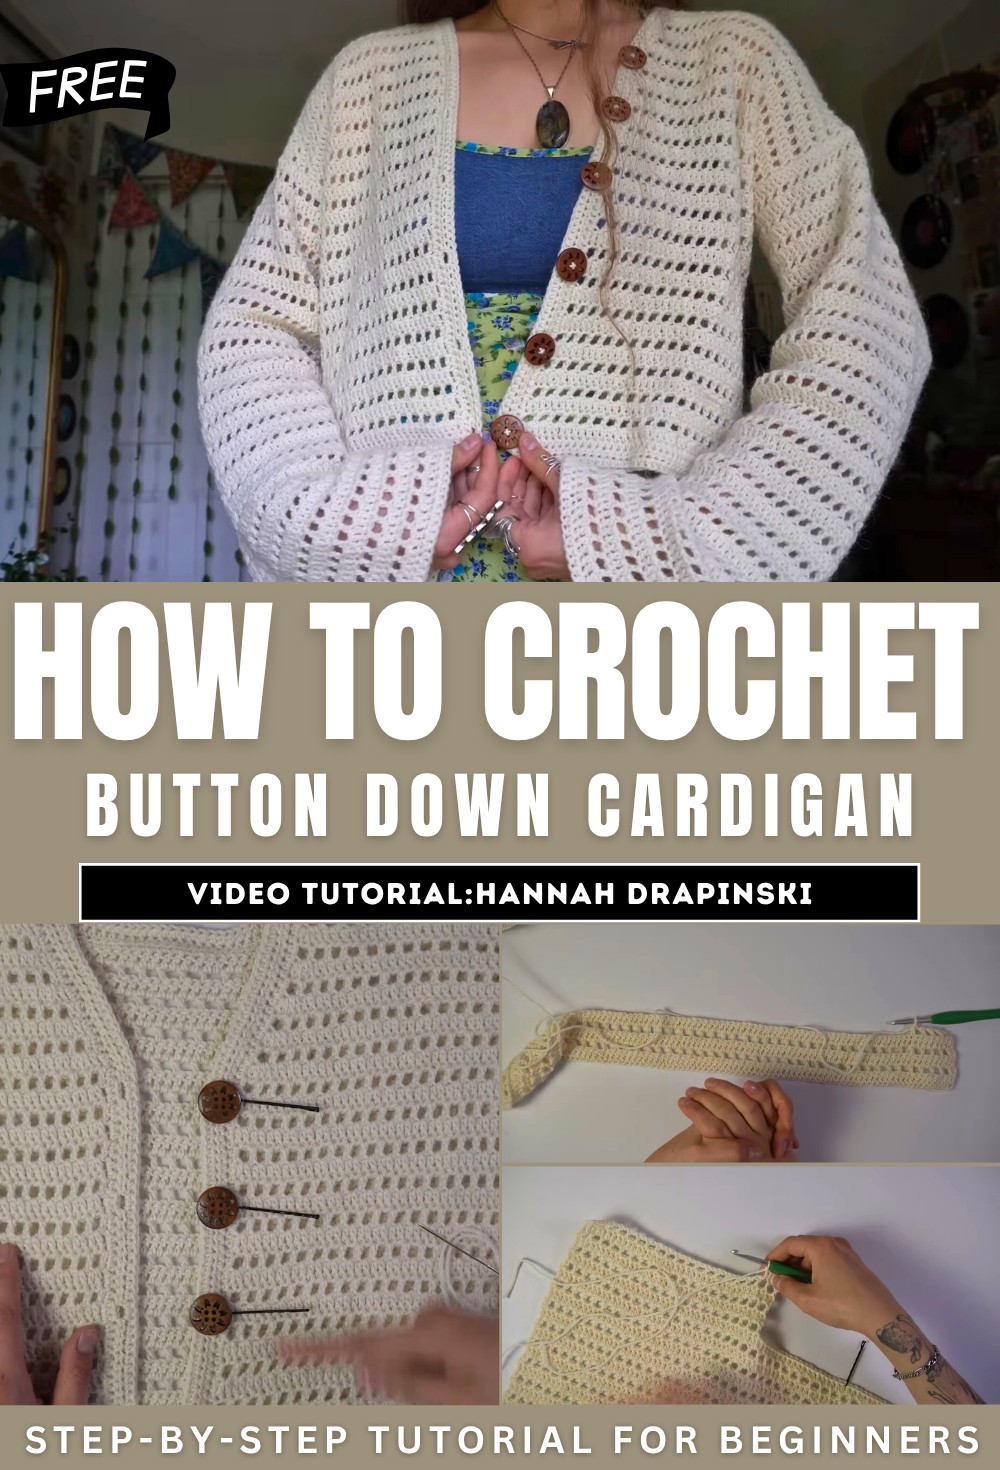
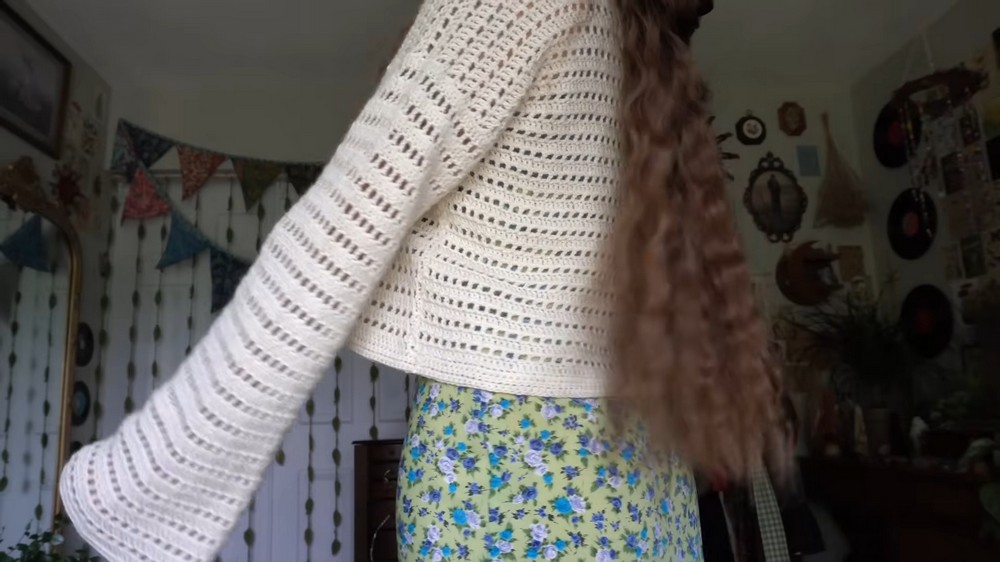
How to Crochet Button Down Cardigan – Beginner Friendly
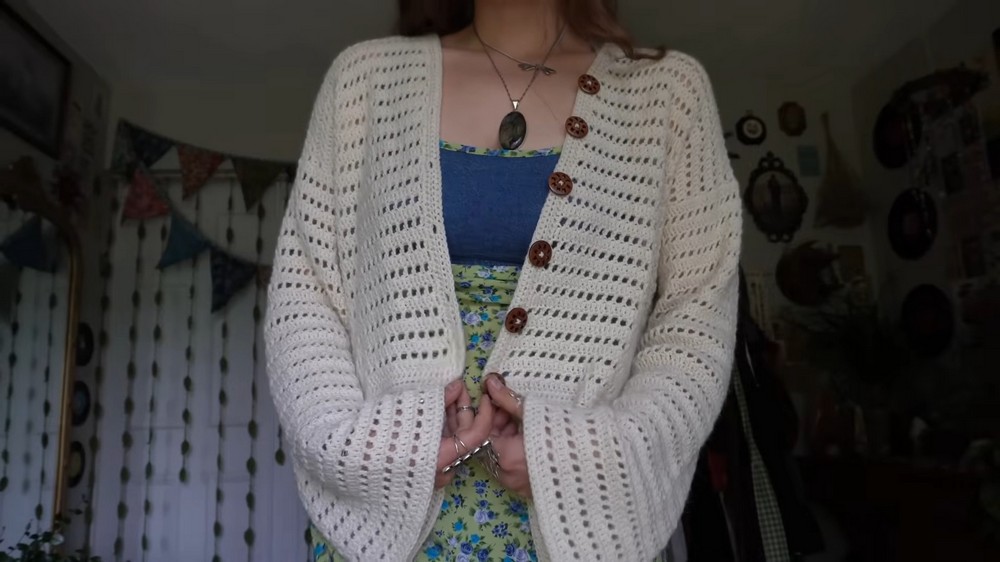
With a stitch-by-stitch tutorial, learn how to crochet a button-down cardigan perfect for beginners. The tutorial covers materials, sizing, and the construction of the back, shoulder, and side panels using a repeating two-row stitch pattern that is easy to follow even for beginners. The creator demonstrates sewing the panels together with a whip stitch and crocheting the sleeves directly onto the armholes.
The tutorial concludes with instructions for adding a half-double crochet border, creating buttonholes, and sewing on the buttons to complete the cardigan. So, follow through with us for the complete tutorial.
Crochet Button Down Cardigan for Ladies
This video provides a detailed tutorial for crocheting a button-down cardigan, a project that the creator previously found intimidating but has simplified for viewers. The tutorial covers the entire process, from materials and sizing to seaming and adding the final touches.
Materials and Sizing
-
Yarn and Hook: The creator uses a DK weight yarn and a 5.5mm hook.
-
Sizing the Cardigan: The video explains how to determine the cardigan’s width by measuring a favorite oversized or form-fitting cardigan. The initial chain count should be an odd number to accommodate the stitch pattern.
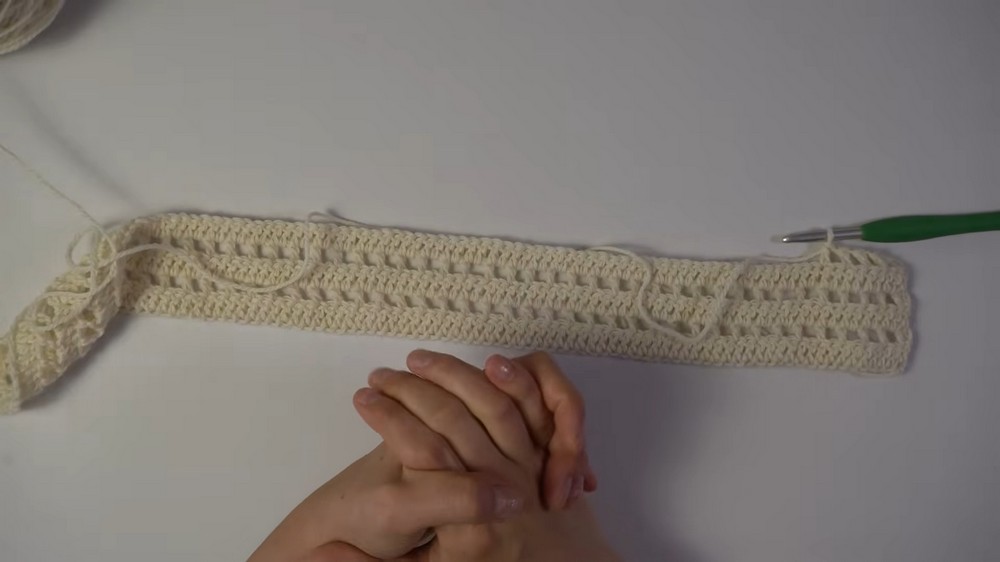
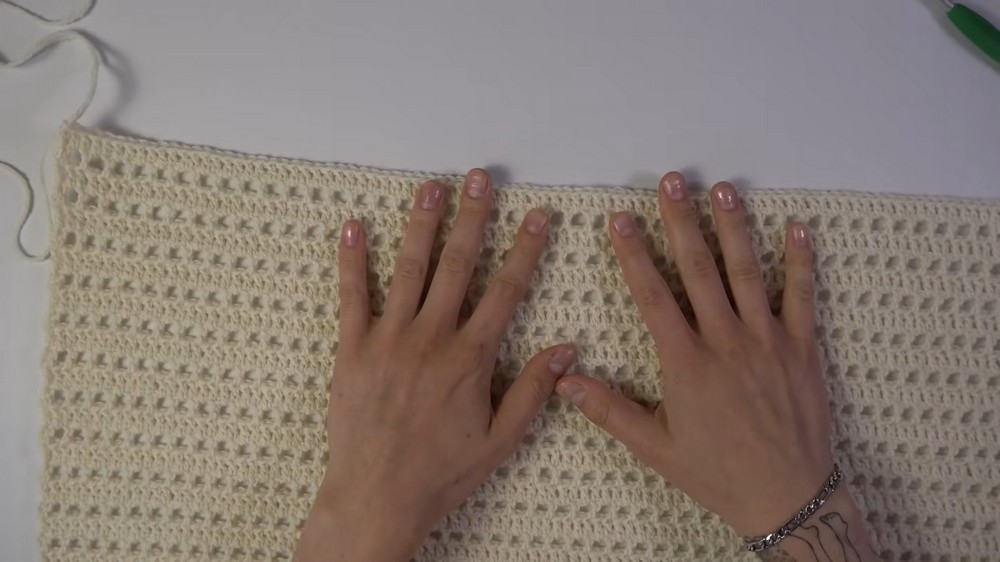
Crocheting the Back Panel
The back panel is the foundation of the cardigan and is made by repeating two main rows:
-
Row 1 (Non-Mesh): One double crochet in every chain.
-
Row 2 (Mesh): Double crochet, chain one, skip a stitch, and repeat across the row.
The creator recommends alternating between these two rows until the desired length is reached, making sure to end on a non-mesh row.
Adding Shoulder and Side Panels
-
Sectioning: The creator demonstrates how to use stitch markers to section off the back panel for the shoulders and neck opening.
-
Shoulder Panels: The same two-row repeat is used for the shoulder panels, which are worked for about five rows and must end on a mesh row.
-
Side Panels: The side panels are created by increasing stitches at the neck edge to create a proper fit and allow the front to meet for buttons. Increases are made by placing two double crochets in the first two stitches of non-mesh rows for one side panel and in the last two stitches for the other side panel.
Seaming and Sleeves
-
Seaming Panels: The panels are seamed together using a whip stitch. The creator suggests leaving a specific opening for oversized sleeves.
-
Crocheting the Sleeves: The sleeves are then crocheted directly onto the armholes in the round, using the same two-row repeat pattern and an even number of stitches.
Border and Buttons
-
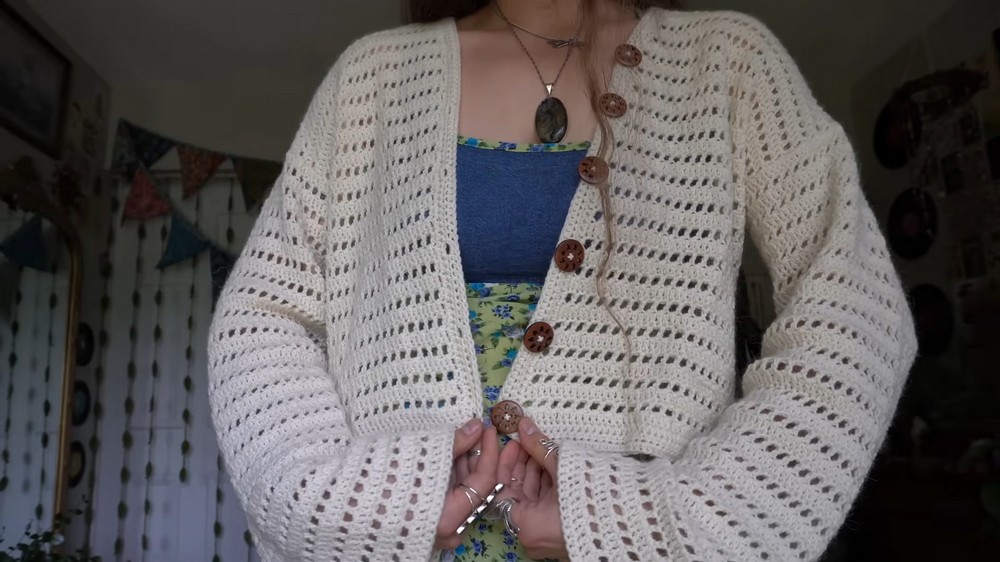
Adding a Border: A border is added around the entire cardigan using a smaller hook and half-double crochets.
-
Creating Buttonholes: Buttonholes are created on the second row of the border by chaining and skipping stitches. The creator advises making the buttonholes a tight fit for the buttons.
-
Sewing on Buttons: The tutorial concludes with instructions on how to sew the buttons onto the opposite side, ensuring they are aligned with the buttonholes for a finished look.