How to Crochet Cute Mini Kitty Hat Keychain for Beginners

Learn how to crochet a small, cute cat hat with a step-by-step tutorial for beginners and experts. The tutorial breaks down the process into several sections, starting with the base of the hat, which is created using a magic ring and single crochets with increases to form the shape. The video then demonstrates how to change yarn colors to create a patterned design on the hat and explains how to add the cat’s ears by crocheting them separately and then attaching them with slip stitches.
Finally, the tutorial concludes by showing how to shape the top of the hat with decreases and how to finish and secure all the loose ends. So, follow through with us for the complete tutorial.

Crochet cute mini Kitty Hat
The video demonstrates how to crochet a cute cat hat. The recommended hook size is 2.25 mm. The tutorial begins with creating a magic ring as the foundation.
Starting the Base
Magic Ring
- Create a magic ring and secure it with one chain.
- The magic ring serves as the base for the first round of stitches.

First Round
- Work single crochet stitches into the magic ring.
- Close the magic ring tightly to form a small circular base.
- Complete the round by using a slip stitch to secure the stitches and chain one to begin the next round.
Second Round
- Introduce the single crochet increase technique:
- Work two single crochet stitches into the same stitch.
- Repeat this pattern around the ring to expand the base.

Third Round
- Alternate single crochet stitches with single crochet increases to create a more rounded base.
Fourth Round
- Adjust the sequence:
- Repeat two single crochet stitches followed by a single crochet increase.
- Continue crocheting to ensure the ring expands uniformly.

Creating the Base Body
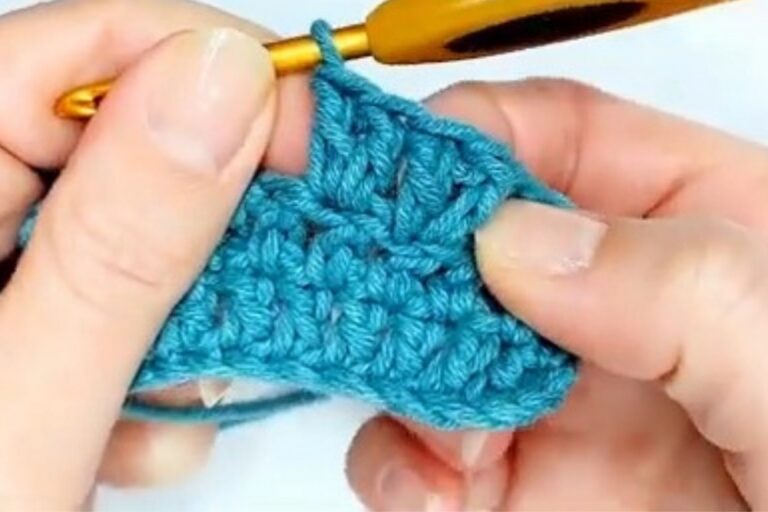
Single Crochet Rounds
- Work several rounds of single crochet stitches around the ring.
- These rounds create the height and structure for the hat.
Adding Color and Shaping
Switching Yarn Colors
- Introduce a new yarn color to accentuate the design.
- Work slip stitches in the current color before transitioning to the new color.
- Secure the new yarn color and carry the unused yarn strands along as you crochet.

Half Double Crochet and Double Crochet Increases
- Incorporate half double crochet increases into the design for added texture.
- Use double crochet increases to further shape the project.
- Repeat these patterns to create the main structure of the hat.
Creating the Ears
First Ear
- Begin at the top area of the hat.
- Work chains and crochet stitches (single crochet, half double crochet) to form the triangular ear shape.
- Slip stitch into the hat to secure the ear and weave the ends.

Second Ear
- Start from the opposite side of the hat, entering from the bottom area.
- Follow the same sequence as the first ear using chains and crochet stitches.
- Fasten off the yarn and tidy the ends carefully.
Adding the Top Knot
- Create chains to form the knot at the top of the hat.
- Incorporate crochet increases for volume and decreases for shaping.
- Secure the knot and glue it to the top of the hat using a hot glue gun.
Final Touches
- Weave in all loose ends from the project for a cleaner finish.
- Double-check the stitches and positioning of the ears and knot for symmetry.