
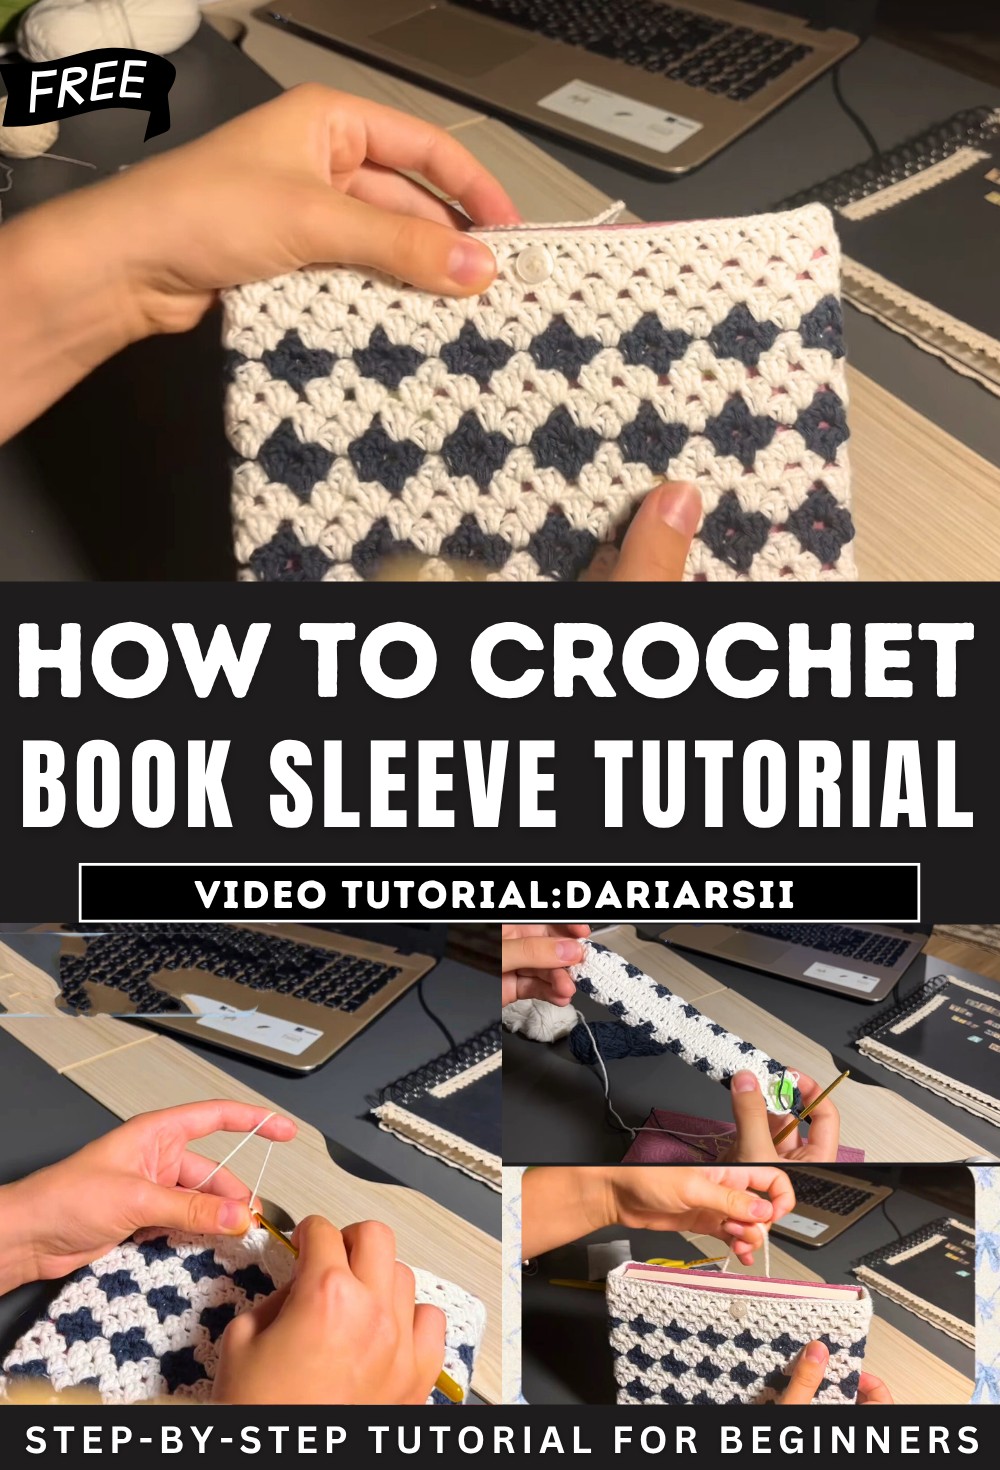
How to Crochet Checkered Book Sleeve for Beginners
Learn how to crochet a beautiful and functional checkered book sleeve, perfect for protecting your favorite reads in a handmade style. The video covers everything from selecting the right yarn to mastering techniques like chain stitches, double crochets, and changing colors, while crocheting a textured sleeve. With clear, step-by-step guidance and helpful tips for customization, it’s ideal for beginners!
Book Sleeve Crochet Tutorial

The tutorial is a beginner-friendly crochet project designed for creating a beautiful and functional book sleeve. Perfect for book lovers, this project protects books with a handmade touch. The video provides clear, step-by-step guidance, ensuring that even beginners can follow the process confidently.
Materials Needed
- Yarn: Two different colors of yarn; the video suggests 100% cotton yarn.
- Hook: A 3mm crochet hook (or one appropriate for the yarn type, as indicated on the yarn label).
- Accessories: A cross-stitch needle and the specific book for which you are making the sleeve.
Starting the Project
-
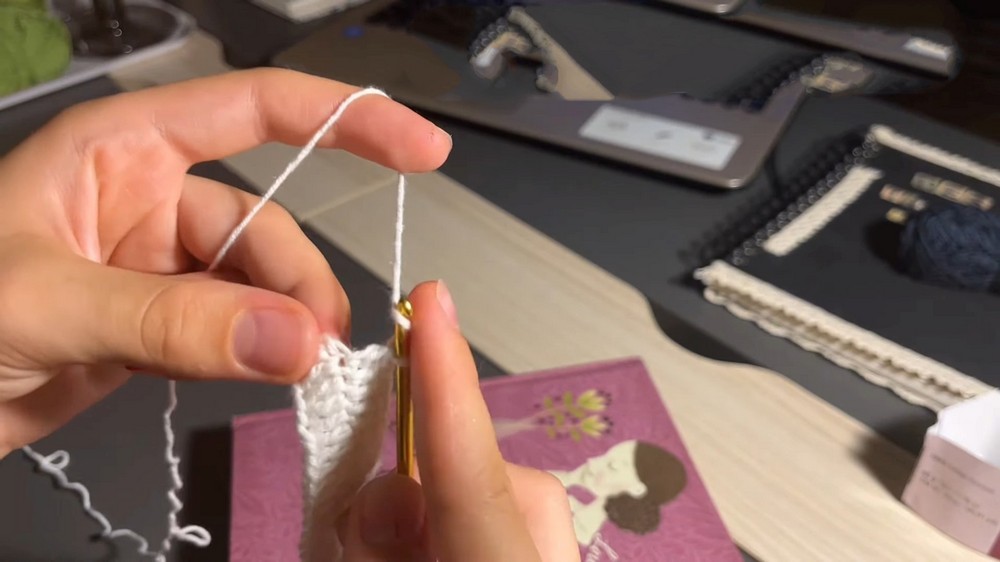
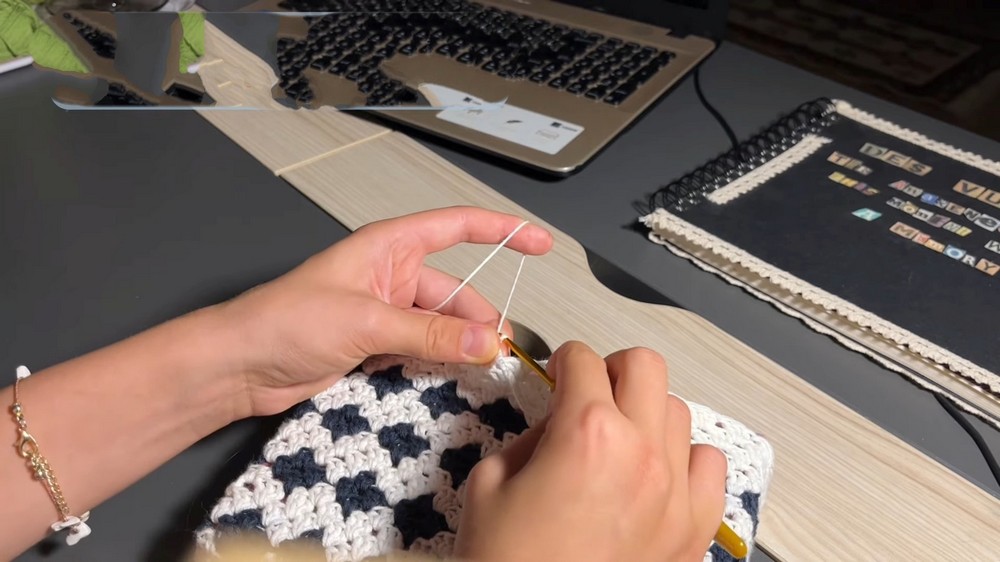
Creating a Slip Knot and Foundation Chain:
- The tutorial explains how to create a slip knot and make chain stitches.
- A long chain is created to match the length of the book, ensuring it is a perfect fit.
- Tips are provided for adjusting the chain length to ensure consistency with the overall pattern.
-
Foundation Considerations:
- The foundation chain must align with specific multiples to maintain symmetry in the final design.
First Row: Double Crochets
- The video teaches how to work double crochet stitches into the foundation chain.
- Focus is placed on maintaining even tension and creating a consistent pattern.
- Rounded corners are added by working multiple double crochets into key stitches, allowing the work to turn and continue on the opposite side.
- The row is completed with a slip stitch to join and secure the work.
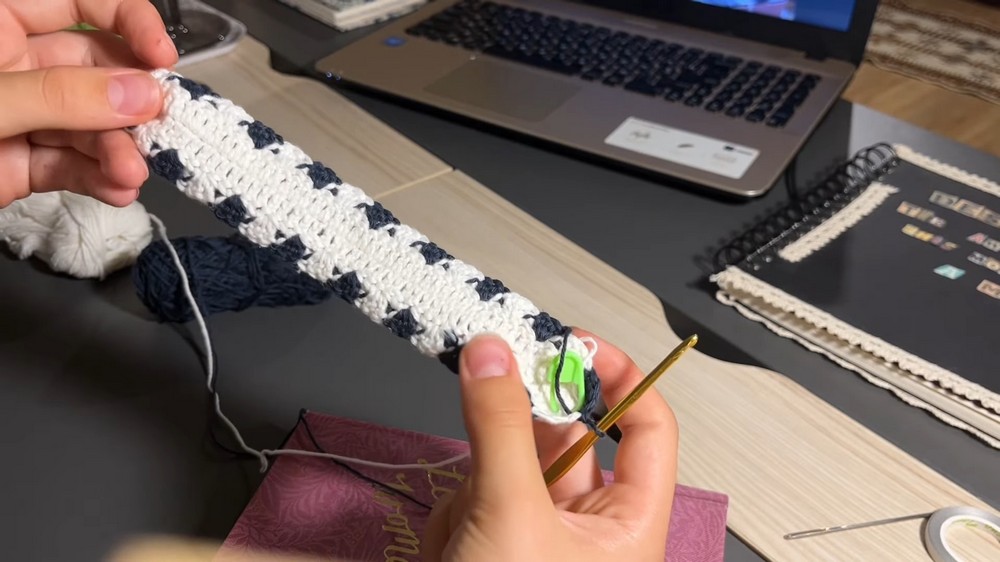
Second Row: Color Changes and the Textured Pattern
- The new row begins with chains that serve as the first double crochet of the row.
- Color-changing techniques are introduced for creating a stylish textured pattern alternating between the two yarn colors.
- Tip: Leaving two loops on the hook before switching colors ensures the transition is smooth.
- Yarn tails from color changes are hidden by crocheting over them for a neat finish.
Subsequent Rows: Building the Sleeve
- Repetitive Pattern in Rows 3 and 4:
- Rows alternate between maintaining the same color and introducing color changes.
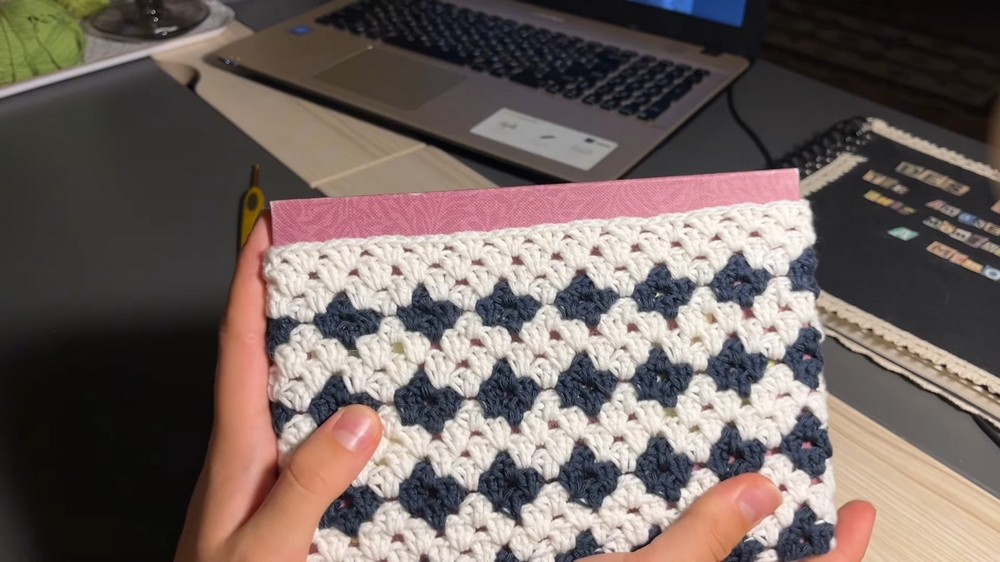
- Double crochets are consistently worked into gaps formed by the previous row’s stitches, creating a textured design.
- Creating Length:
- Rows are repeated until the sleeve reaches the desired height to fit the book.
- Solid rows (without the textured pattern) can be added for design variety.
Final Touches
-
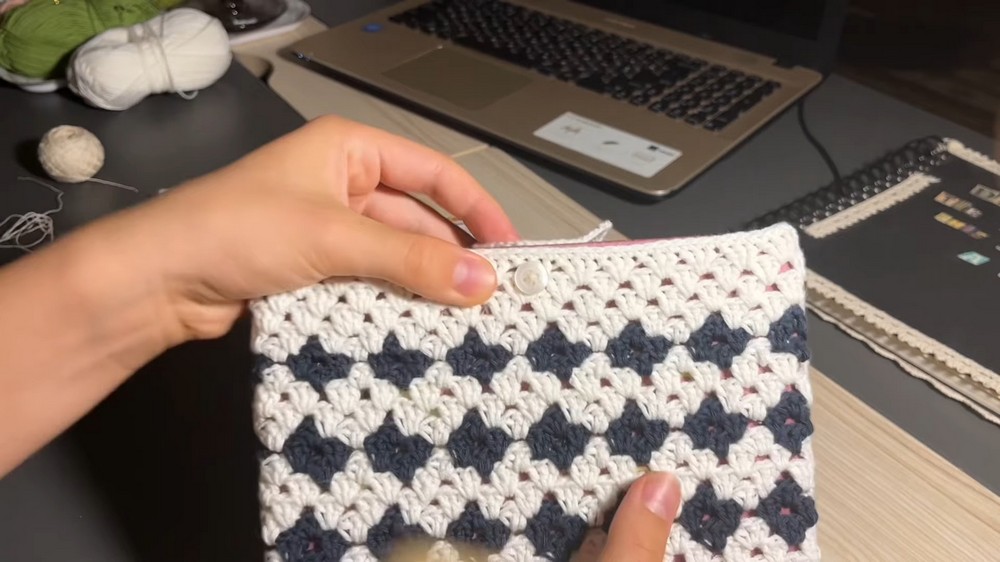
Adding a Clasp:
- A clasp is created by chaining stitches and attaching them securely across the top center of the sleeve.
- Edging is added for a polished look using single crochet stitches.
-
Seaming the Bottom:
- The bottom of the sleeve is sewn shut using a cross-stitch needle.
- This creates a neat and snug fit for the book inside.
Conclusion
- The tutorial concludes with a beautifully finished crochet book sleeve.
- Viewers are encouraged to customize the design with different colors and textures.
Enjoy your handmade book sleeve and embrace the joy of crocheting!


