How To Crochet Checkered Card Pouch (Tutorial for Beginners)

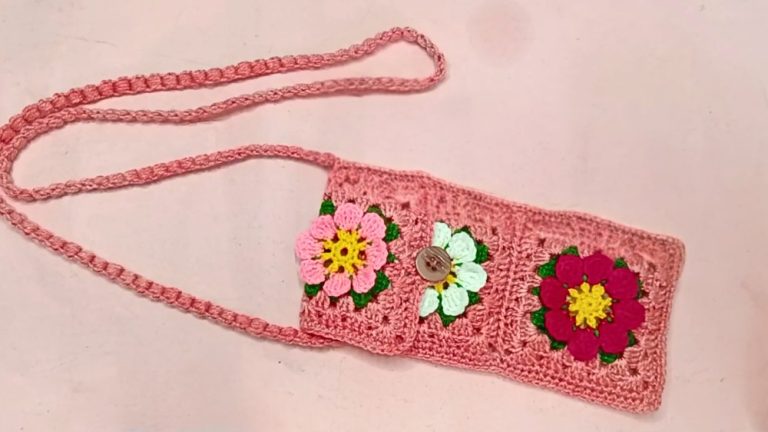
In this post, you’ll learn how to crochet a checkered card pouch in a modern finish perfect for Christmas cards with a step-by-step tutorial from Chorshan. The pouch features a checkered pattern tried with 5 colors available, created by alternating colors. Instead of zipper, tutor prefers button closure for it for a bit of classical look.
This pouch is not only functional but also a great way to practice color changes and improve working flat. It is also easily customizable for both size and design. The complete guide will be available at the end of this post.

Skills Used: Single crochet, slip knot, back-loop-only double crochets, and alternating color changes to form a checkered design. Additional skills such as using stitch markers for precision, attaching a button closure, and neatly hiding yarn ends are integral for creating a polished pouch.
Guide Span: 20 Minutes Only
Personalization Tips: This crochet checkered card pouch will be crocheted using two colors: one your preferred and the white for the background. You can also choose popular colors of Checkered other than what tutor shows including red and green. Adjusting the number of rows or stitches can also modify the pouch size to fit different needs.

Crochet Checkered Card Pouch Tutorial
This crochet card pouch tutorial provides ways of both learning the basic checkered technique while resulting a practical and stylish item that is also great for gifting. Here is a quick overview of this guide:
- Base Setup: Begin with 27 chains, followed by rows of single crochets to establish the pouch base.
Use stitch markers to keep track of rows and corners for accuracy. - Creating the Checkered Pattern: Alternate colors every four stitches while working back-loop-only double crochets. Ensure neat color transitions by hiding the unused yarn behind your work.
- Building the Body: Continue alternating rows of double crochets and back-loop-only double crochets for a consistent checkered effect. Maintain 52 stitches per row and track progress with stitch markers.
- Finishing Touches: Add single crochets around the edges for a clean finish. Attach a button to the pouch center and crochet a chain loop for closure. Secure and hide excess yarn for a professional look.

Stitches Used
Following are the stitches required for crocheting this checkered card pouch as recommended by the tutor:
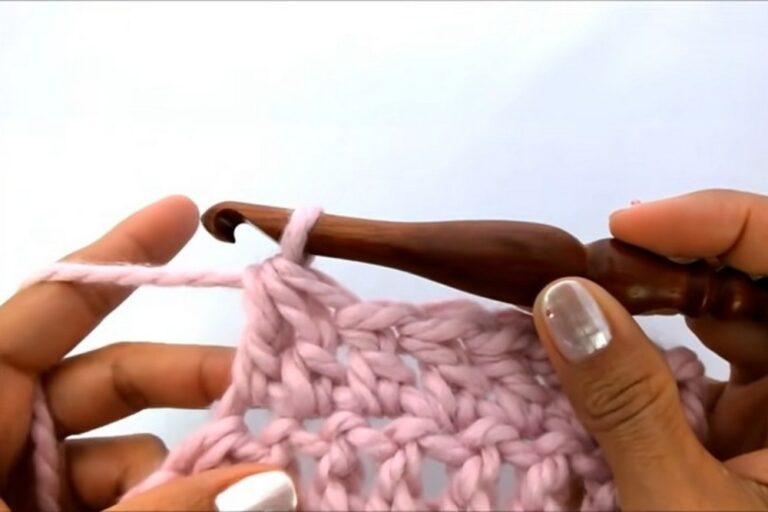
- SC (Single Crochet): Insert hook into stitch, yarn over, pull through, yarn over again, and pull through both loops on the hook.
- DC (Double Crochet): Yarn over, insert hook into stitch, yarn over, pull through (three loops on hook), yarn over again, pull through first two loops, yarn over once more, and pull through the remaining two loops.
- BLO (Back Loop Only): Insert hook into the back loop of the stitch only, yarn over and complete stitch as usual.
- Ch (Chain): Yarn over and pull through the loop on the hook.

Video Guide
https://youtu.be/GRXeP9KoTi0