How to Crochet Cherry Baby Purse for Kids

In this post, learn how to crochet a cherry baby purse designed for beginners following a step-by-step tutorial. It covers materials like 4-ply wool and a magnetic button, and guides through crocheting the purse base and body with specific hook sizes. The tutorial also demonstrates adding a white flap with a decorative border, attaching the magnetic button, and creating charming cherry embellishments for a complete and adorable accessory. Follow through with us for the complete tutorial!

Crochet Baby Purse Tutorial
The video begins by showcasing the finished baby purse, highlighting its cute design. The purse’s dimensions are provided: approximately 5.5 inches in height and just under 4.5 inches in width, with a 14-inch belt.
Materials Used
The creator uses two strands of 4-ply wool together and a 3.5 mm crochet hook. A magnetic press button is also required for the purse closure.
Crocheting the Purse Base
The tutorial starts with making a slip knot and chaining a specific number of stitches. The first row is made with single crochet stitches, skipping a few chains and working into the next. The creator explains how to increase stitches at the corners to form the base of the purse.
Building the Purse Body
After the first row of single crochet, the rest of the purse body is made using double crochet stitches. The creator explains how to increase stitches in the second row to reach a total number of double crochet stitches, which will be maintained for the subsequent rows. A total number of rows of double crochet are made for the main body.

Adding the White Flap
A white flap is added to the purse using single crochet stitches. The creator marks the starting and ending points for the white section, which spans a certain number of stitches. A total number of rows are crocheted for this flap.

Creating the Decorative Border
A decorative border is added around the white flap using a single strand of yarn and a smaller 3 mm crochet hook. The border consists of puff stitches, with instructions on how to create them and space them out.

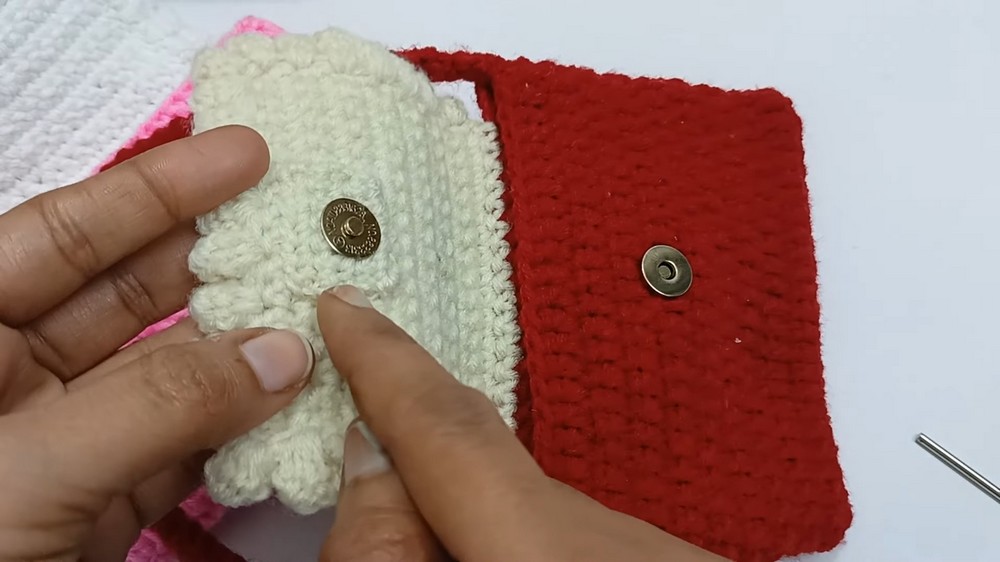
Attaching the Magnetic Button
The video demonstrates how to attach the magnetic press button to the purse. A small crocheted circle is made to cover the back of the button for a neat finish and to prevent it from snagging.
Making the Cherry Embellishment
Two crocheted cherry-like balls are made to decorate the purse. The process involves creating a small ball with single crochet stitches, stuffing it with cotton, and then closing it. Leaves are also crocheted and attached to the cherries.

Assembling the Cherries and Attaching Them to the Purse
The two cherry balls are joined together and then securely attached to the purse using a needle and thread, with an option to use glue for extra security.

Attaching the Belt
The video mentions that the belt was pre-made and refers viewers to another video on their channel for instructions on how to make it. The belt is then attached to the purse.