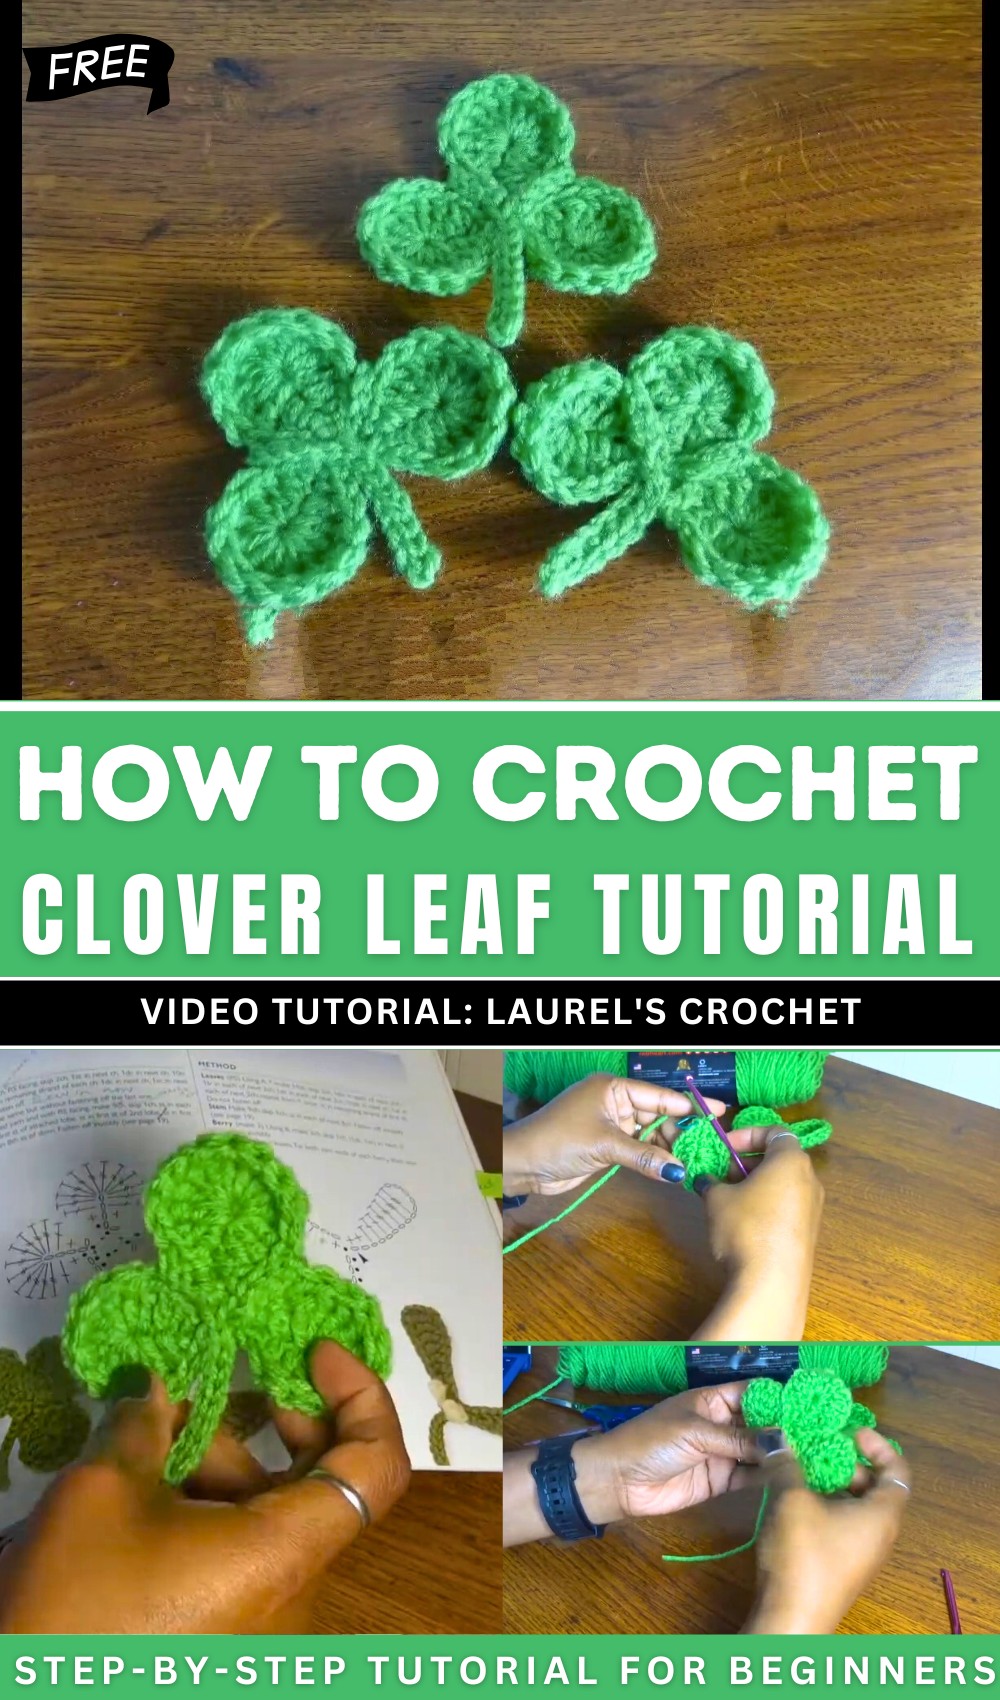
How to Crochet Clover Leaf Pattern for Spring
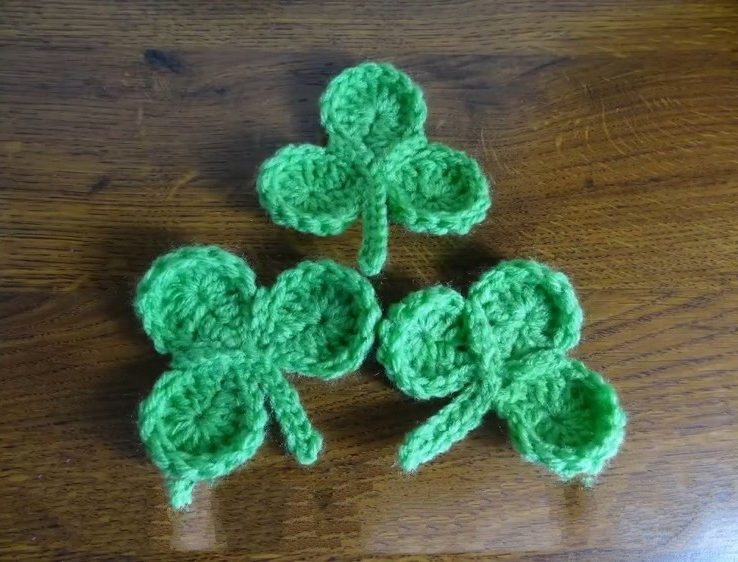
In this tutorial, you’ll learn how to crochet a three-leaf clover using a pattern found in a book of flower designs. The pattern is slightly modified, providing tips for marking chains and assembling the clover flawlessly for a polished look. Joining the lobes using slip stitches for a neat finish, this crochet three-leaf clover is perfect for beginners!
Three Leaf Clover Crochet Pattern
Materials
- Yarn: Worsted weight or light worsted weight yarn in green (sample uses standard acrylic or cotton)
- Hook Size: 3.5 mm (E-4) or 4 mm (G-6) crochet hook
- Tapestry Needle: For weaving in ends and sewing lobes if preferred
- Stitch Markers: Optional but recommended for marking chains or lobe joints
- Scissors
Key Abbreviations (US Terms)
- ch: chain
- sc: single crochet
- dc: double crochet
- tr: treble (triple) crochet (Yarn over twice, insert hook, draw up loop, yarn over and pull through two loops three times)
- sl st: slip stitch
- st(s): stitch(es)
Special Notes
- The three lobes and stem are worked in one piece, with slight assembling at the end.
- The main shaping happens in the foundation chain, so mark stitches for easier joining.
- Pattern can be made with any yarn and corresponding hook for different sizes.
Pattern
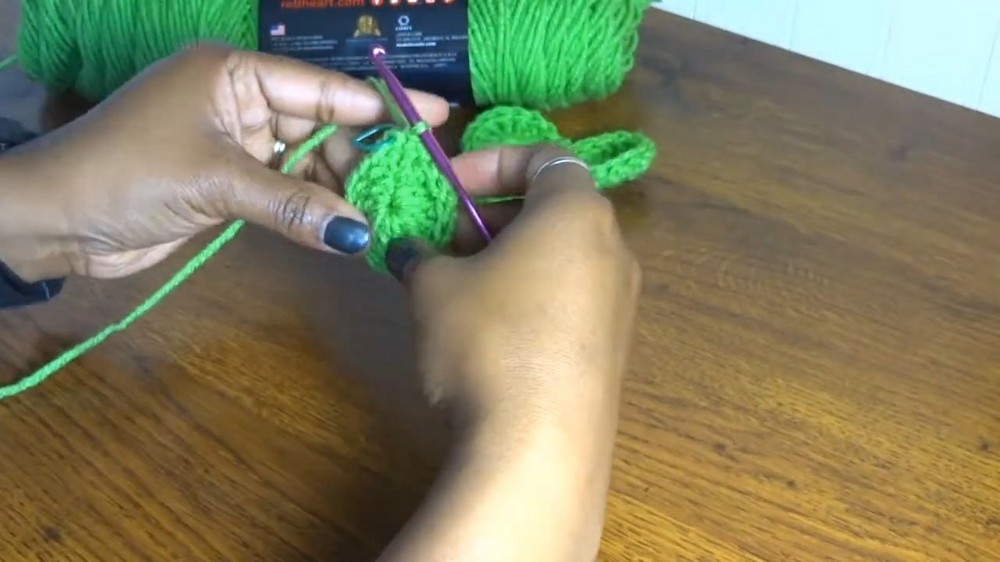
First Clover Lobe
- Make a slip knot and place it on your hook.
- Foundation Chain:
- Ch 5.
- (Optional: Mark the 5th ch for reference.)
- Turn.
- Skip ch 5 and ch 4.
- In 3rd ch from hook: sc.
- In 2nd ch from hook: dc.
- In very first ch made: 10 tr.
- (All 10 tr are placed into the 1st chain to form the lobe.)
- On the same chain, mirror stitches on the other side:
- In next available ch: dc.
- In last available ch: sc.
- Sl st in same ch to secure lobe.
- Fasten off, leaving short tail for weaving.
Second & Third Clover Lobes
- Repeat steps 1–5 to make the next two lobes. For the third lobe, do not fasten off after the final slip stitch, as you will continue on to form the stem.
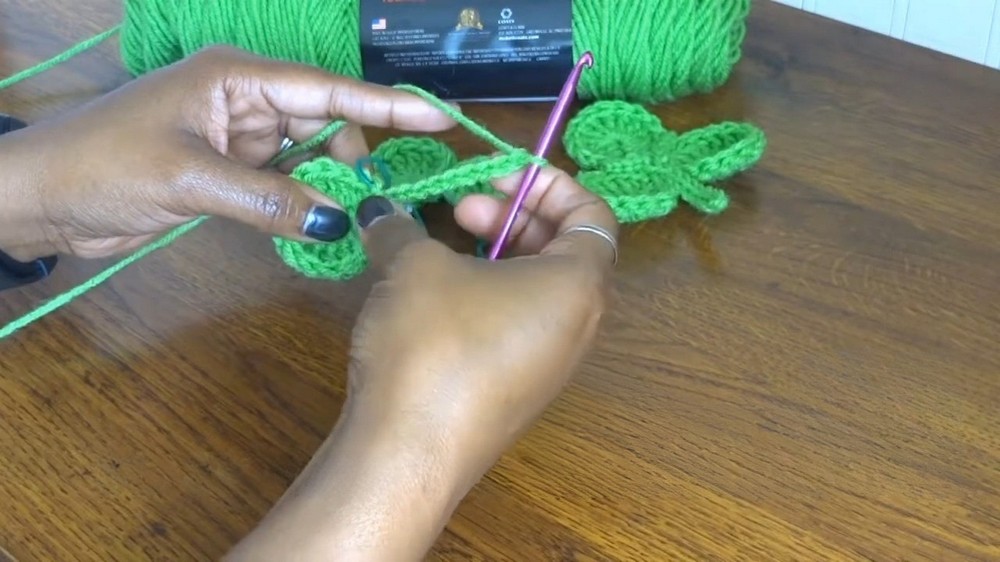
Clover Stem
- After joining the final (third) lobe, ch 9.
- Mark the first chain if desired.
- Turn and sk 1st ch.
- Sl st in each of next 8 ch back toward the lobe.
- Sl st into base of lobe to secure stem.
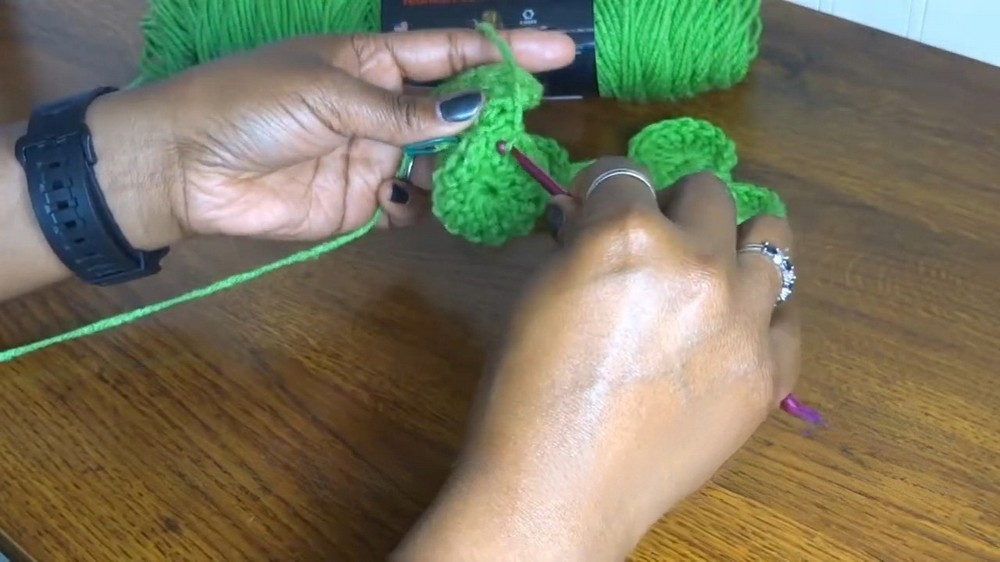
Joining the Lobes
- With right sides facing up, place the third lobe and the second lobe back-to-back.
- Insert hook through next 3 sets of corresponding stitches on both lobes, and sl st together—this attaches the two lobes.
- Ch 1.
- Rotate piece to work on the back, make 3 sl st through both lobes, working down toward stem for a firm connection.
- Sl st into the base of the stem, securing it to the joined lobes.
- Repeat for first lobe:
- Join first and second lobes as above with 3 sl st through corresponding stitches.
- Fasten off, leaving a length for sewing if needed.
- Weave in all ends neatly along stitches or stem.
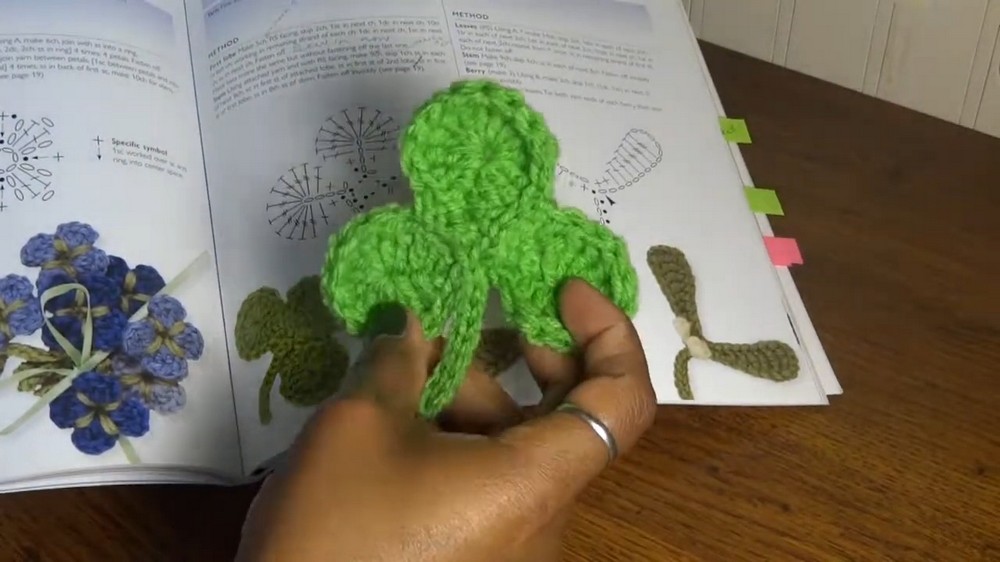
Conclusion
Your three leaf clover appliqué is now finished! This piece makes an excellent embellishment for accessories, clothing, garlands, or cards. With just basic stitches and short rounds, it’s ideal for both beginner and experienced crocheters.
Pattern Correction
- Original mention of “10 single crochet” into foundation chain should be “10 treble crochet.”
- Stitch count: Double check lobe symmetry when adding your single/double crochets on each side of the treble cluster.
- For a tighter join, slip stitch through both loops of each stitch when joining lobes.
Tips
- Use stitch markers when working the foundation chain for easier reference and assembly.
- If your clover curls, block gently with steam or pin to shape.
- Try making four-leaf clovers by repeating the lobe instructions for an extra lobe!
- This clover is ideal for using up small yarn scraps.