How to Crochet Colorful Butterfly for Decor

Learn how to crochet cute, colorful butterflies, perfect for accessories or decorations, with a step-by-step tutorial for beginners. Using acrylic yarn and a 1.75 mm hook, the process involves creating a central ring, building up rows with double crochets, and forming fan-shaped wings.
The tutorial also covers adding a contrasting border and antennae, suggesting uses like hair clips or magnets. Follow through with us for the complete project!

Crochet Butterfly Tutorial
This video offers a comprehensive guide to crocheting charming butterflies. It outlines the process from selecting yarn and hook size to crafting the foundational magic ring and building intricate wing patterns through successive rows of double crochets.
The tutorial also details how to create the butterfly’s antennae and offers creative ideas for utilizing the finished pieces, such as decorative magnets or hair accessories.

Materials
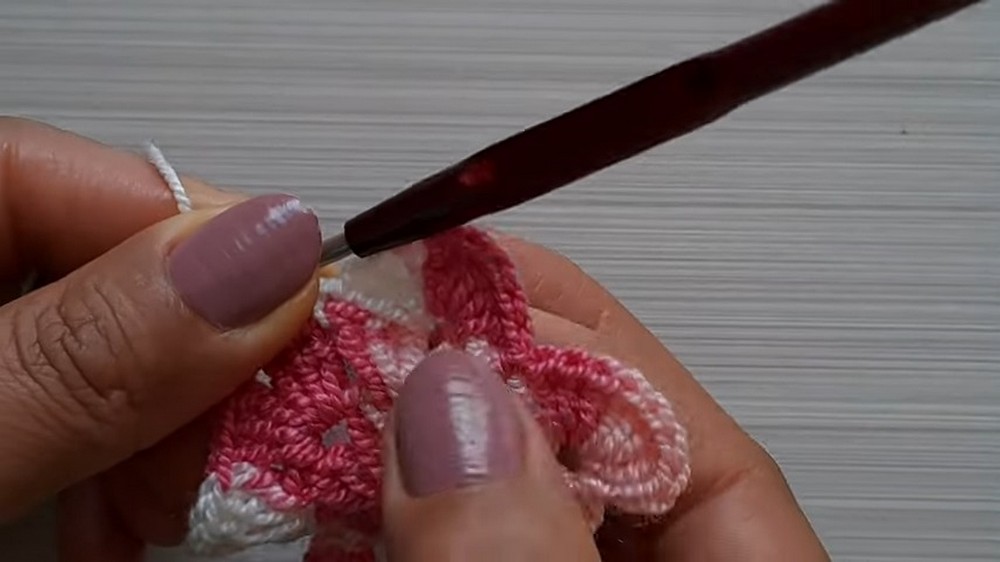
- The instructor uses two strands of acrylic yarn and a 1.777 mm crochet hook.
Creating the Base (First Row)
- Start by creating a magic ring.
- Chain three (counts as one double crochet).
- Make one double crochet into the ring.
- Chain two for separation.
- Repeat the sequence of two double crochets and two chains for separation seven more times, creating a total of eight groups of two double crochets separated by two chains.
- Close the ring by pulling the initial yarn tail and join with a slip stitch into the third chain of the initial chain three.
Second Row
- Slip stitch into the first chain-two space.
- Chain three (counts as one double crochet).
- Make two more double crochets into the same space (total of three double crochets).
- Chain two for separation.
- Make three more double crochets into the same space.
- Repeat this pattern (three double crochets, chain two, three double crochets) in each of the subsequent seven chain-two spaces around the base.
- Join with a slip stitch into the third chain of the initial chain three to complete the round.

Third Row (Creating the Wings)
- Slip stitch into the first chain-two space of the previous round.
- Chain three (counts as one double crochet).
- Make seven more double crochets into the same space (total of eight double crochets).
- Make a single crochet into the space between the current set of three double crochets and the next set of three double crochets from the previous row.
- Repeat the pattern of eight double crochets into the next chain-two space, followed by a single crochet into the next connecting space. Continue this around the entire piece, creating eight “fan” shapes that will form the butterfly’s wings.
- Join with a slip stitch to finish the round.
Finishing and Shaping the Butterfly
- Cut and secure the yarn.
- Fold the crocheted piece in half, aligning four “fans” on each side.
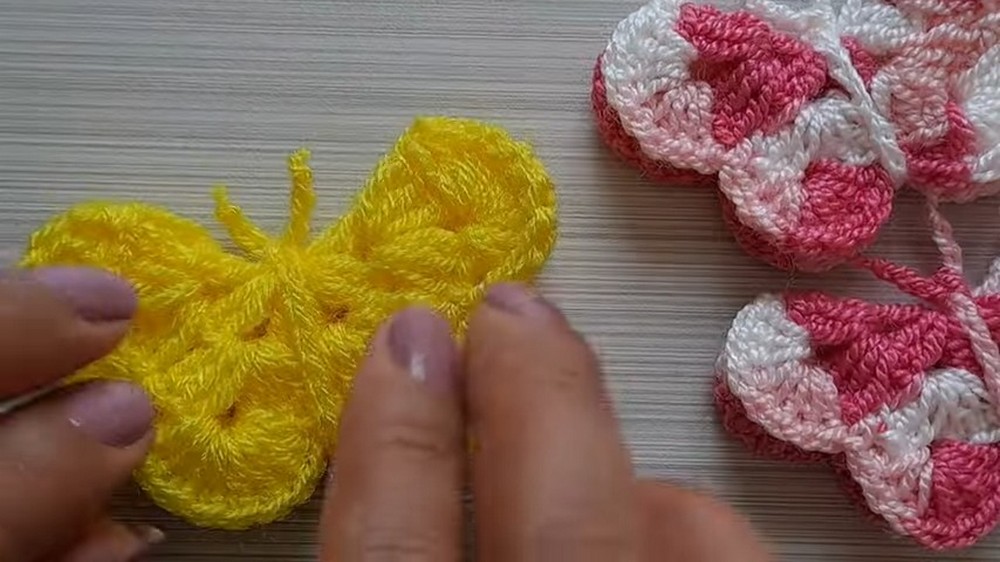
- Create a chain of 30 stitches for the antennae.

- Wrap the chain around the middle of the folded butterfly and tie a double knot to secure it, forming the body and antennae. Trim any excess yarn.
Adding an Edging (Optional)
- The instructor demonstrates how to add a contrasting color edging by making single crochets around the perimeter of the butterfly, joining and securing the yarn upon completion.
Project Ideas
- The video concludes by showcasing various uses for the finished crochet butterflies, such as:
- Hair accessories (using hair clips or elastic bands).
- Refrigerator magnets.
- General decoration.
Video Guide
https://youtu.be/8DDpTaf7FG4