How to Crochet Crosia Flowers Pot Amigurumi for Beginners

In this post, you’ll learn how to make a simple yet elegant flower pot pattern using four-ply cotton thread, a 2.75 mm crochet hook, cotton fiber filling, and other basic tools. The tutorial guides viewers through creating the pot’s base, shaping its body, and finishing with decorative touches like fabric laces and beads.
The instructor encourages customization by adding crochet flowers or decorative elements of your choice. Clear, step-by-step instructions make this an accessible project for all skill levels. So, follow through with us for the complete tutorial for beginners.

Crochet Flower Pot Tutorial
This tutorial offers a step-by-step guide on creating a crochet flower pot, including detailed instructions for crafting the pot’s base, body, and decorative elements. The video focuses on making the process easy to follow for crafters of all skill levels and encourages personalization with embellishments and flowers. Below is an organized summary of the tutorial:
Introduction
- The tutorial welcomes viewers and introduces the project: a unique crochet flower pot pattern.
- The creator highlights that several other flower pot designs are available on their YouTube channel, inviting viewers to explore those tutorials as well.
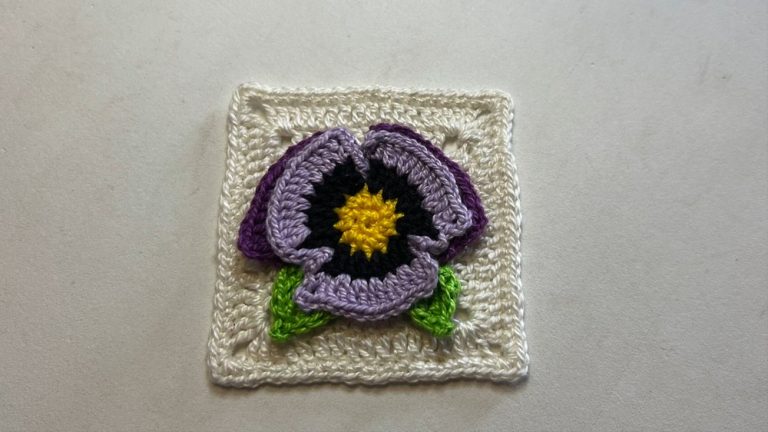
- While the exact sample piece isn’t available due to selling out, a picture reference is provided to demonstrate the final design.
Materials Required
- Thread: Four-ply cotton thread.
- Crochet Hook: Size 2.75 mm (adjustable based on thread fibers).
- Additional Tools: Scissors, darning needle, cardboard sheet for structural support, fiber stuffing, fabric glue.
- Decorative Elements: Beads, lace, and optional shells or flowers for embellishments.
Crochet Techniques and Base Preparation
Starting the Base
- The tutorial begins with a magic ring and guides viewers through creating the base of the pot.
- A structured pattern is followed to gradually shape the circular base, ensuring symmetry.
Transitioning to the Body
- The base is completed and transitioned into the vertical body by adjusting rows to develop height while maintaining the round shape.
- A combination of normal single crochet rows and back-loop-only single crochet rows is used to create texture and structure.
Forming the Pot Shape
- The tutorial explains how to expand and contract rows to create the desired flower pot shape.
- Expansions and reductions are carefully planned, ensuring the pot’s dimensions stay balanced without distorting the design.
- As rows progress, cardboard is cut and inserted at the base for structural stability. Fiber stuffing is then tightly packed into the pot to give it form and fullness.
Finishing Touches
Closing the Pot
- The top of the pot is closed using additional crochet techniques, ensuring a smooth and tidy finish.
- A circular piece is crocheted separately to seal the opening, leaving enough space for arranging decorative flowers.
Decorations
- The creator demonstrates how to add decorative touches, such as gluing lace around the pot or adding beads at regular intervals for an elegant look.
- Optional elements include shells glued securely to the pot using fabric glue for a unique, creative design.
Personalization
- The tutorial encourages viewers to customize the flower pot to match their preferences by adding any type of flowers or decorative items.
- Tips for improvisations are shared, such as using store-bought lace, fabric flowers, or handmade crochet flowers featured in other tutorials on the creator’s channel.
Conclusion
- The finished crochet flower pot is showcased, highlighting its simple yet aesthetic appearance.
- Viewers are reminded that the pattern is versatile and can be adapted based on personal taste or material availability.