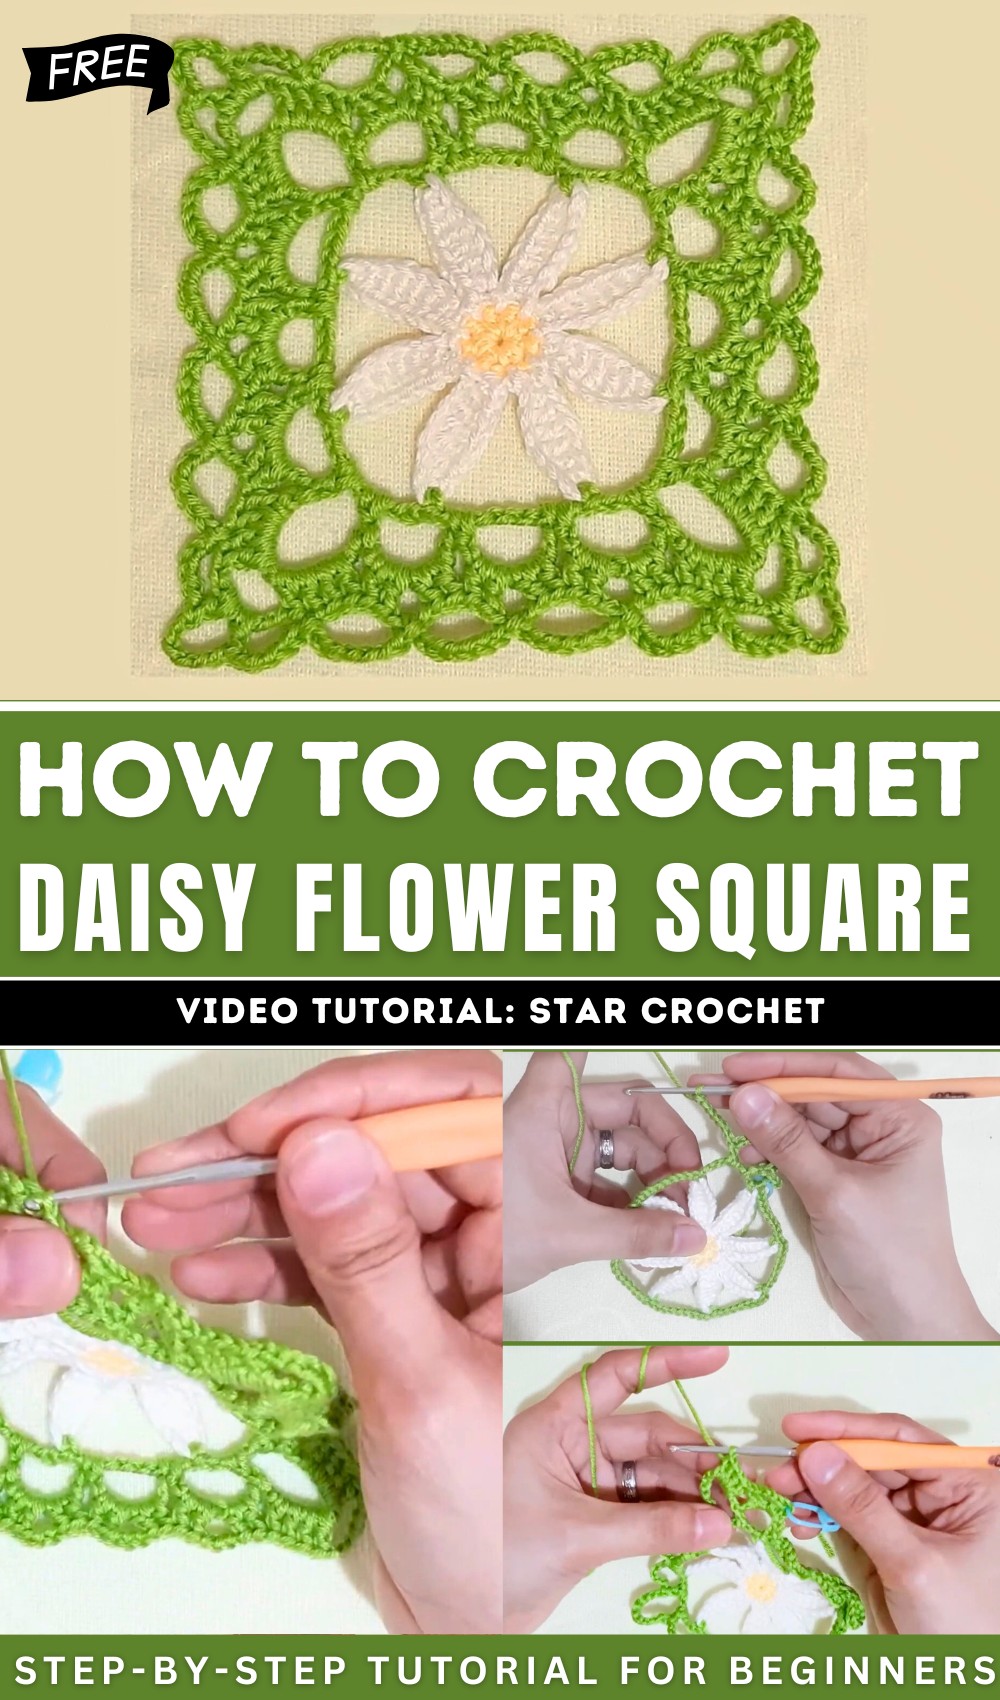
How to Crochet Daisy Flower Square for Spring
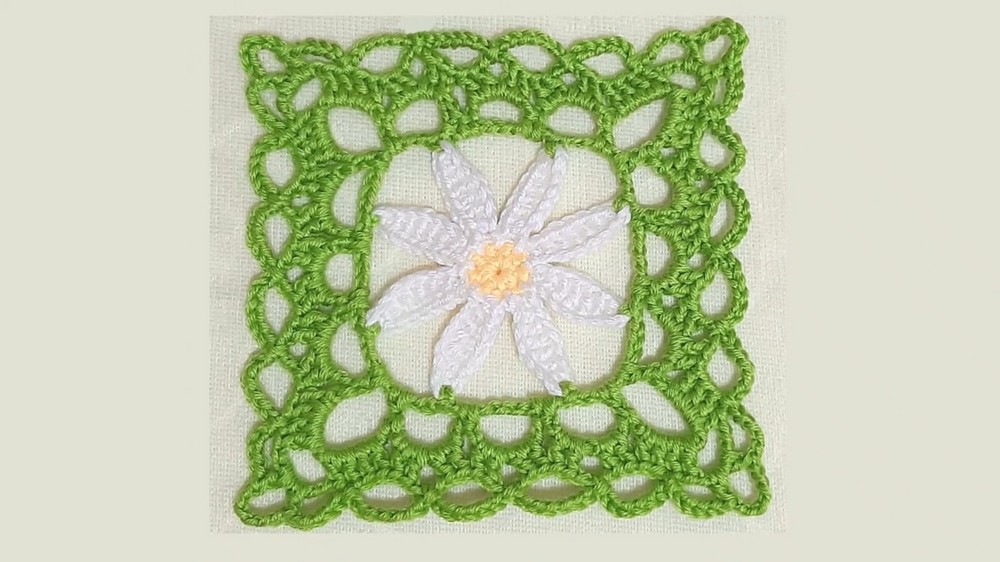
Learn how to crochet a detailed daisy flower square motif using intricate stitches across six rounds, perfect for intermediates. The design focuses on symmetry with a blend of sections like chain spaces and petal tips. Clear instructions guide through closing rounds, cutting threads, and neatly hiding tails for a polished finish. So, follow through with us for the complete spring tutorial!
Daisy Flower Square Tutorial
Detailed Summary: Crochet Flower Motif Tutorial
Starting with a magic circle, you build petals with chains, single crochet, half-double crochet, and double crochet techniques. Each round adds depth by layering loops, fans, and decorative spaces.
The design is delicate and versatile, making it perfect for adding decorative accents to various crochet projects, such as bags, apparel, or home decor. Below is a detailed breakdown of the tutorial with key highlights.
Introduction
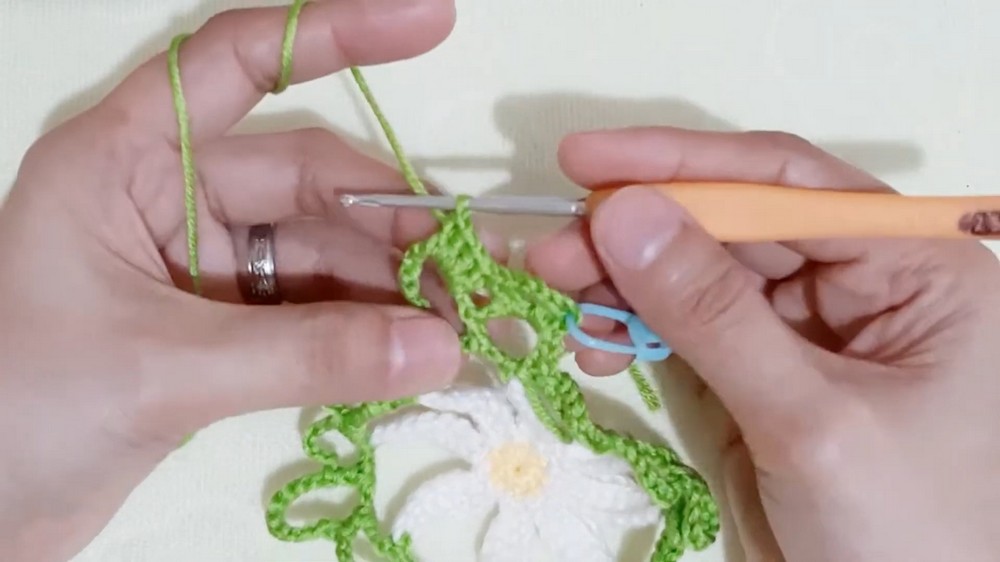
- The tutorial begins with an overview of the flower motif being crafted, showcasing its intricate details and elegant design.
- The creator emphasizes the importance of properly finishing each round and neatly hiding tails for a polished look.
First Round: The Center of the Flower
- The flower starts with a magic circle to create a stable base.
- Eight stitches are placed into the circle to form the flower’s compact center.
- The round is closed, the yarn is cut, and the tail is hidden securely.
- The creator ensures the center is tidy and symmetrical to support the delicate petals built in later rounds.
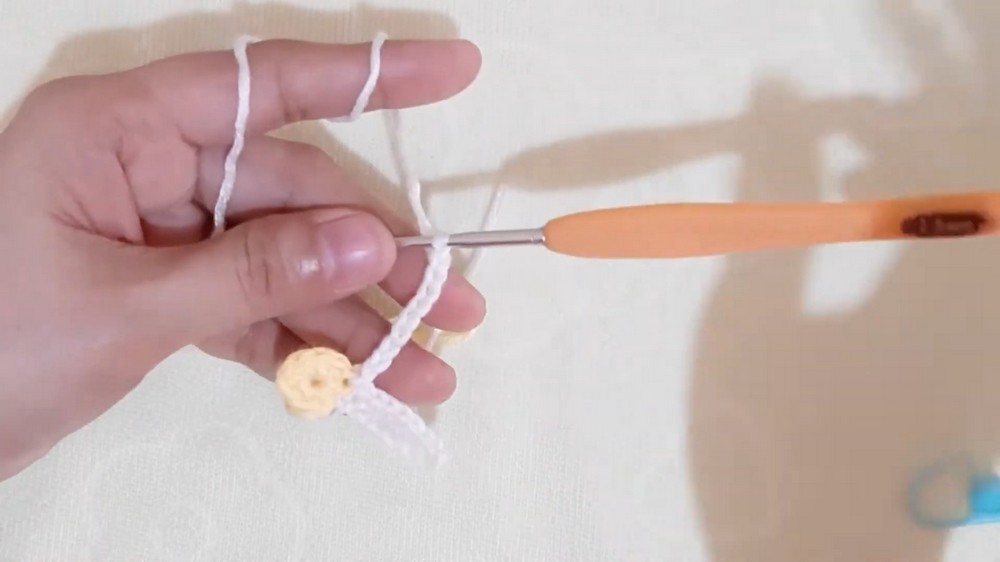
Second Round: Forming the Petals
- The second round begins with a slip knot, which is attached to the center stitches from round one.
- Long chains are created to form the base of the petals, with added stitch variations for texture and structure.
- Each petal is built by working along these chains, gradually creating fan-shaped designs.
- The round is completed by repeating the pattern for all petals, with careful attention to symmetry across the flower.
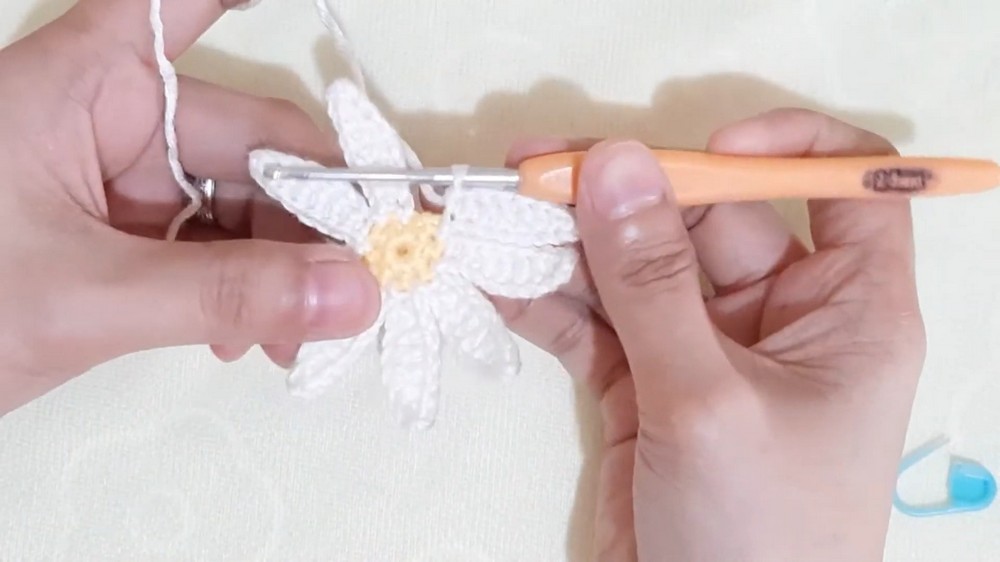
Third Round: Petal Tips
- The third round starts by crocheting into the tip spaces of each petal created in round two.
- Chain loops are crafted along these spaces to add height and definition to the flower’s petals.
- The intent is to highlight the flower’s overall shape and create a platform for additional decorative elements.
Fourth Round: Expanding the Layers
- The fourth round introduces larger chain spaces that add depth and dimension to the flower motif.
- A mix of stitches and chains helps create curved and layered edges along each petal.
- Decorative components, such as additional loops and spaces, enhance the flower’s intricate and aesthetic appeal.
Fifth Round: Adding Texture
- The fifth round introduces rich texture by layering multiple stitches within chain spaces.
- The creator alternates between detailed stitch patterns, emphasizing symmetry and structural design.
- Larger chain spaces are placed strategically, further expanding the flower’s size and creating a more refined look.

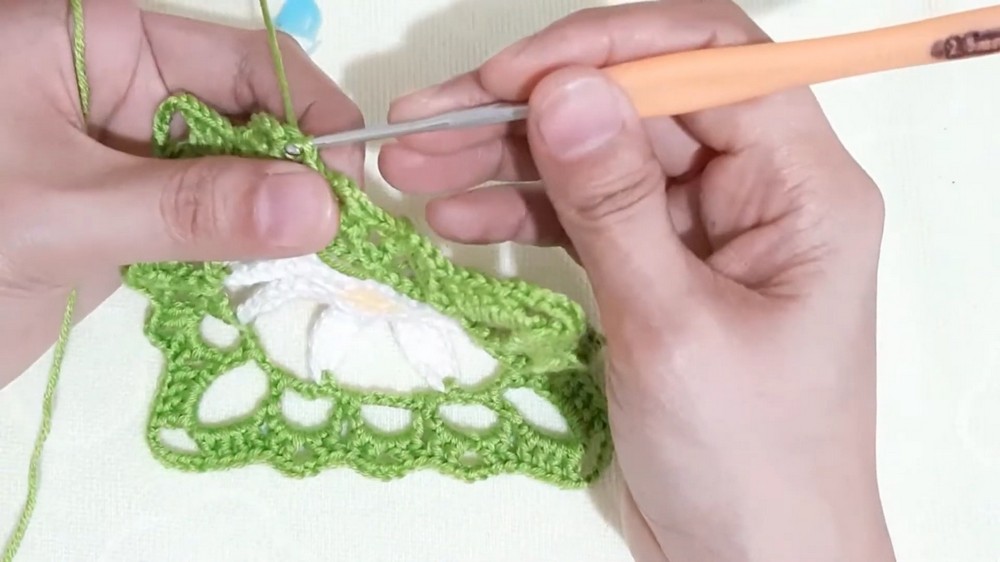
Sixth Round: Finishing Touches
- The sixth and final round focuses on outlining and connecting the flower’s outer edges.
- Chain loops and slip stitches are used to create delicate arches and additional points of interest.
- The flower motif is finalized by securely closing the round and hiding all yarn tails.
Final Product
- The completed flower motif is an elegant, layered design with defined petals and accents.
- The video demonstrates how this motif can be used as an applique or decorative element.
- The creator encourages viewers to experiment with colors and yarn types for customization.
Conclusion
- The tutorial wraps up with tips for ensuring neatness, hiding tails, and maintaining symmetry.
- Viewers are invited to use the motif in their own crochet projects and share their creations.
By following this tutorial, users can learn how to create a stunning flower motif suitable for various creative applications.