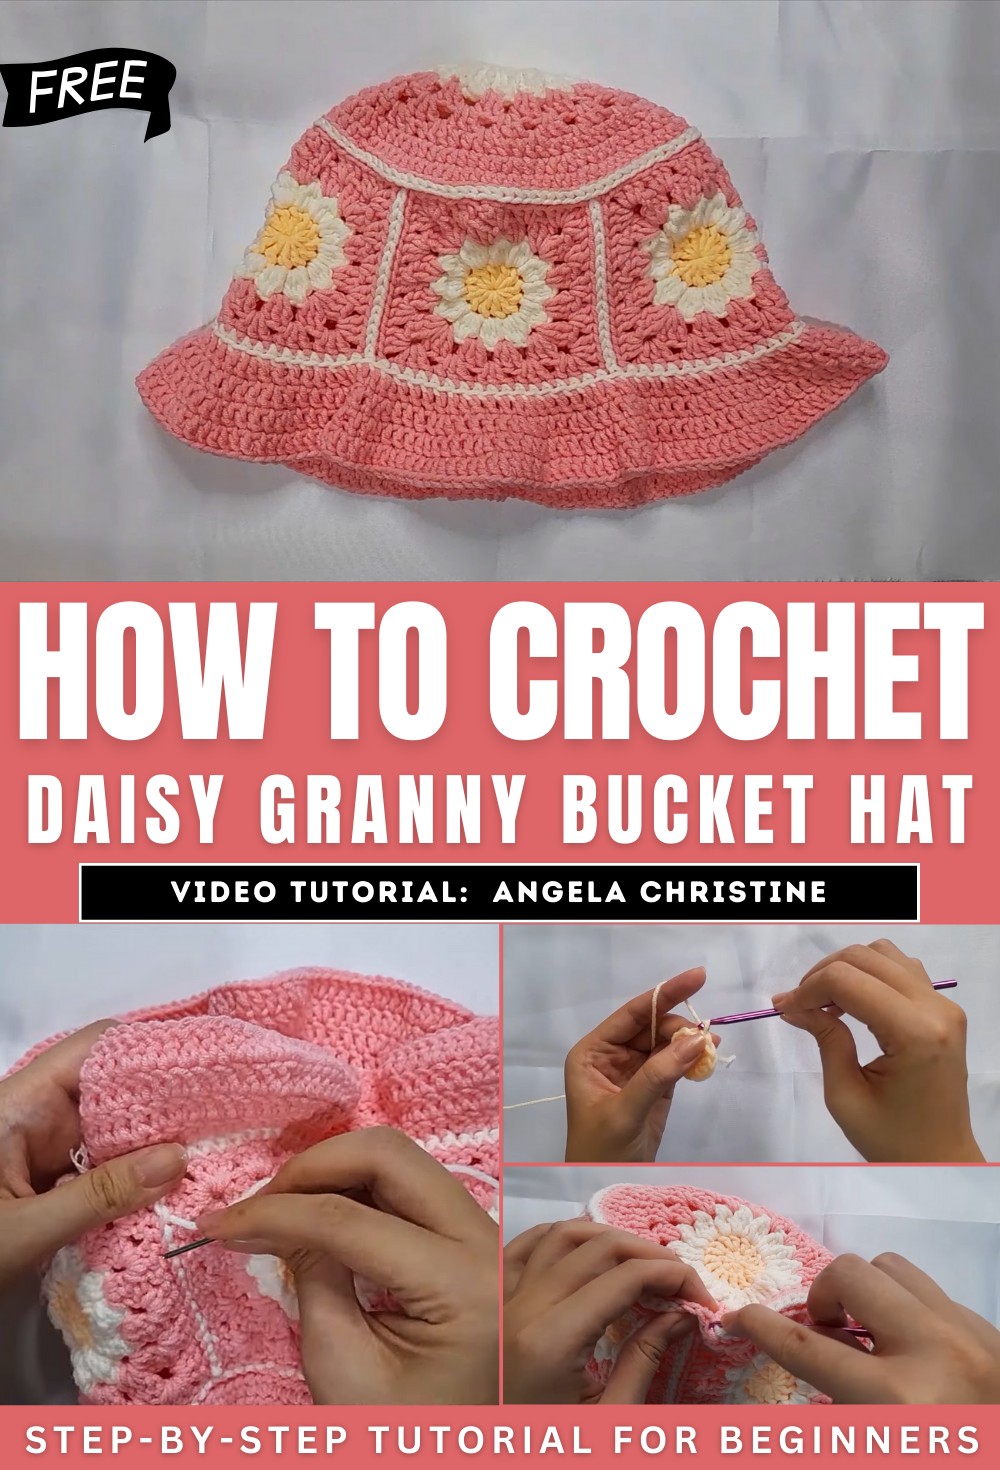
How to Crochet Daisy Granny Square Bucket Hat for Beginners

Learn how to crochet a daisy granny square bucket hat for beginners and experts. The creator guides through each step, starting with making the daisy granny squares, assembling them, and shaping the top and brim of the hat. Clear instructions are provided on techniques like magic rings, double crochets, and slip stitches, with helpful tips for ensuring a neat finish.
The tutorial is beginner-friendly, with detailed explanations of creating petals, joining squares seamlessly, and adding the final touches. Perfect for crochet enthusiasts, the tutorial inspires creativity while showcasing a chic and trendy DIY hat design. So, follow through with us for the complete tutorial.
Daisy Granny Square Bucket Hat Tutorial
This crochet tutorial teaches you how to create a beautiful daisy granny square bucket hat. The steps are broken down into manageable sections and include creating the daisy granny square, assembling the hat, and making the brim. The instructions are delivered clearly for beginners while also being useful for experienced crocheters looking for a fun project.
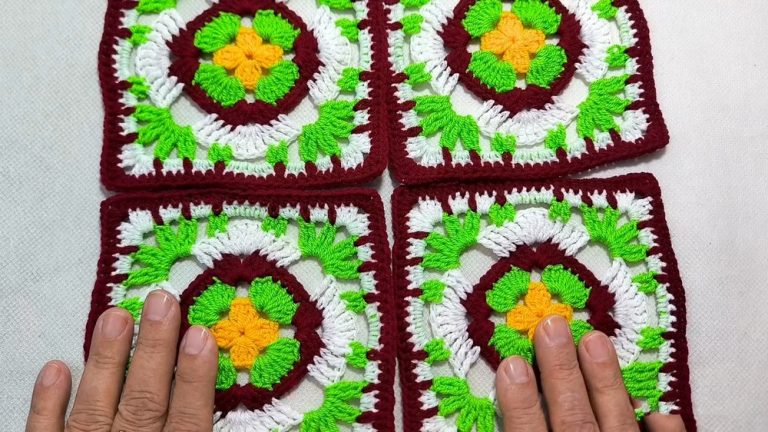
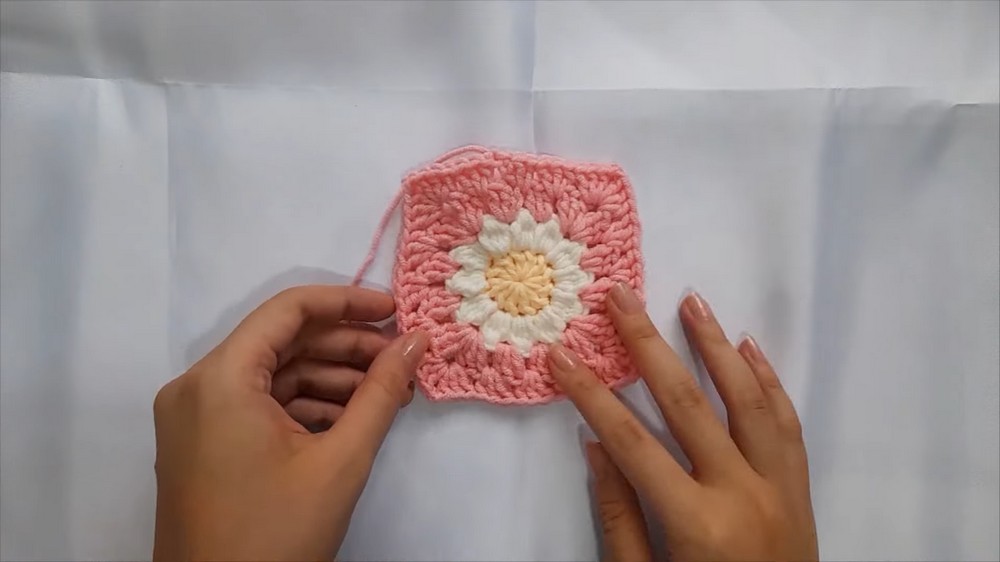
Section 1: Creating the Daisy Granny Square
-
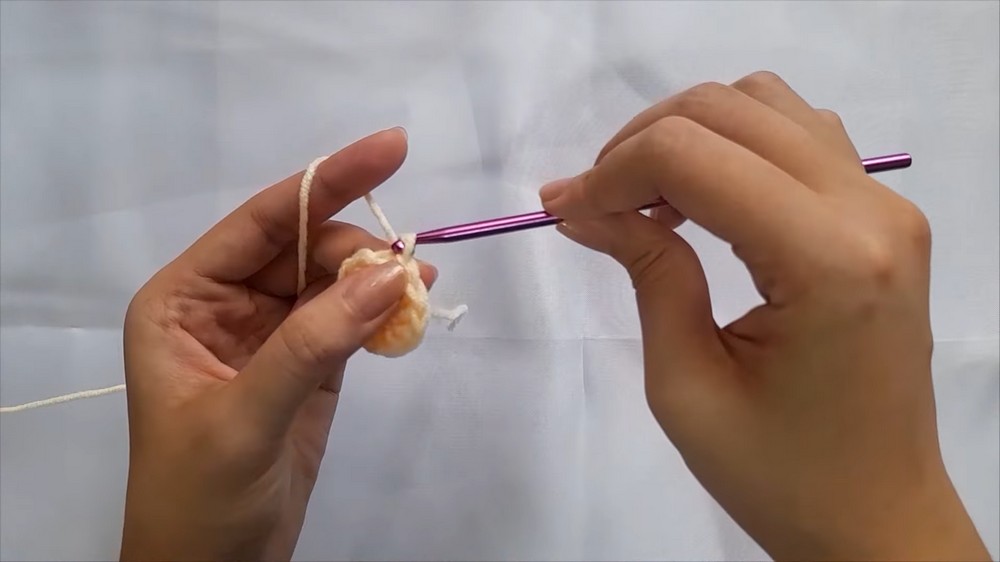
Making the Center of the Daisy
- Start by using yellow yarn to make a magic ring.
- Add double crochets into the magic ring to form a circular pattern.
- Close the ring by tightening the yarn tail and secure it with a slip stitch.
-
Adding the Daisy Petals
- Attach white yarn to the stitches of the circle.
- Crochet petals using a combination of unfinished double crochets and chain stitches.
- Repeat the process around the circle to create 12 even petals.
- Secure your work with a slip stitch and fasten off the white yarn.
-
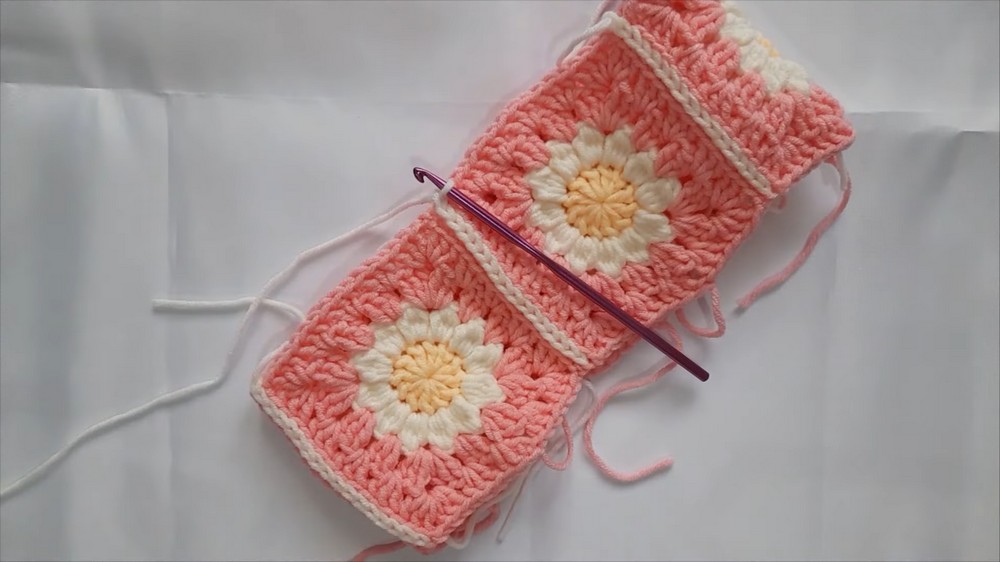
Creating the Granny Square Border
- Attach pink yarn to the spaces between the petals.
- Use double crochet clusters to make sections between petals.
- Add corners to create a square shape with chain spaces to define each corner.
- Continue crocheting rows to expand the square, ensuring each corner is made symmetrically.
Section 2: Assembling the Hat
-
Creating Additional Squares and Joining Them
- Make four more daisy granny squares (five in total).
- Use a flat slip stitch join with white yarn to connect the squares side by side.
- Join the arrangement into a circular structure to form the sides of the bucket hat.
-
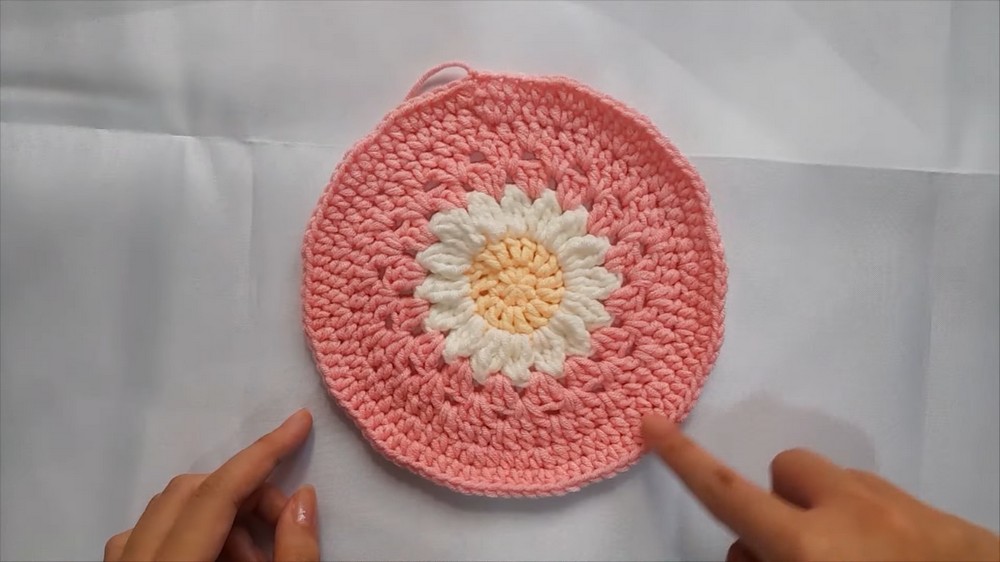
Crocheting the Top of the Hat
- Create a circular granny square by starting with a yellow center and white petals.
- Repeat similar steps to create pink borders, ensuring it grows evenly.
- Transition into a series of increasing rounds using double crochets and half-double crochets for proper shaping.
- Attach this top piece to the circular arrangement of granny squares using slip stitches and white yarn.

Section 3: Adding the Hat’s Brim
-
Foundation Round for the Brim
- Begin by attaching white yarn to the bottom edge of the granny square structure.
- Crochet single stitches to create a uniform base for the brim.
-
Building the Brim
- Alternate between regular double crochets and increases in intervals to create a flared effect.
- Work in back loops in certain rounds for a smooth edge transition.
- Continue adding rows until the brim reaches the desired length and shape.
-
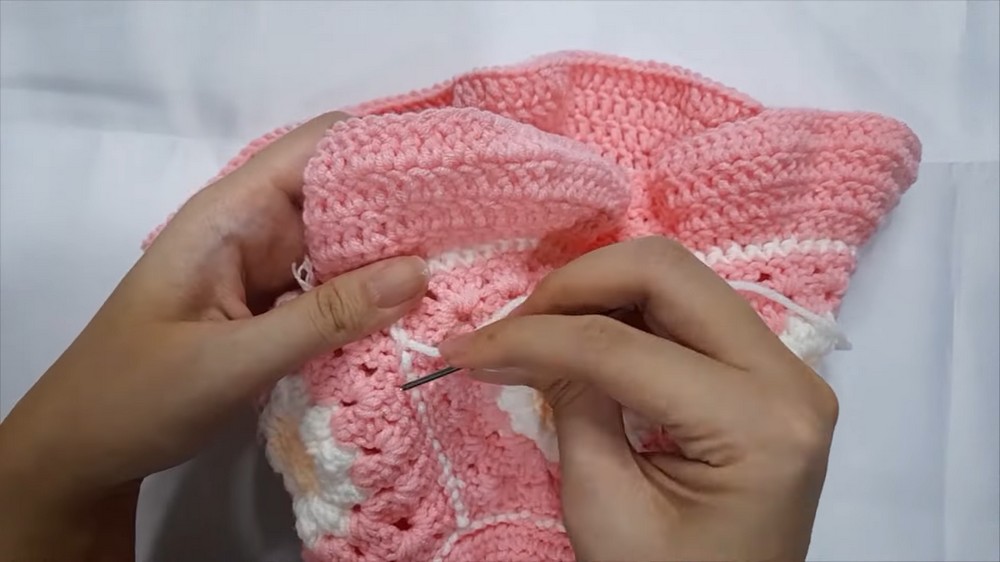
Finishing Touches
- Secure the brim’s edge by using an invisible join technique.
- Weave in loose yarn ends and knots to ensure a clean finish.
Final Thoughts
At the end of the tutorial, you create a fully functional and stylish daisy bucket hat. This tutorial combines basic granny square techniques with decorative elements, offering a rewarding crochet project.