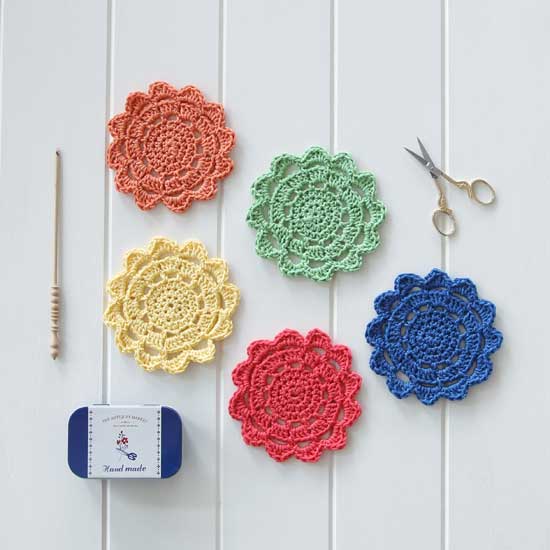
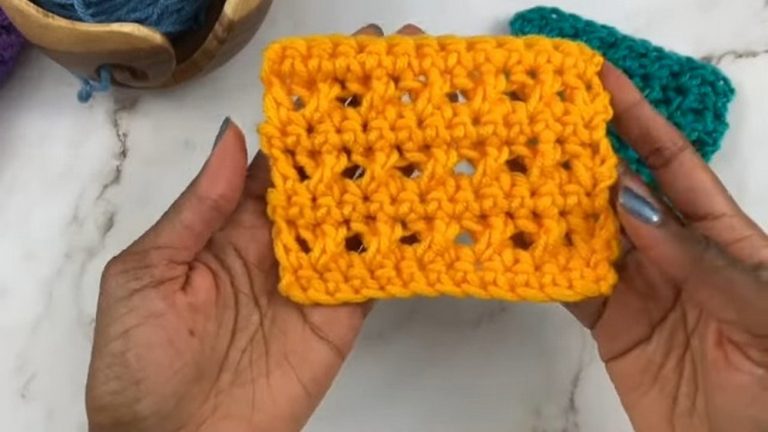
How to Crochet Colorful Granny Square for Cushion

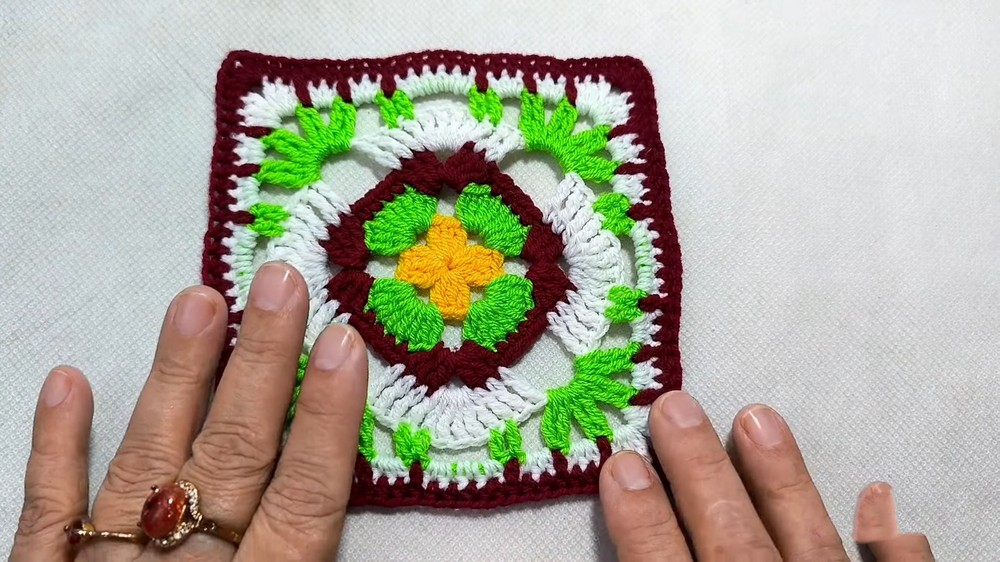
Here is a tutorial to crochet a beautiful, easy, and colorful square crochet pattern perfect for cushion covers. The tutorial guides you through each round, including double and triple crochet stitches. The pattern features color changes and structured layers, resulting in a vibrant, decorative design. Follow through with us for more details about this project!
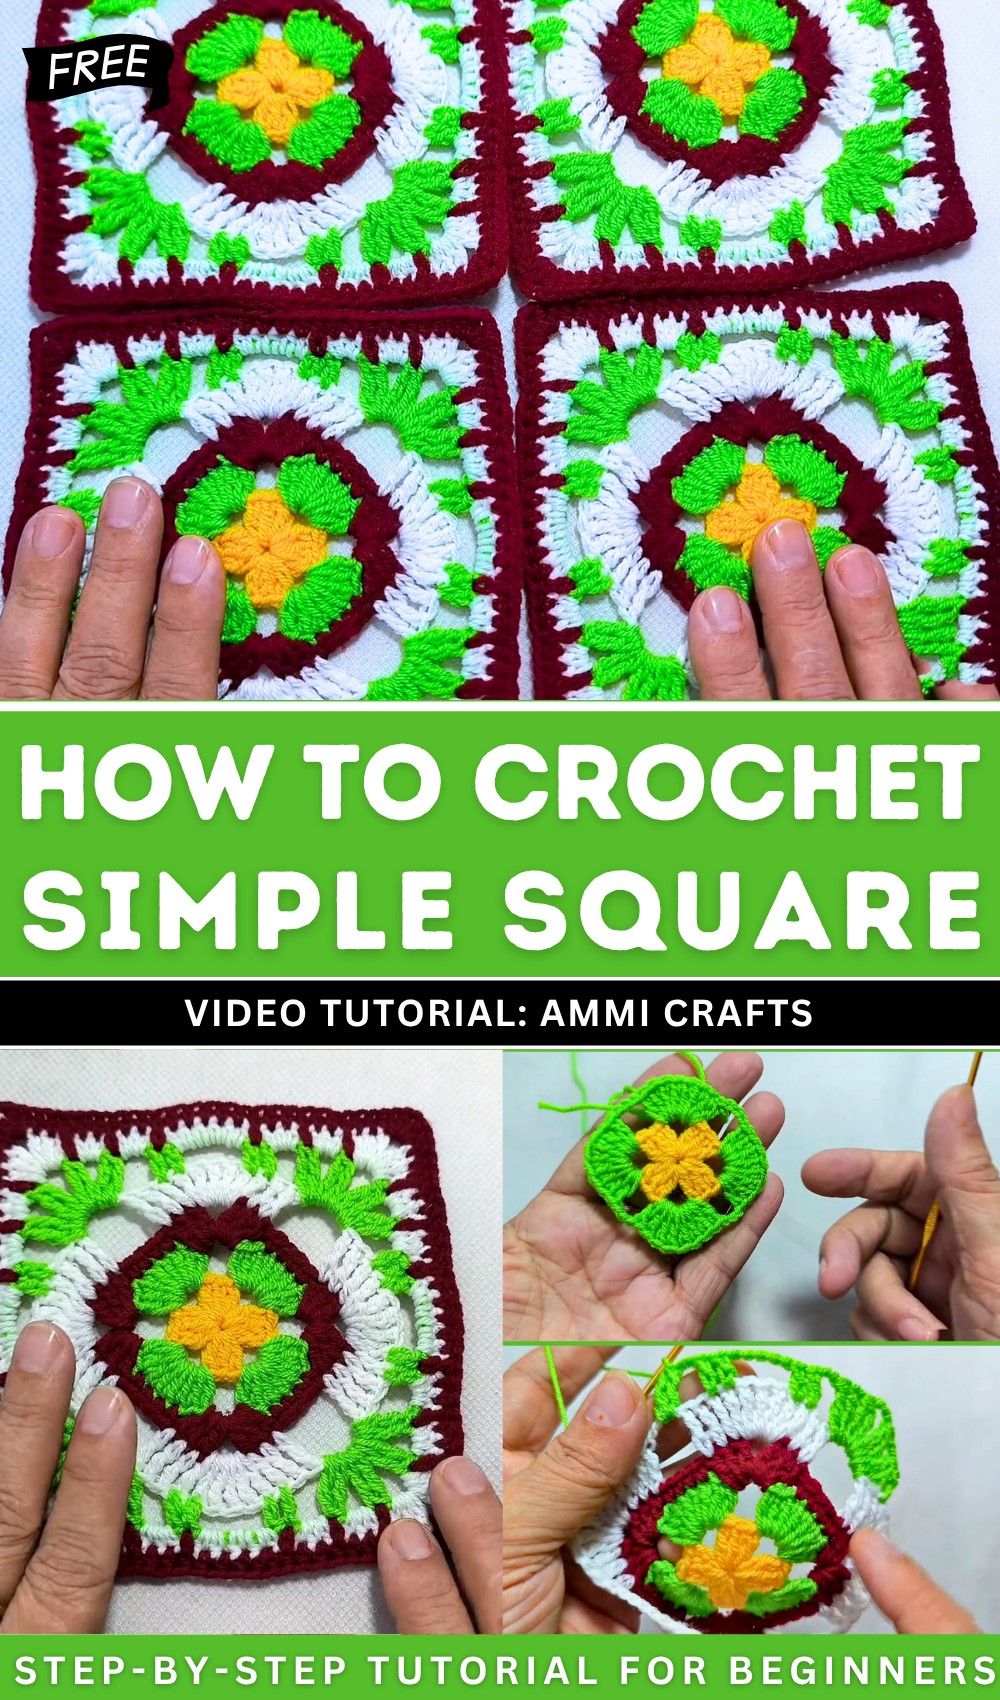
Free Crochet Four Color Cushion Cover
Ideal for beginners, the instructions are clear and step-by-step, making this colorful granny square great project to enhance your crochet skills.
Materials List
- Yarn: Four colors of 3-ply acrylic or wool yarn
- Color A (Base)
- Color B (First contrast, e.g., Green)
- Color C (Second contrast, e.g., Maroon)
- Color D (Third contrast, e.g., White)
- Crochet Hook: 2.0 mm
- Scissors
- Yarn Needle (for weaving in ends)
- Optional: Decorative lace or buttons for finishing cushion cover
Abbreviations (US Terms)
- MR = Magic Ring
- Ch = Chain
- Sl st = Slip Stitch
- Sc = Single Crochet
- Dc = Double Crochet
- Tr = Treble (Triple) Crochet
- Rep = Repeat
- St(s) = Stitch(es)
Special Notes
- The motif is worked from the center out and uses four colors.
- You will make four square motifs and join them for one cushion side. Make another set of four for the back if desired.
- Use the colors as per your choice; order in the pattern follows the sample video.
- Weaving in ends neatly will improve your finished look.
- The motif is not strictly a “berry stitch;” it features basic and post stitches for texture.
Pattern Instructions
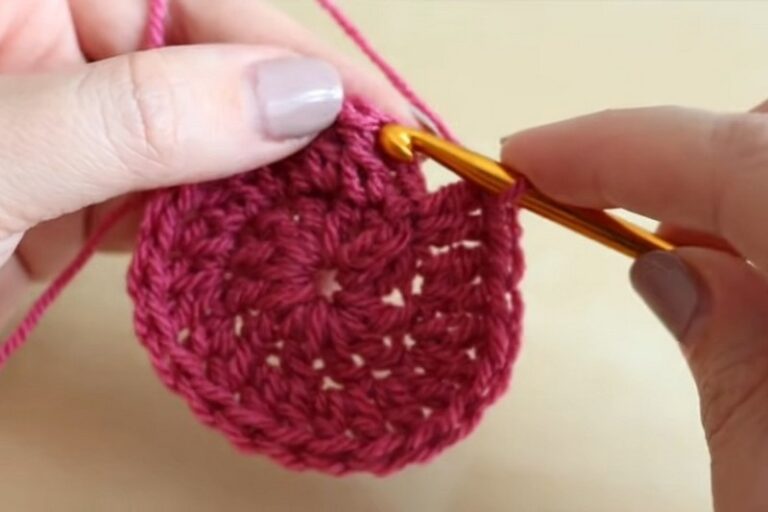
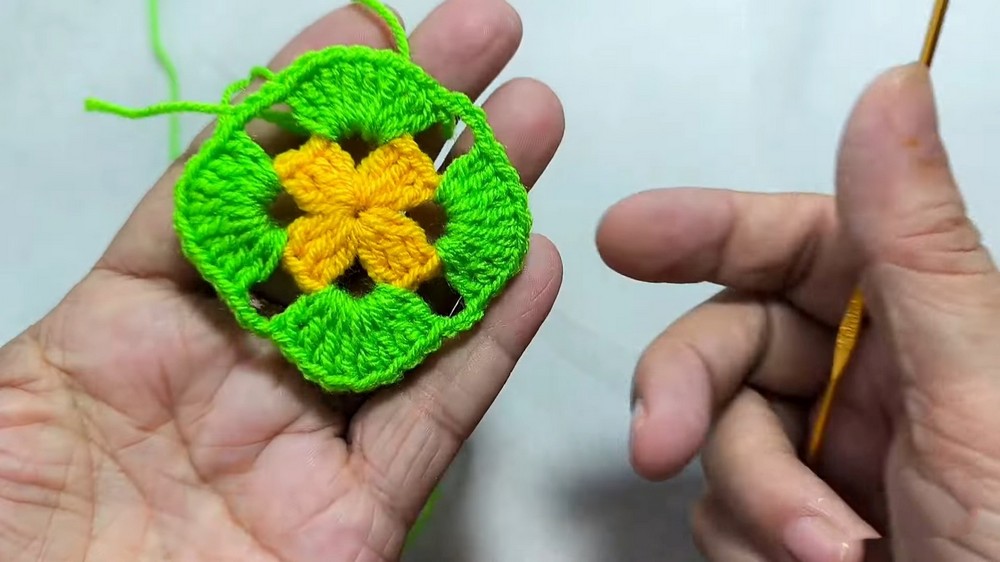
Step 1: Center – Base Color (Color A)
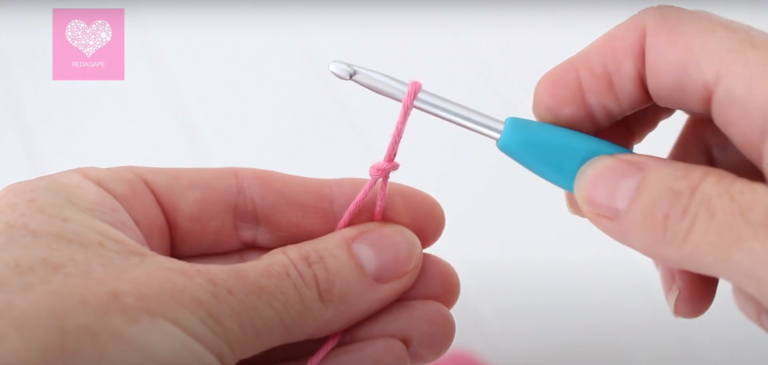
- MR — Make a magic ring.
- Ch 3 (counts as the first dc), then work 3 dc into the ring.
- Ch 3.
- [3 dc, ch 3] — Repeat steps (3 dc, ch 3) 3 more times (for a total of 4 groups of dc)
- Join with a sl st to the top of beginning ch-3.
- Pull the ring tight to close the center.

Your square should have four corners separated by ch-3 spaces.
Step 2: First Contrast – Green (Color B)
- Join new color in any ch-3 corner space.
- Ch 3 (counts as dc).
- Work 7 more dc into same ch-3 space (total 8 dc).
- Ch 3.
- [8 dc into next ch-3 sp, ch 3] — Repeat for all corners.
- Join with a sl st to the top of start ch-3, fasten off.
Step 3: Second Contrast – Maroon (Color C)
- Join maroon in any corner (ch-3 space).
- Ch 3 (counts as dc), work 2 more dc in the same space (3 dc).
- Ch 3.
- Work 6 dc in the gap, skip two dc from previous round, then sc in each of next 4 dc.
- Skip 2 dc, work 6 dc into next corner gap, ch 3, then 3 dc in same corner gap.
- Repeat around, joining with a sl st, fasten off.
Step 4: Third Contrast – White (Color D)
- Join white in any corner.
- Ch 4 (counts as tr).
- Work 5 more tr in the same corner gap (total 6 tr).
- Work 2 dc in next space, then 6 dc in center gap, then 2 dc in next space.
- In the next corner: 6 tr, ch 4, continue as above.
- Repeat on all sides, join with sl st, fasten off.

Step 5: Next Green Round (Color B)
- Attach green in any side gap.
- Skip first two stitches, work 1 dc in next st.
- Tr2tog: Yarn over twice, insert hook in next st, pull up loop, draw through two loops twice, leave last loop on hook, repeat in next stitch, then yarn over, draw through all loops.
- Ch 1, repeat tr2tog as above in pairs across the side.
- At each corner, ch 3 to form new corners.
- Continue around and join, fasten off.

Step 6: Next White Round (Color D)
- Join white in any corner.
- In corner gap: 3 dc, ch 2, 3 dc.
- In side gaps: sc in each st across, in wide gaps work 5 sc.
- Between corners, maintain the pattern of sc, dc clusters, and ch-2 at corners.
- Complete round, fasten off.
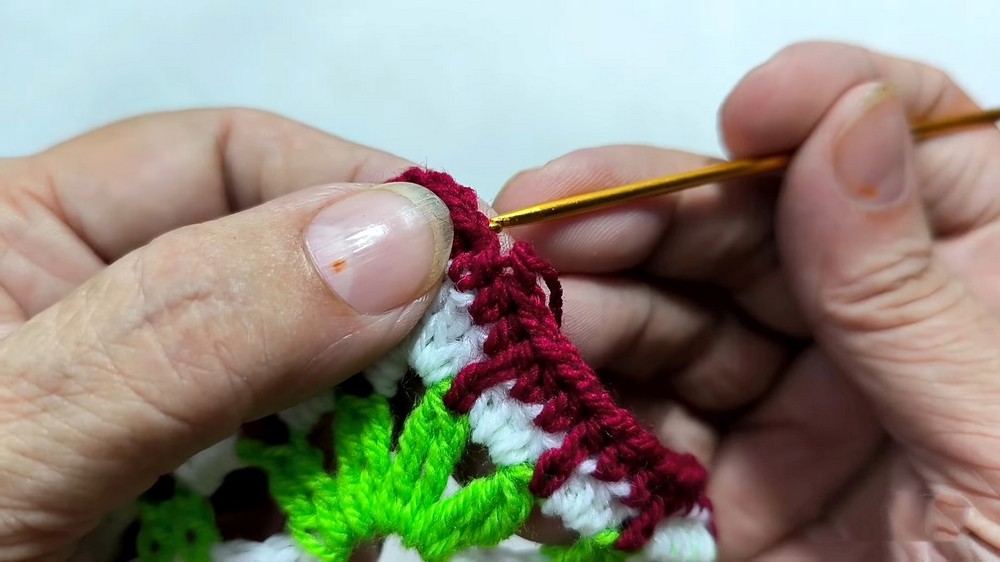
Step 7: Maroon Border
- Join maroon in any stitch.
- Sc in each st around, working 2 sc in corner gaps.
- In corner spaces, ch 2, continue sc in each st.
- After completing the round, join and fasten off.
Assembly
- Make 4 square motifs per cushion side.
- Sew or crochet motif squares together — 2 x 2 arrangement for one cushion face.
- Make a second square panel for back if a double-sided cushion is desired.
- Join both panels together on 3 sides with sc or by sewing; insert cushion insert; close remaining side.
- Finish edges with decorative lace or add buttons as desired.
Pattern Correction
- The original speech references “chains” for double crochets and squares per side. Each square is indeed a motif; make four for one cushion side.
- If you feel your motifs are curling, adjust your chain spaces or use a slightly larger hook.
Tips
- Weave in ends as you go for a neater finish.
- To ensure motifs are the same size, block each before assembly.
- Choose contrasting or tonal colorways for modern or traditional looks.
Conclusion
By following this step-by-step pattern, you can create a charming, multicolored cushion cover using four intricate motifs joined together. This project is a great way to explore colorwork and texture with basic stitches for a striking and comfortable home accessory.