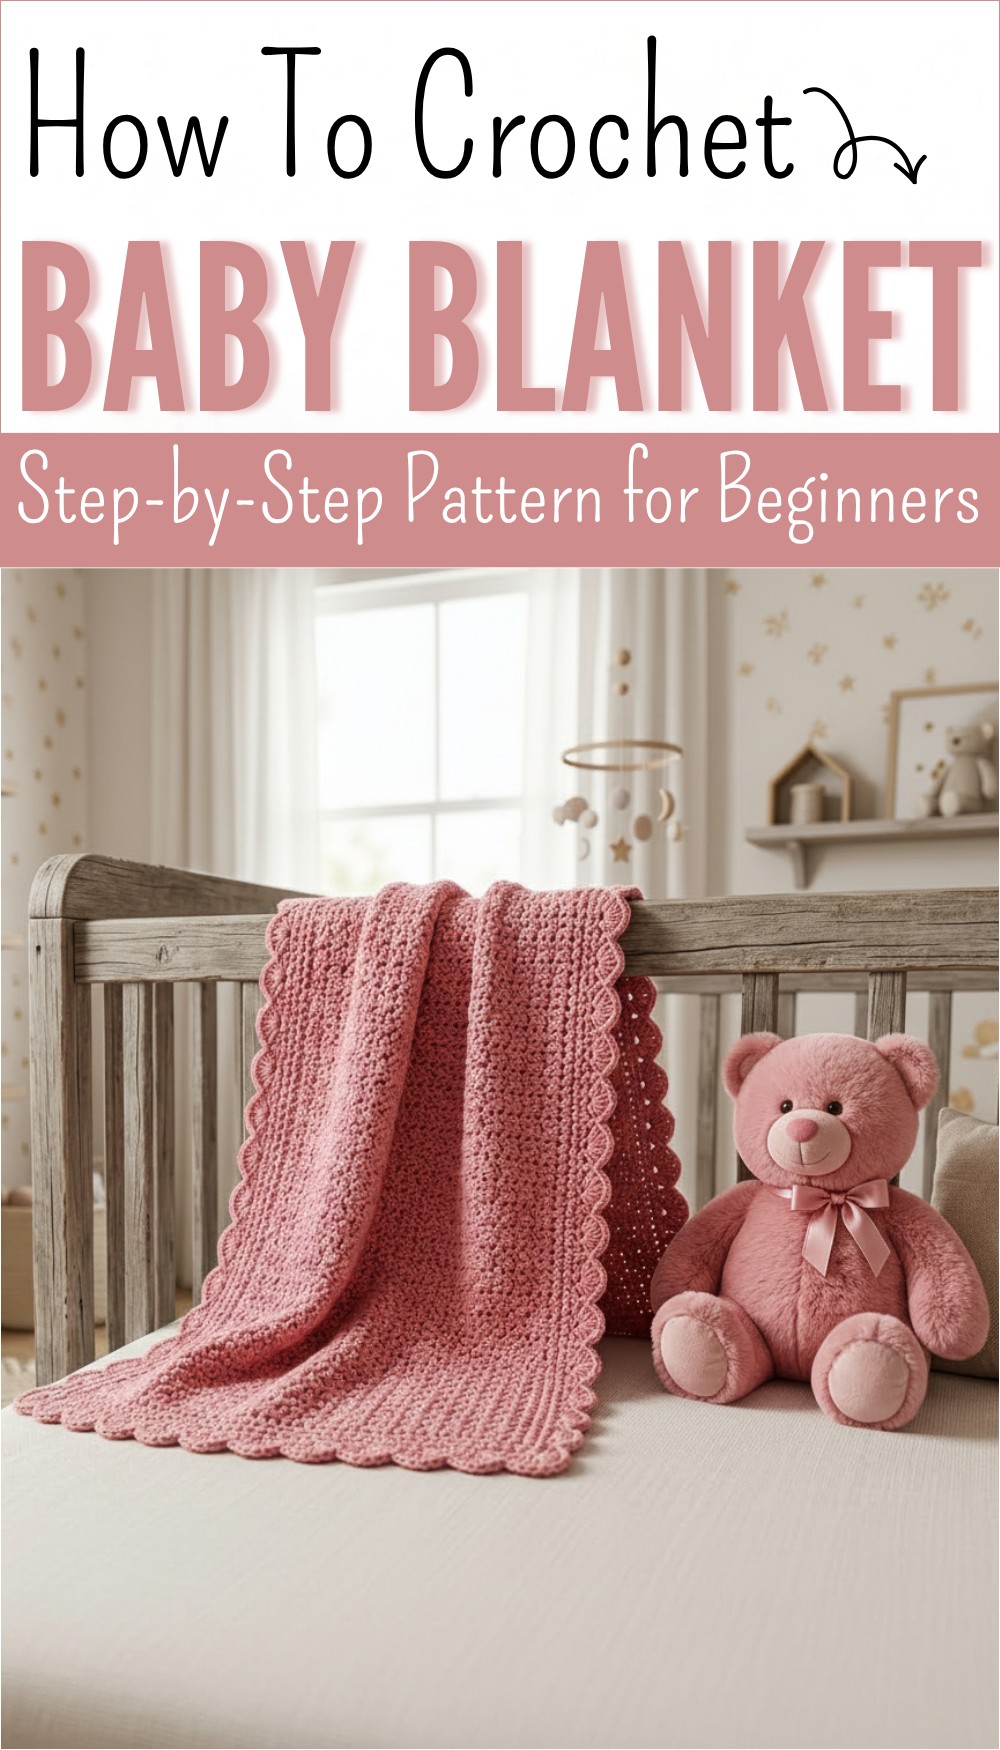
Free Crochet Delightful Baby Blanket Pattern
Cuddle with a free crochet baby blanket pattern for soothing comfort, adorable style, and an easy way to make little moments extra special.
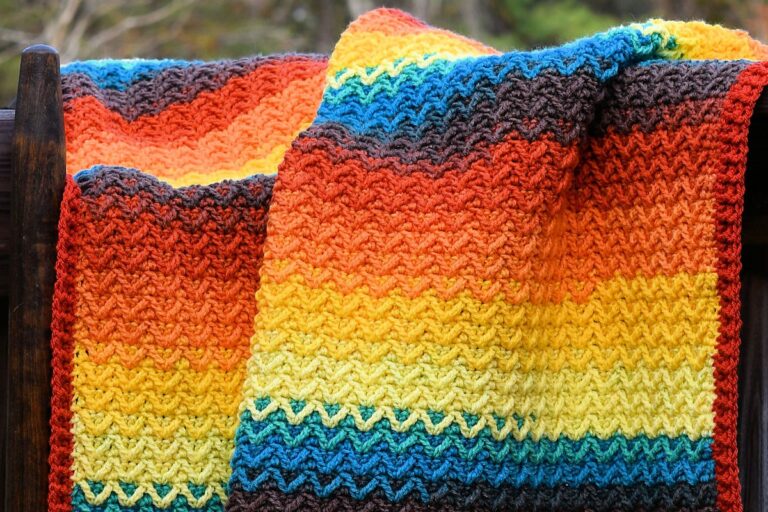
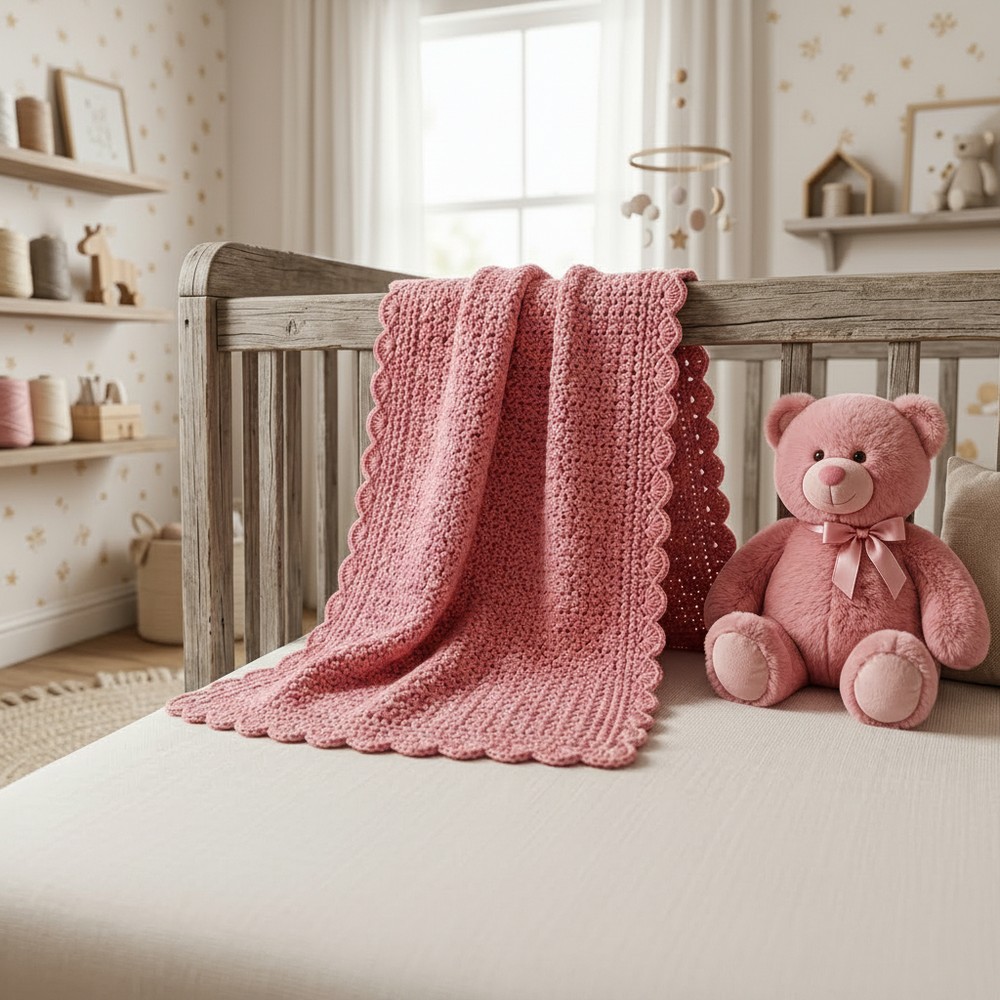
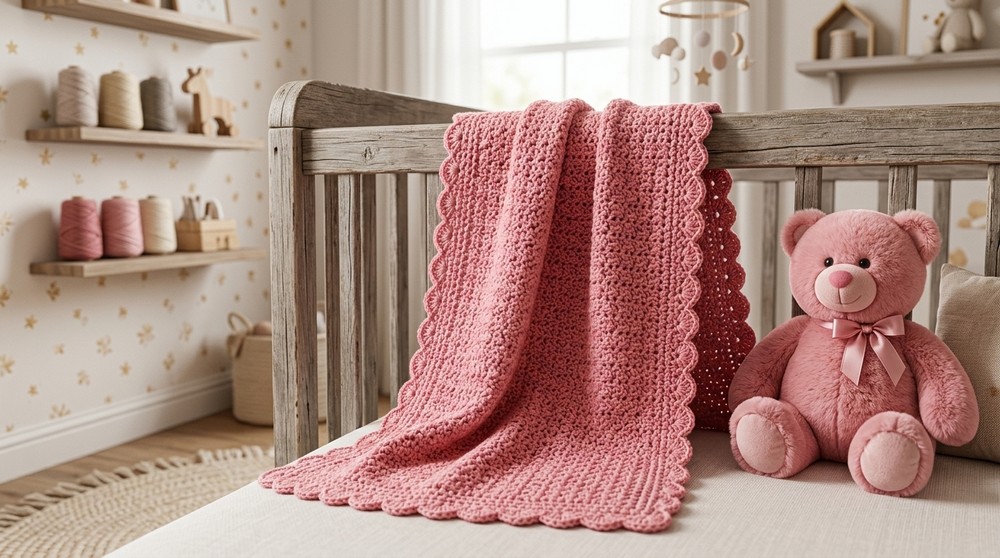
There is a special beauty in giving a little one a colorful blanket made with care and love. Gentle loops and a textured pattern bring not just warmth but also comfort, making naptime or playtime extra cozy. A crochet baby blanket pattern is easy to follow, even for beginners, with instructions that turn yarn into something truly precious. The finished blanket shines with its own charm—maybe it looks airy and light or a bit plush and fluffy, always perfect for tiny cuddles.
Free Crochet Baby Blanket Tutorial for Warm Little Hugs

This blanket fits so nicely in a crib, car seat, or on a comfy chair. Many families enjoy keeping it as a keepsake, passing it down for years because each stitch carries so much meaning. With every finished pattern, confidence grows and the joy of seeing a baby wrapped in happiness is a reward in itself—making this pattern a loving choice for every new maker.
Free Crochet Baby Blanket Pattern
Materials
- Yarn: #3 light weight yarn (e.g., Bernat Baby Sport, 350g big ball)
- Hook: 6.5 mm (US K/10.5)
- Scissors
- Tapestry needle (for weaving in ends)
- Measuring tape (optional, for custom sizing)
- Finished Size: Approx. 39″ x 47″ (easily customizable)
Key Abbreviations (US Terms)
- ch = chain
- sc = single crochet
- dc = double crochet
- sl st = slip stitch
- st(s) = stitch(es)
- rep = repeat
Special Notes
- The main pattern is a simple one-row repeat: alternate sc and dc across every row.
- Foundation chain: For a blanket approximately 39″ wide, begin with ch 117. Adjust for a smaller or larger blanket; keep chain count odd for consistent ending stitches (ending with dc).
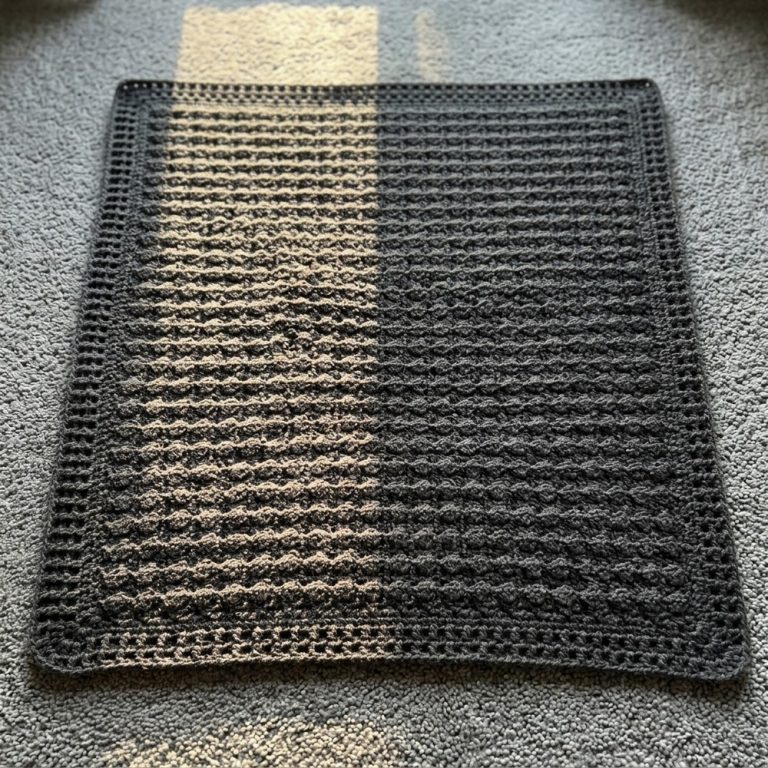
- Border: Features five rounds of single crochet, followed by a shell edging.
- Pattern can be easily customized for any size.
Pattern
1. Foundation Chain
- Ch 117 (or any odd number for custom width).
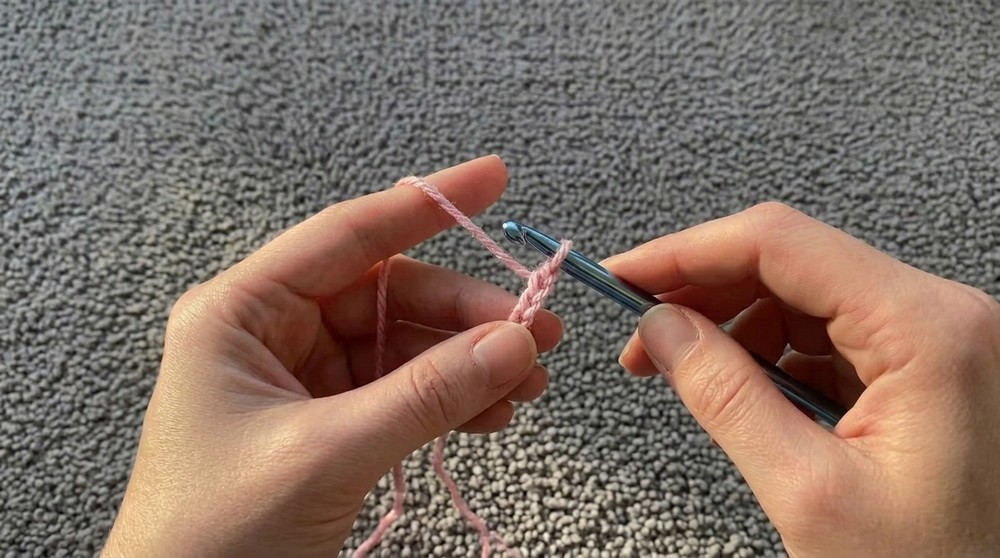
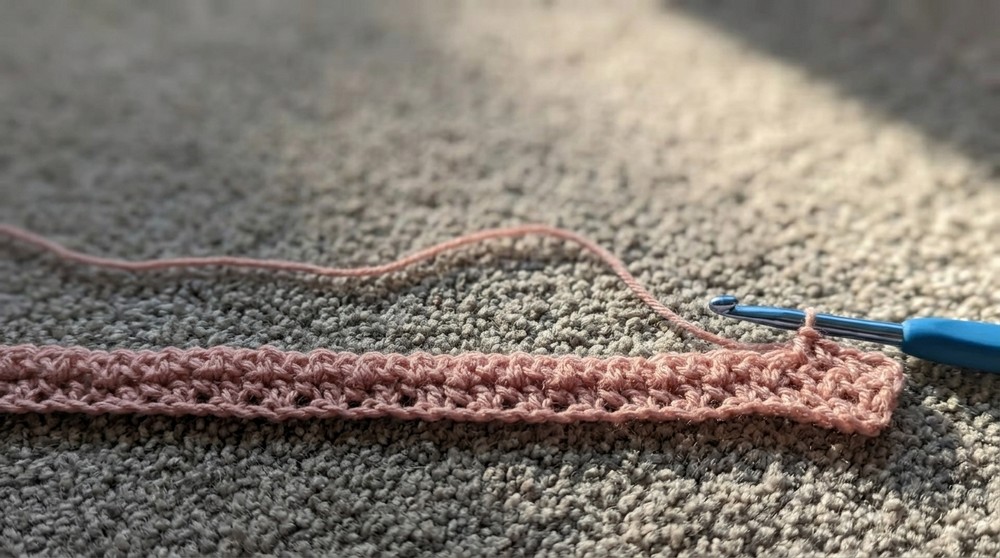
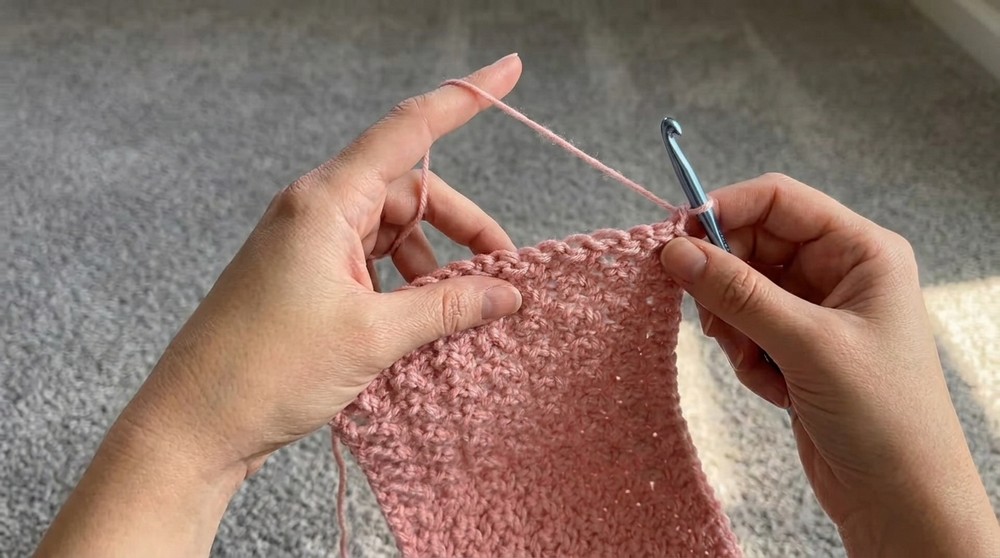
2. Row 1
- Sc in 2nd ch from hook, dc in next ch.
- [Sc in next ch, dc in next ch]; rep from * across.
- End with dc in last ch.
- Ch 1, turn.
3. Row 2 (and All Blanket Rows)
- Sc in first st (top of dc from prev row), dc in next st (top of sc from prev row).
- [Sc in next st, dc in next st]; rep from * across.
- End with dc in last st.
- Ch 1, turn.
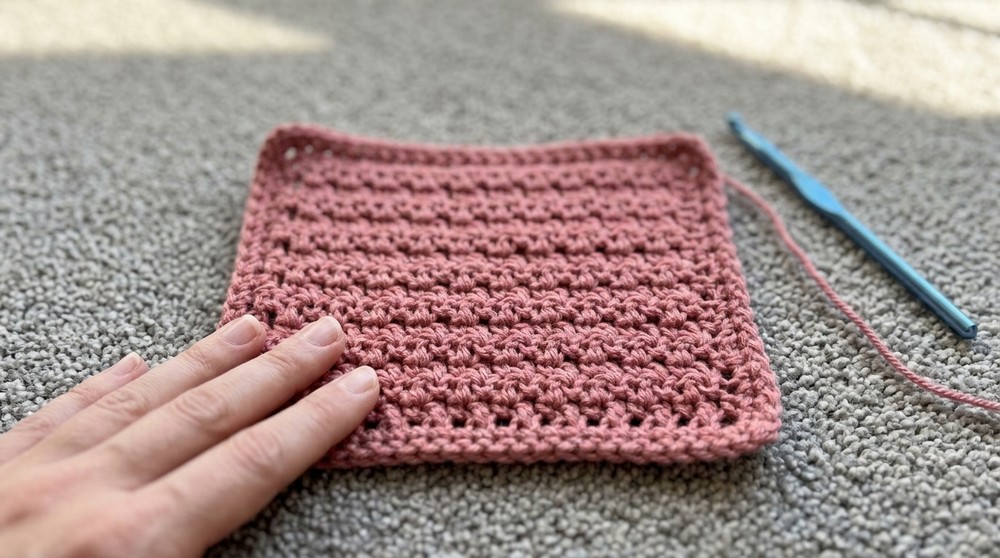
4. Repeat
- Continue working Row 2 until you have 90 rows (or until your blanket measures approx. 47″ or your desired length).
- Always end with a dc stitch at the end of each row.
- Fasten off if desired or continue directly to border.
5. Border
Border Round 1
- Ch 1, turn. Sc in each st across top edge.
- 3 sc in last corner st (top right corner).
- Working down the side of the blanket: sc in the end of each row (evenly spaced; aim for 1 sc per row).
- 3 sc in next corner st (bottom right corner).
- Sc in each chain across bottom edge, working into chain gaps (not actual chain stitches if preferred for neater edge).
- 3 sc in next corner st (bottom left).
- Sc in each row end up the other side.
- 3 sc in final corner (top left).
- Sl st to join to first sc. Ch 1, turn.
Border Rounds 2–5
- Work 4 more rounds:
- Sc in each st around.
- 3 sc in middle st at each corner.
- Sl st to join, ch 1, and turn for next round.
- After Round 5, do not turn before shell edging.
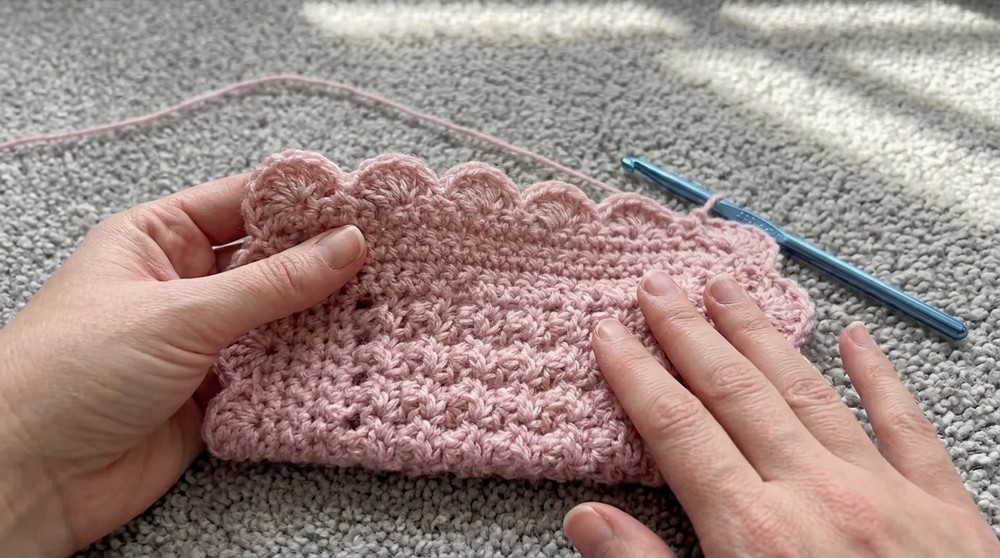
Shell Border Edging
- Skip first st, sl st in next st.
- Skip next st, 5 dc in next st (shell made).
- Skip next st, sl st in next st.
- Repeat [skip 1, 5 dc in next, skip 1, sl st in next] around blanket edges.
- Corners:
- In each corner, 7 dc in the corner st instead of 5 for a fuller shell.
- If stitch count does not work out perfectly, it is acceptable to skip 2 sts between shells or adjust as needed at the end of a side.
- At end: Join with a sl st, fasten off, and weave in all ends.
Conclusion
Congratulations! You have created a timeless, textured baby blanket with a lovely shell border—a perfect gift with warmth and handmade love.
Pattern Correction & Tips
- Correction: The starting chain should be odd to ensure the last stitch in each row is always a dc.
- Tip: When alternating sc and dc, always work a sc into a dc, and a dc into a sc; this keeps the pattern correctly aligned.
- Tip: For neater corners, ensure you always place 3 sc in each border corner, and 7 dc for shell corners.
- Tip: The shell border is very forgiving—skip extra stitches before shells at corners, if needed, to avoid bunching.