Crochet Diamond Cardigan Pattern For Fancy Layerings
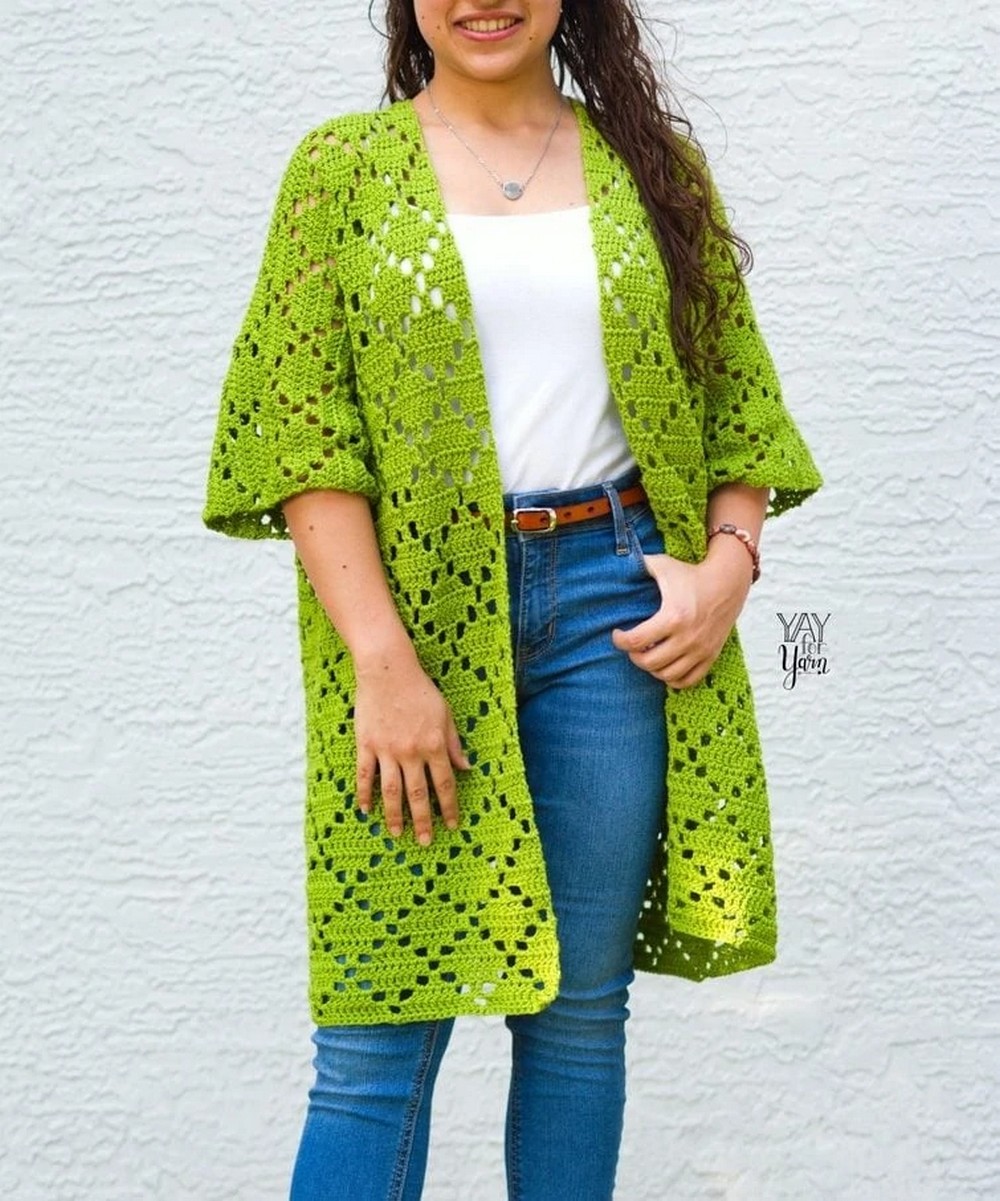
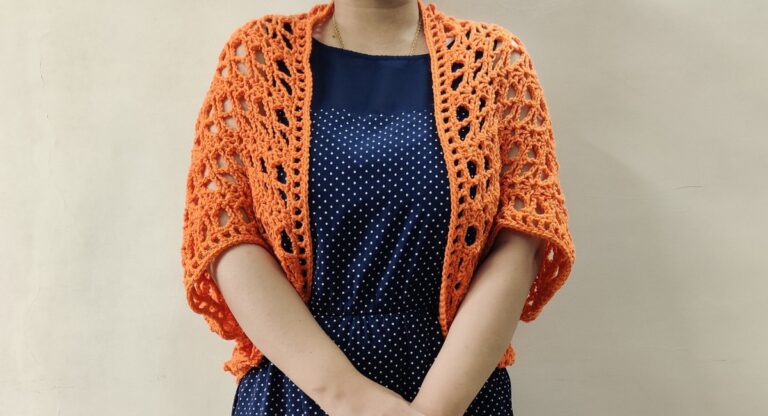
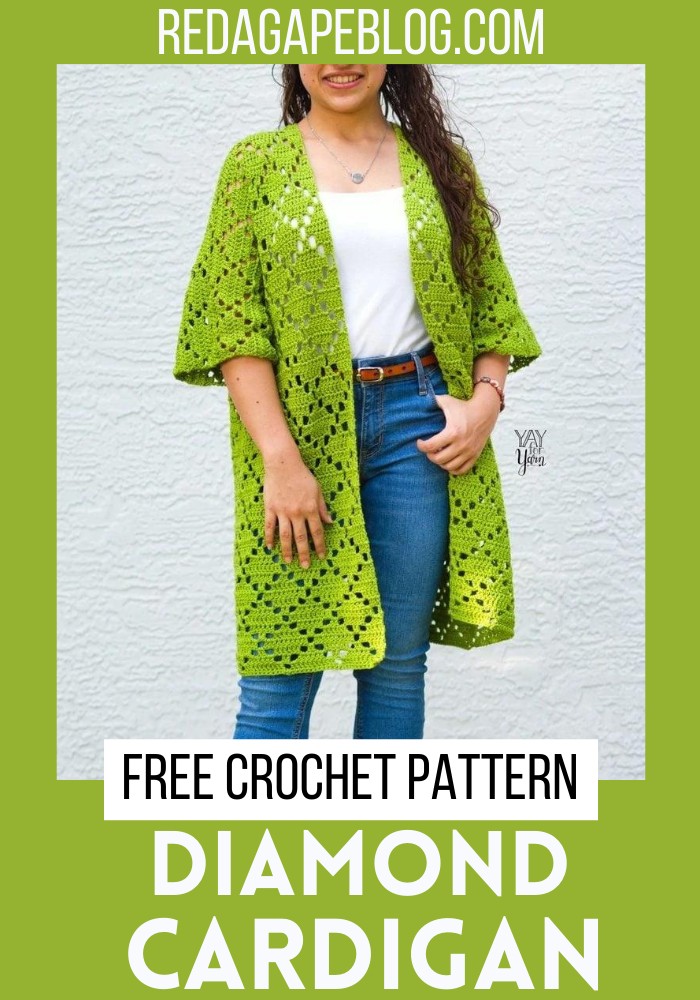
The Crochet Diamond Cardigan Pattern is a really simple and fun thing to make for warmer days. You start with just a rectangle shape, which is nice because it’s easy to do. This cardigan is big and comfy and has a pretty design with little holes in it that make it cool and airy to wear when it’s hot out. You can wear this cardigan in lots of ways, like over your summer clothes, as a fancy coverup for the beach, or even when it’s a bit chilly in the spring or fall. The crochet beach wearable pattern tells you how to make it in many sizes, from very small to very big, so anyone can make one that fits just right and looks good. So, choose the color you want and start crocheting!
Making Your Crochet Diamond Cardigan
Sizing:
- Size 1: Fits sizes X-Small, Small, and Medium (30” – 38” / 76 cm – 97 cm bust)
- Size 2: Fits sizes Large, X-Large, and 2X (40” – 50” / 102 cm – 127 cm bust)
- Size 3: Fits sizes 3X, 4X, and 5X (52” – 62” / 132 cm – 158 cm bust)
- Finished Bust: About 46.5” (57.5”, 68.5”) / 117 cm (146 cm, 174 cm)
Finished Length: 28” / 71 cm
Abbreviations:
- st(s): stitch(es)
- sk: skip
- nxt: next
- ea: each
- sp: space
- beg: beginning
- ch: chain
- sc: single crochet
- dc: double crochet
- Fsc: foundation single crochet
- CSDC: chainless starting double crochet
Step by step Pattern
Starting Guide & Gauge Swatch
- To begin, chain 2. Insert the hook into the 2nd chain from the hook. Yarn over, and pull up a loop. Yarn over, and pull through one loop on the hook (one chain made). Yarn over, and pull through both remaining loops on the hook.
- For all the following stitches: Turn work upside-down so the bottom (foundation) edge is facing you. On the bottom of the previous stitch, there is what looks like the top of a normal crochet stitch (the chain from the previous stitch). Insert hook into both strands of that “stitch”. Yarn over, and pull up a loop. Yarn over, and pull through one loop on the hook (chain made). Yarn over, and pull through both remaining loops on the hook.
- Chainless Starting Double Crochet: (video tutorial here)
- Stretch loop on the hook until it is slightly longer than a regular double crochet. Holding the top of the loop still with your finger, yarn over with the stretched loop on your hook (not the working yarn) 1 time. Insert the hook into the specified stitch. Yarn over, and pull up a loop of yarn. (Yarn over, pull through 2 loops on hook) 2 times.
- Pattern for Gauge Swatch
- Row 1-8: Given pattern
- Repeat Rows 3-8 twice more
- Measurements: After blocking, the swatch should measure 9.2” (23.4 cm) wide by 8.7” (22 cm) long.
Diamond Cardigan Instructions
Notes
- The cardigan is worked back and forth in rows, one piece, which begins at the back hem, working up to the shoulders and down the front.
- The pattern starts with a row of foundation single crochet instead of a foundation chain.
- Each chain stitch counts as a stitch, except when otherwise noted in the final stitch count for the row.
Back
- Row 1: Begin by leaving a tail at least 2 yards long.
- Option 1: Ch 2, fsc in 2nd ch from hook. Work 99 (123, 147) more fsc
- Option 2: Ch 101 (125, 149). Sk 1st ch, sc in 2nd ch from hook and across
- Row 2-8: Follow the provided pattern
- Repeat Rows 3-8; 6 (5, 4) more times, then tie off.
Upper Back
- Row 9: Start with new yarn, ch 24. Turn the work so the back of the last row is facing you. Follow the provided pattern.
- Row 10: Follow the provided pattern.
- Repeat Rows 5-8 once more.
- Repeat Rows 3-8; 1 (2, 3) more time(s).
Right Front
- From Row 15 onwards: Follow the given pattern. Tie off after repeating Rows 3-8; 7 (6, 5) more times.
- Row 16: Turn. Stretch loop on hook slightly, sc in the same stitch. Sc in each stitch and chain-stitch across. Tie off.
Left Front
- Join yarn in the center chain space of the last row of the Upper Back. (The front of Row 15 from Right Front should be facing you.)
- From Row 15 onwards: Follow the given patterns. Tie off after Row 17.
Finishing Touches
Weave in ends, except for the two long yarn tails that we will be using for seaming.


