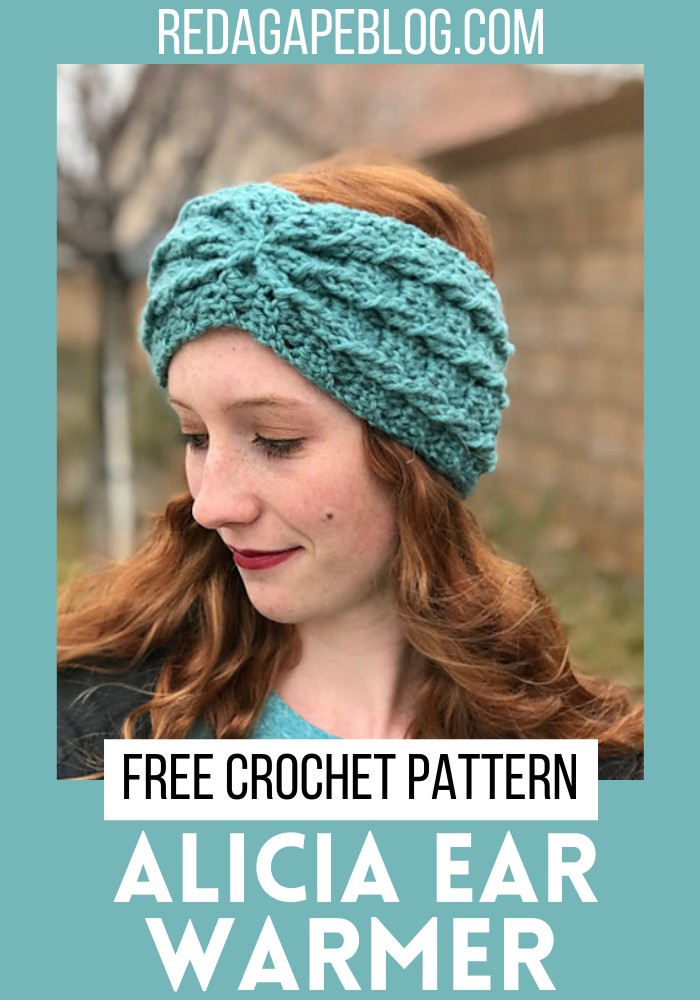
Alicia Ear Warmer Free Pattern For Stylish Winters
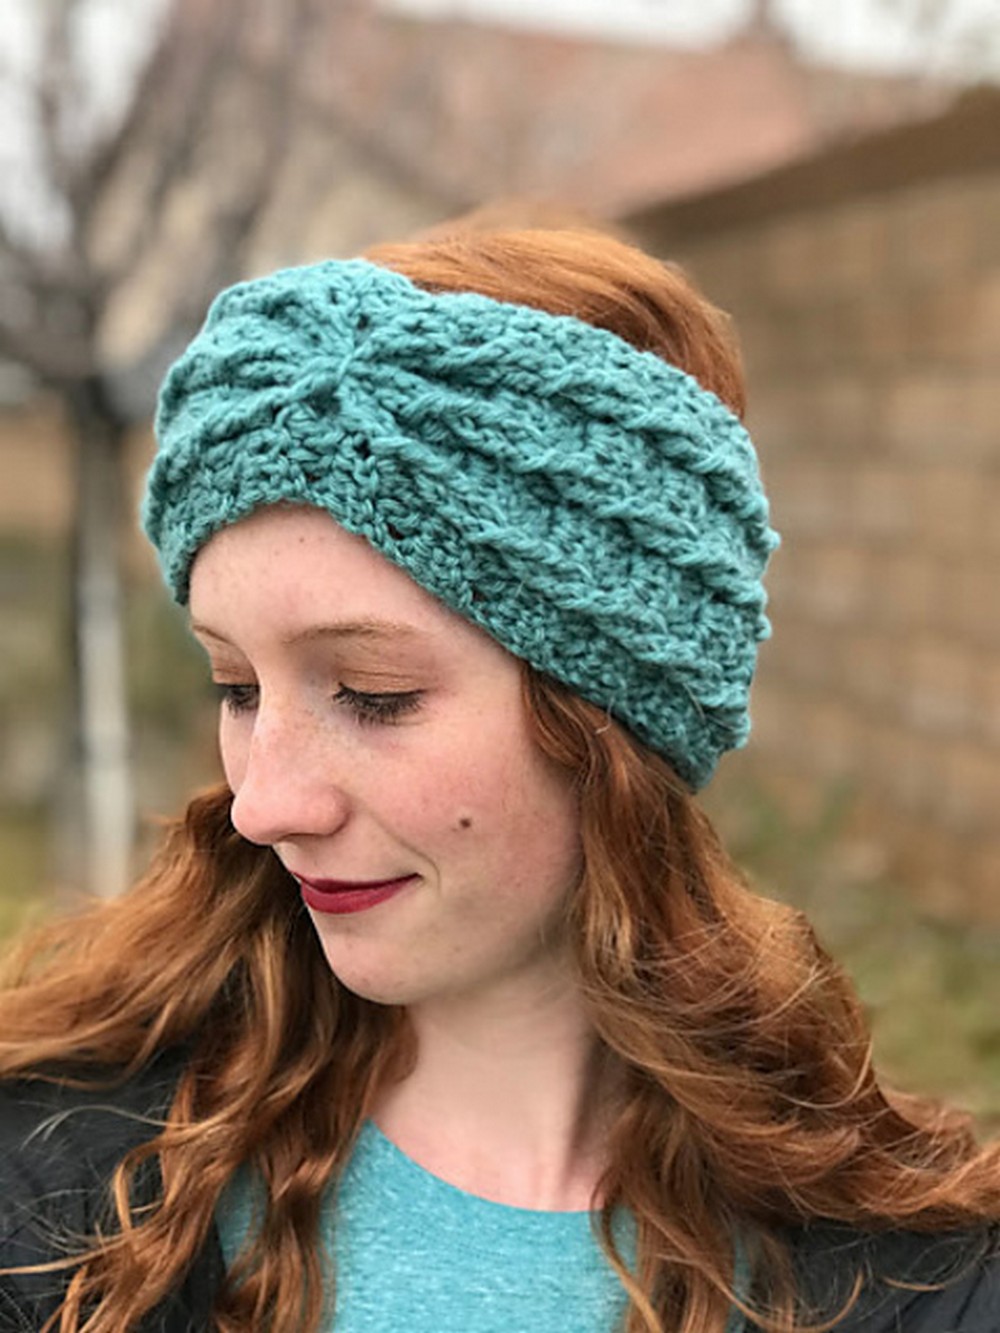
The Alicia Ear Warmer pattern is a treat for anyone looking to craft a cozy accessory for the colder months. This free crochet pattern introduces a simple yet elegant way to incorporate cable stitching, creating a beautifully textured ear warmer. Fear not if you’re new to crochet cables; this pattern is designed to ease you into the technique with an approach that’s as straightforward as cable work gets. Available in various colors, this pattern is adaptable in size, allowing for custom fits for both adults and kids. Whether you’re an experienced crocheter or a beginner eager to try something new, this crochet ear warmer pattern offers a rewarding project that’s both practical and chic.
Making Your Alicia Ear Warmer
Materials Needed:
- Less than 1 skein of Mary Maxim Woodlands yarn (or another worsted weight yarn)
- H/8 (5mm) crochet hook
- Yarn needle
Useful Abbreviations:
- ch: chain
- fsc: foundation single crochet
- sl st: slip stitch
- sc: single crochet
- hdc: half double crochet
- dc: double crochet
- bpdc: back post double crochet
- fptr: front post triple crochet
- rep: repeat
- sk: skip
- st(s): stitch(es)
- RS: right side
Step by step Pattern
- Stitch Pattern: multiple of 5+3 stitches.
- Note: Ch 3 at the beginning of rows always counts as 1 dc.
- Adjust the width by increasing/decreasing stitches in multiples of 5+3.
Pattern Instructions:
Initial Row:
- Begin with foundation single crochet 18 (or a multiple of 5+3 to adjust width).
Row 1:
- Start with a chain of 3 (this counts as your first dc).
- Double crochet in each fsc across.
- Turn your work.
Row 2 (RS):
- Ch 3, then dc in the next 2 dc.
- *Sk the next dc, fptr around the next dc.
- Working in front of the st just made, fptr over the skipped st.
- DC in the next 3 dc.
- Repeat from * across the row.
- Turn your work.
Row 3:
- Ch 3, dc in the next 2 dc.
- Bpdc over the next 2 fptr.
- *Sk the next dc, 3 dc in the next dc.
- Skip the next dc, bpdc over the next 2 fptr.
- Repeat from * until 3 DCs are left.
- DC in the last 3 dc.
- Turn your work.
Row 4:
- Ch 3, dc in next 2 dc.
- *Sk the next bpdc, fptr in the next bpdc.
- Working in front of the st just made, fptr in skipped st.
- DC in the next 3 dc.
- Repeat from * across the row.
- Turn your work.
- Repeat Rows 3-4 until the ear warmer reaches the desired length, ensuring a snug fit around the head.
Final Row:
- Ch 1 (this does NOT count as a st), then sc across the row.
- Fasten off.
Finishing Instructions:
- Align the right sides together and sew the ends using your preferred method (such as a slip-stitch seam).
- Create the gathered section:
- Thread a long piece of yarn through the 3 cables, essentially weaving it in and out as shown in the appendix.
- Pull the yarn ends through the opposite side and tighten.
- Knot the ends securely on the back side after pulling tight.
- Adjust the ear warmer so the gathered portion sits well.