Colorful Stripes Sweater Free Crochet Pattern
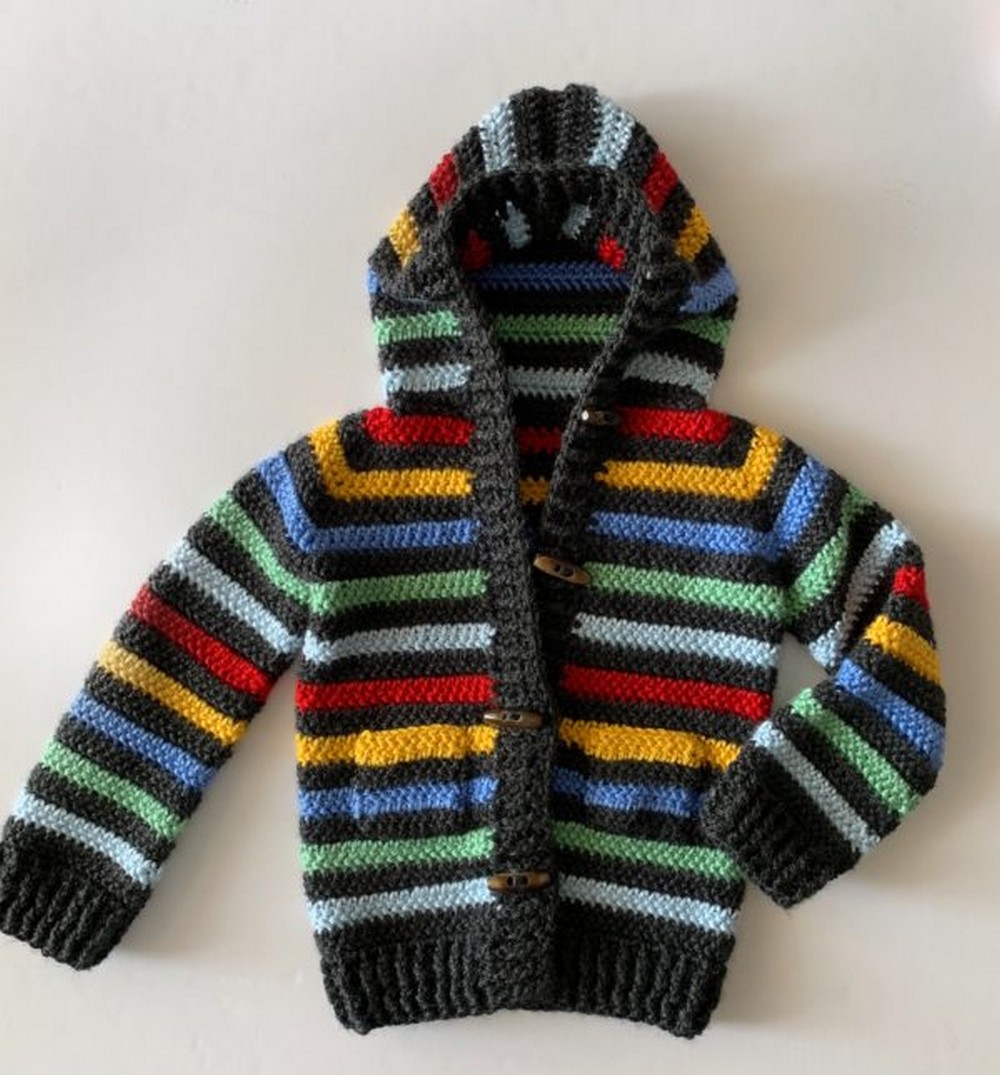
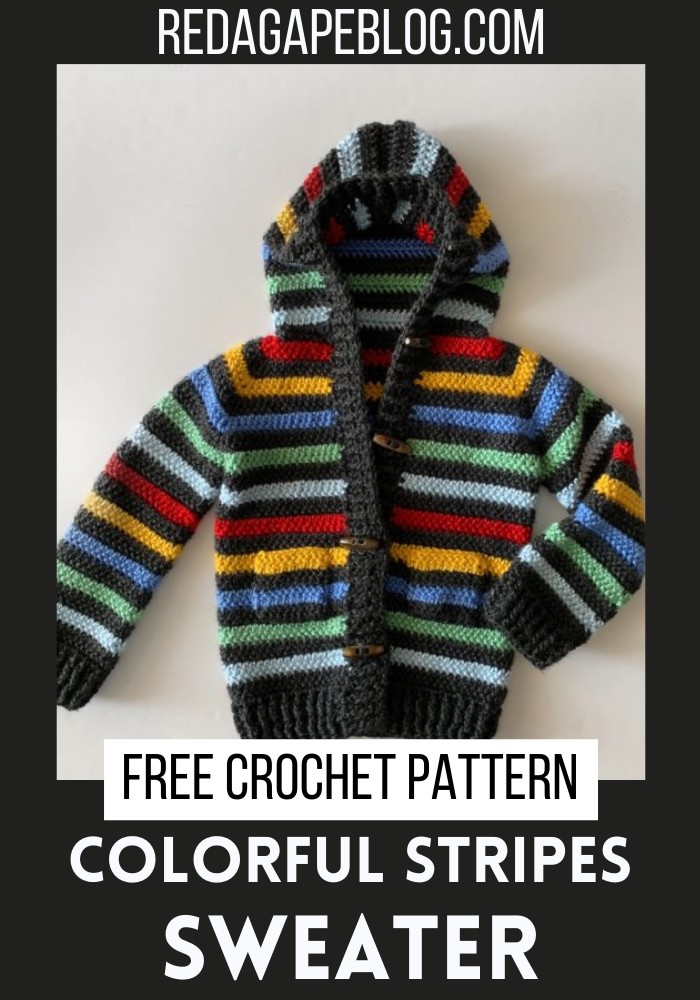
When the weather gets chilly, keeping kids cozy and snug is super important, and the Crochet Colorful Stripes Sweater is just the thing for both warmth and style. Made with soft yarn in seven happy colors, it’s like wrapping up in a rainbow! The crochet sweater has special stitches that make it nice and flat, not too full of holes, so it really keeps the chill out. Plus, it’s made starting at the neck and going down, with a handy hood and even a spot to add buttons. With bright stripes that remind you of cheerful Lego blocks, this sweater is all about fun and comfort rolled into one. Simply follow the beginner-friendly pattern and bring this kid’s winter wearable to life!
Making Your Crochet Colorful Stripes Sweater
Materials:
- Caron Simply Soft (100% acrylic, 170 g/6 oz, 288 m/315 yds)
- 2 skeins of Charcoal Heather
- 1 skein each of Harvest Red, Gold, Cobalt Blue, Sage, Soft Blue
- Size I/5.5mm hook
- Scissors
- Tapestry needle
- 4 oblong buttons (refer to picture for style)
Size:
- Finished size for a 2T sweater
Stitches:
Herringbone Half Double Crochet (HHDC):
- Yarn over (YO), insert your hook, YO, pull up a loop and pull directly through the first loop on the hook. YO and pull through the remaining two loops on the hook.
Double Crochet (DC):
- YO, insert your hook, YO and pull up a loop, YO and pull through two loops, YO and pull through the remaining two loops.
Front and Back Post Double Crochet (FPDC & BPDC):
- Front Post Double Crochet (FPDC): Insert your hook from front to back around the post of the next DC and work your DC.
- Back Post Double Crochet (BPDC): Insert your hook from back to front around the post of the next DC and work your DC.
Step-by-step pattern
Bodice:
- Starting Chain: With Charcoal Heather, CH 44.
- Row 1: HHDC in the third CH from the hook and in each CH across. Switch to Harvest Red on the last stitch. CH 2, turn. Place stitch markers at the 8th, 13th, 29th, and 34th stitches from the hook.
- Row 2: HHDC in the second stitch from the hook and in each until marked stitches; work 3 HHDC in the marked stitches. Continue with HHDC, ensuring 9 HHDC after the last corner. CH 2, turn.
- Rows 3-5: Repeat Row 2 instructions.
- Rows 6-13: Repeat Row 3, alternate colors every 2 rows (Gold, Charcoal Heather, Cobalt Blue, Charcoal Heather). Switch to Sage.
- Row 14: Create armholes by working HHDC to the first corner, then ONE HHDC into the middle stitch. Skip to the next corner, repeat these steps, then continue with HHDC to the end.
- Rows 15-17: With Charcoal Heather, continue HHDC across the bodice.
- Rows 18-42: Repeat the previous 2-row color pattern as per earlier instructions.
- Rows 43-47: Work one row of DC around the bottom, followed by alternating FPDC and BPDC for the ribbing. Tie off.
Hood:
- Starting with Charcoal Heather:
- Begin in the front right corner and work 1 HHDC per stitch, and 2 HHDC at corners, following hood shape instructions. Change to Soft Blue.
- Next 25 Rows: Work HHDC across each row, following the color pattern.
- Seam Hood: Fold in half and slip stitch the top edge. Tie off, and weave in ends.
Sleeves:
- With Sage, pull up the loop in the armhole:
- CH 2, work 1 HHDC around, including armpit.
- Ensure the same stitch count each round.
- Rows for Sleeves: Work 27 rows according to color pattern.
- Row 28: DC around in Charcoal Heather to start cuff ribbing.
- Cuff Ribbing: Create 4 rows of FPDC and BPDC ribbing. Tie off, weave ends.
Front Placket:
- Start at the bottom right sweater corner:
- Pull up a loop, CH 2, DC in the same space.
- Work up the placket and hood with an even spread of DCs.
- Ribbing for Placket: Work FPDC and BPDC for 4 rows. Tie off, weave ends.
Pockets: (Make 2)
- With Charcoal Grey:
- CH 15, HHDC in each CH across for the first row.
- CH 2, turn.
- Continue: Follow the 2-row color pattern as established. Leave tails for sewing.
Finishing Touches:
- Attach buttons where necessary.
Size Adjustments:
- For one size larger: Use a Size J hook.
- To make it larger or smaller, adjust the number of rows before joining for armholes or join sooner.
Please make the necessary measurements for any size adjustments and follow the tips provided for an accurate fit. Remember to match stitch counts on both sleeves and weave in all ends for a clean finish.

