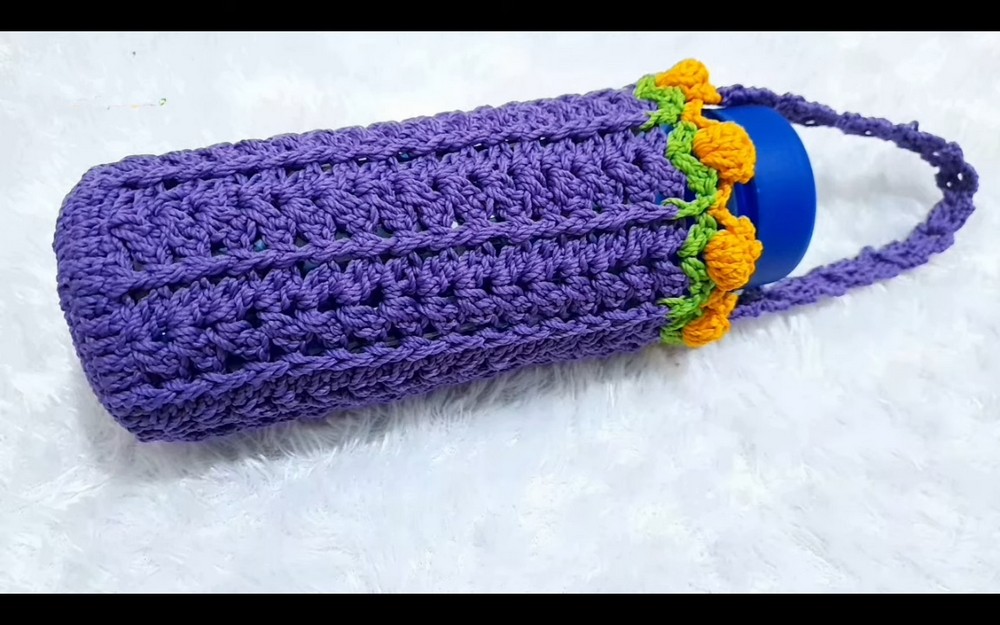
How to Crochet Drinking Bottle Cover for Beginners
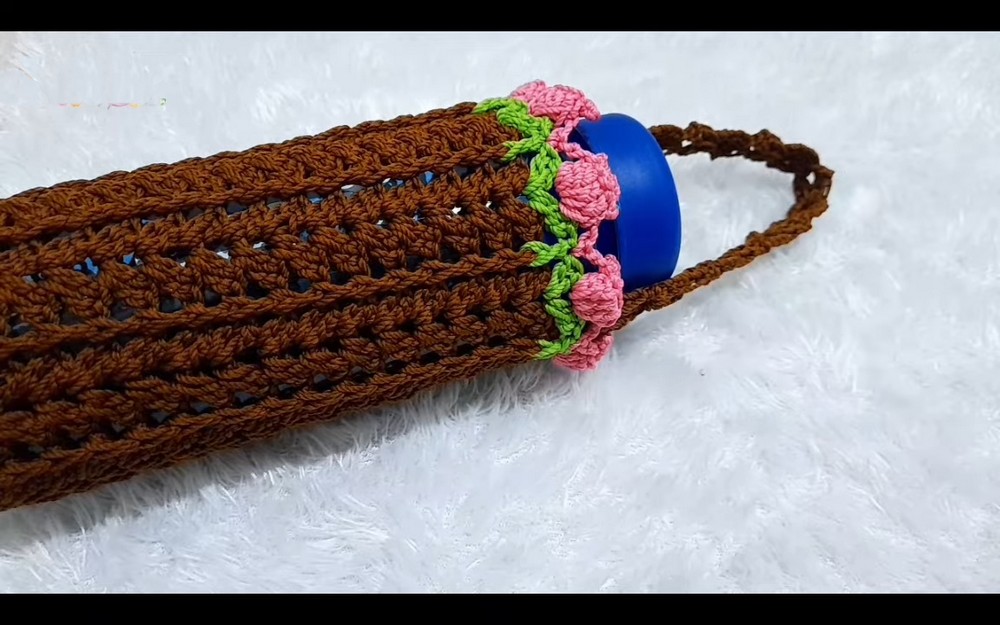
With a tutorial, how to crochet a cover for a drinking bottle, perfect for beginners and experts. The cover features a simple motif decorated with tulip flowers. The tutorial covers materials needed, including polycotton yarn and a tulip gold crochet hook. It guides through creating the base of the cover with a magic ring and increasing stitch counts, then adds the main motif and a leaf pattern.
Finally, it demonstrates how to create and attach the tulip flowers and a handle to complete the bottle cover. So, follow through with us for the complete tutorial.

Introduction
The tutorial by Neti demonstrates how to crochet a decorative drinking bottle cover with tulip motifs. The video walks viewers through the step-by-step process, focusing on foundational crochet techniques, motif creation, and detailed finishing touches. It serves as a creative guide for crafting functional and visually appealing handmade bottle covers.
Materials and Tools
- Yarn: Policeri thread was used in the video.
- Crochet Hook: Tulip Gold crochet hook (Number 4).
- Optional materials included additional colored threads for design elements such as leaves and decorations.
Step-by-Step Instructions
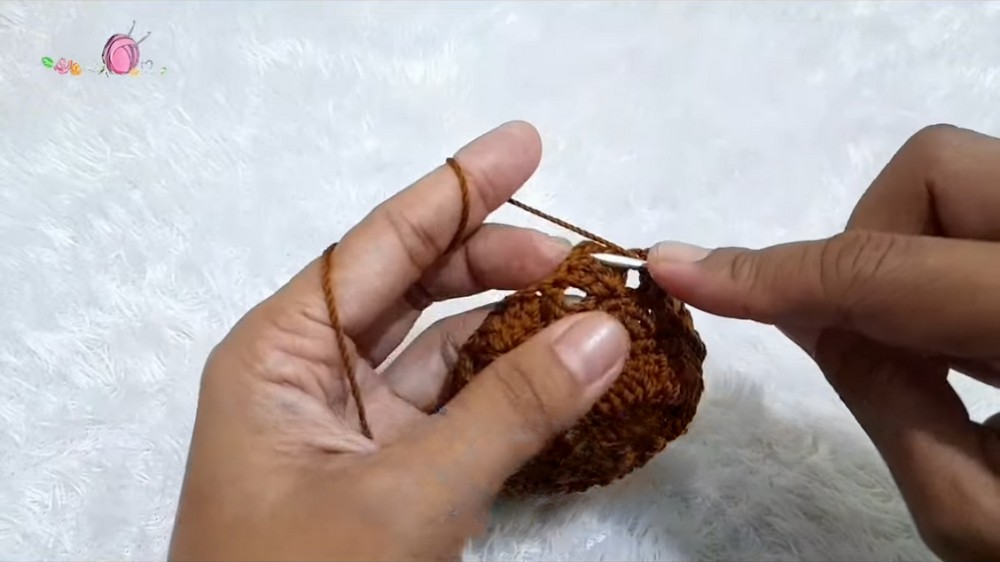
1. Base of the Bottle Cover
- The tutorial begins with creating a magic ring as the foundation.
- Double crochets are used to form a solid base for the bottle cover.
- Slip stitches are applied to close each round.
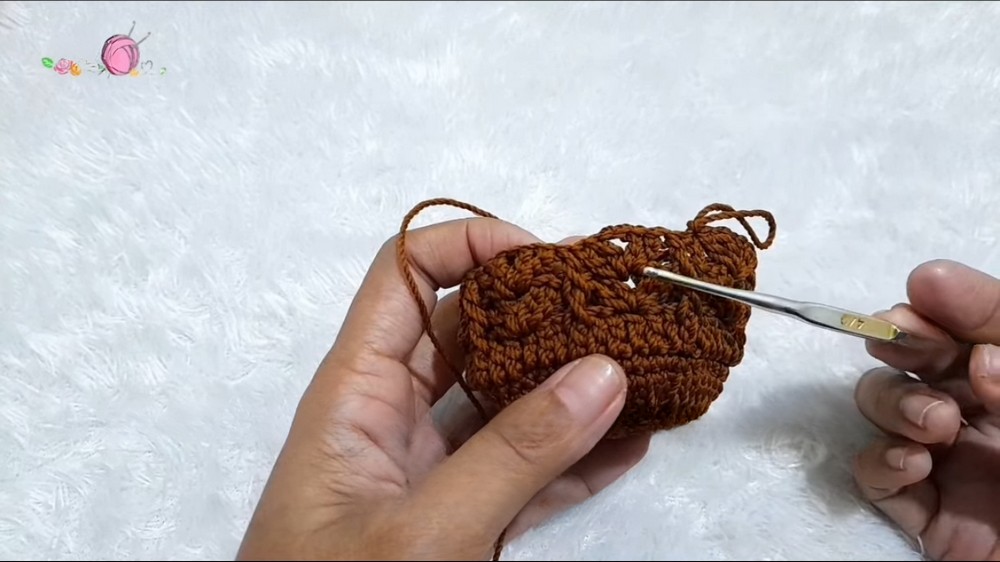
2. Building the Main Crochet Motif
- After preparing the base, rows are crocheted to expand the cover’s structure:
- Alternating patterns of single crochet (SC) and double crochet (DC) stitches create the vertical walls of the bottle cover.
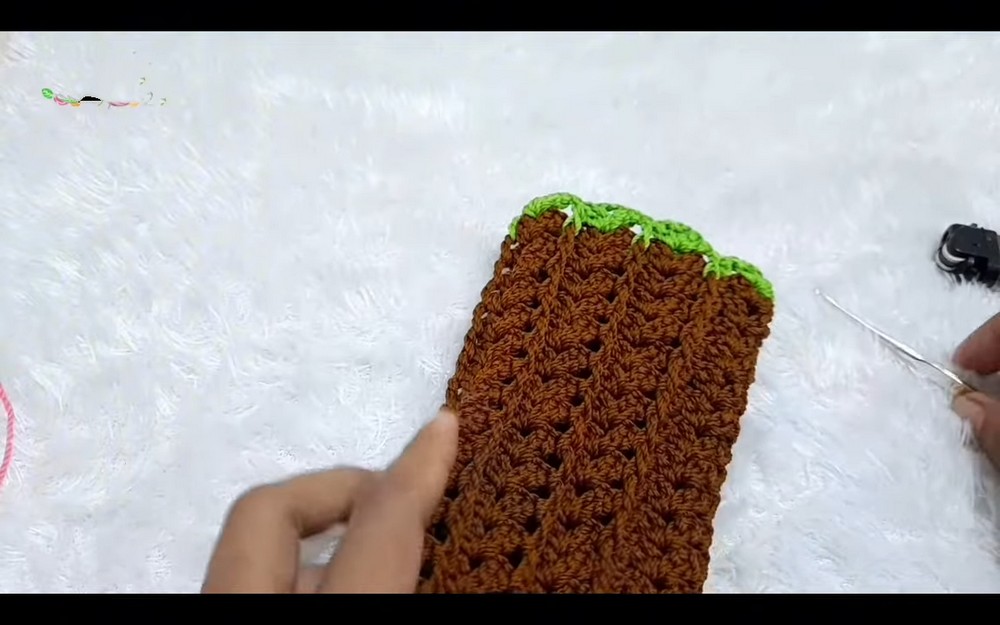
- Specific motifs start forming from the sixth row with FPDC (front post double crochet) used for added texture and decoration.
- The structure is gradually shaped to fit the bottle’s dimensions, making adjustments in height as needed.
3. Tulip Flower Pattern
- To add a decorative touch, the tulip flower pattern is introduced after crafting the body of the cover:
- Tulip motifs are made using popcorn stitch techniques to create dimensional flowers.
- Secondary colored thread is incorporated to distinguish the leaves and floral elements.
- Each flower motif consists of repeated chains and stitches, delicately linked to maintain symmetry across eight tulip flowers.
4. Adding Finishing Details
- Once the motifs are complete, the loose threads are tidied up.
- A long handle is created by repeating motifs, adding functionality to carry the bottle cover.
- The handle is sewn securely onto the main cover using the tapestry needle.
- Placement of flowers on the front and back is arranged neatly for aesthetic balance.
Final Touches
Neti ensures the tulip design is polished and elegantly arranged around the bottle. The completed cover combines both practicality and beauty, making it a perfect handmade creation.

Conclusion
The tutorial emphasizes patience and attention to detail when crafting. With clear instructions, it’s tailored for both beginners and experienced crocheters. The end result is a charming bottle cover that can be customized with various color combinations and motif arrangements. Thank you for following along, and enjoy crocheting your own unique bottle cover!