How to Crochet Easy Amigurumi Heart for Home Decor & Gifting
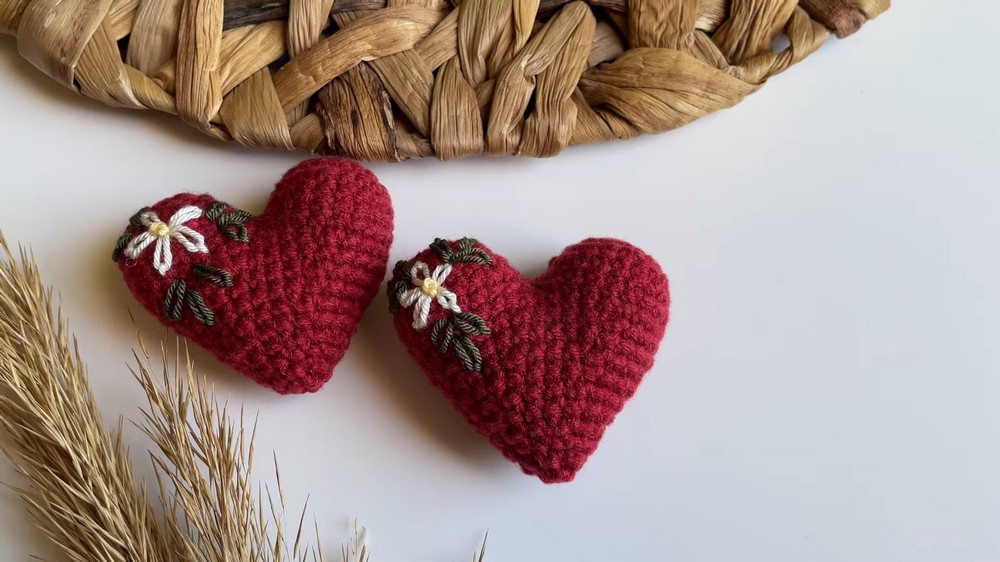
Learn how to crochet a charming embroidered amigurumi heart using milk cotton yarn and a 3mm crochet hook, though other yarns and hooks are also suitable. The step-by-step guide begins with forming a magic ring and progresses through rounds with clear instructions for increases, decreases, and shaping. The tutorial also includes how to add stuffing and optional embroidery for decoration. It’s a beginner-friendly project, resulting in an adorable heart perfect for gifts or decorations.
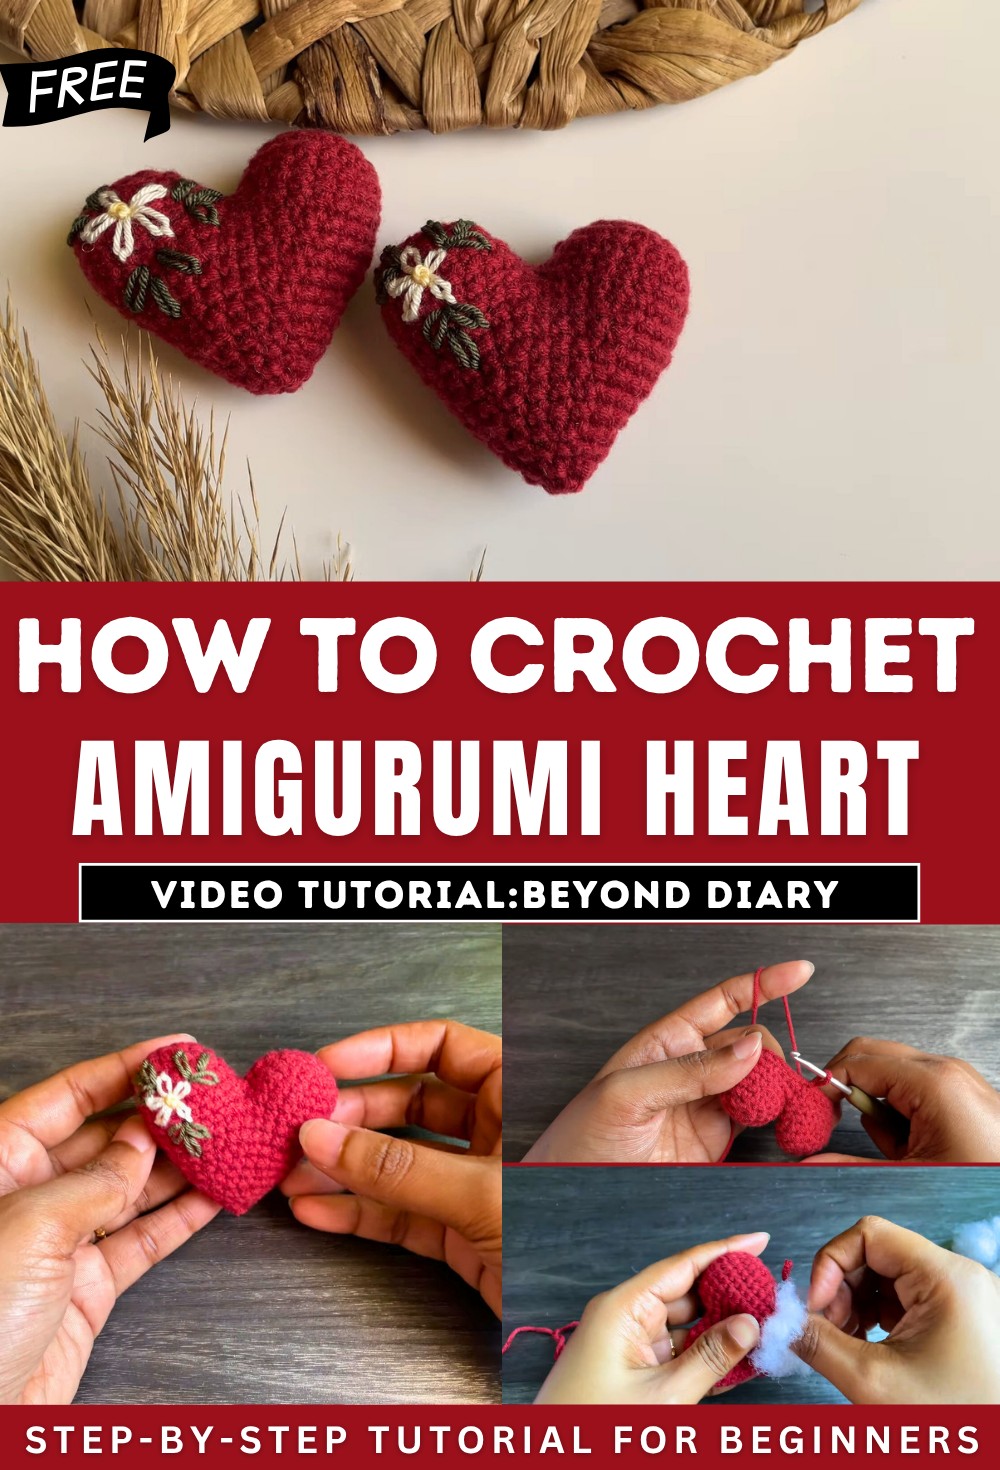
Amigurumi Heart Pattern Tutorial
The tutorial, presented by “Beyond Diary,” focuses on creating a simple and beautiful amigurumi heart pattern. The instructor uses milk cotton yarn and a 3 mm crochet hook but suggests you can use any yarn with a compatible hook size. The tutorial begins with a warm welcome and assures viewers that the heart design is easy to make, even for crochet beginners.
Materials and Tools
- Yarn: Milk cotton yarn (any alternative can be used depending on preference).
- Hook size: 3 mm crochet hook, or another size suitable for your yarn.
- Optional: Stitch markers, stuffing material, needle for sewing, and additional yarn for embroidery.
Steps to Crochet the Heart
The heart is made using multiple rounds of single crochets, increases, decreases, and slip stitches. Two identical pieces are crocheted first, then joined to shape the heart.
Creating the First Piece
-
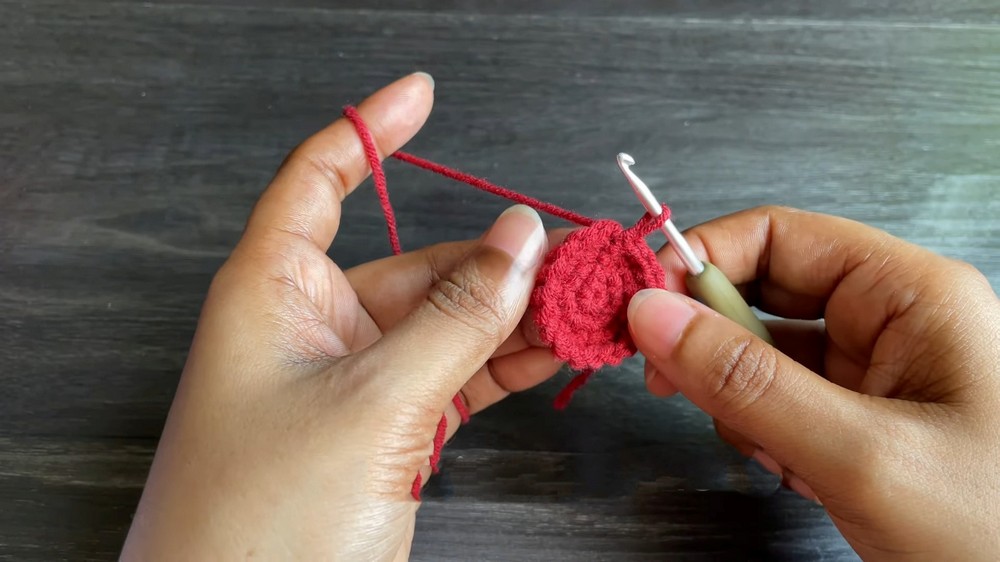
Starting the Magic Ring:
- Begin with a magic ring by wrapping the yarn around your fingers and securing it with a chain.
- Work single crochets into the magic ring and close it by pulling the tail.

-
Building Up Rounds:
- Each round starts with a chain and involves specific patterns of increases and decreases to shape the base.
- A slip stitch is used at the end of each round to join.
-
Midway Progress:
- Around rounds 4 to 5, focus on single crochets without increasing. This helps build the height and structure of the piece.
- The piece is cut off after completing the fifth round.
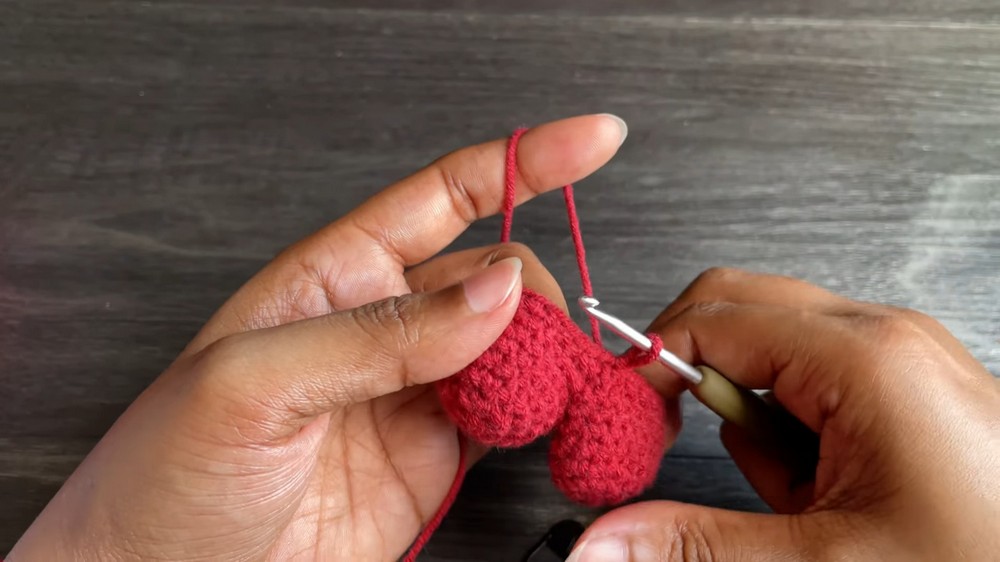
Creating the Second Piece and Joining
- Crochet the second piece with the same steps but do not cut off the yarn.
- Join the two pieces together by continuing to work single crochets around both, forming the top “lobes” of the heart.
Shaping the Heart
-
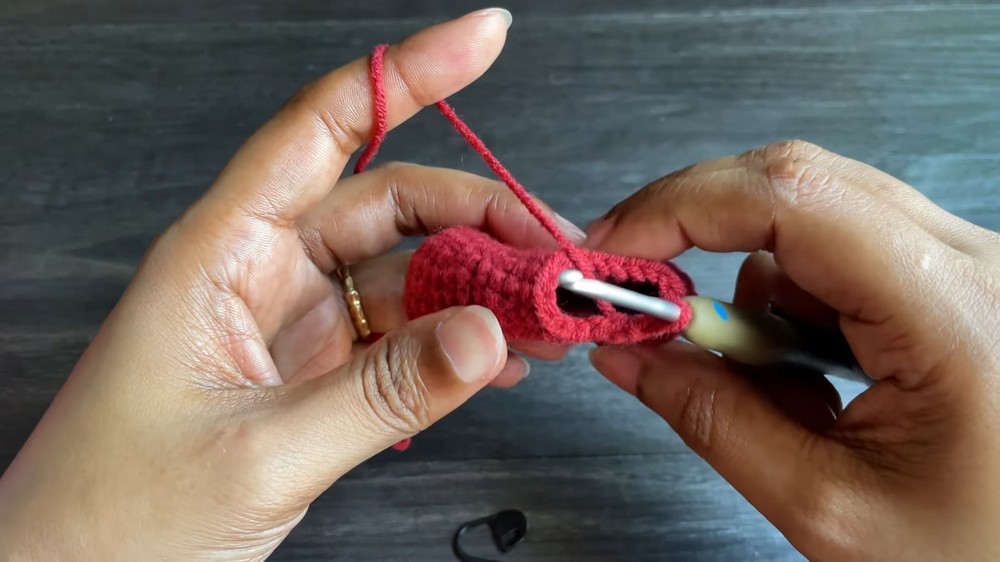
Rounding the Top:
- Once the top is joined, work entirely around with single crochet rows to smoothen the joined edges.
-
Decreasing for the Tapered Bottom:
- As the heart narrows towards the bottom, alternate between decreases and single crochet rows.
- This creates a gradual taper, allowing the heart to take shape.
-
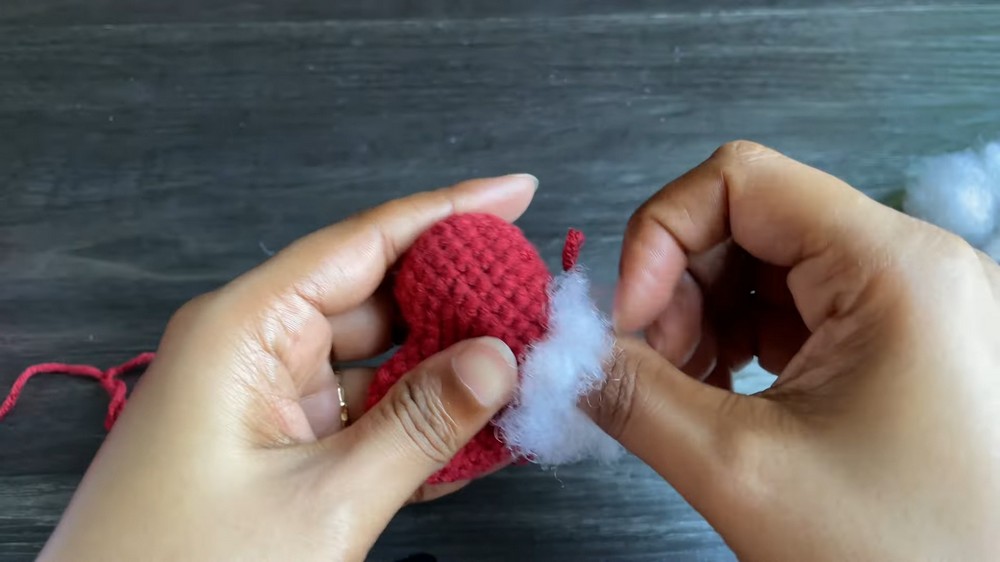
Adding Stuffing:
- Before fully closing the heart, stuff it with the desired material (polyfill or cotton) to give the heart its 3D structure.
-
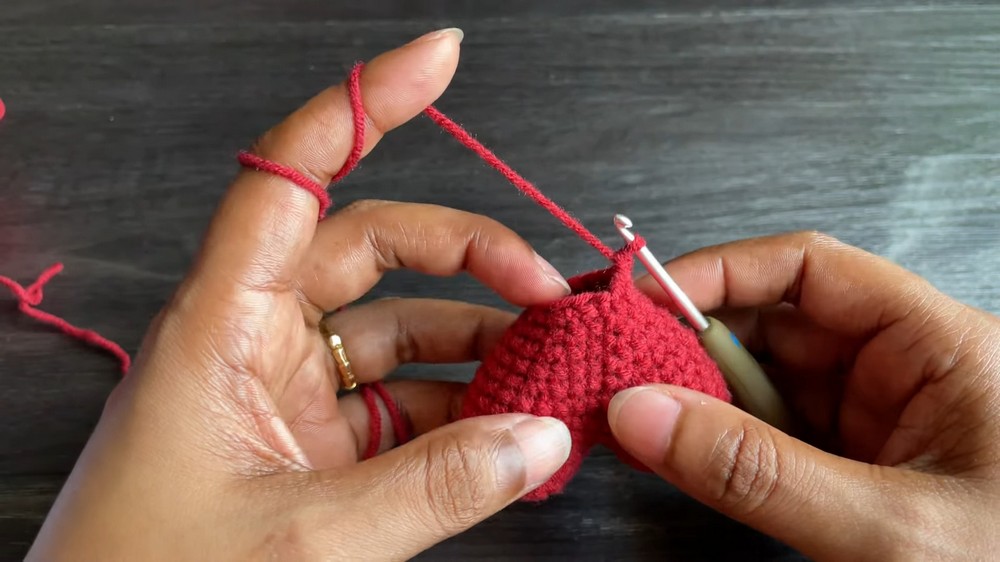
Closing the Heart:
- The final rounds involve consistent decreases until only a few stitches remain.
- Use a needle to sew the gap shut, ensuring a seamless finish.
Optional Embroidery
- Adding Embellishments:
- The tutorial demonstrates a simple embroidery design: a lazy daisy flower and leaves.
- The instructor uses off-white yarn to create the flower and a French knot for the center.
- Customization Ideas:
- Viewers are encouraged to personalize their hearts with different embroidery designs or leave the heart plain.
Final Touches
- Hide the yarn tail by threading it through existing stitches with a needle.
- Trim any excess yarn for a clean finish.
Takeaway
This amigurumi heart tutorial is beginner-friendly, customizable, and combines simplicity with creativity. It offers both clear instructions for crocheting the shape and optional ideas for decoration.