How to Crochet Granny Square Bag for Beginners

Learn how to crochet a functional granny square bag using three squares and colorful yarn with a step-by-step tutorial for beginners. The tutorial covers forming granny squares, joining them together, and building the bag’s structure.
The process also includes adding a single crochet border and crocheting a sturdy handle. By the end, you’ll have a stylish, handmade bag perfect for shopping or casual outings.

This video tutorial provides a comprehensive guide on creating a stylish and functional crochet granny square bag using three squares. The process involves crocheting colorful granny squares, joining them together, adding a single crochet border, and creating a sturdy handle. Below is a detailed summary of the steps explained in the video:
Free Crochet Granny Square Bag Tutorial
Materials
-
-
- Yarn: Worsted weight yarn in 3–4 colors (or as desired)
- Crochet Hook: 4.5 mm (or size recommended for your yarn)
- Scissors
- Yarn Needle: For weaving in ends
-
Key Abbreviations (US Terms)
-
-
- ch: chain
- sl st: slip stitch
- sc: single crochet
- dc: double crochet
- st(s): stitch(es)
- sp(s): space(s)
- MR: magic ring
-
Special Notes
-
-
- Pattern uses joined rounds.
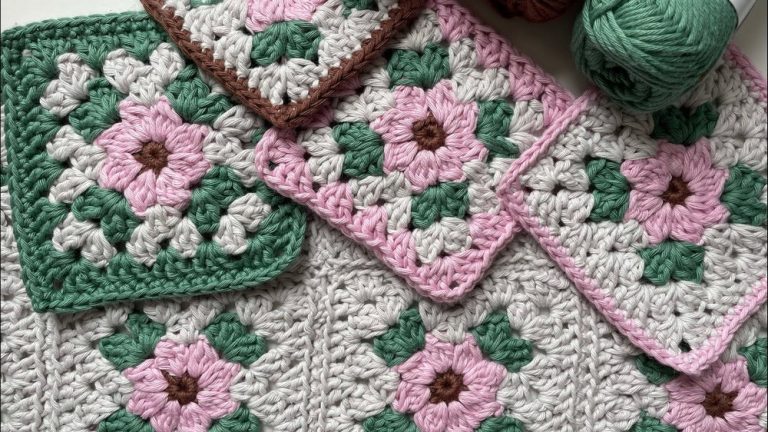
- Bag is constructed from three folded granny squares, joined and bordered, with a double crochet handle.
- Granny square instructions below provide the basic formula; adjust color changes as desired.
-
Pattern
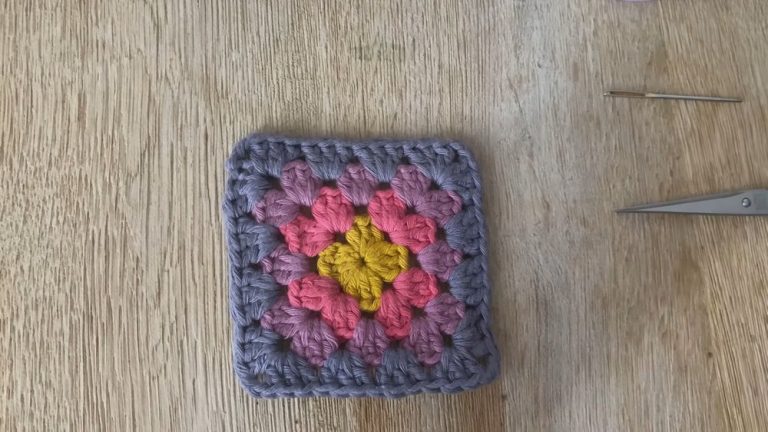
Granny Squares (Make 3)
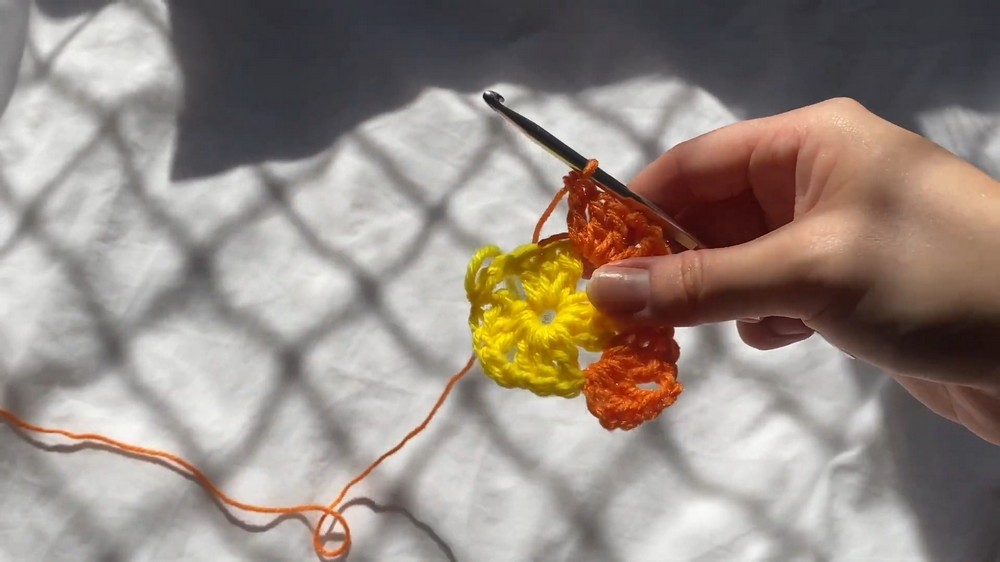
Round 1:
-
-
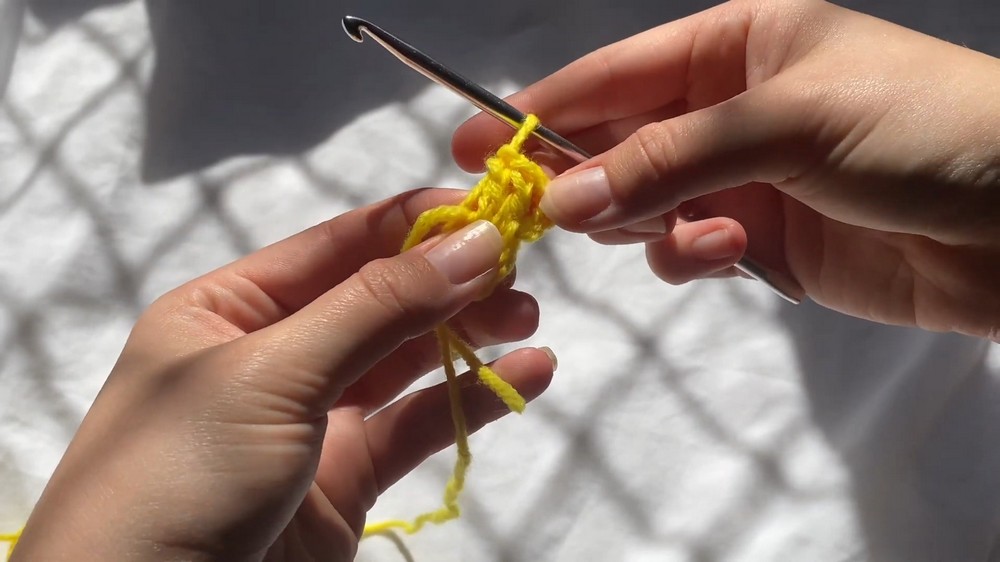
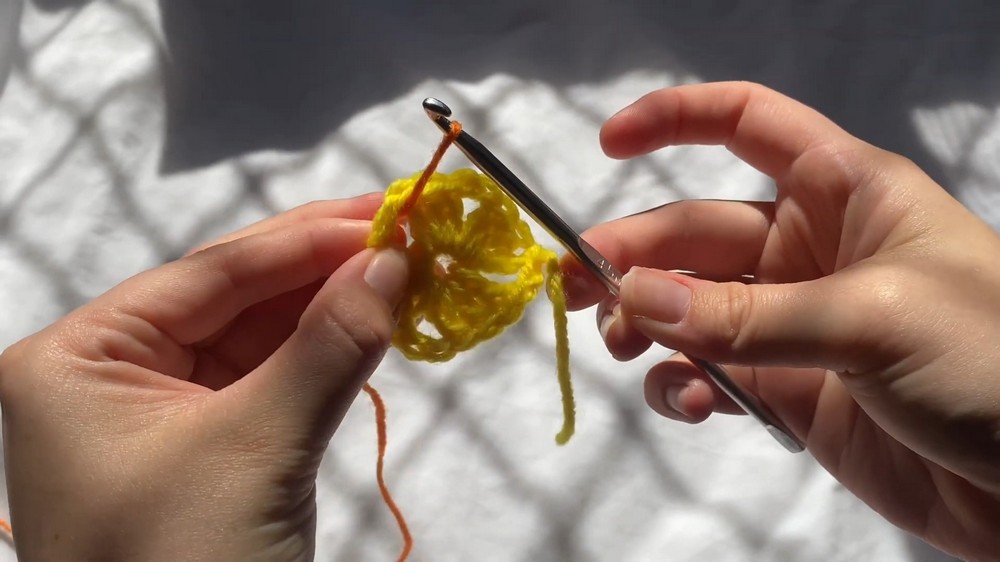
- Begin with a magic ring (MR). (Alternate: ch 4, sl st to first ch to form a ring.)
- Ch 3 (counts as dc), 2 dc in ring (first cluster).
- Ch 2.
- [3 dc in ring, ch 2] x3.
- Sl st to top of starting ch-3.
- Pull magic ring tight.
-
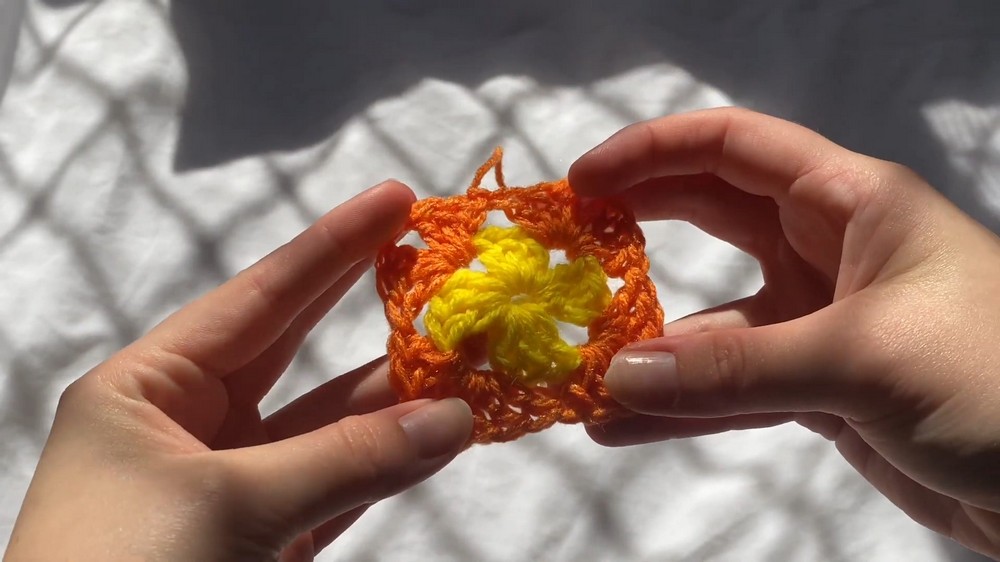
Round 2:
-
-
- Change color if desired.
- Begin in any corner sp: ch 3 (counts as dc), 2 dc in same sp.
- Ch 2 (corner), 3 dc in same sp.
- In next corner sp: [3 dc, ch 2, 3 dc]. Repeat around.
- Sl st to top of starting ch-3.
-
Rounds 3–7 (or desired number):
-
-
- Join new color, if desired, in any corner sp.
- In each corner: [3 dc, ch 2, 3 dc].
- In each side sp: 3 dc in each ch-2 sp.
- Sl st to join.
- Repeat for 7 rounds or until squares are your desired size.
-
Assembling the Bag
-
-
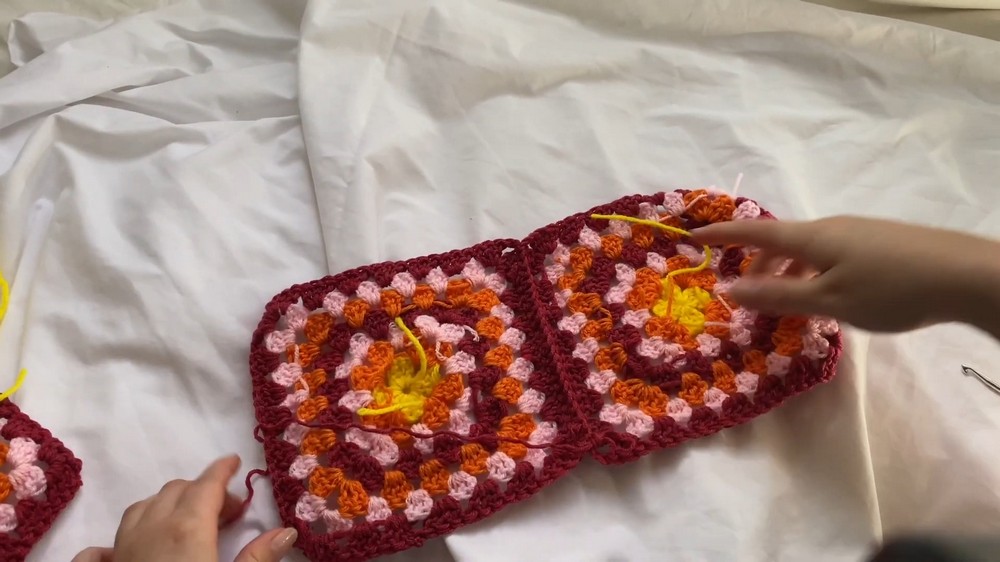
- Fold each square in half to make triangles.
- Arrange the three triangles: overlap them as shown in video to form the sides/base of the bag. (Sides will look like four-pointed stars.)
- Join squares:
- With right sides facing in, align edges.
- Insert hook through matching chain spaces (corner or edge) of two squares.
- Single crochet (sc) through both layers along the side edge.
- Repeat for each joining side as required. Tie off and weave in ends.
-
Border and Handle
-
-
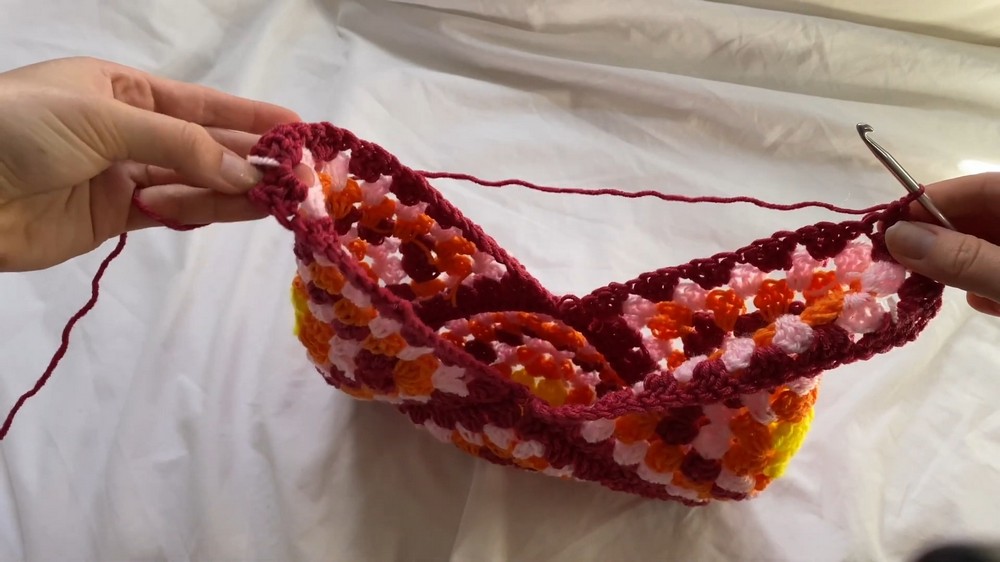
- Border:
- Attach yarn at a side edge. Ch 1.
- Sc in each stitch around the bag’s top edge, including the corners and handle base. (Work evenly for a neat border.)
- Handle:
- At desired position, ch 2, 2 dc in edge.
- Move to the next stitch, 1 dc.
- Ch 2 or 3, turn.
- 3 dc across handle row.
- Repeat for desired handle length (e.g., 16 rows for a short handle).
- To finish, match handle end to opposite edge, sc across to join.
- Border:
-
Finishing
-
-
- Weave in all loose ends neatly with yarn needle.
- Block bag if desired for shape.
-
Conclusion
This three granny square bag pattern enables you to create a versatile and stylish market bag using only basic squares, assembly, and border. Customize colors, size, and handle length as preferred. This pattern is beginner-friendly and perfect for practical use or as a gift.
Pattern Correction
-
-
- Ensure each granny square has four corners; join sides correctly so bag shape is even and sturdy.
- When working the handle, maintain consistent stitch count for strength.
- When joining, align corners and sides precisely for symmetry.
-
Tips
-
-
- Use stitch markers as needed for corners and handle placements.
- Wash and block your bag for a professional finish.
- Adjust handle length for comfort and use.
-
Video Guide