How to Crochet Easy Baby Romper for Kids

Learn how to crochet a soft, comfortable baby romper that’s beginner-friendly with a step-by-step tutorial for all skill levels. Using double knitting yarn and a 4mm crochet hook, the tutorial includes instructions for sizes ranging from newborn to 2 years. With detailed guidance, you’re shown how to complete the romper, add buttons, and customize belts, making it a perfect project for both beginners!

Crochet Baby Romper Tutorial
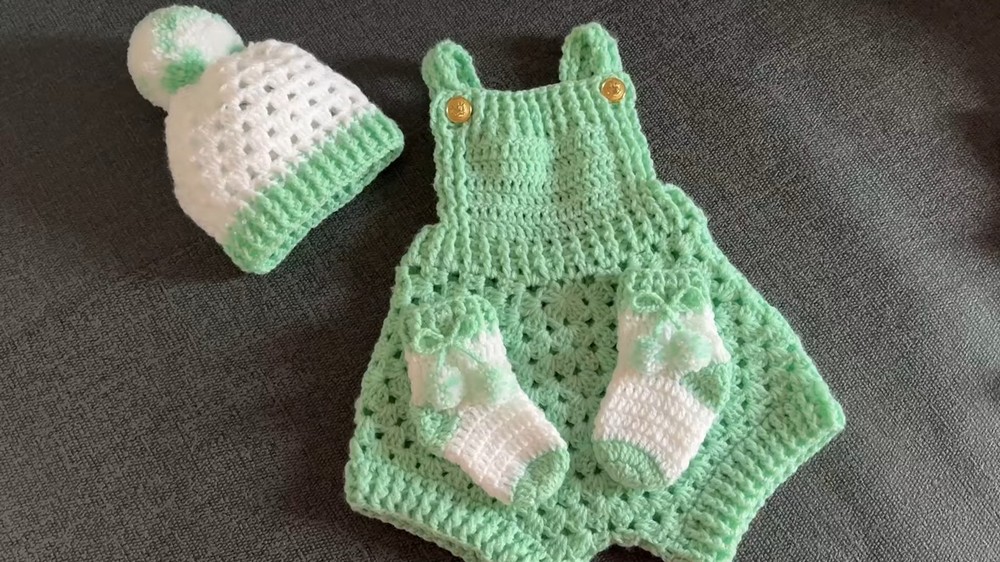
Crochet an adorable and comfortable baby romper, suitable for beginners. Using mint and white double knitting yarn, you can crochet sizes ranging from newborn to two years. It also covers creating matching accessories like baby hats and socks. With clear instructions, tips for finishing techniques, and adjustable sizing details, this guide is perfect for baby shower gifting.
Materials Required
- The romper is made with double-knitting yarn, primarily mint color, accompanied by a little white as the secondary color.
- A 4mm crochet hook is recommended for all sizes.
- The yarn comes with specific details, such as 100g weight and 330m length, with color code CE-027.
- Links to purchase materials are provided in the video description.
Magic Ring Foundation
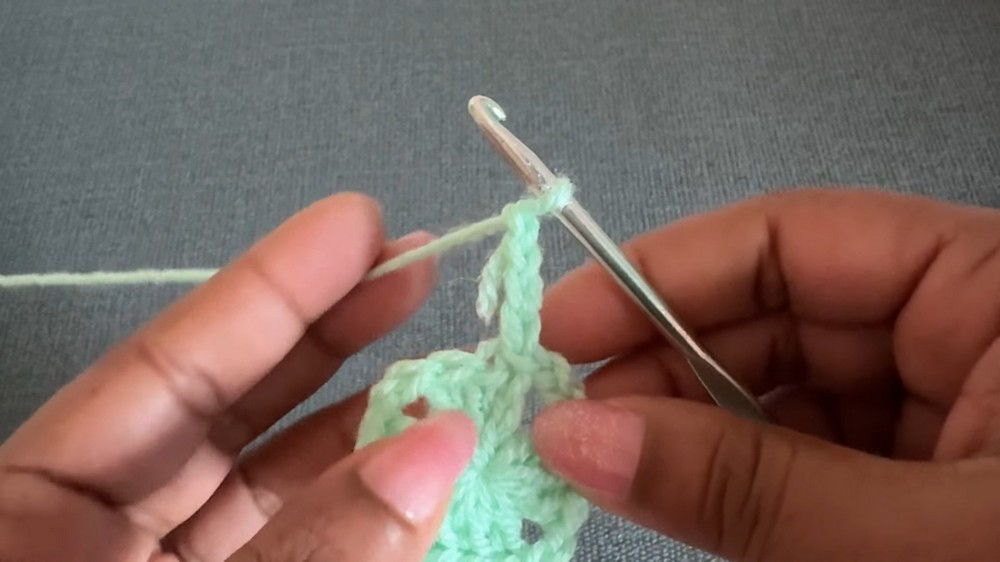
- The tutorial begins with creating a magic ring, forming the base of the romper using chain stitches and double crochet techniques.
- Four corners are created with chains and double crochets, forming a foundational square grid.
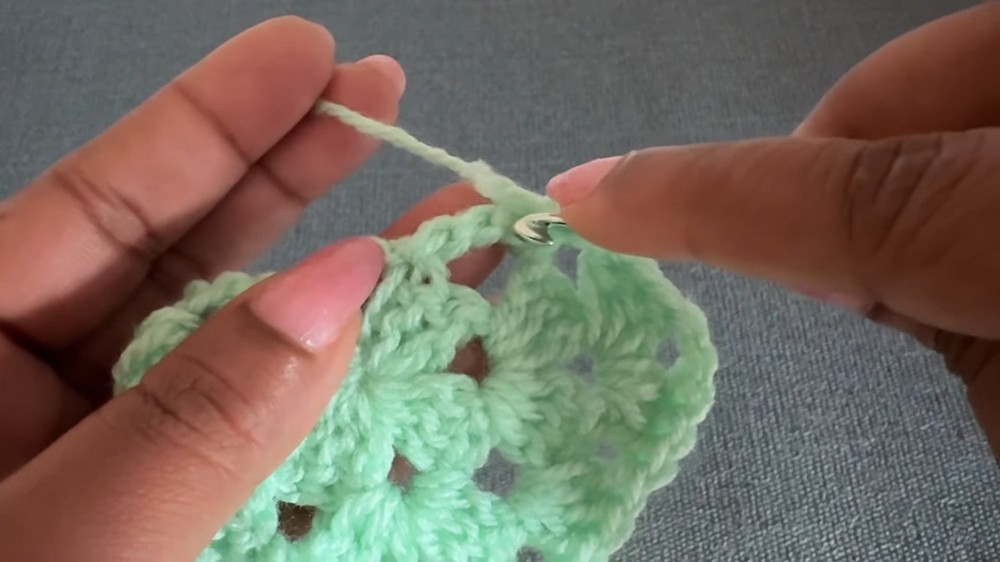
Building Rows for the Romper
- Rows are built consecutively, alternating between chain stitches to create the three corners of each row.
- The presenter guides viewers through rows up to row six for the romper’s framework, emphasizing specific spacing and patterns.
Joining Techniques
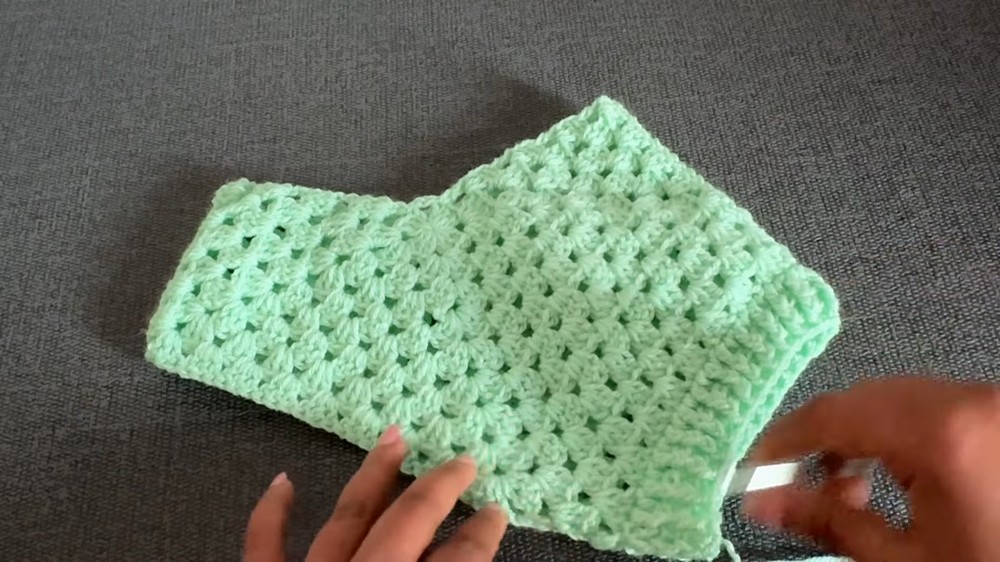
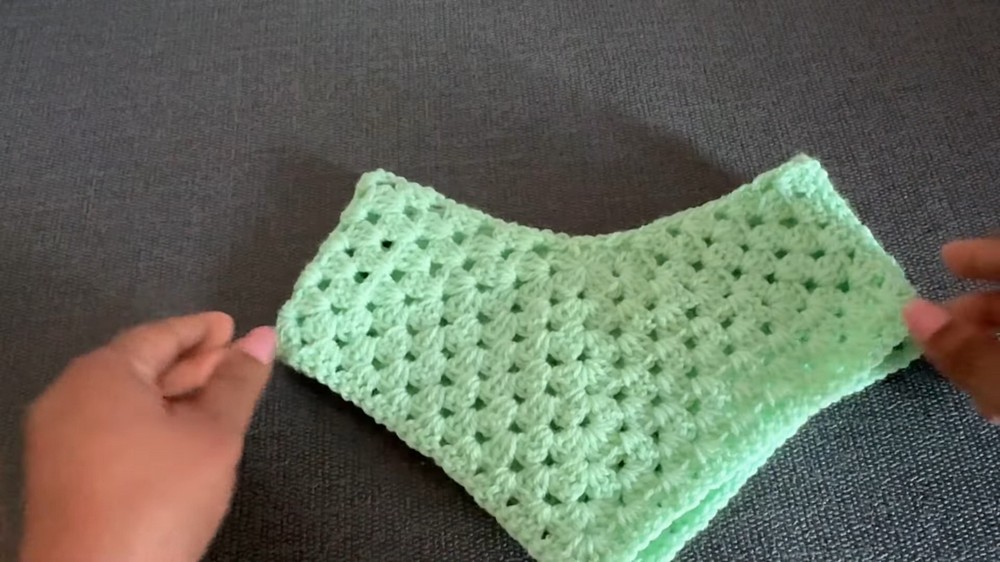
- Two identical crochet pieces are made for the romper and are joined together using a yarn needle.
- The joining process involves aligning loops (front and back) for a neat and seamless finish. The presenter demonstrates how to maintain proper tension during the joining process.
- The outcome is a clean finish with hidden yarn ends for a polished look.
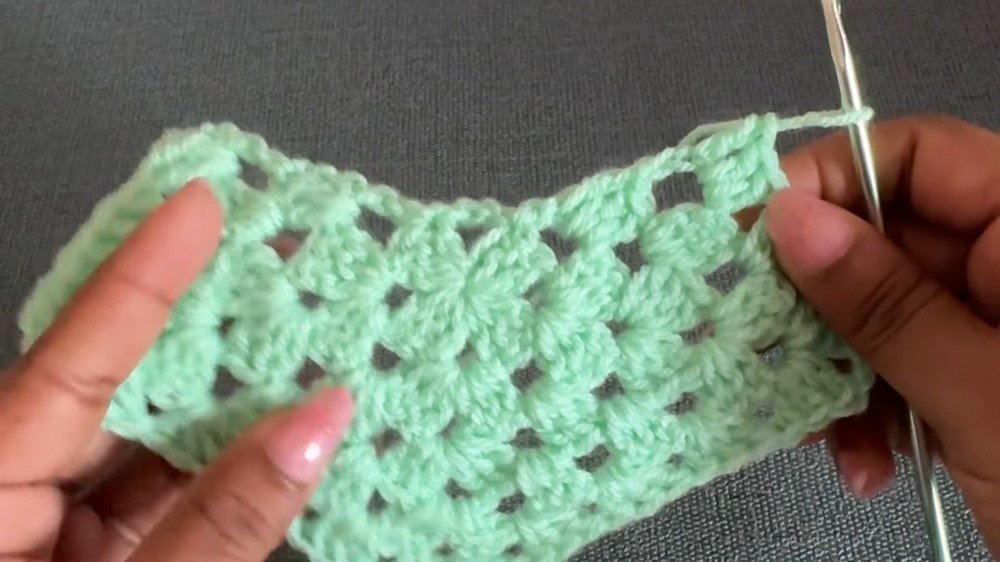
Creating Pant Legs
- The pant legs are added to the romper, starting at a corner chain space.
- The tutorial explains the construction of pant legs using rounds of double crochet following a specific pattern.
- For edges and corners, particular techniques are applied to ensure a snug and aesthetic fit for the legs.
Ribbing for Pant Legs
- Ribbing is then crocheted, involving front and back post double crochet. The ribbing adds elasticity and a finished look to the legs.
- More rounds are added based on the desired size, ensuring flexibility for making sizes ranging from newborn to 2 years.
Creating the Romper Top
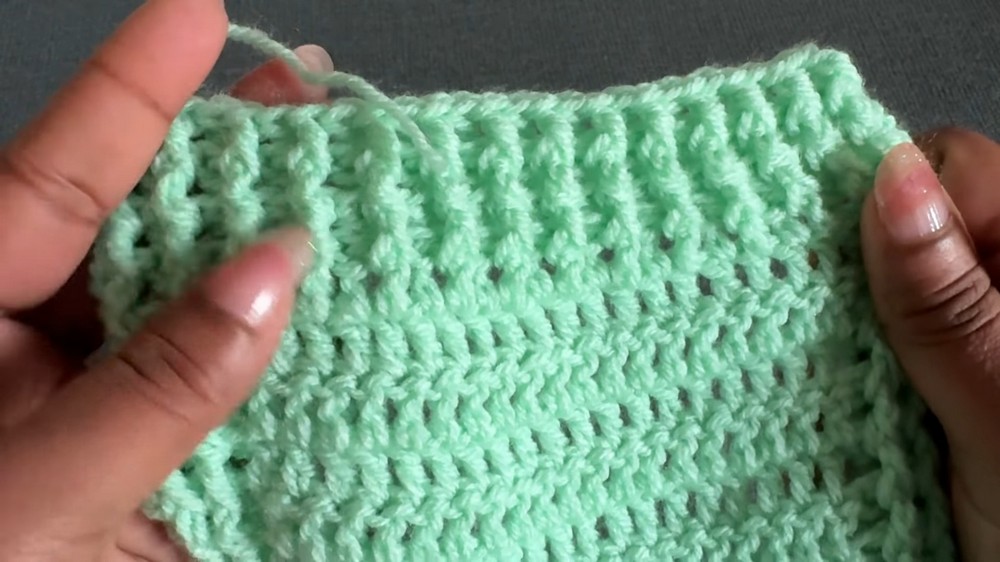
- The romper’s waistband is crocheted following a pattern of double crochet to provide shape and texture at the waistline.
- The top section involves rows where the first and last stitches are front and back post double crochet, with additional stitches filling out the middle.
- Options are provided to adjust stitch counts and row numbers based on the size desired.
Adding the Belt
- A decorative and functional belt is crocheted using front post and back post double crochet stitches.
- For smaller sizes (0-6 months), the belt requires specific rows, and larger sizes involve slight adjustments.
- Stitch markers are used to mark areas for attaching the belt seamlessly.
Finishing Touches
Buttons
- Buttons are added to the romper, eliminating the need for separate buttonholes due to the nature of crochet stitches.
- Viewers are encouraged to choose button sizes based on preference, as flexibility allows for both small and large options.
Final Result
- The romper is completed with a soft and comfortable finish, ideal for baby wear.