How to Crochet Easy Bucket Hat for Beginners
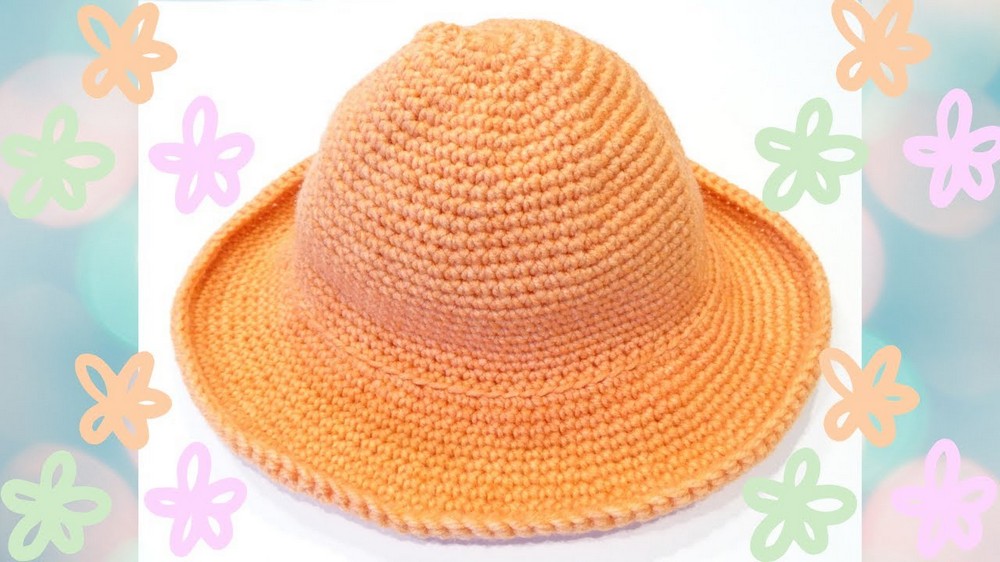
Learn how to crochet a stylish but easy bucket hat with a step-by-step tutorial for all skill levels, perfect for summer. Using simple single crochets, the design is beginner-friendly and works in rounds. You’ll need four-ply yarn (acrylic or cotton), a 4.25 mm crochet hook, scissors, and a tapestry needle. The tutorial covers everything from creating a magic ring to crocheting the hat’s brim. Clear instructions and tips make it easy to follow, resulting in a beautiful handmade accessory.
Crochet Easy Bucket Hat Tutorial

- This easy-to-follow tutorial is suitable for beginners, as it primarily uses single crochet stitches worked in the round.
- Required materials:
- Yarn: Four-ply yarn (Katya uses acrylic, but cotton is also an option).
- Crochet Hook: 4.25 mm (or up to 4.5 mm).
- Other Tools: Scissors and tapestry needle.
Step 1: Creating the Magic Ring
- Katya starts by showing how to create a magic ring as the foundation of the hat.
- Instructions:
- Wrap the yarn around two fingers, hold it in place, and work into the circle.
- Pull up a loop, chain to secure, and begin working single crochets into the ring.
- The magic ring is tightened by pulling the tail, followed by joining the round with a slip stitch.

Step 2: Working the Crown of the Hat
- The tutorial progresses with building the crown of the bucket hat by working on increasing rounds.
- The pattern includes alternating single crochet increases with regular single crochet stitches to expand the size gradually.
- Key steps for each round:
- Slip stitch to join rounds.
- Chain 1 to start new rounds.
- Follow specific stitch increase patterns that progressively build the diameter of the crown.
- Katya periodically pauses to explain the structure of each round, ensuring clarity for viewers.

Step 3: Changing to the Body of the Hat
- After achieving the desired crown size, Katya transitions to the body of the hat.
- At this stage:
- Rounds consist of working single crochet stitches without increasing.
- The body adds height to the hat and stabilizes its shape.
- Rounds are worked consistently in the same stitch pattern to maintain even edges.

Step 4: Adding the Brim
- Katya explains that the brim is worked differently to give the hat its characteristic bucket shape.
- Brim instructions:
- Work back loops only to create a textured, defined edge.
- Follow an increase pattern, alternating between regular single crochets and increase stitches.
- After this, Katya transitions back to working through both loops for several rounds, providing structure and finishing the brim.

Step 5: Finishing Touches
- Katya explains how to finish the hat neatly:
- Fasten off the yarn and cut it.
- Use a tapestry needle to securely weave in the loose ends.
- She demonstrates stitching directions for tidying up and cutting excess yarn.
- The completed hat is showcased as the final step.