How to Crochet Easy Mini Potli Bag for Gifting
Looking for a quick and easy drawstring pouch for gifting? Learn how to crochet a beautiful and beginner-friendly potli bag, customizable in size. The tutorial walks you through creating the base using double crochet stitches, adding rounds for height, and finishing with a decorative border. It also demonstrates how to crochet and attach drawstrings to complete the design.
The pattern is easy to follow, even for beginners, with tips on using stitch markers and maintaining consistent tension. t is easy even for early starters. Perfect for holding small items, this potli bag is both practical and stylish. So, follow through with us for the complete tutorial.

Crocheting a Small Potli Bag
In this tutorial, the creator demonstrates how to crochet a small, beginner-friendly potli bag, or mini purse, using leftover yarn. The video covers the complete process from starting the base to adding the drawstring.
Materials Used
-
Yarn: Acrylic yarn. The creator mentions that any preferred yarn can be used, and details for the specific yarn used are available in the description. Use the yellow and white yarn.
-
Hook: A 3mm crochet hook.
Instructions
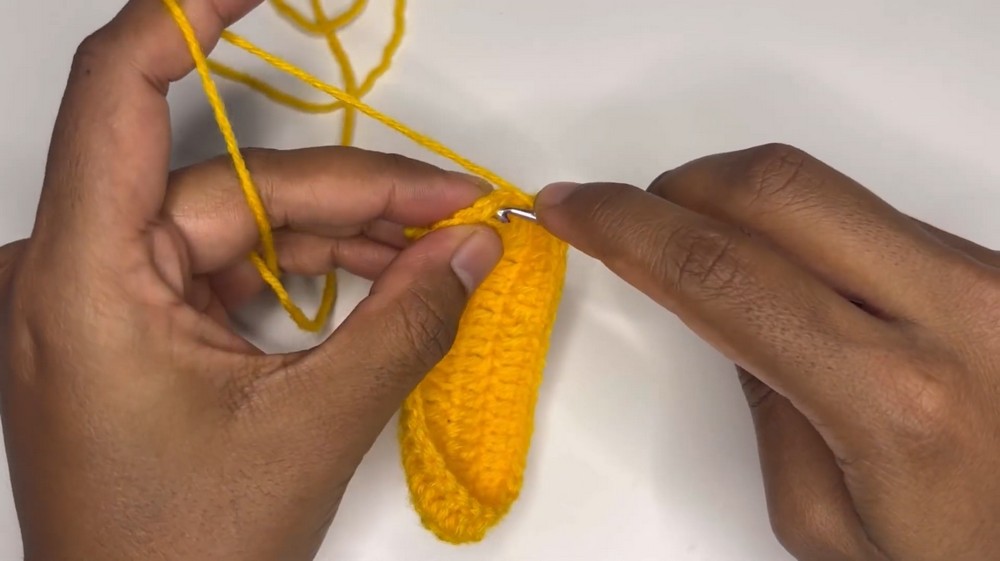
Round 1: Creating the Base
The process begins by making a slip knot and then a chain of stitches. The number of chains determines the width of the bag. The creator explains that if a wider bag is desired, more chains can be added to the foundation.
-
Skip the first two chains from the hook and make one double crochet stitch in the third chain.
-
Continue making one double crochet in each chain stitch.
-
In the very last chain, make three double crochet stitches to create a corner.
-
Working on the other side of the starting chain, make one double crochet stitch in each corresponding stitch.
-
In the final stitch, which is the same as the first stitch of the round, make two double crochet stitches. This completes the other corner of the base.
-
Close the round by making a slip stitch into the first double crochet of the round.
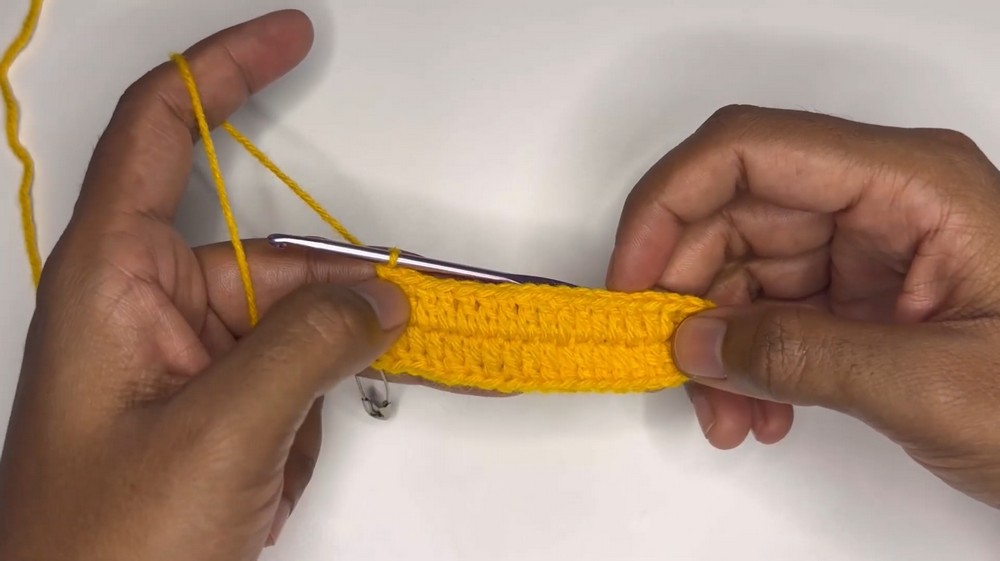
Rounds 2-10: Building the Body
-
Start the next round by making two chains, which only serve for height.
-
Work one double crochet stitch in each stitch all the way around, without any increases. The creator advises using a stitch marker for beginners to easily identify the first stitch of the round.
-
Close the round with a slip stitch in the first double crochet of the round.
-
The creator explains that rounds 3 through 10 are a repeat of round 2. This process of working one double crochet in each stitch continues until a total of 10 rounds are completed to achieve the desired height. The bag will naturally begin to take shape and fold upwards.
-
After the 10th round is completed, the yarn is cut, leaving a small tail, and secured with a knot.
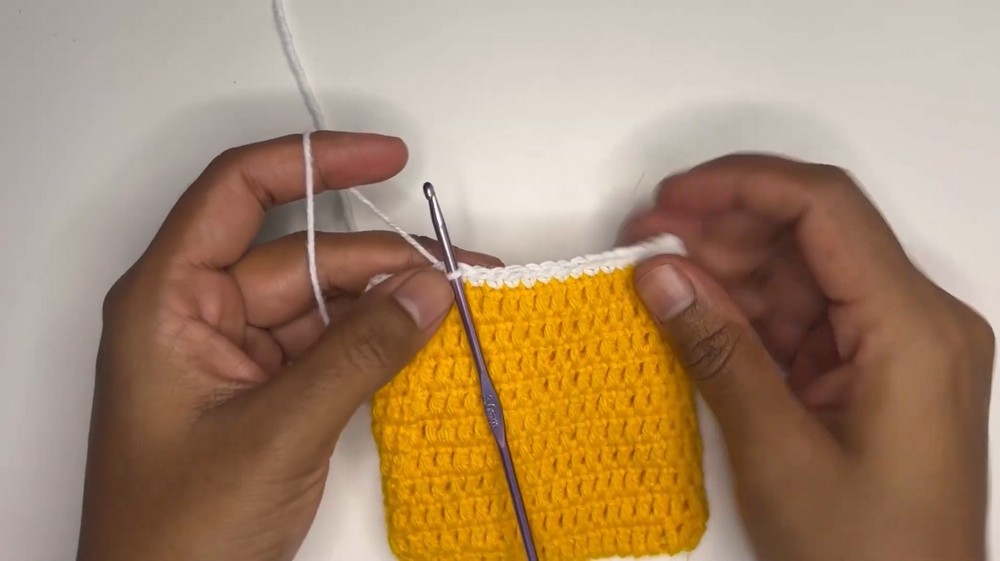
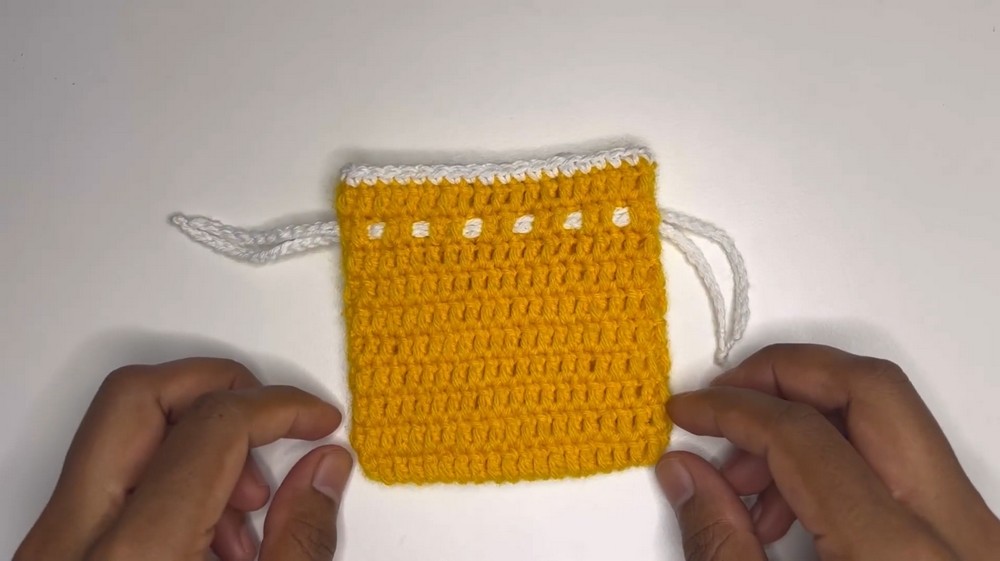
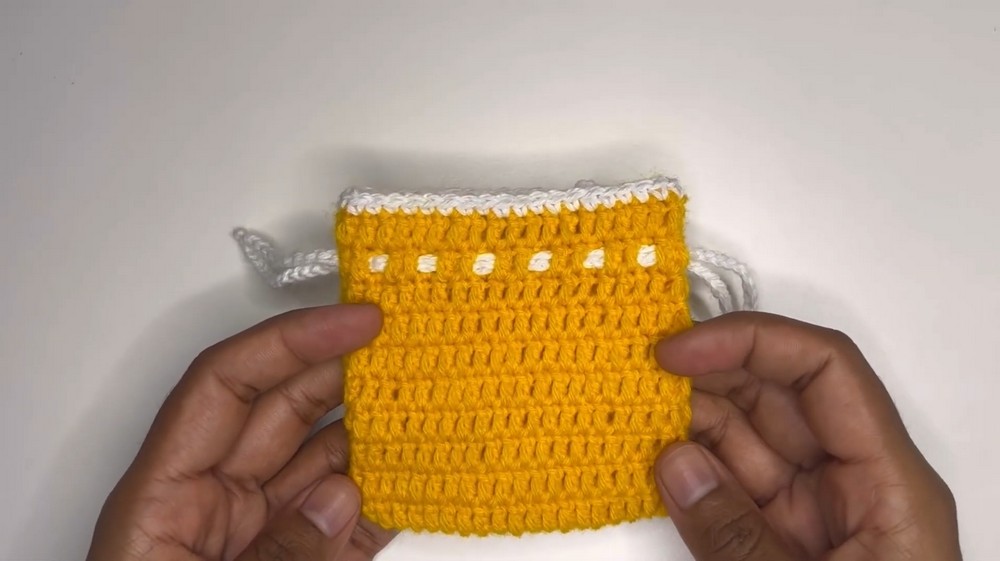
Round 11: Adding a Border
The creator adds an optional border using a different color (white) to create a neat edge.
-
Attach the new colored yarn to any stitch.
-
Make one chain, then make a single crochet stitch in the same stitch where the yarn was attached.
-
Continue making a single crochet in each stitch around the entire round.
-
Close the round with a slip stitch in the first single crochet stitch, then cut and secure the yarn.
Creating and Attaching the Drawstrings
-
The creator makes a slip knot and then a chain of stitches to create the drawstring.
-
After completing the chain, one extra chain is made at the end before cutting and securing the yarn.
-
A second, identical drawstring is created in the same manner.
-
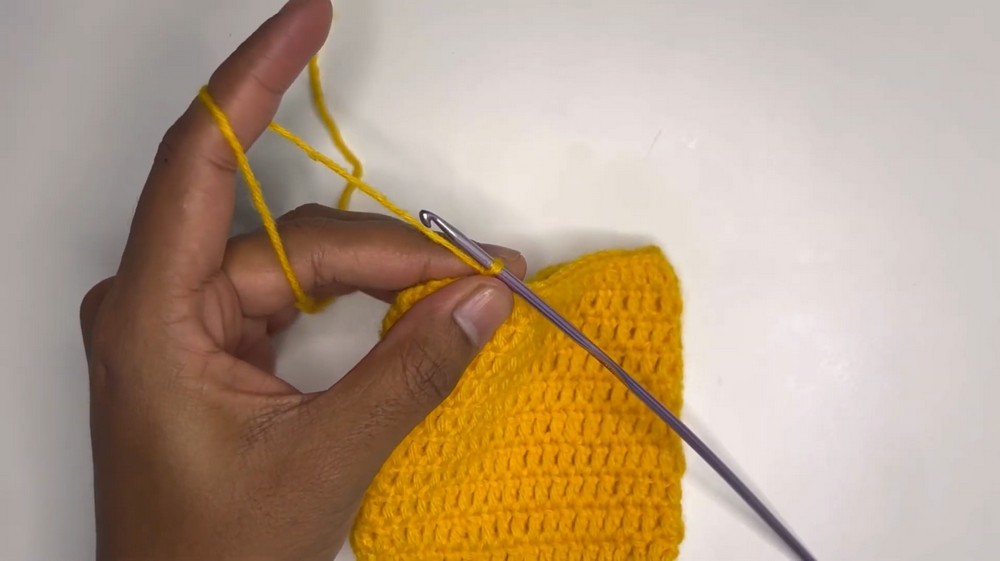
Using a crochet needle, the first drawstring is threaded through the ninth round of the bag.
-
The pattern for threading involves skipping one stitch after every two stitches.
-
The second drawstring is threaded in the same manner from the opposite side.
-
To finish, a knot is tied at each end of the drawstrings to prevent them from slipping out.