How to Crochet Easy Ribbed Beanie for Beginners
With a beginner-friendly crochet guide, learn how to crochet a simple, versatile beanie. Using just half-double and single crochet stitches, the creator walks viewers through two versions: a solid color design and one with alternating stripe patterns.
The tutorial details every step, from creating the base chain to adding ribbing and cinching the top, using a 5mm hook and weight-four yarn. Perfect for learners, this thorough explanation ensures anyone can create a cozy, personalized beanie with ease.

Easy Ribbed Beanie Tutorial
The tutorial is focused on crocheting a simple beanie, ideal for beginners. Two versions of the beanie are demonstrated:
-
- A solid color beanie (no color changes for simplicity).
- A striped beanie with alternating colors (introducing color changes every row or two for variety).
- The pattern provided is flexible and can be adjusted to fit different head sizes.
Materials Needed
- Yarn: Regular weight 4 yarn is recommended. Two brands used in the tutorial are:
- Lion Brand Basic Stitch yarn (oatmeal color for the solid version).
- Big Twist and Caron Simply Soft yarn for the striped version.
- Crochet Hook: A 5mm hook.
- Accessories such as scissors, a yarn needle, and stitch markers to aid in stitching and weaving ends.
Steps to Begin
-
Creating the Chain:
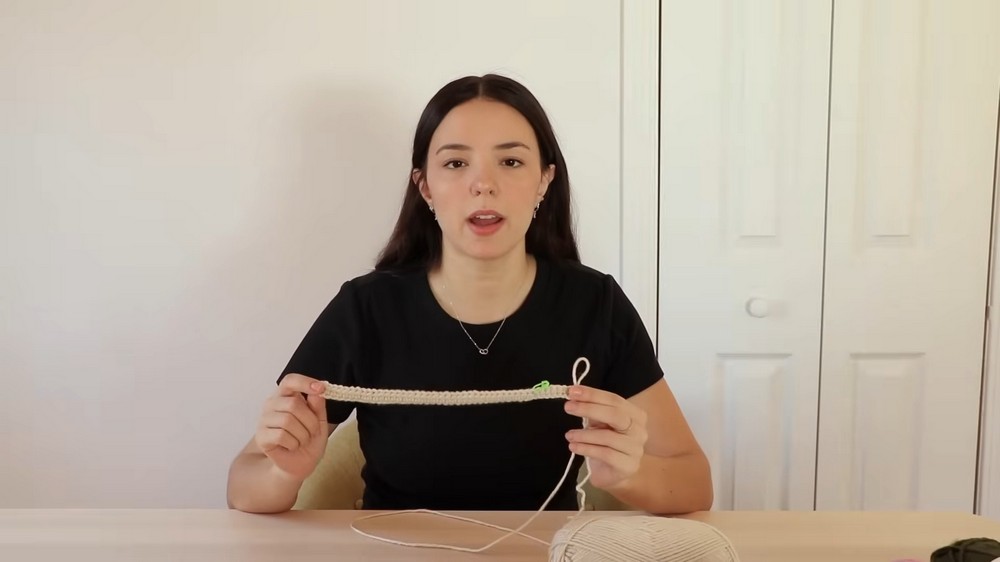
- Start by making a chain long enough to cover the desired height of the hat, from the brim (including its fold) to the crown of the head.
- The tutorial emphasizes measuring the chain directly against your head for accurate sizing.
-
Slip Knot Formation:
- Twist yarn around your finger, create a loop, and tighten onto the crochet hook.
- Begin chaining by yarning over and pulling through the loop repeatedly.
Crocheting the Rows
-
First Row:
- Work half double crochets across the row until the last section.
- In the last section (near the top of the hat), switch to single crochets for a smooth crown.
- Stitch markers are used to indicate where the change in stitches occurs.
-
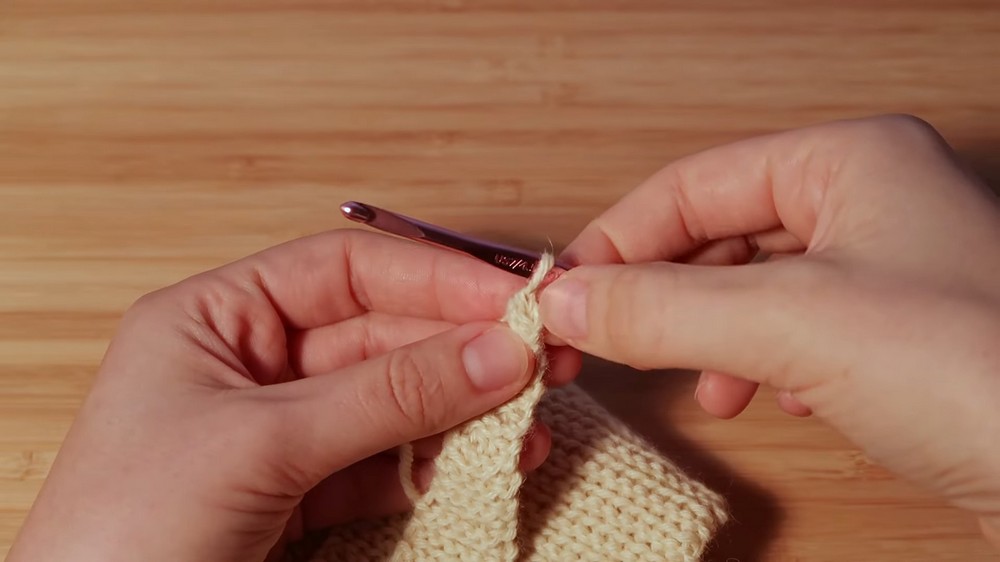
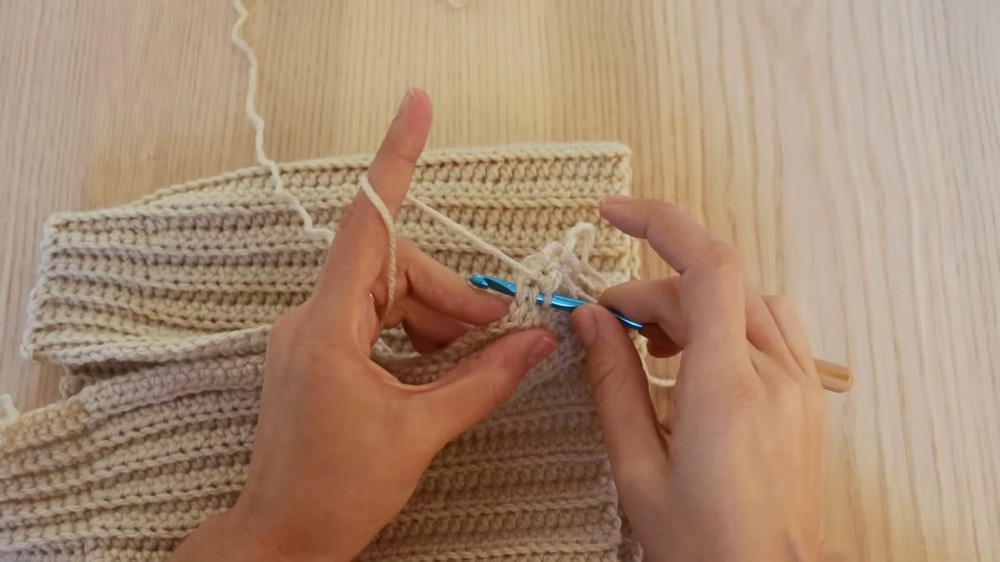
Back Loop Crocheting:
- From the second row onward, stitches are worked into the back loops only to create ribbing texture.
- Single crochets are worked over single crochets, and half double crochets are worked over half double crochets.
- Turning chains are used to maintain consistency across rows and to change direction.
Measuring and Continuing the Pattern
- The pattern alternates between single crochets and half double crochets across rows.
- Regularly check the sizing by wrapping the fabric around your head to ensure the width accounts for the fold at the brim.
- For the solid-colored version, repeat rows until the fabric is wide enough to wrap around the head.
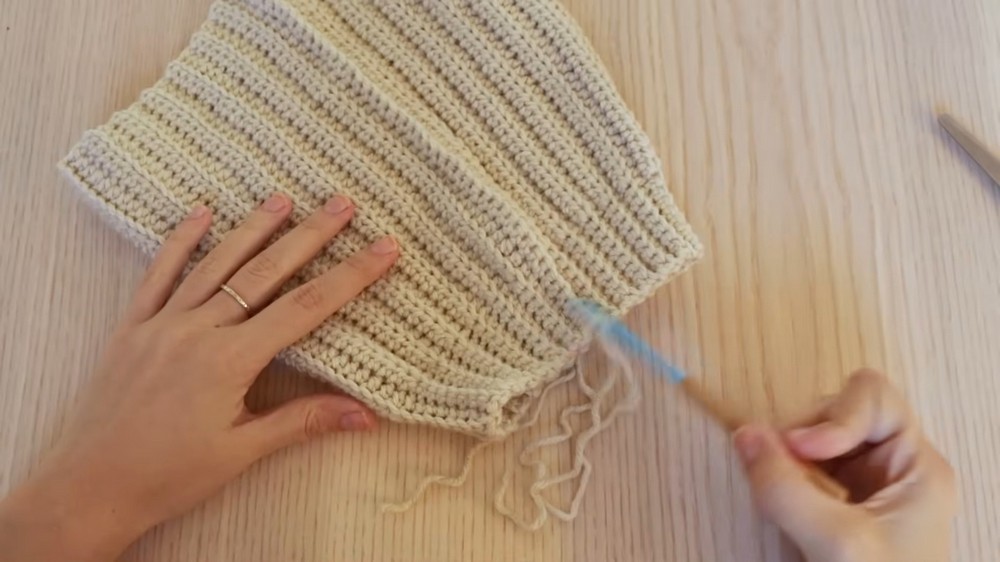
Joining the Ends
- Once the required width is achieved:
- Join the fabric edges to form a loop using single crochet stitches, ensuring a seamless connection.
-
- Measure and leave extra yarn to cinch the crown of the hat later.
Constructing the Hat
-
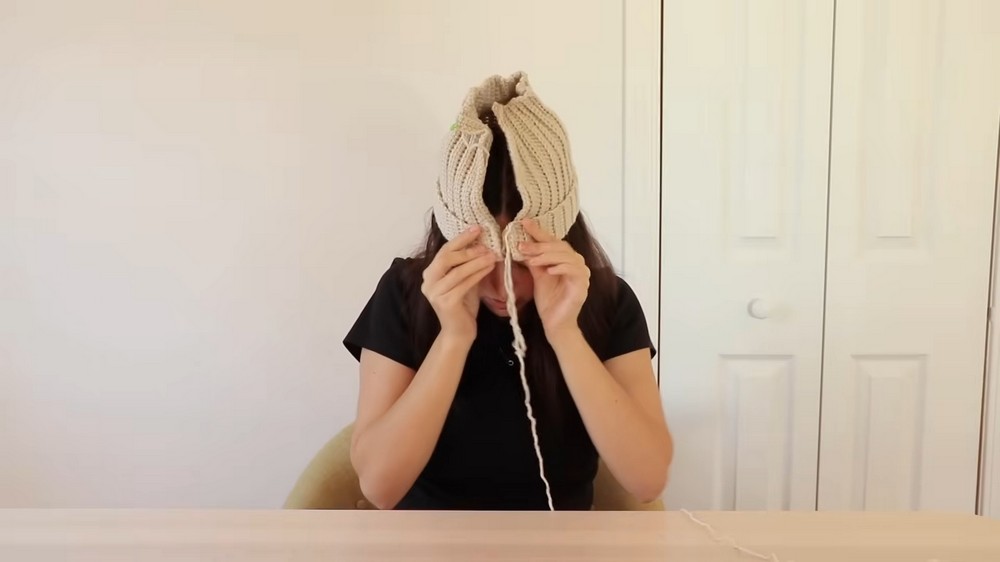
Cinch the Crown:
- Use a yarn needle to weave yarn around the top edge, alternating over and under ribbing to gather and close the crown.
- Pull tight, tie knots, and ensure the closure is secure.
-
Final Touches:
- Turn the hat right-side-out and fold up the brim for the finished look.
- Check the fit by trying it on.
Adding Stripes (Optional)
- For the striped version, alternate colors every row or two:
- Introduce a new yarn color on the last stitch of a row using a simple yarn-over method.
-
- Carry the previous yarn along the back as you crochet to avoid cutting yarn and creating multiple ends to weave in.
- Adjust stripe thickness by choosing to switch colors every row or every two rows.
Wrap-Up
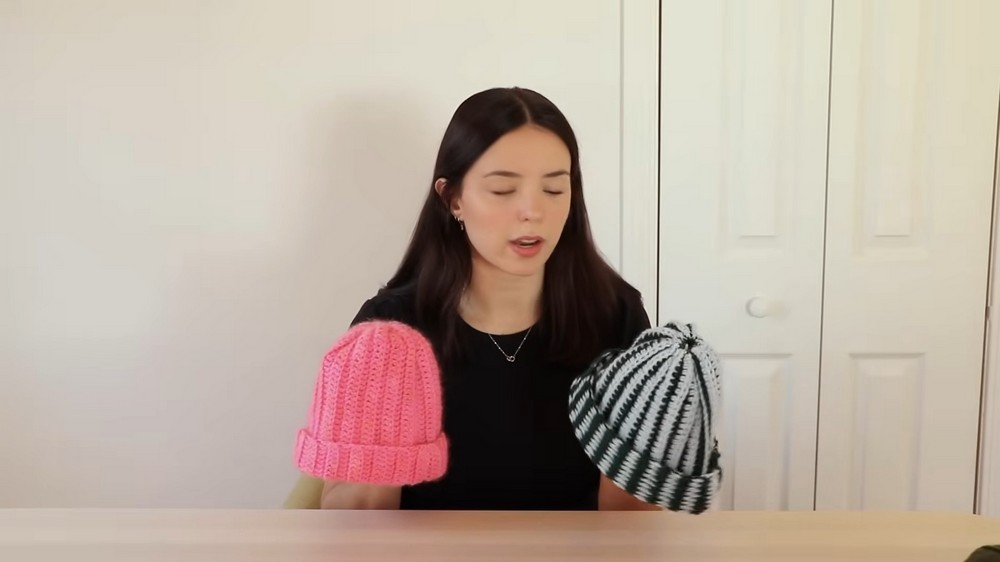
- The tutorial includes examples of solid and striped beanies for visual comparison.
- Beginners are encouraged to try different stripe patterns or stick to solid colors.