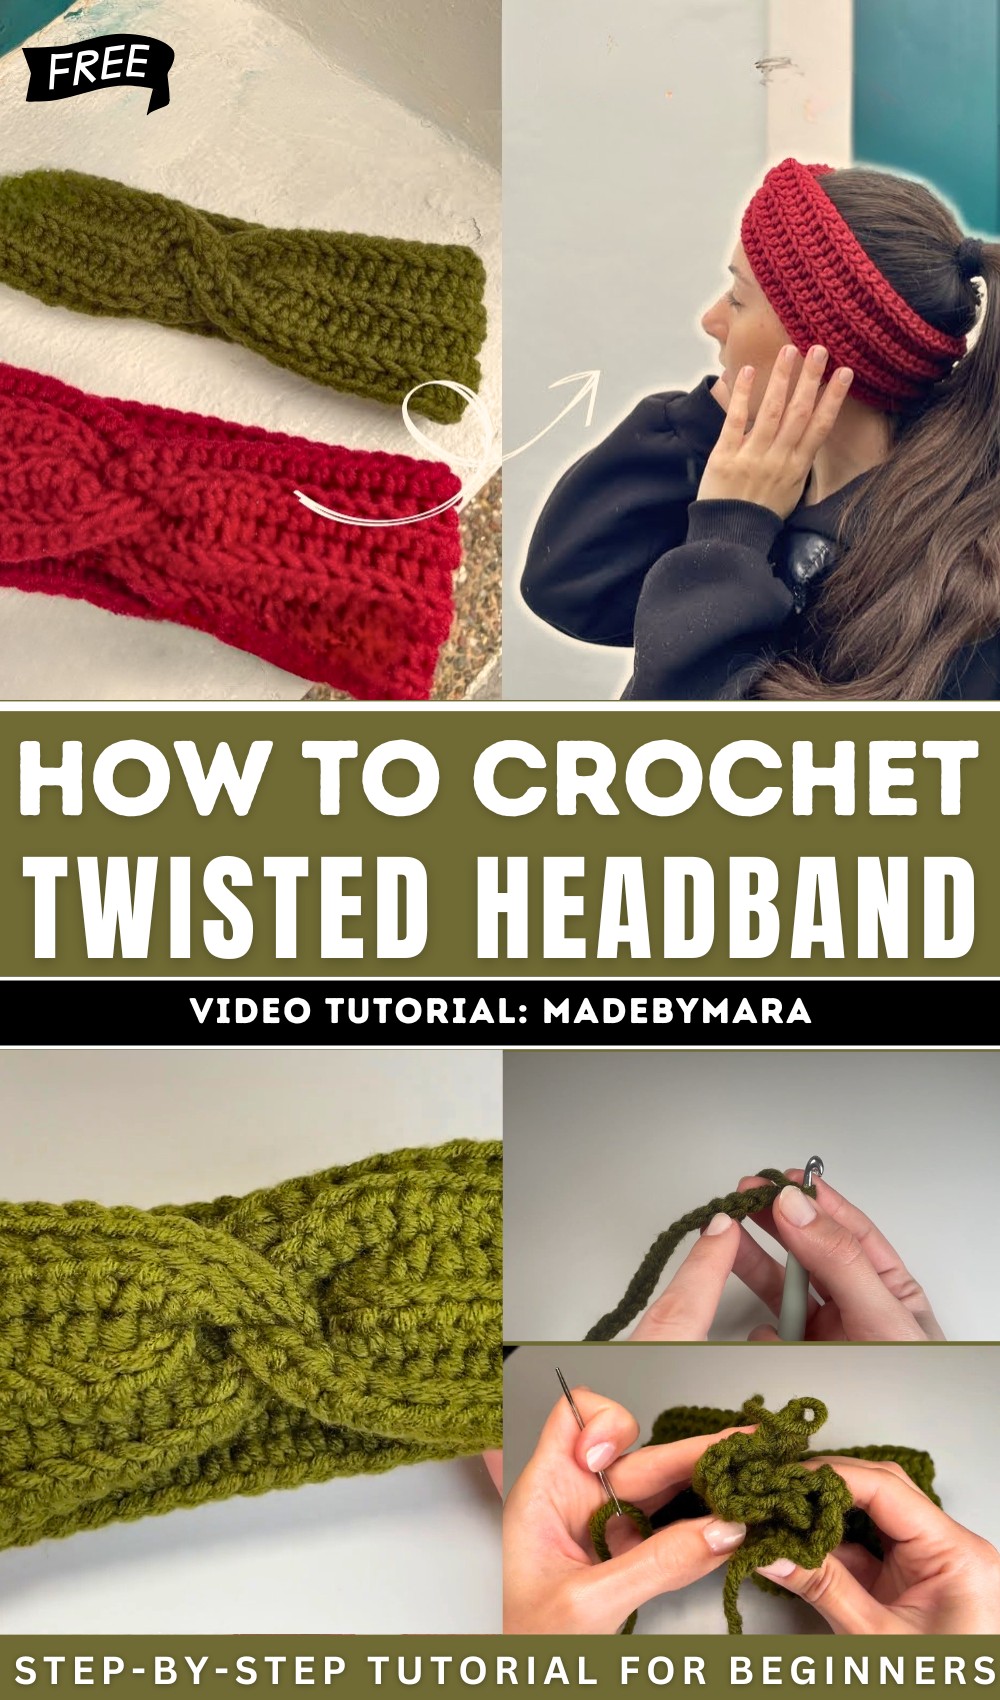
How To Crochet Easy Twisted Headband Tutorial
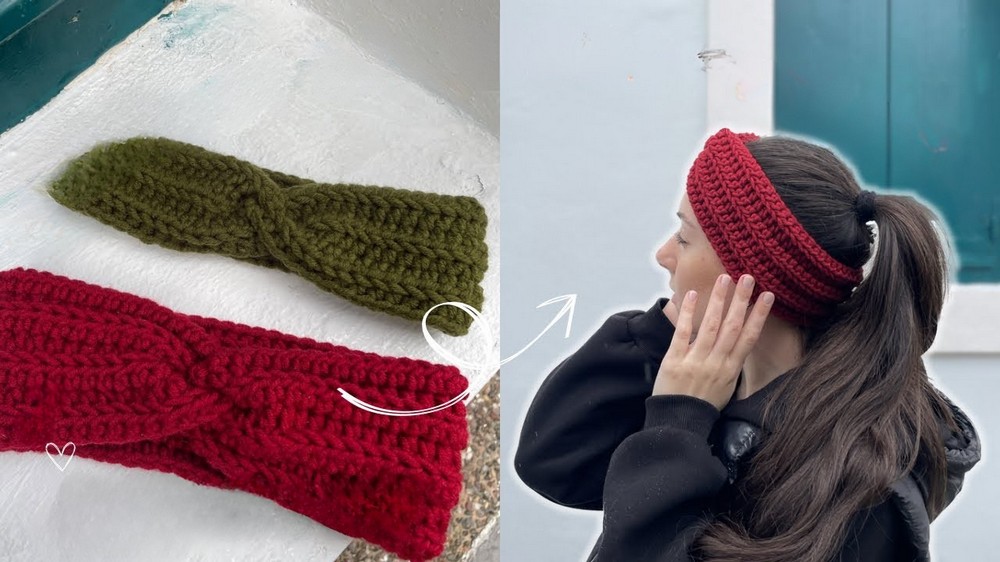
Learn how to crochet a beautiful twisted headband with ribbing, perfect for crocheting this winter, following a step-by-step tutorial for beginners. The tutorial is beginner-friendly and easy to follow. You can easily adjust the size for any age with this guide, getting a super cozy and soft crochet headband. So, grab your hook!
Crochet Easy Twisted Headband Tutorial
This step-by-step tutorial demonstrates how to crochet a twisted headband, focusing on simple techniques suitable for beginners. Using a size 5 bulky yarn, a size 6 crochet hook, scissors, and a yarn needle, it demonstrates creating a slip knot, chaining 60 (adjustable to your head size), and working half-double crochets into the back loops for a textured look.
The process continues through several rows, forming the width, followed by sewing the ends to create the twist.
Materials Required
- Acrylic bulky yarn (size 5 suggested, but any yarn can be used).
- Crochet hook (size 6 recommended for demonstration).
- Scissors.
- Yarn needle.
Starting the Headband
-
Slip Knot and Chains:
- Begin by creating a slip knot to attach the yarn to the hook.
- Chain to the desired length. Adjust the length based on head size since the headband will stretch slightly during use.
-
Adding Turning Chains:
- Add turning chains after completing the initial chain length, as these are essential for starting the first row of stitches.
First Row: Half Double Crochet (HDC) in Back Bumps
-
Identifying Back Bumps:
- Turn the chain to locate the back bumps on the chain instead of crocheting into the front loops.
- Crocheting into the back bumps helps create a neat and flat edge.

-
Half Double Crochet Process:
- Yarn over, insert the hook into the back bump, yarn over again, and pull up a loop (creating three loops on the hook).
- Yarn over and pull through all three loops on the hook to complete the stitch.
- Repeat across the chain to complete the first row.

-
Ensuring Consistency:
- Count stitches at the end of the row to ensure no stitches are skipped.
Subsequent Rows: Half Double Crochet in Back Loops Only
-
Beginning a New Row:
- Chain two for turning at the start of each new row.
- Turn the work and begin the next row of stitches.

-
Crocheting Through Back Loops:
- Skip the first two turning chains, then insert the hook into the back loop of each stitch (instead of the full stitch).
- Working only through the back loops creates the distinctive ridged texture of the headband.
-
Repeat Pattern:
- Continue working half double crochets in back loops for additional rows.
- Add rows until the desired width of the headband is achieved.
Finishing the Crochet Work
-
Final Details:
- Once the desired width is reached, finish off by cutting the yarn, leaving a tail for sewing.
- Secure the yarn with a knot.
-
Weaving in Loose Ends:
- Use the yarn needle to weave in loose ends to ensure a clean and secure finish.
Creating the Twist
-
Assembling the Headband:
- Lay the crocheted piece flat and fold the two ends to meet.
- Create the twist by folding the ends over each other, aligning the edges.
-
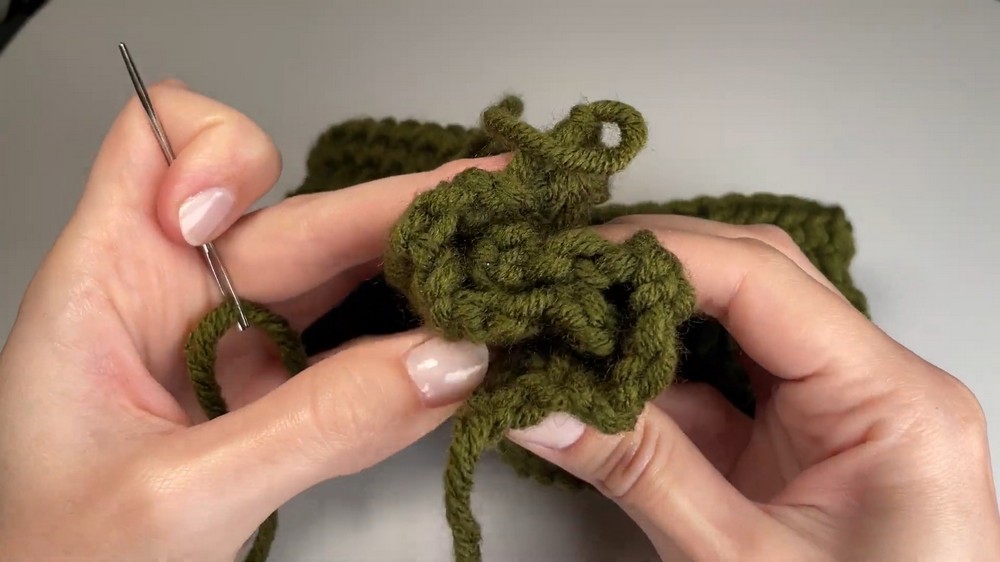
Sewing the Twist:
- Use the yarn needle and tail end of the yarn to sew the twisted edges together.
- Stitch securely across the folded layers, ensuring the twist stays intact.
-
Weaving Final Ends:
- Weave in any remaining yarn and cut off excess.
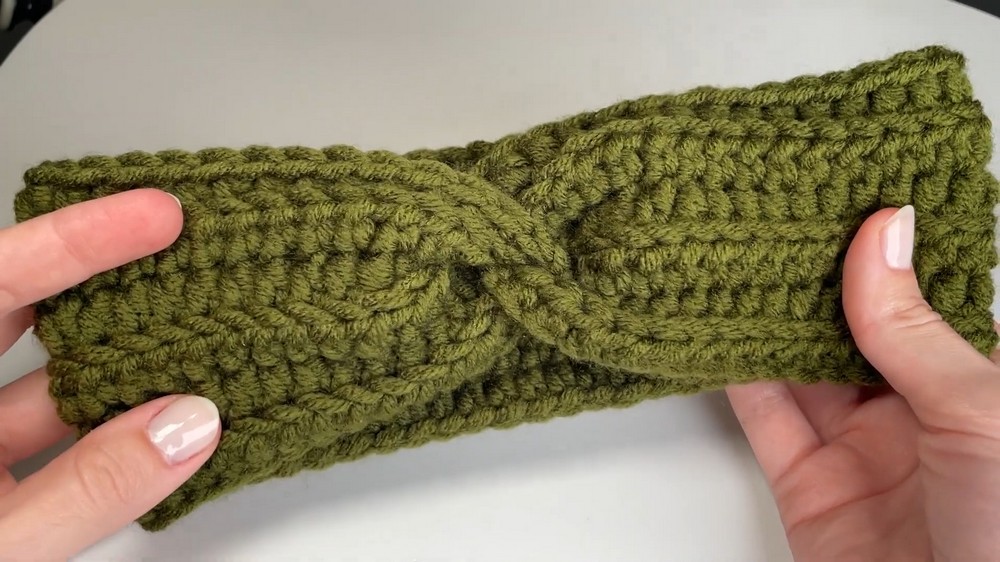
Final Touch
- Flip the headband to the correct side to reveal the twisted texture.
- The finished product is a beautifully textured, stretchy, and stylish twisted crochet headband.