Trendy Crochet Fashionable Bag Easy Pattern + Free Tutorial for Daily Use
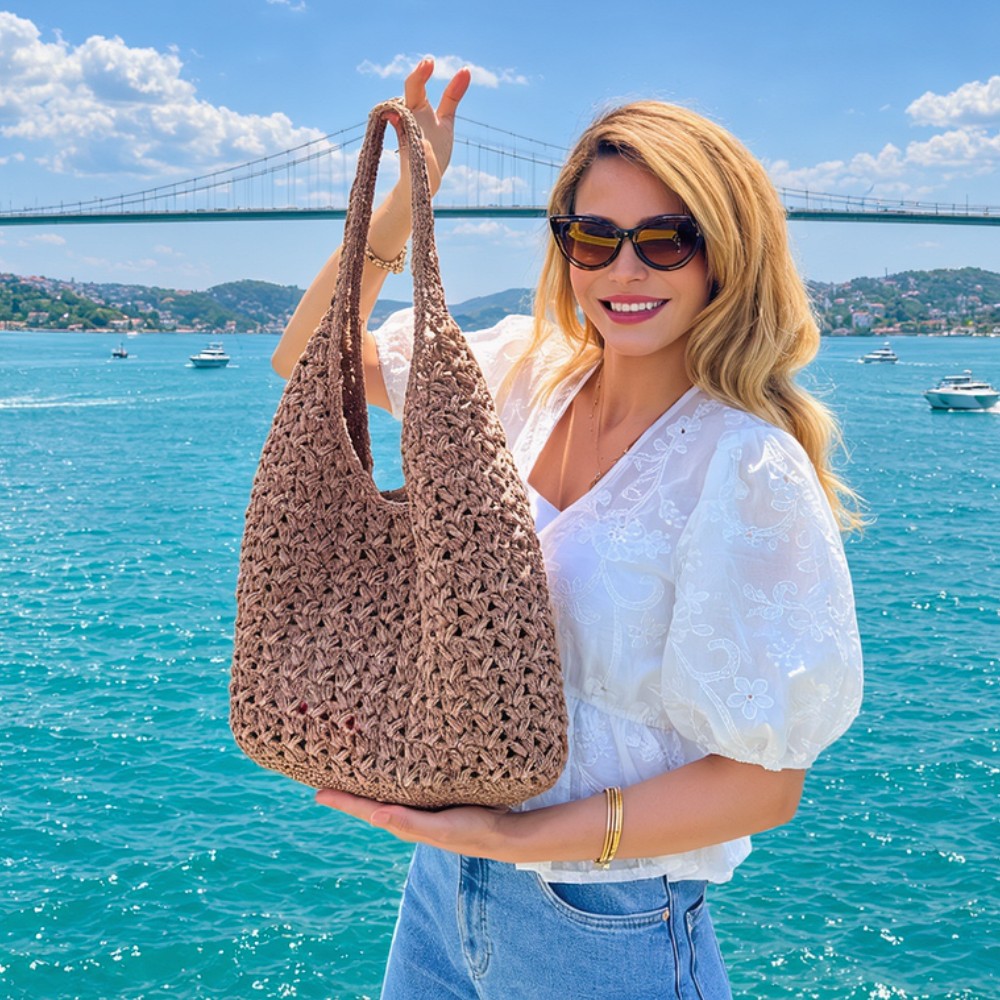
Carry your essentials in style with this Free Crochet Fashionable Bag Pattern which is a fun choice for everyday looks, short city trips, and thoughtful gifts.
Everyday accessories can do more than hold your belongings. This Fashionable Bag Free Crochet Pattern is for people who want a bag that feels useful and looks attractive beside their clothes. A crochet bag has a different surface from common fabric bags, which helps it stand out without needing heavy decoration.
Modern Free Crochet Pattern for a Fashionable Bag
Inside the Channel
Accessories have their own place in the world of magic knots. Alongside clothing, the channel shares ideas for people who love working with yarn. Its mix of projects gives viewers room to choose something that fits their interests, whether they prefer a useful bag or a wearable piece for themselves.
Video: Fashionable Bag
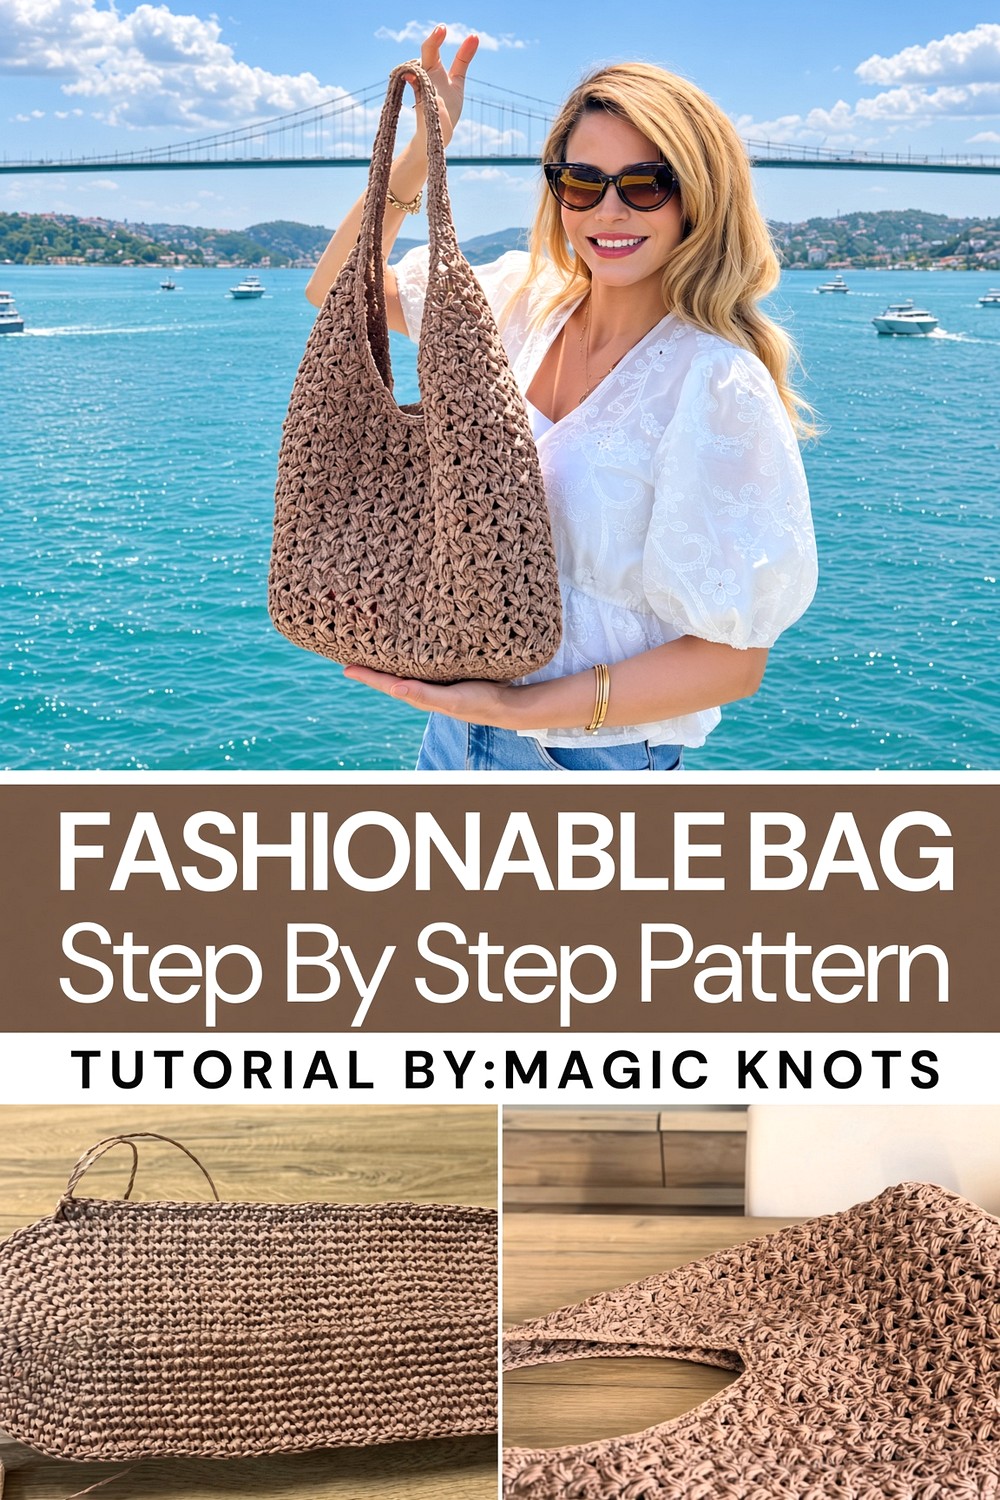
Think about the outfits you wear most before choosing how to style your finished bag. With a plain shirt and jeans, it can be the interesting part of the look. Beside a simple dress, it gives the whole outfit a softer feel. Matching the bag to your shoes can look neat, but using a contrasting color can be just as appealing. The point is to have an accessory that feels like yours rather than something chosen only because it is popular.
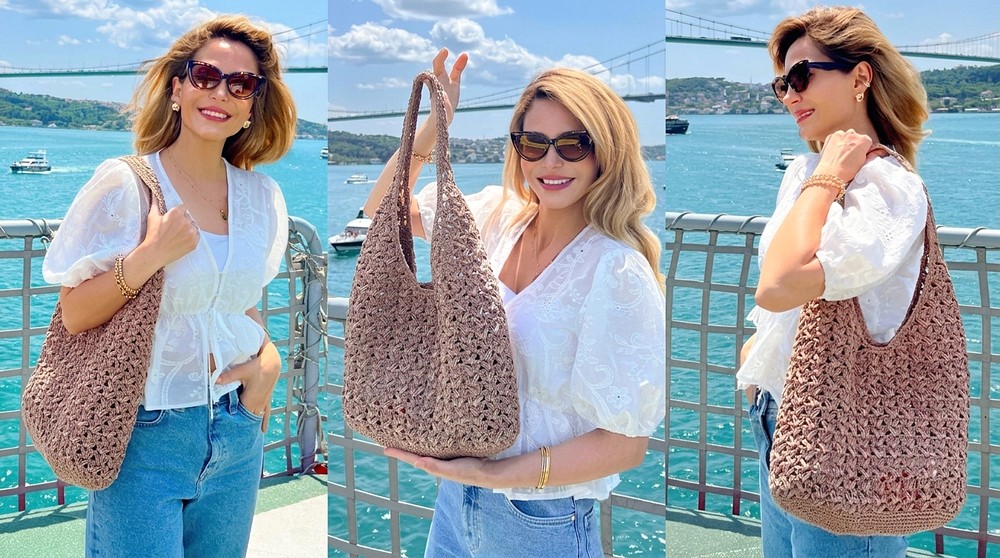
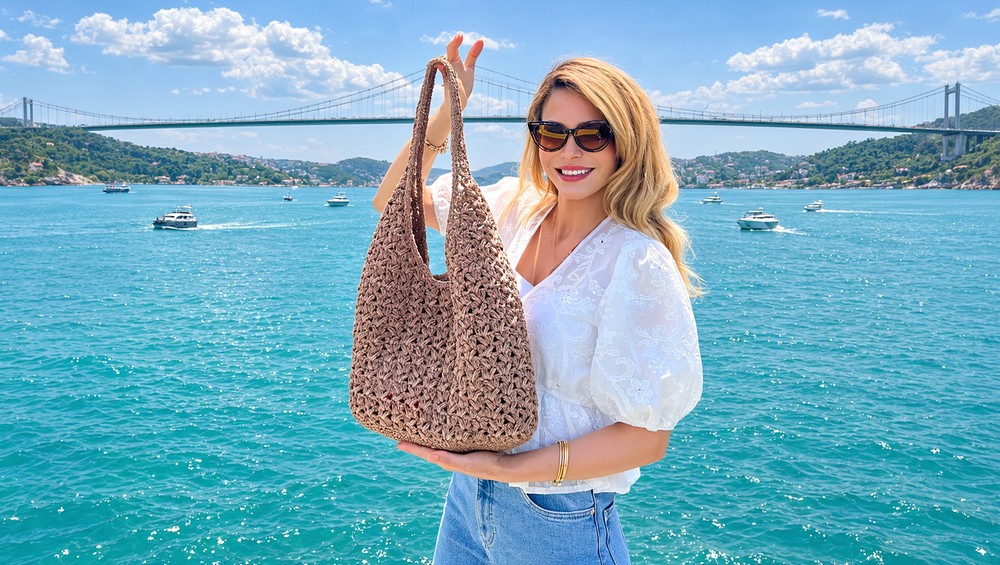
It is also worth thinking about comfort when carrying a bag. Handles should feel good in your hand, and the finished size should suit the items you normally take outside. A phone, wallet, keys, and a few small personal things are often enough for a short outing. You can decide which belongings matter most before planning the size.
This bag suits a walk around town, a casual lunch, or a visit to a friend. It also has gift appeal for someone who likes useful accessories with a little personality and a handmade feel.
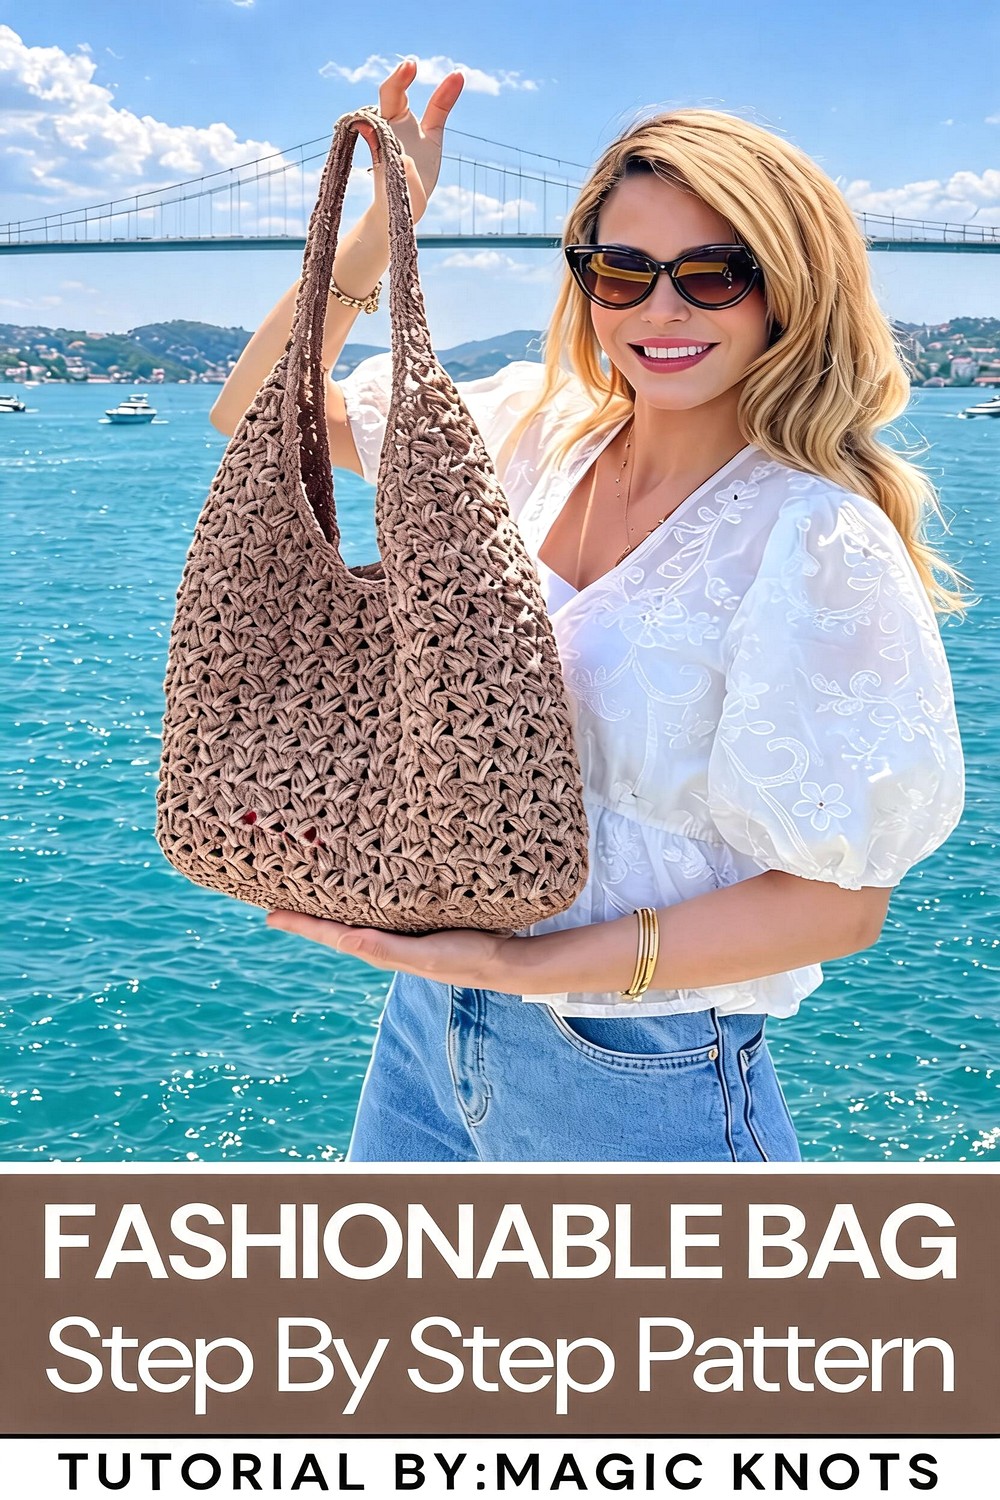
Crochet Paper Cord Tote Bag Pattern
This stylish paper cord tote bag combines a functional rectangular shape with elegant design elements, making it a perfect accessory for daily use. The bag is worked from the bottom up, starting with a sturdy oval base, progressing to a textured body pattern, and finishing with ergonomic handles. Constructed with durable paper cord, the tote bag holds its shape well and provides a modern appeal.
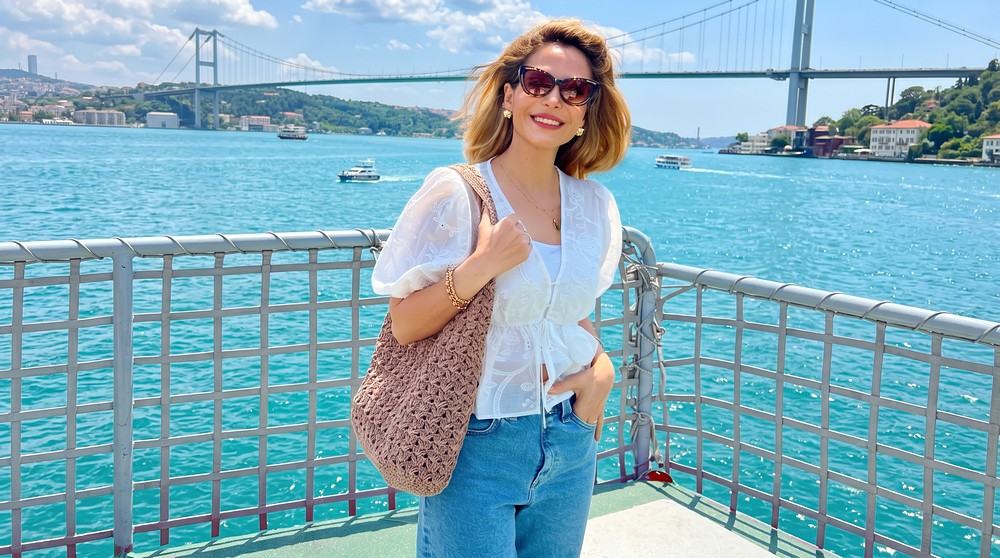
The finished dimensions are approximately 43 cm in height (excluding handles) and 36 cm in width, making it spacious enough for various essentials.
Skill Level
Intermediate
This pattern involves working in continuous rounds and includes techniques like oval base construction, puff stitches, ergonomic handle shaping, and finishing details such as edging. It is ideal for crocheters who are comfortable reading patterns and working with textured stitches.
Materials
Supplies Needed
- Yarn:
- Paper cord yarn (e.g., Sensy, color: milk coffee/sütlü kahve). Two skeins (250g each) are needed to complete the bag, but allow extra for finishing touches.
- Crochet Hook:
- 3.5 mm.
- Optional Notions:
- Stitch markers (to track rounds).
- Magnetic snap closure for added functionality.
- Scissors and a yarn needle for assembly and weaving in ends.
Stitch Abbreviations
- ch – Chain
- sc – Single Crochet
- dc – Double Crochet
- puff stitch – Yarn over multiple times before pulling through all loops on the hook
Useful Tips
- Paper Cord Characteristics: Paper cord yarn can be stiff, so maintain consistent tension to ensure smooth stitches and an even shape.
- Mark Increases: Use stitch markers to track increases for the base and decreases for the handle shaping. This ensures symmetry and prevents errors in rows and rounds.
- Maintain Stitch Counts: Regularly count your stitches, especially at the base and body, where increasing and decreasing are required.
- Final Touches: Slip stitches along the bag’s edges add strength and polish the border. Ensure you attach the snap closure securely to avoid loose ends.
Step-by-Step Pattern
Follow the instructions below, presented round by round for clarity.
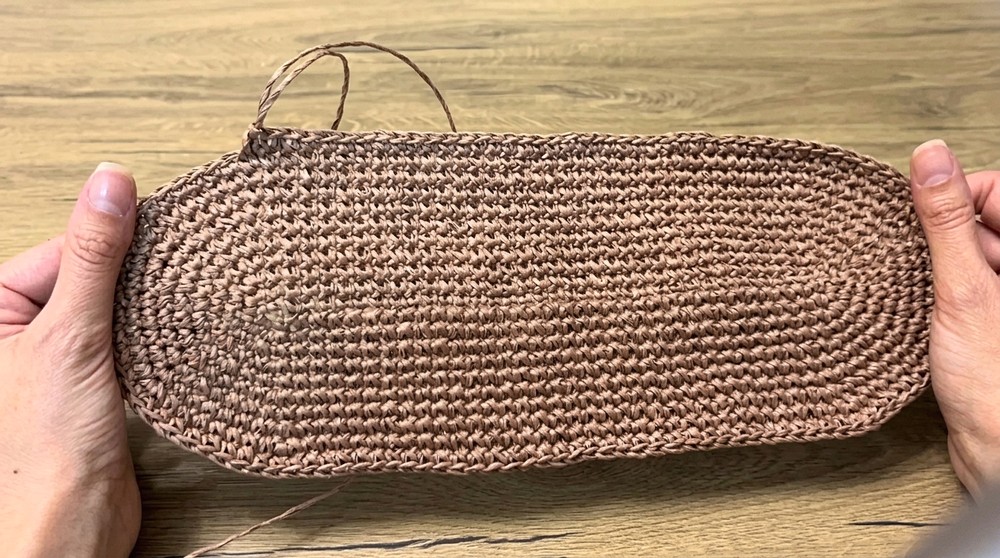
1. The Base
The foundation creates a sturdy, flat oval shape for the bottom of the tote bag. Adjust tension to prevent curling and ensure a flat surface.
Round 1: Foundation Chain
- Ch 37 loosely as the foundation chain.
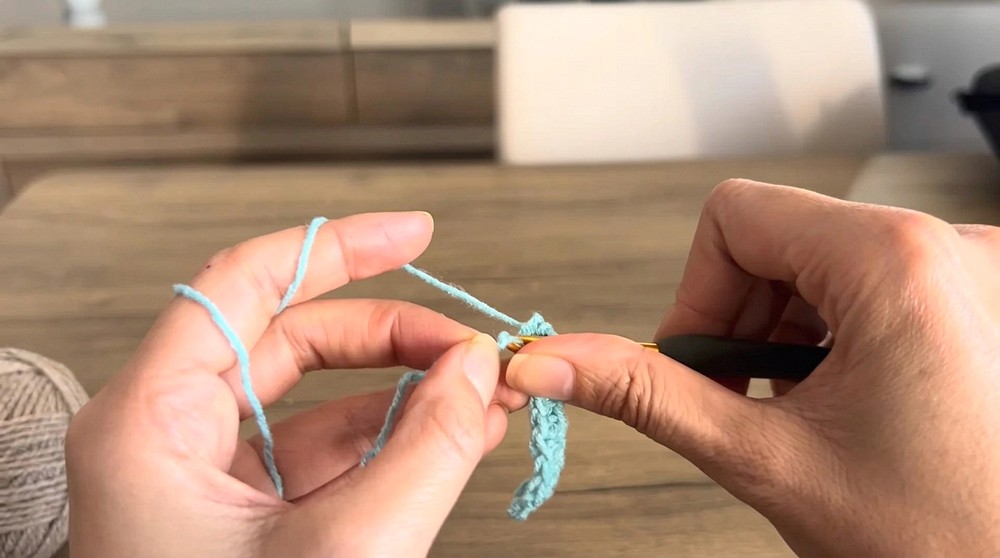
Round 2: First Oval Row
- Begin by working down one side of the chain:
- Make 1 dc into each chain space across the chain.
- Once you reach the last chain space:
- Work 3 dc into the last stitch (corner increases).
- Rotate your work to begin working along the opposite side of the foundation chain:
- 1 dc into each chain space.
- At the other end of the chain:
- Work 3 dc into the last stitch to complete the oval base.
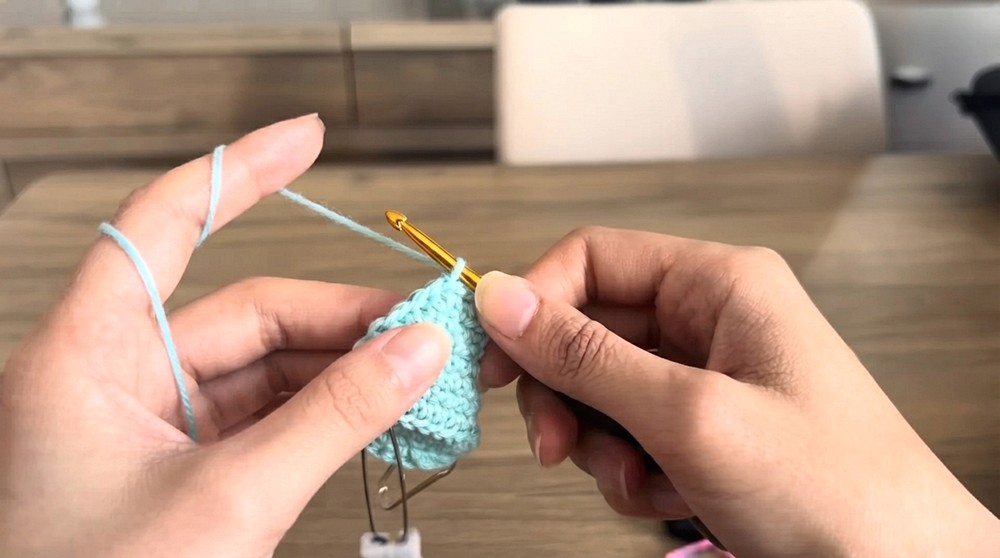
Round 3: Increasing Corners
- Continue working in an oval using amigurumi-style increases:
- Work 1 dc into every stitch along the straight edges.
- At corners, 2 dc into each corner stitch for symmetrical increases.
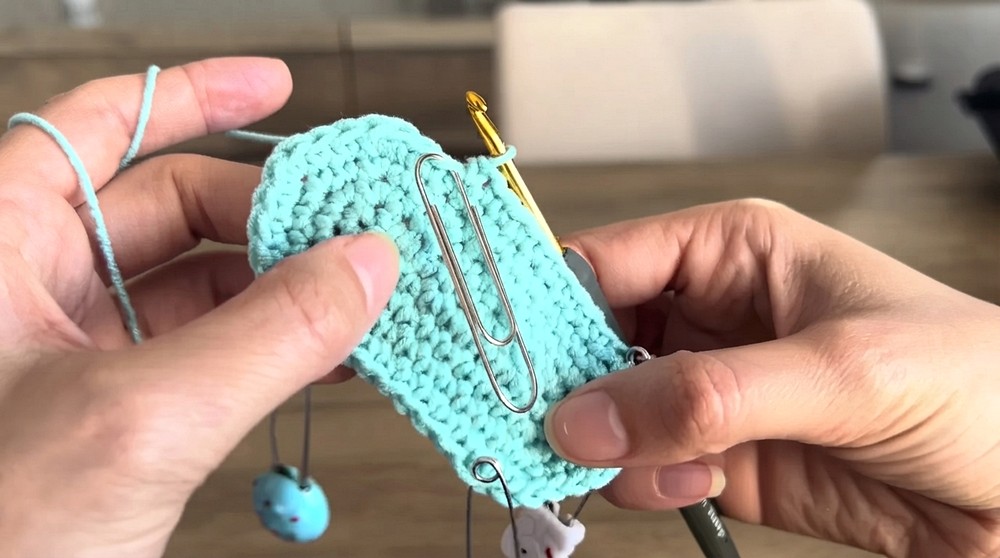
Subsequent Rounds (Until 122 Total Stitches)
- Repeat the process of working regular dc stitches along the straight edges and increasing at the corners.
- Progressively widen the base by adding stitches:
- Example increase sequence:
- 1st row: 3 stitches increase at corners.
- 2nd row: 6 stitches increase at corners.
- 3rd row and beyond: Increase evenly (e.g., 1 dc + ch 1 at corners) to reach 122 stitches total.
- Example increase sequence:
2. The Body Pattern
The body is worked in rounds using a textured stitch pattern to create a stylish design.
Round 1: Body Structure
- Switch to working rounds for the body pattern:
- Skip 3 base stitches, and work 3 dc into the 4th stitch.
- Ch 2, followed by 1 puff stitch in the same location.
- Continue this pattern around.
- You should complete 30 repeats of the motif across the bag circumference.
Subsequent Rounds
- Maintain the textured stitch pattern:
- Skip 3 stitches, work 3 dc + ch 2 + 1 puff stitch into the 4th stitch.
- Ensure alignment of the motifs for a consistent appearance.
- Rounds are worked continuously until you achieve the desired body height.
3. Shaping and Handles
The handles are integrated into the structure of the bag by gradually reducing motifs at the top.
Step 1: Dividing Sections
- Divide the bag into two symmetrical sections:
- Work 14 motifs (3 dc groups) for each side of the bag.
- Leave 1 motif at each end for side structure.
Step 2: Decreasing Rows
- Begin decreasing motifs every two rows to shape the ergonomic slope of the handles:
- Reduce the 3 dc group to 1 dc.
- Continue decreasing motif counts while maintaining symmetry on both sides.
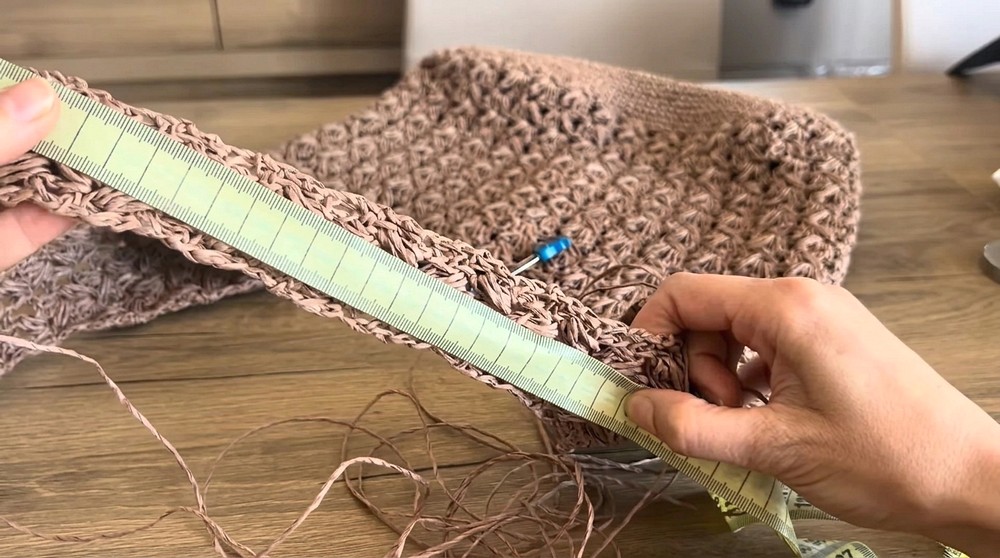
Step 3: Completing Handle Length
- Continue the handle shaping until its total length measures approximately 39 cm.
- Ensure that both sides of the handle are aligned evenly.
4. Assembly and Finishing
Step 1: Joining Handle Ends
- Sew the two ends of each handle together securely using the same yarn.
- Ensure strong, smooth joins to support the weight carried by the tote bag.
Step 2: Edging
- Work 1 round of sc along the edges of the bag opening and handles:
- Add dc into the “dip” of the slope to prevent gaps and maintain shape.
- This stabilizes the structure and gives a clean finish.
Step 3: Final Border
- Work a round of sl st along the edge for a professional, polished appearance and additional durability.
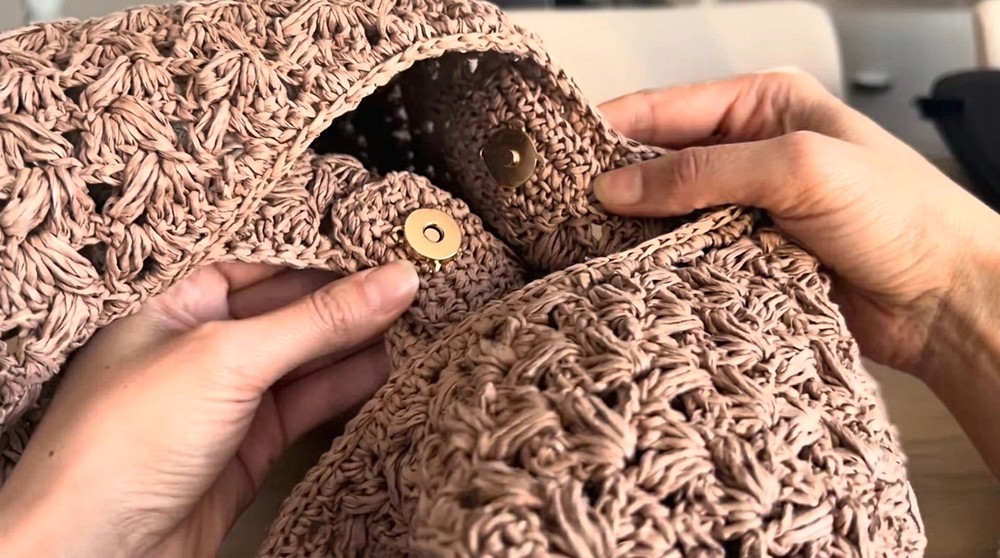
Step 4: Magnetic Snap Closure
- Crochet a small rectangular flap to attach the magnetic snap closure:
- Position the flap at the center of the bag opening.
- Sew the closure securely in place.
Conclusion
This modern paper cord tote bag is a practical and stylish accessory, perfect for everyday use. The ergonomic handles and sturdy construction make it functional, while the textured body adds visual appeal. Its spacious design is ideal for carrying groceries, books, or essentials, and the snap closure keeps items secure. With customization options for size and color, this project offers a satisfying way to create a durable, hand-crafted tote bag that ensures a polished and professional finish.