Adorable Free Crochet Yellow Bag Pattern for Everyday Outings
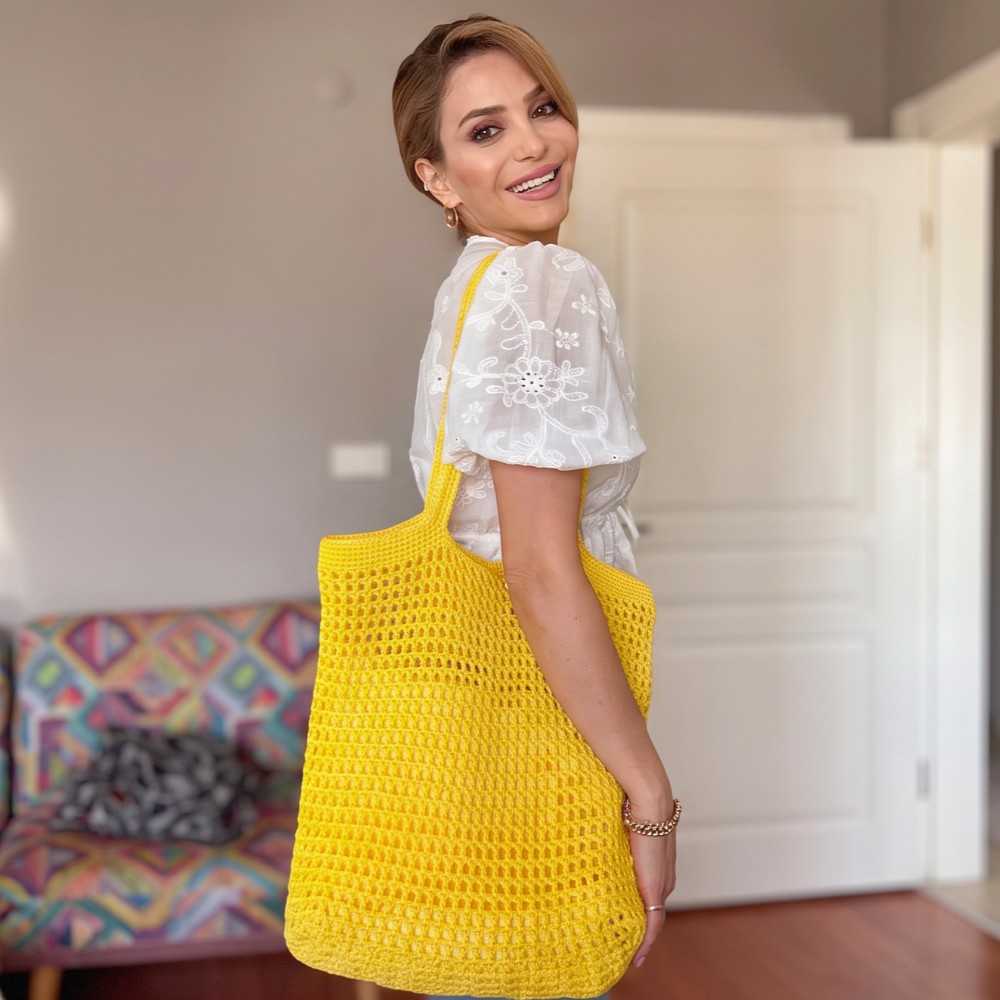
Pick a cheerful accessory for everyday outings with this Yellow Bag Free Crochet Pattern, a bold handmade idea that works well with simple clothes and gifts.
Sometimes one strong color is all an outfit needs. The Yellow Bag Free Crochet Pattern puts a cheerful shade at the center of a practical accessory, giving everyday clothes a noticeable finishing touch. Its appeal comes from the simple combination of a useful bag shape and a color that stands out.
Switch Up Your Look with a Yellow Bag Free Crochet Pattern
Spotlight on the Designer
Accessories are an important part of the video collection shared by magic knots. This bag project highlights a practical item with an eye-catching finish. The tutorial gives viewers interested in yarn bags a chance to study the design, notice its texture, and examine the finished shape before starting work themselves.
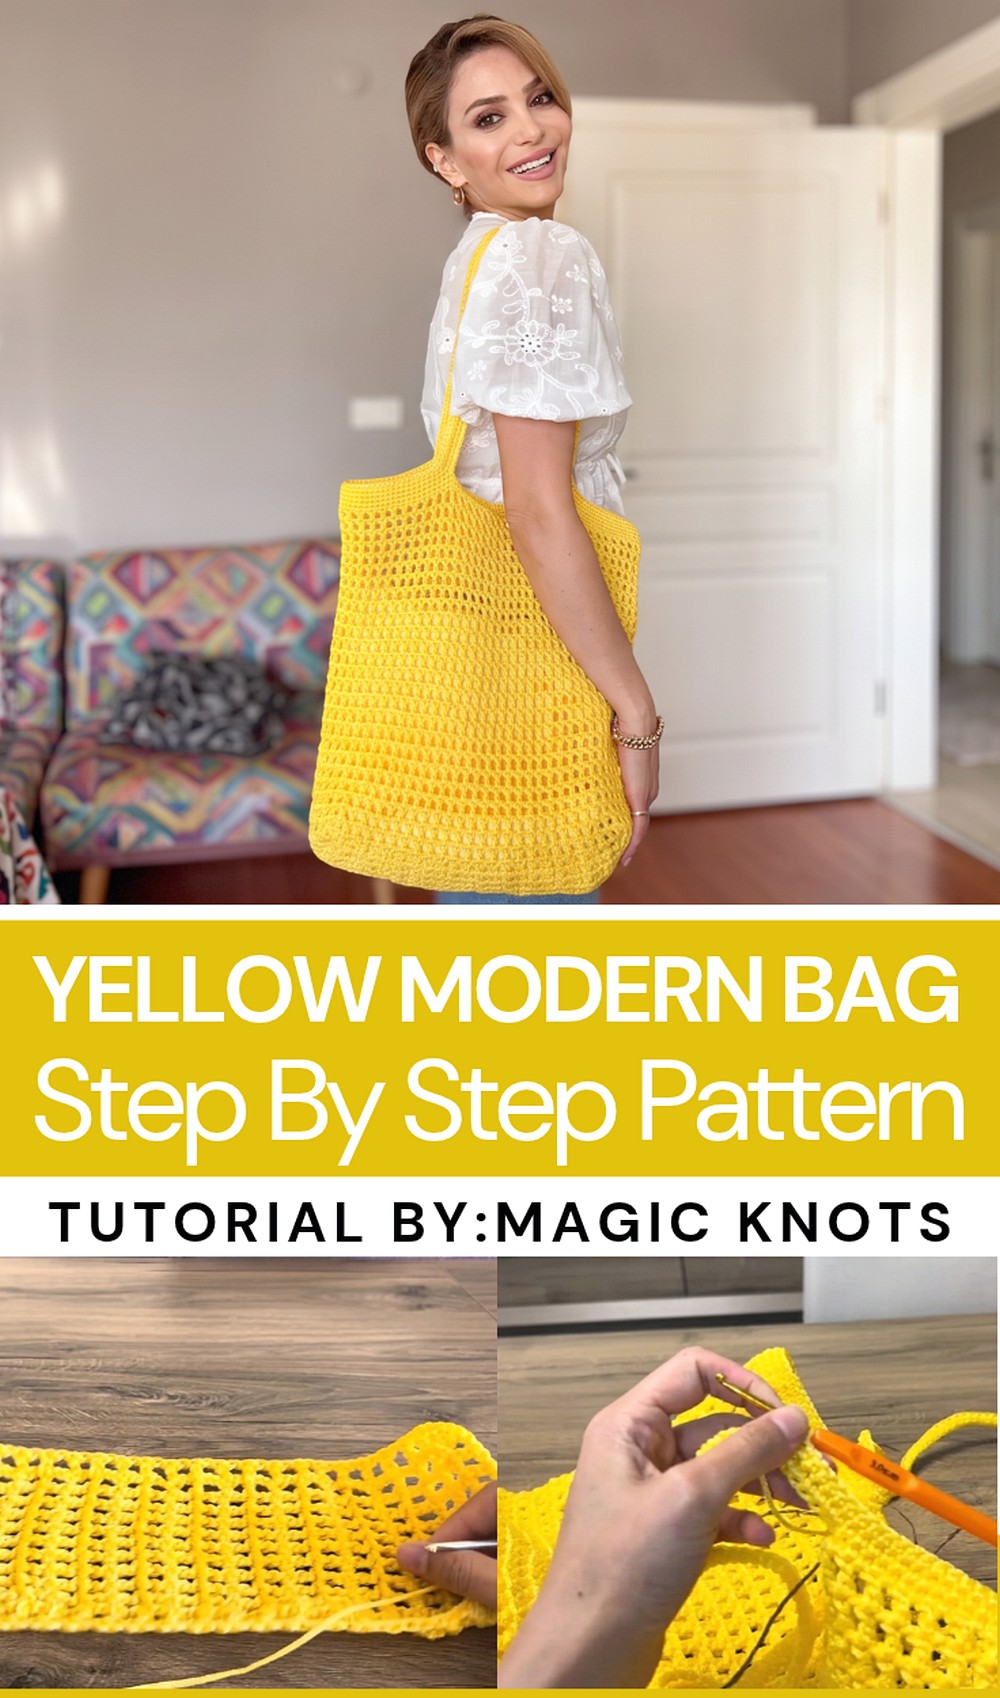
Yellow works especially well next to white, denim blue, beige, and black. That means you do not need a completely new outfit to wear this bag. Carry it with a plain dress, take it on a daytime visit, or use it when running a few light errands. It also offers a thoughtful present idea for a friend who loves bright accessories.
The finished accessory is not only about color. It is also about having something useful that reflects your taste. Whether your wardrobe is mostly neutral or full of lively shades, a yellow bag gives you an easy way to change the overall look without changing everything else.
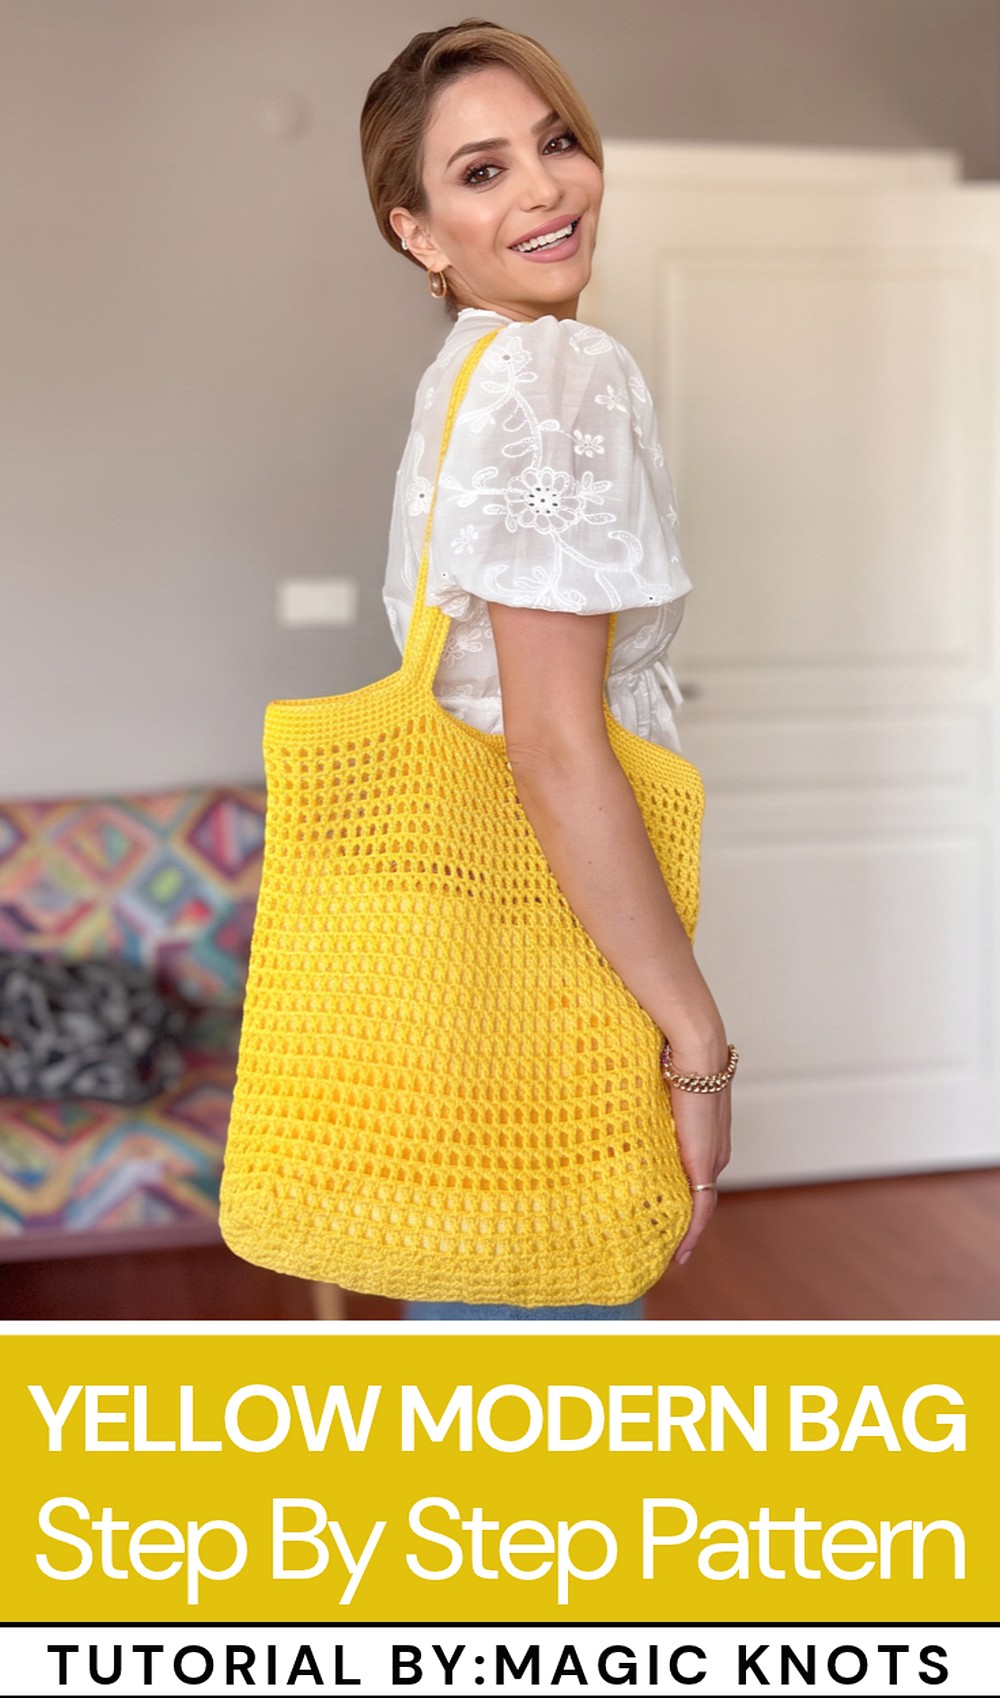
Crochet Square Tote Bag Pattern
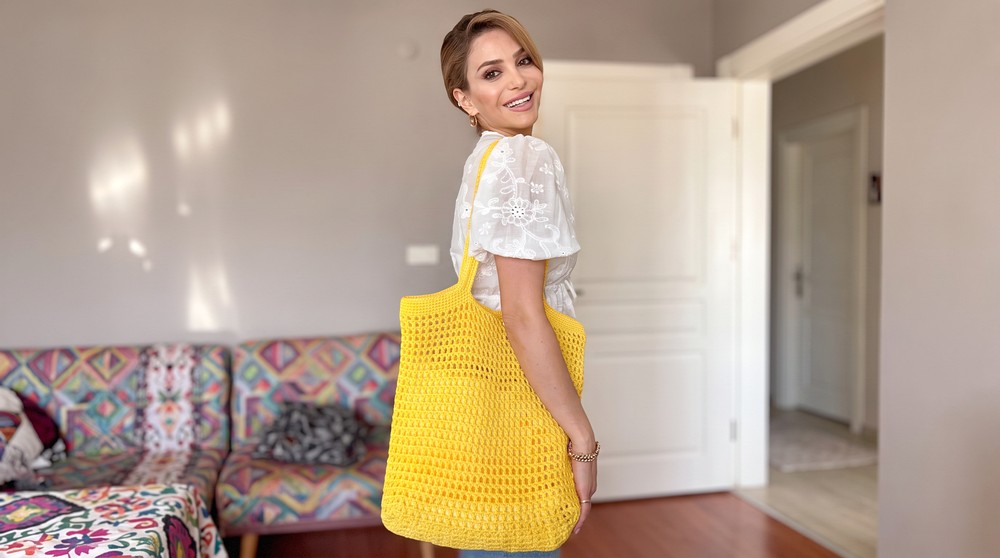
This crochet tote bag is a gorgeous square-shaped accessory, perfect for summer outfits or everyday use. Designed with durable polyester macramé yarn, the bag features a net-like stitch pattern that is both aesthetic and practical. Its sleek texture and shine make it ideal as a beach bag, a casual handbag, or even a shopping tote. You can customize the size easily to suit your style and needs.
Skill Level
Beginner to Intermediate
The stitches used in this pattern are basic, making it suitable for beginners. However, confident crocheters will enjoy the repetitive flow and learn how to construct a full bag with handles and finishing details.
Materials
- Yarn:
- Spagetti Tomorrow Polyester Macrame Yarn (weight: 250 grams; meterage: 60 meters per ball).
- Total Yarn Used: 1.5 balls.
Note: This yarn is ideal for bags due to its durability and texture.
- Crochet Hook:
- 3.5 mm crochet hook.
- Other Tools:
- Scissors.
- Tapestry needle for weaving in ends.
- Measuring tape (optional).
Stitch Abbreviations
- ch – Chain
- dc – Double Crochet
Useful Tips
- Adjusting Size: If you prefer a larger or smaller bag, increase or decrease the number of foundation chains and rows.
- Durable Bags: Macrame yarn is ideal for bags as it’s strong and retains its shape, but always tighten stitches slightly while crocheting for added durability.
- Stitch Placement: Pay extra attention to stitch placement to maintain neatly aligned rows.
- Customizable Handles: The length of the handles can be adjusted. For longer handles, increase the number of chains, ensuring they remain consistent on both sides.
- Lining the Bag: Add fabric lining for additional durability and to prevent stretching when used for heavy items.
Pattern Instructions
Base of the Bag
The bag begins with a rectangular base, worked using foundation chains.
Foundation Chain:
- Ch 24 for the width of the base.
- Adjust the number of chains depending on your desired bag width.
- Ch 3 more for the turning chain to start your first row.
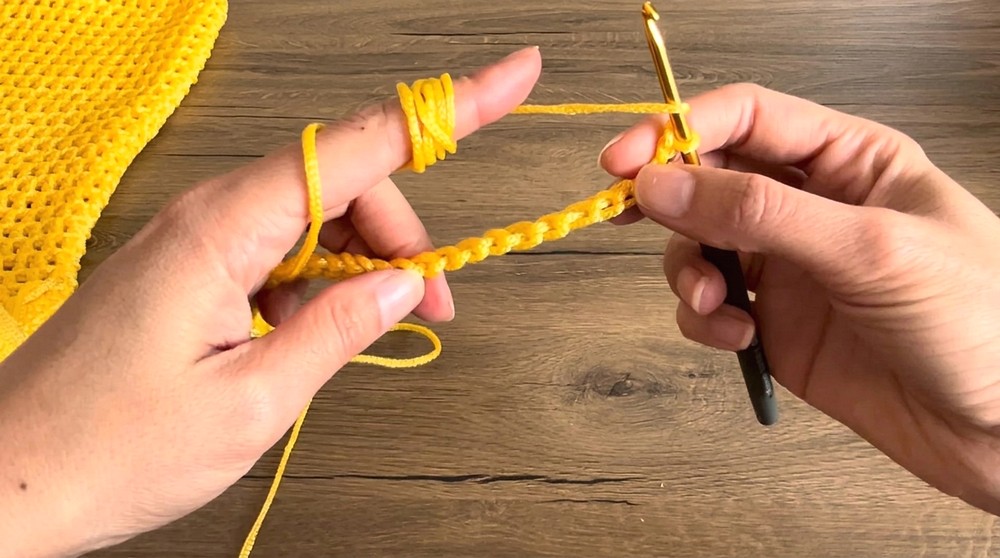
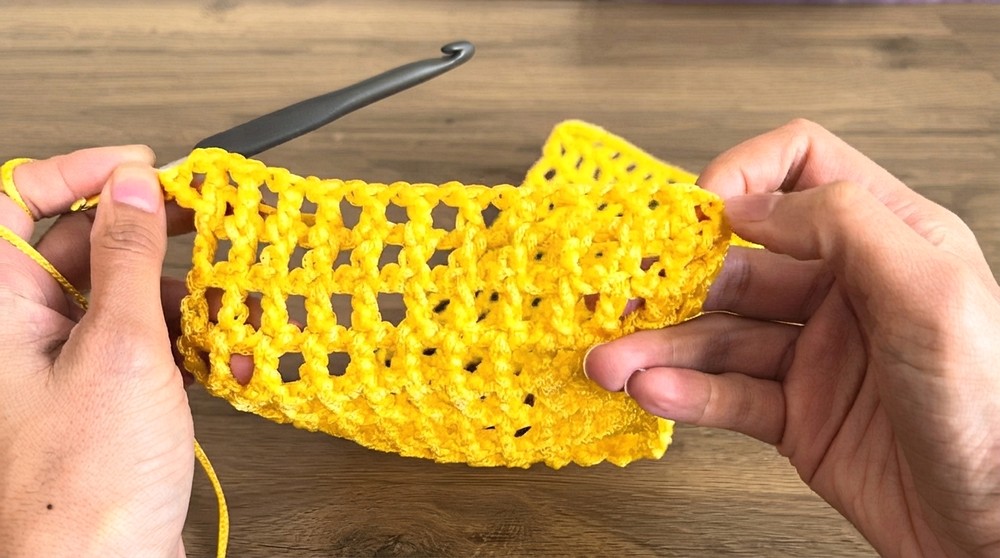
Round 1 – Base Rows with Box Pattern:
- Dc into the fifth chain from the hook, then ch 1, skip 1 space, and dc into the next chain.
- Continue alternating dc stitches and ch 1 spaces across the row to create a box-like pattern.
- Total: 11 boxes.
- At the end of the row: ch 1, skip 1 space, and dc into the last chain.
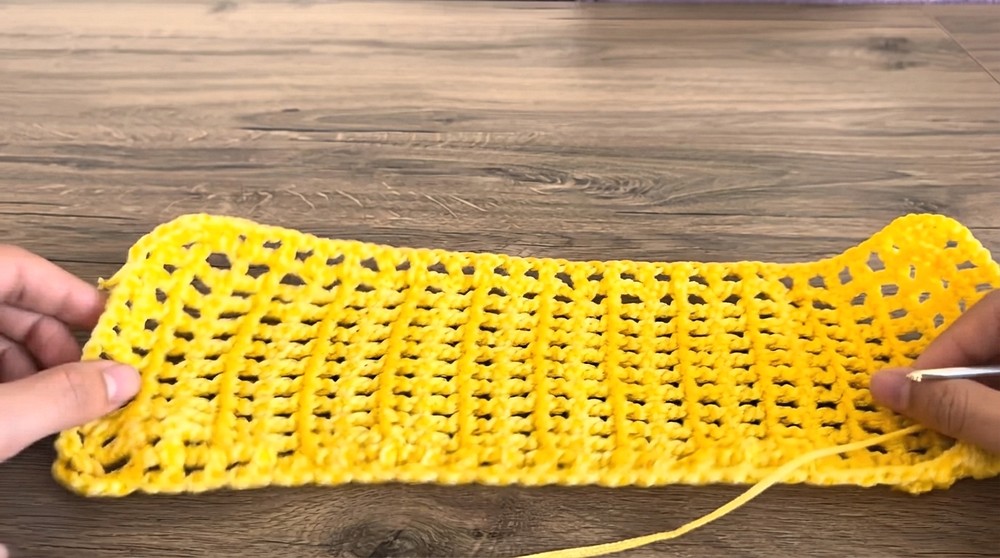
Round 2 – Extending Length of Base:
- Ch 4, turn your work, and dc into the top of the previous dc stitch.
- Ch 1, then continue across the row by working dc into the top of each dc with ch 1 spaces in between.
- Repeat Round 2 until the base reaches 39 cm in length. (You can extend it further for a larger bag.)
Bag Walls
Once the base is complete, the next step is transitioning to the walls of the bag.
Round 1 – Transitioning to Walls:
- At the corner of the base, ch 4 to turn.
- Begin working along each edge:
- Dc into the edge of each dc stitch from the base row, making sure to keep stitches evenly spaced.
- Ch 1 between each dc stitch.
- At each corner, work a dc into the corner space, ch 1, dc into the same corner space (forms a triangle).
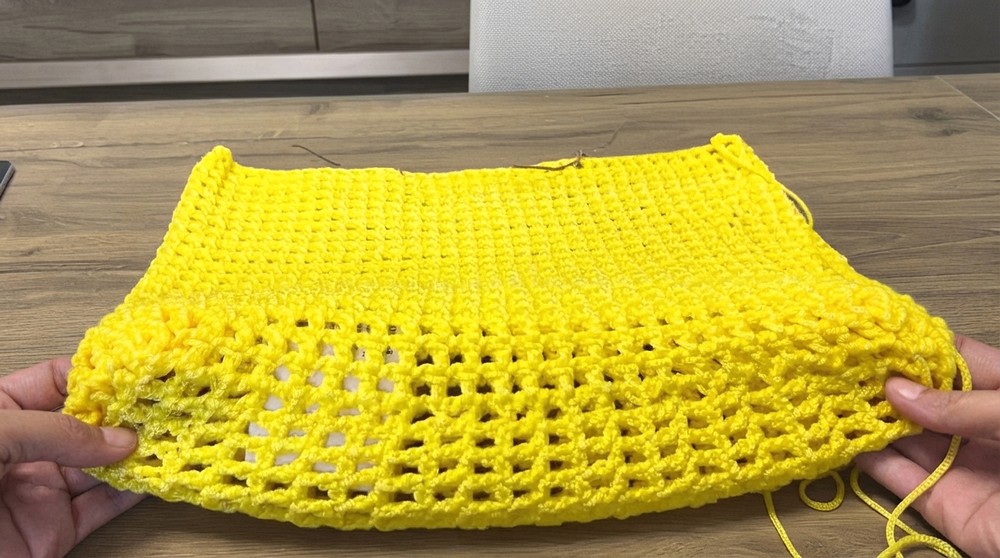
Note: The triangle corners are only created in this row to transition to the wall. Do not repeat them in subsequent rows to avoid expansion.
Round 2 – Forming Straight Walls:
- Ch 4, turn, and work directly into the next dc stitch.
- From this row onward, continue working as follows: dc into the top of each dc stitch, with ch 1 between each dc.
- At corners: Simply dc into the top of the corner dc, without additional increases.
- Repeat Round 2 for every row, continuing upward to create the walls of the bag.
Bag Dimensions
Knit the walls upward until the net pattern reaches 31 cm in height above the base.
- Base: 39 cm by 39 cm.
- Wall Height Above Base: 31 cm.
Adding the Single Crochet Row
To ensure a stable structure:
- Begin by fixing your yarn where you finished the last row.
- Ch 1, then work 1 sc into the top of every dc stitch and 1 sc into every chain space.
- Continue all around the bag evenly, ensuring no corners or edges are skipped.
- At the end of the row, slip stitch to the first sc and fasten off your yarn.
Note: If desired, you can add two rows of single crochet for enhanced stability, but one row is sufficient if planning to add handles immediately.
Making the Handles
The bag handle design allows for easy customization to suit your preference.
Attaching Handles:
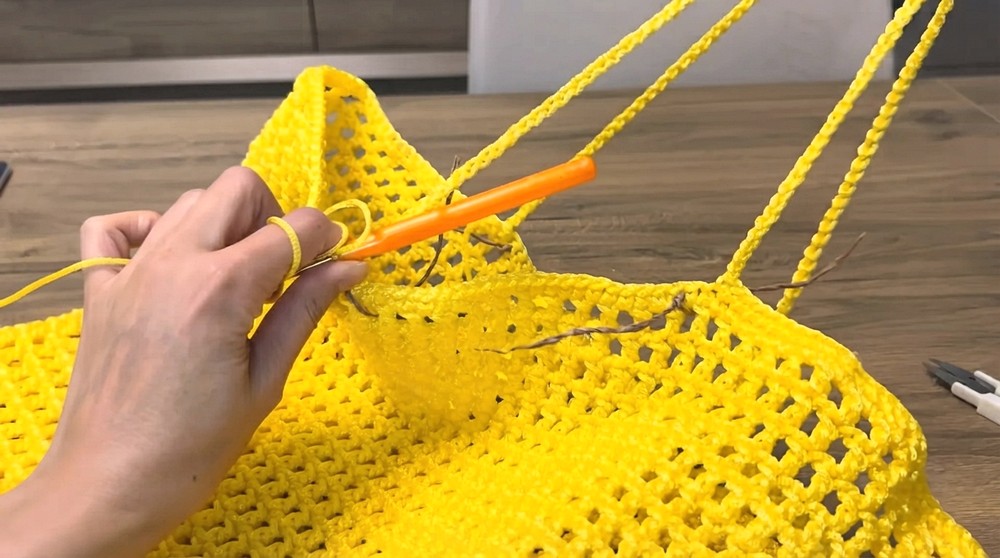
- Identify 12 boxes on the front side marked for the handle placement. Repeat this for the opposite panel on the other side.
- Fix your yarn at the rightmost point of the first box.
Create Handle Base:
- Ch 100 for the desired length.
- Adjust the number of chains for longer or shorter handles.
- Make sure the chains are straight and taut.
- Attach the handle to the leftmost point of the selected boxes (12 box section) with a single crochet.
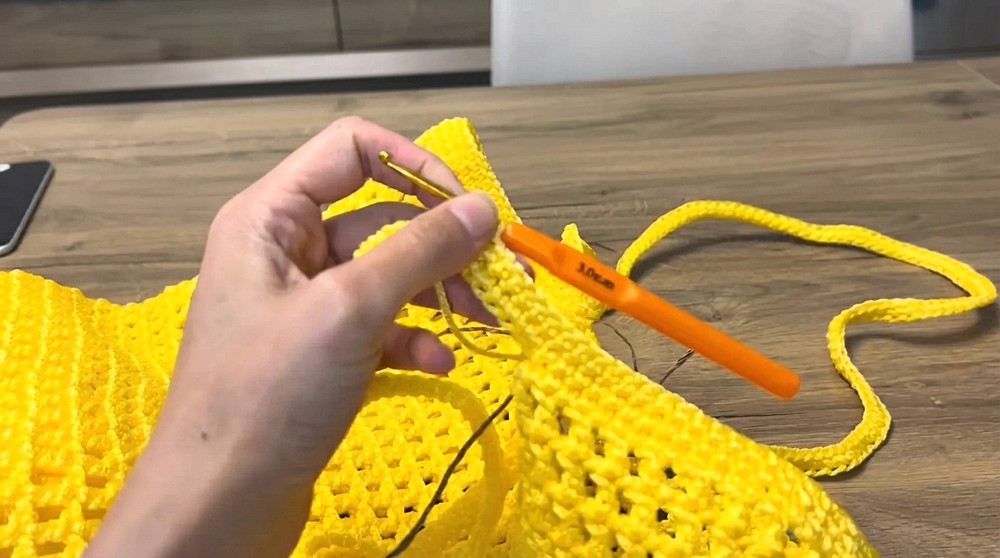
Reinforce Handles with Single Crochets:
- Work 1 sc into each chain stitch along the handle to thicken it.
- Once done, work 1 sc into each single crochet across the other boxes of the bag until you reach the second handle position.
- Repeat the same process to create the second handle on the opposite side of the bag.
Optional Row for Handle Thickness:
- After completing one row of sc on the handles and the edge, check if the handles appear thick enough.
- If needed, work one more row of sc into each stitch over the handles for added stability and fullness.
Finishing Steps
- Weave in loose ends using a tapestry needle to ensure that all yarn ends are securely hidden.
- Steam block or shape the bag to smooth out stitches and even the texture. Polyester macramé yarn does not stretch substantially but gains softness with steaming.
- Optional Lining: Add fabric lining to the interior for a more polished look and to reinforce the bag further.
Final Dimensions
- Base Width and Length: 39 cm x 39 cm.
- Wall Height: 31 cm.
- Handle Length: 100 chains (you can adjust handle length as desired).
Conclusion
This macramé tote bag is not only practical but also versatile enough to pair with any summer outfit. With its simple yet striking net-like texture and sturdy design, it makes for an elegant accessory or a functional shopping or beach bag. The straightforward pattern and durable material make this a rewarding crochet project that you’ll enjoy using or gifting.