Easy & Stylish Summer Blouse Free Pattern + Easy Tutorial
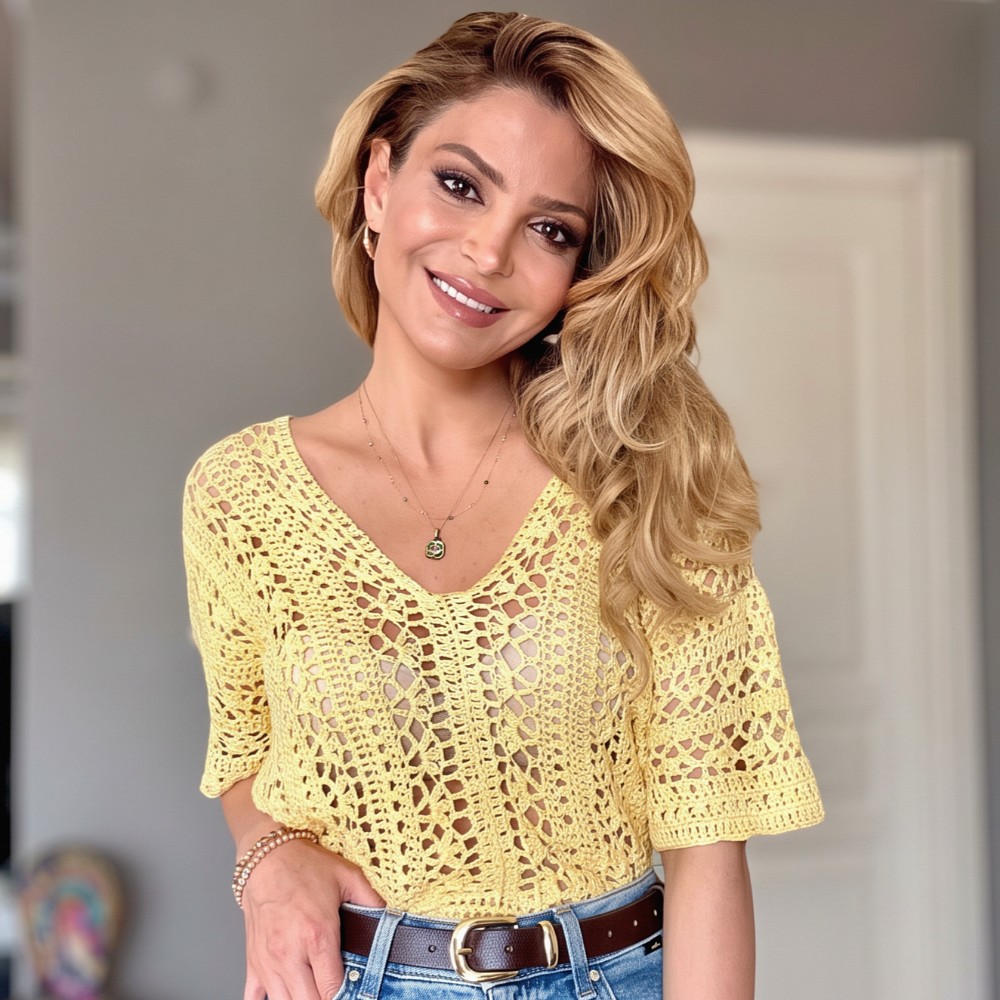
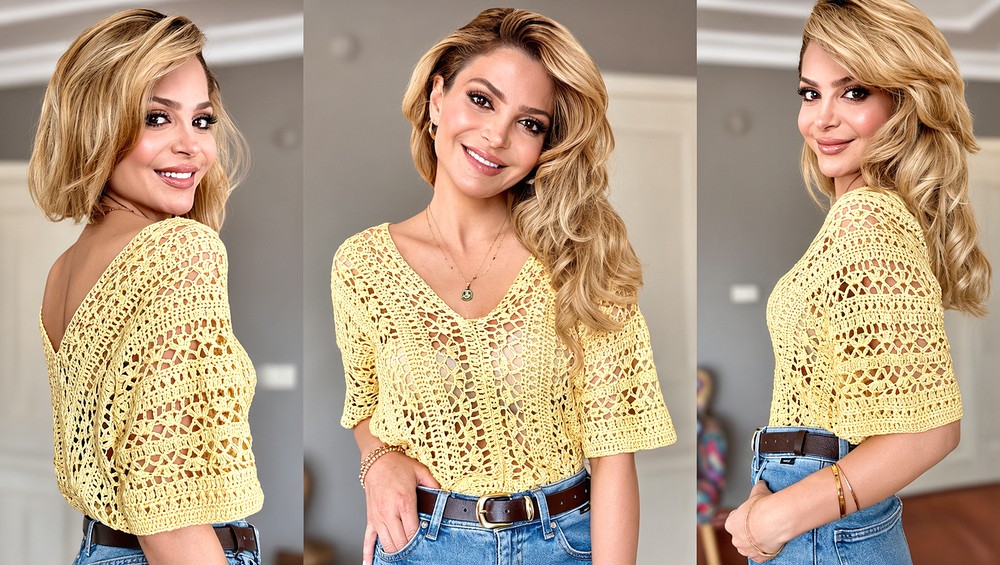
Refresh your warm-weather wardrobe with this Summer Blouse Free Crochet Pattern, a pretty top for easy outfits, sunny walks, and laid-back everyday dressing.
When the weather feels warm, heavy tops are often the last thing you want to wear. A Summer Blouse Free Crochet Pattern gives you another way to dress comfortably while keeping a bit of handmade character in your outfit. The focus is on a blouse that looks easygoing rather than formal or overly decorated.
Airy Summer Blouse Free Crochet Pattern for Simple Style
More About the Channel
Simple clothes can still have interesting crochet details, and magic knots shares a blouse tutorial built around that appeal. The channel features a range of yarn projects, including clothing. Readers can use this video as a visual guide while following the blouse shape and checking their progress along the way.
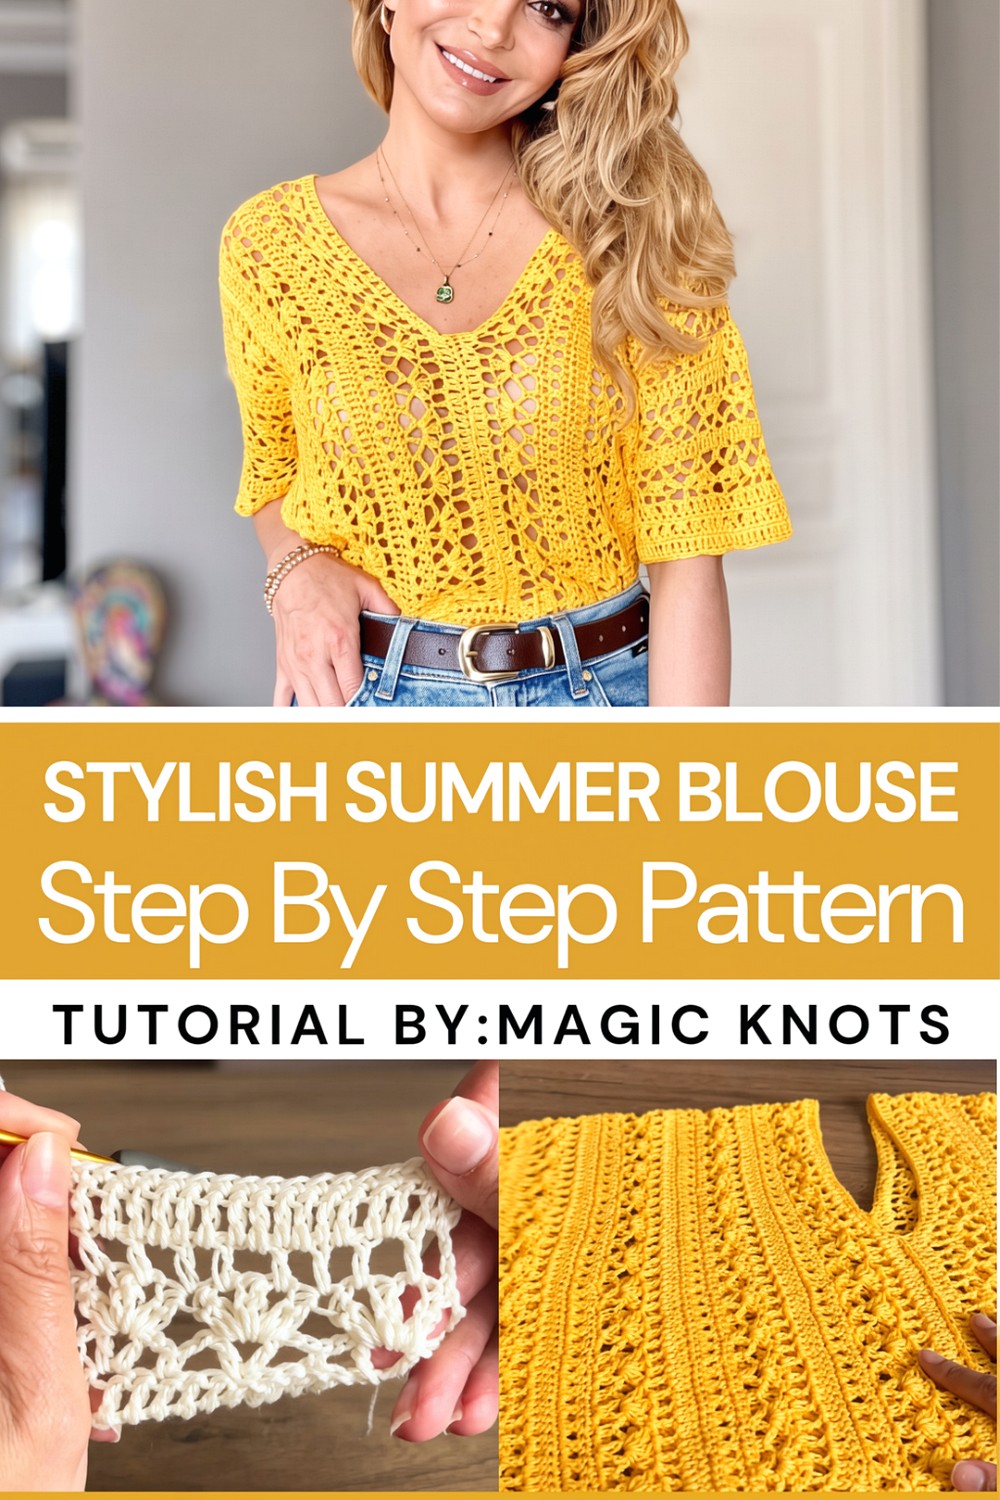
This piece can sit naturally with loose trousers, denim shorts, or a simple skirt. For a more relaxed look, wear it with flat shoes and keep your accessories minimal. The yarn and stitch texture give the blouse visual interest of its own, so it does not need extra details to feel complete. A plain camisole underneath can provide coverage where needed.
Unlike a blouse bought in a shop, this one gives you a chance to take part in every stage of its construction. Once it is finished, the top can become a regular option for a lunch with friends, a family visit, or an ordinary afternoon out. Its appeal lies in being wearable without feeling too dressed up.
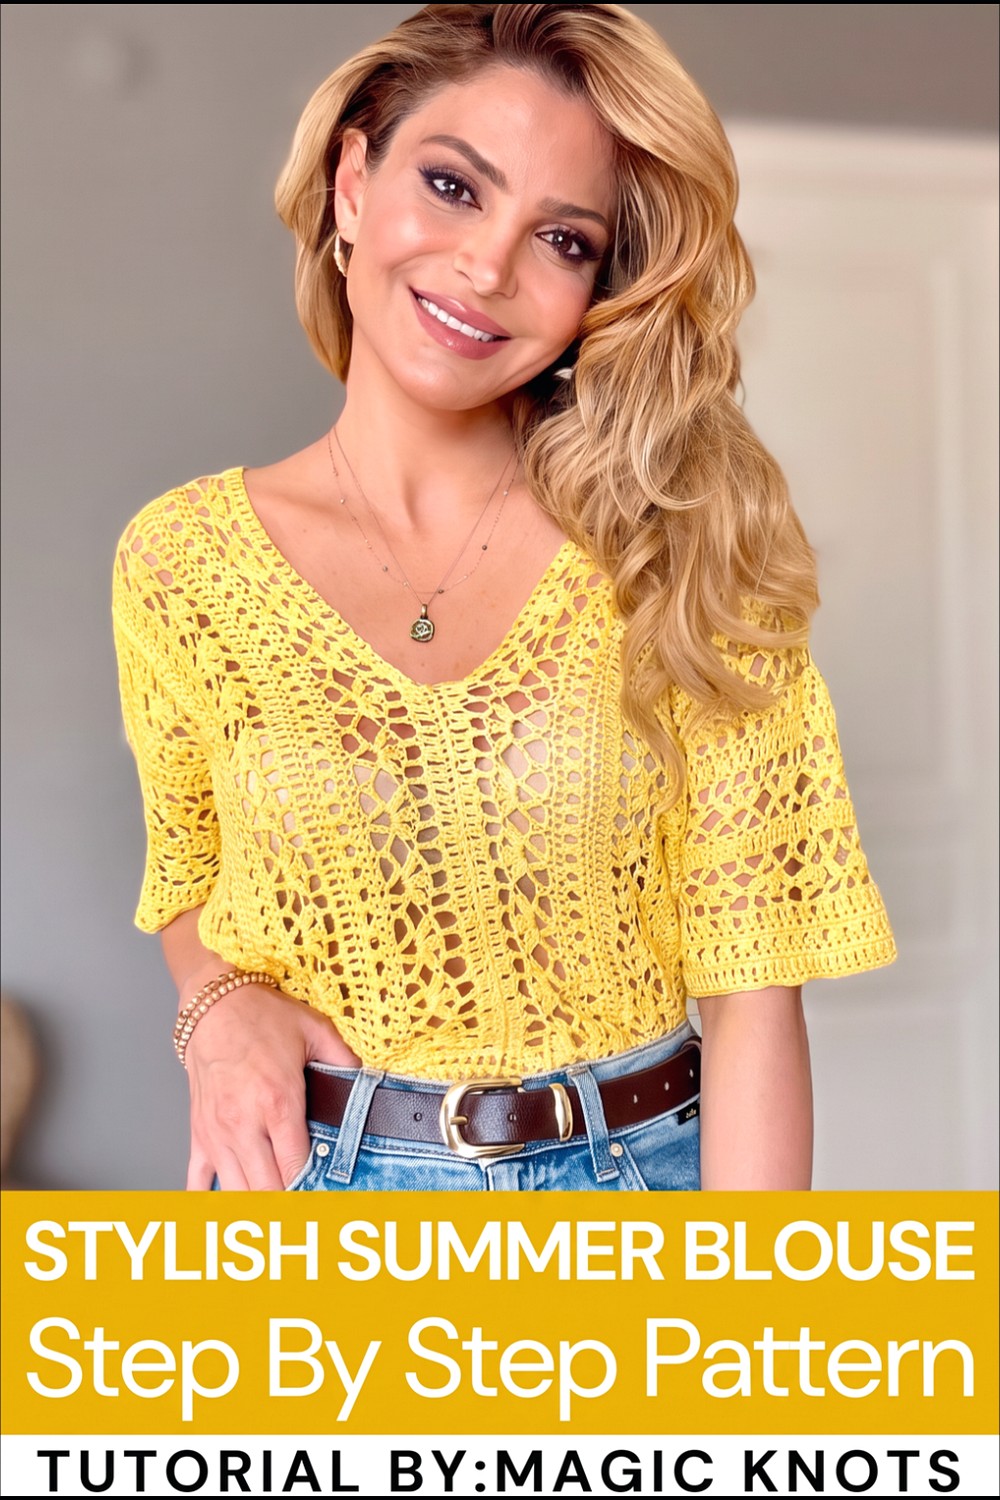
Crochet Spring Blouse Pattern
This spring blouse is stylish yet practical, making it an excellent wearable garment for warmer seasons. Designed with longer sleeves and a simple yet elegant stitch pattern, this blouse offers a loose, flowing fit. The cotton yarn gives it a comfortable texture, and its adaptable construction ensures it can be adjusted to suit various sizes. Whether tucked in for a chic finish or worn loose for a casual look, this blouse delivers both functionality and style.
Skill Level
Intermediate
This pattern uses foundational crochet stitches, shaping techniques, and sewing skills. It’s best suited for crocheters with some prior experience in garment-making.
Materials
- Yarn:
- 100% Cotton Yarn (medium-thick). Recommended color: Yellow for a fresh, spring look.
- Quantity: Approximately 4–5 balls, depending on the preferred size and length.
- Crochet Hook:
- 3.5 mm crochet hook.
- Other Tools:
- Tapestry needle or sewing needle for finishing and joining.
- Scissors.
- Measuring tape.
Stitch Abbreviations
- ch – Chain
- sc – Single Crochet
- dc – Double Crochet
- sl st – Slip Stitch
Useful Tips
- Adjust for Size: This pattern is designed for a size Small (S), but the logic for resizing is shared in the instructions. Add more chains in the foundation row or rows for larger sizes while following the same stitch pattern.
- Gauge and Tension: The fit of this blouse depends heavily on your tension. Work with a medium tension—neither too tight nor too loose—to achieve the right drape.
- Length and Width: If you prefer a longer or wider blouse, customize the foundation chain and number of rows accordingly.
- Finishing Touches: Steam block your finished blouse to relax the cotton yarn and give it a polished finish.
- Keep Stitches Loose: Maintain loose tension while crocheting the main stitches for a softer and more flowy garment.
Pattern Instructions
Main Blouse Body
The blouse is constructed in two rectangular panels, worked from the bottom to the top.
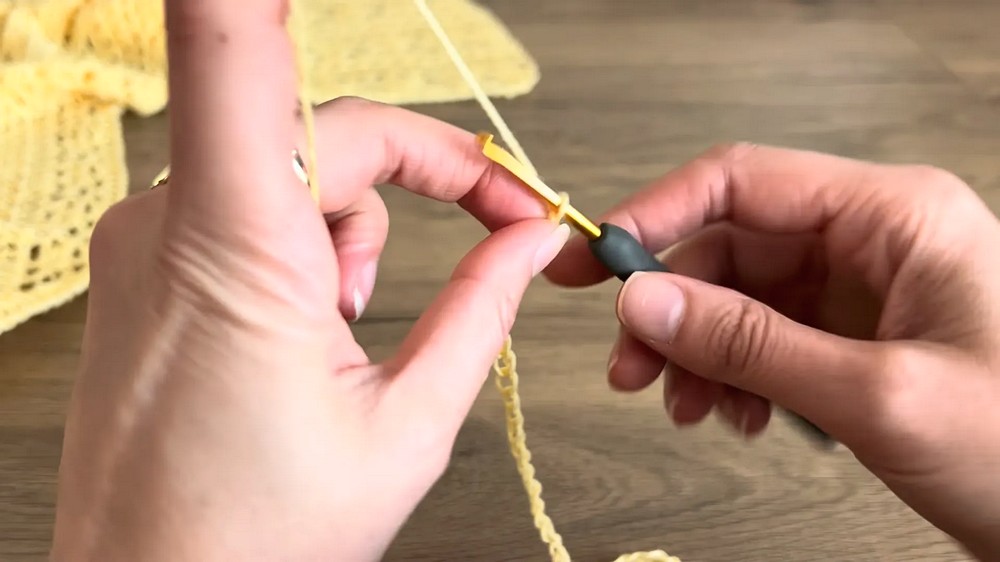
Foundation Chain:
- Ch 140. (Adjust the number of chains for your desired width.)
- For size S: 140 chains measure approximately 73 cm when using medium tension.
- Ensure a medium to loose tension to avoid the foundation curling or becoming overly tight.
Round 1 – Double Crochet Base Row:
- Ch 3 (counts as the first dc).
- Working into the fourth chain from the hook, dc across the row in each chain. (Total of 140 dc.)
Round 2 – Create V Stitches:
- Ch 3, turn.
- Work 1 sc into the first dc, then ch 2.
- Skip 2 stitches, and dc into the third stitch, ch 2, dc into the same stitch (this forms a V stitch).
- Ch 2, skip 2 sts, and sc into the third stitch.
- Continue alternating single crochets (sc) and V stitches across the row. Always separate each V stitch with 2 chains.
Round 3 – Add Cluster (Peanut) Stitches:
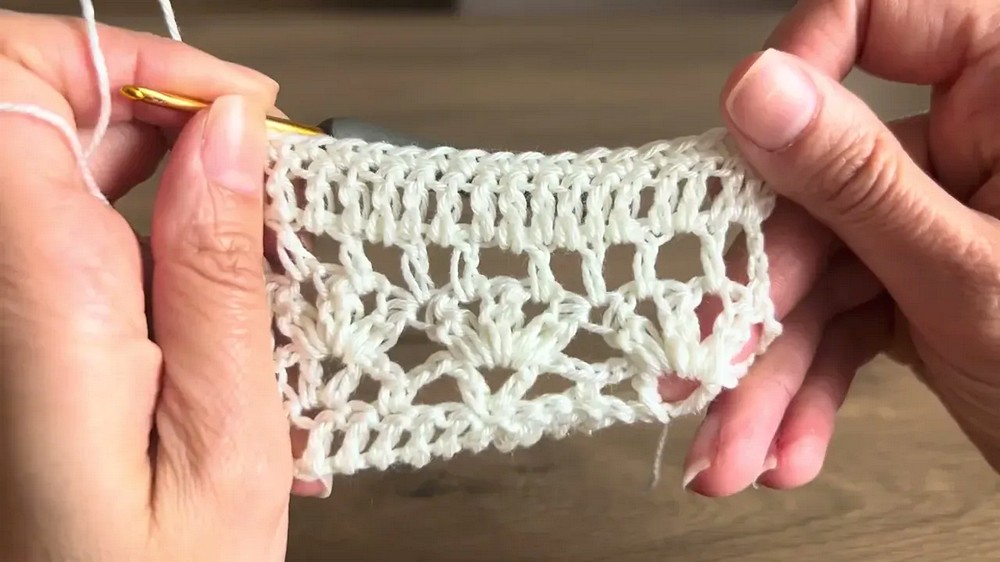
- Ch 3, turn.
- Work cluster stitches (peanuts) into the center space of the V stitch from the previous row:
- Yarn over, insert hook into center space, pull up a loop. Yarn over, pull through 2 loops. Repeat 2 more times (3 loops on hook), yarn over and pull through all loops.
- Ch 2, repeat the process into the same space to create the next cluster.
- Work 3 cluster stitches per V stitch, separated by 2 ch between each cluster.
- When moving between V stitches, simply begin a new cluster without additional chains.
Round 4 – Fill in with Single Double Crochets:
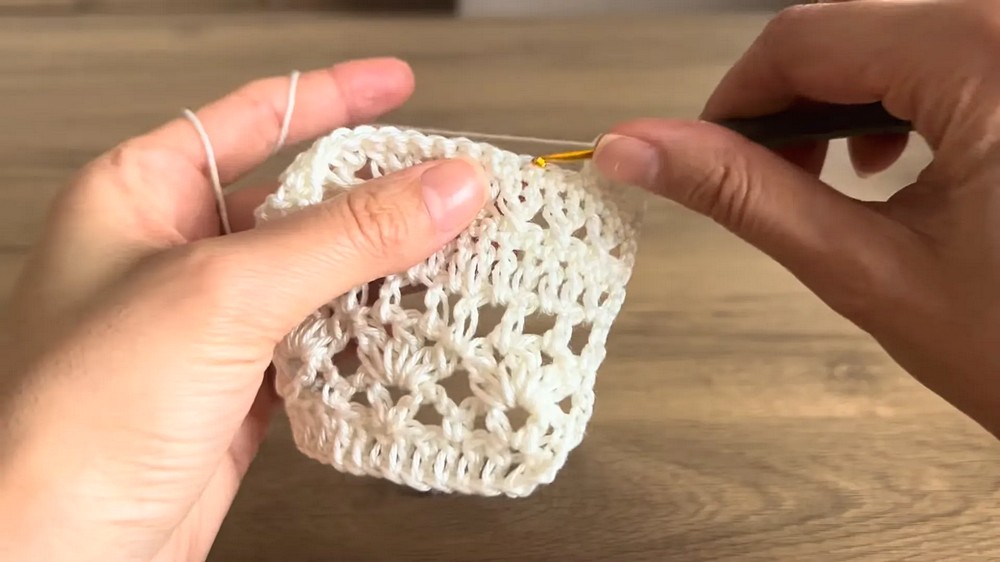
- Ch 4, turn (counts as 1 dc and 1 ch).
- Work 1 dc into the first 2-ch space of the cluster below.
- Ch 1, work 1 dc into the next stitch, alternating into 2-ch spaces and dc stitches.
- At the end of the row, complete with 1 dc into the top of the last stitch.
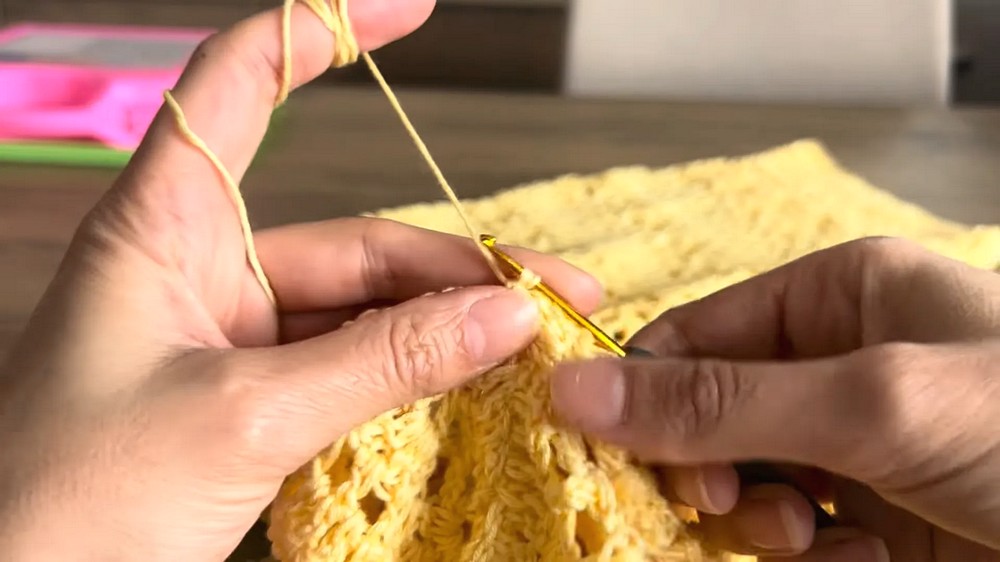
Round 5 – Crossed Double Crochets:
- Ch 3, turn.
- (For crossed dc stitches) Skip 1 stitch, then dc into the next stitch. Yarn over, work backward into the skipped stitch with a dc.
- Repeat the cross pattern across the row. This creates a subtle criss-cross texture.
- At the end of this row, turn the work.
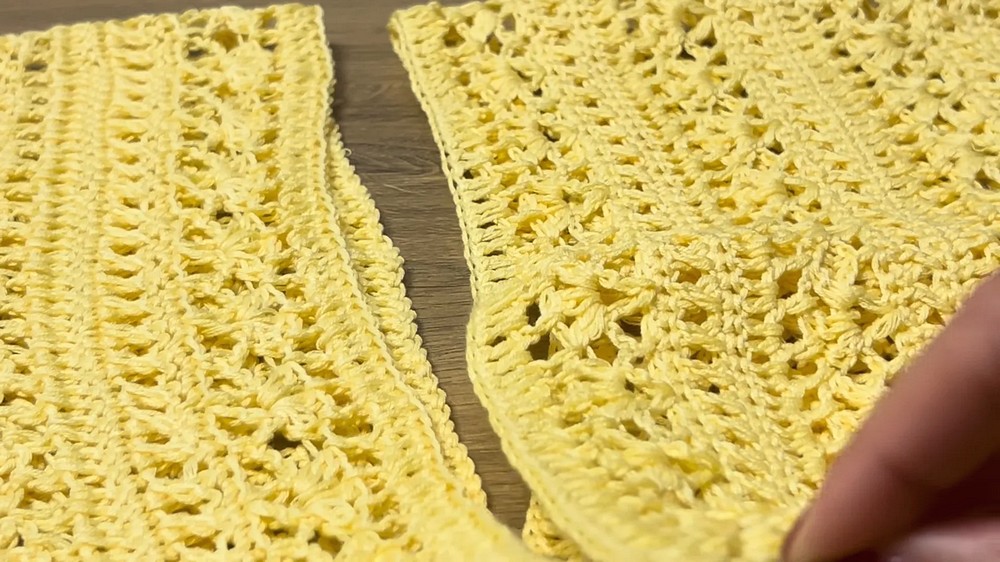
Round 6 – Single Crochet Edge Row:
- Ch 1, turn.
- Work 1 sc into each stitch, inserting the hook into the horizontal spaces of dc stitches.
- At the end of the row, turn and continue into the V stitch pattern.
Model Repetition:
The base model consists of the following sequence of rounds:
- Rounds 2 (V Stitches)
- Rounds 3 (Peanut Cluster Stitches)
- Round 4 (Double Crochets with 1 ch space in between)
- Round 5 (Crossed Double Crochets)
- Round 6 (Single Crochet)
Repeat this sequence for the desired length of the blouse. For a size Small, work until the piece measures 88 cm in length and 24 cm in width. Adjust length by adding or subtracting rows.
Assembly
Prepare Two Panels:
- Create two identical rectangular panels of the same width and height using the above instructions. Ensure the same number of rows and stitches in each.
Sew Front and Back Panels Together:
- Fold each panel in half with the front sides facing one another.
- Starting at the bottom hem, sew upwards to connect the panels, leaving 20 cm for the neckline at the top.
- Sew the back portion of the blouse, leaving 22 cm for the back opening at the nape.
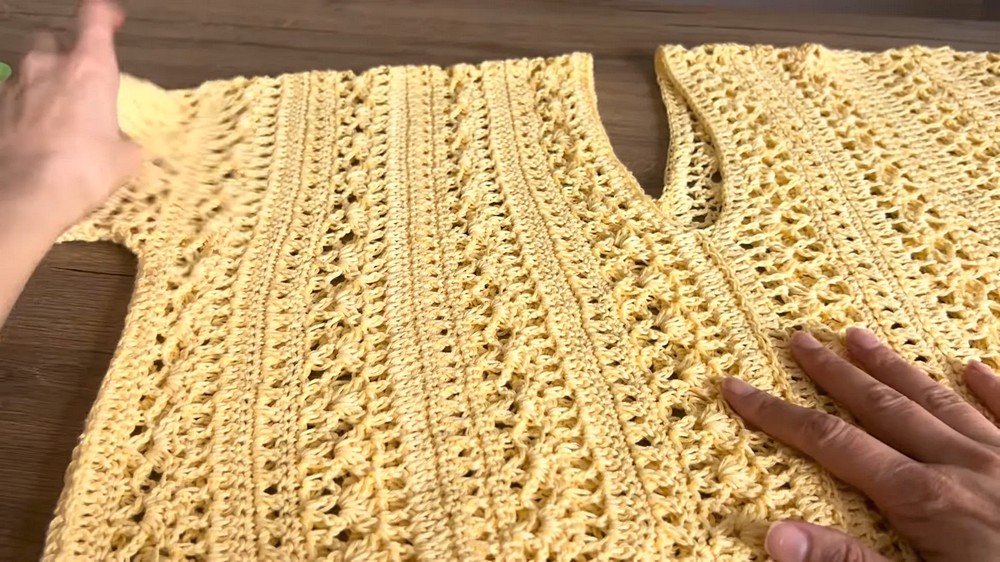
Side Seams and Sleeves:
- Sew the sides of the blouse, working from the bottom hem upward.
- Leave an opening of 20 cm for the armholes.
Sleeves
Foundation Row for Sleeves:
- Attach yarn at the underarm seam.
- Begin with 5 ch, dc into the same space to form the first V stitch.
- Work additional V stitches around the entire armhole opening, following the sleeve circumference.
Sleeve Repetition:
- Work the same stitch sequence used in the body: V stitches, peanut groups, single dc rows, crossed dc rows, and sc rows.
- The sleeves can be extended by continuing this pattern as desired.
Final Sleeve Edges:
- To finish, work a row of dc stitches followed by a row of sc stitches around the edge of the sleeve for a clean finish.
- Repeat for the second sleeve.
Measurements
- Width: 53 cm. (Adjustable based on size and yarn tension.)
- Length: Approx. 88 cm for the body and 43 cm including the underarm dc rows.
- Neck Opening: 22 cm.
- Armhole Opening: 20 cm.
- Arm Length: 8 cm (customizable).
Finishing Steps
- Weave in Ends: Use a tapestry needle to tuck in any loose yarn ends securely for a polished finish.
- Steam Blocking: Gently steam block your piece to improve the drape of the cotton yarn and smoothen out any puckering.
- Fitting: Try on the blouse after assembly. You can adjust the collar opening or armhole size as desired.
Conclusion
This spring blouse is designed for effortless elegance and wearability. With its versatile pattern and customizable size, it suits a range of body shapes and personal styles. The combination of textured stitches and long sleeves makes it a fresh and unique addition to any wardrobe. Follow these steps, make yours, and enjoy crafting your perfect spring blouse!