Free Crochet Floral Motif Summer Vest + Easy Pattern And Video
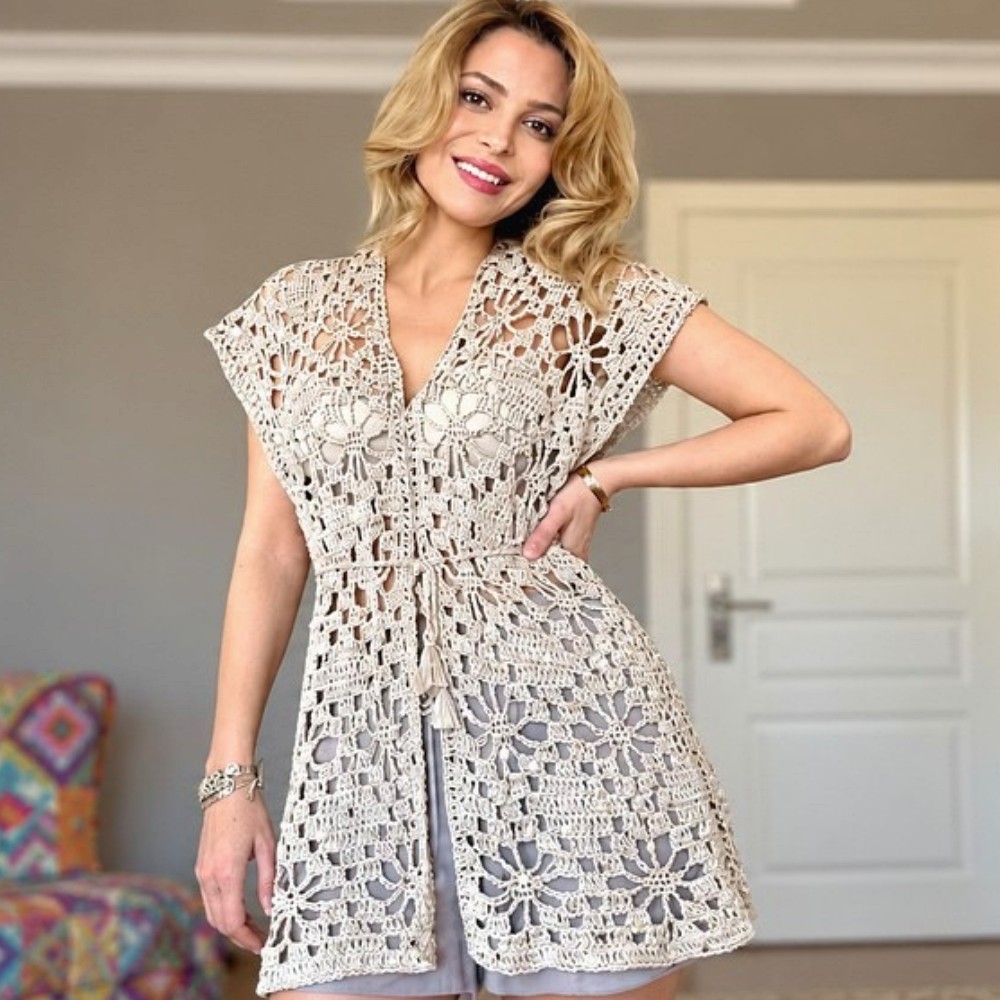
Try this Free Crochet Floral Motif Summer Vest Pattern for a charming layer over plain tops, with flower details that give everyday outfits a fresh new look.
Flowers arranged across a vest can give even a plain outfit a lively new look. The Floral Motif Summer Vest Free Crochet Pattern is centered on that idea, using flower shapes as the main feature of a light layer. Instead of a solid, simple surface, the motifs give the piece a more playful appearance.
Colorful Layers with a Floral Motif Summer Vest Free Crochet Pattern
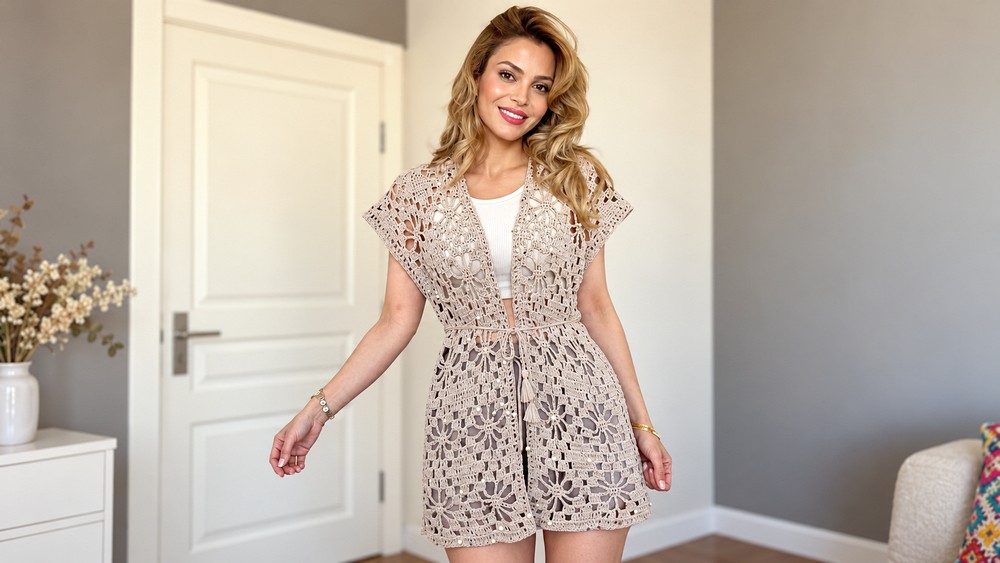
This type of vest is a nice choice when you want to wear something over a basic top without covering your whole outfit. A plain tank underneath lets the floral work remain easy to see. You could wear it with straight jeans for daytime plans or over a simple dress for a softer finish. The open, sleeveless shape leaves plenty of room to move.
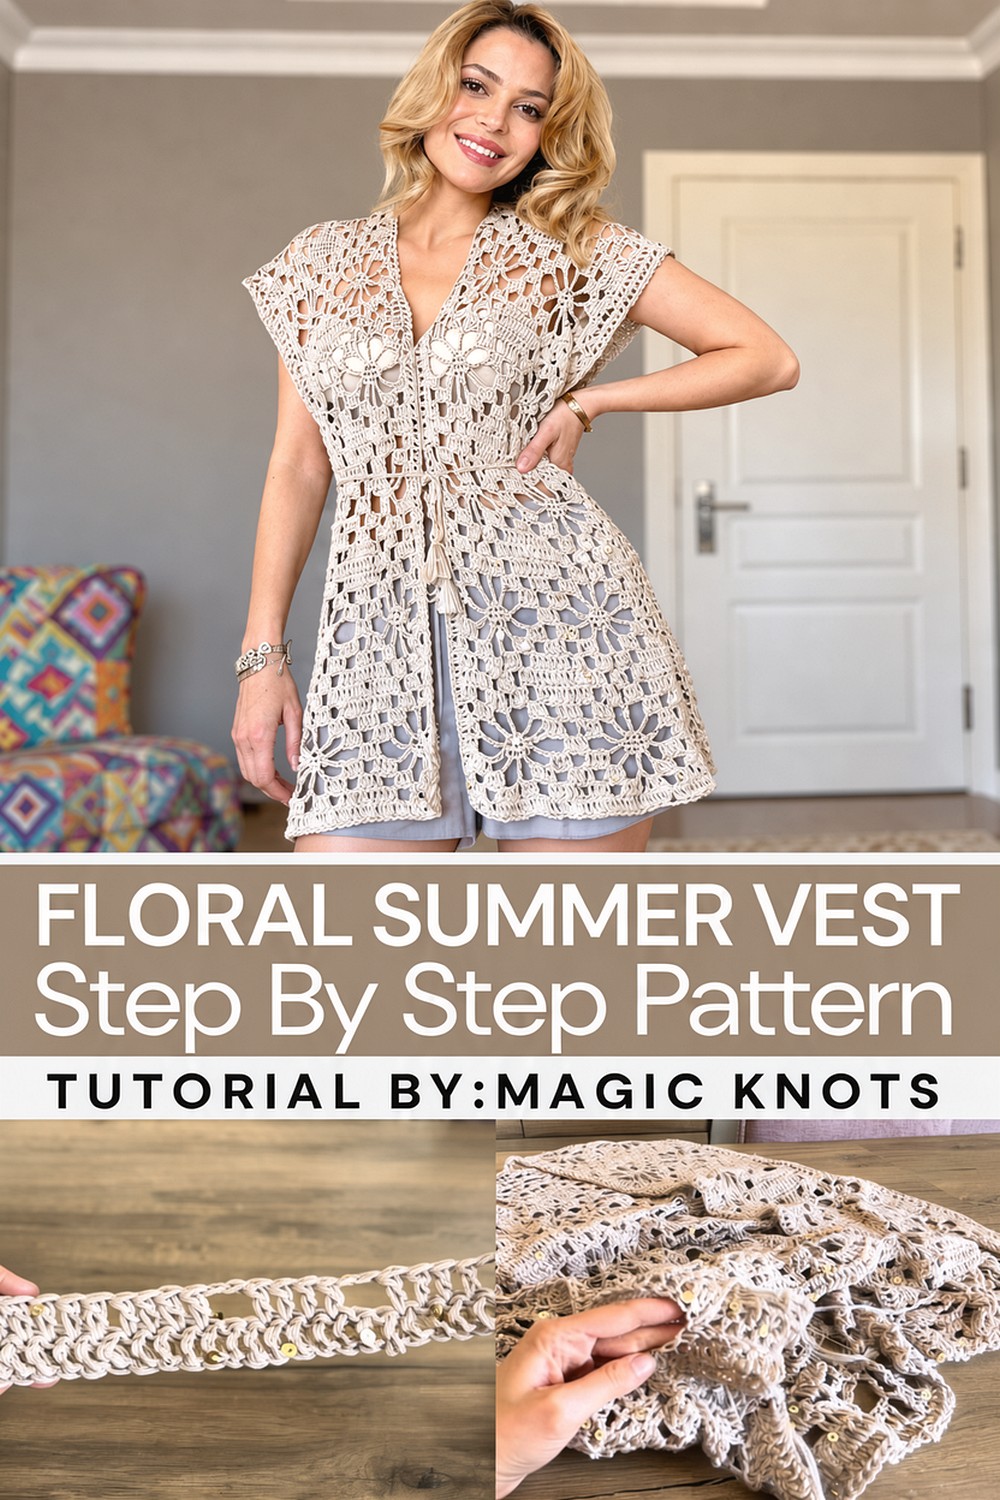
There is something satisfying about seeing individual flowers become one wearable item. When the vest is complete, it adds color and texture to clothes you already own. It can be a favorite extra layer for outings, visits, and other easygoing days without needing a whole new wardrobe.
The Hands Behind the Design
Unlike a plain garment, a motif vest invites viewers to pay attention to repeating shapes. The magic knots channel shares this flower-focused design in video form. Watching separate sections come together can help readers understand the overall look and see how the finished vest might suit their own everyday clothes.
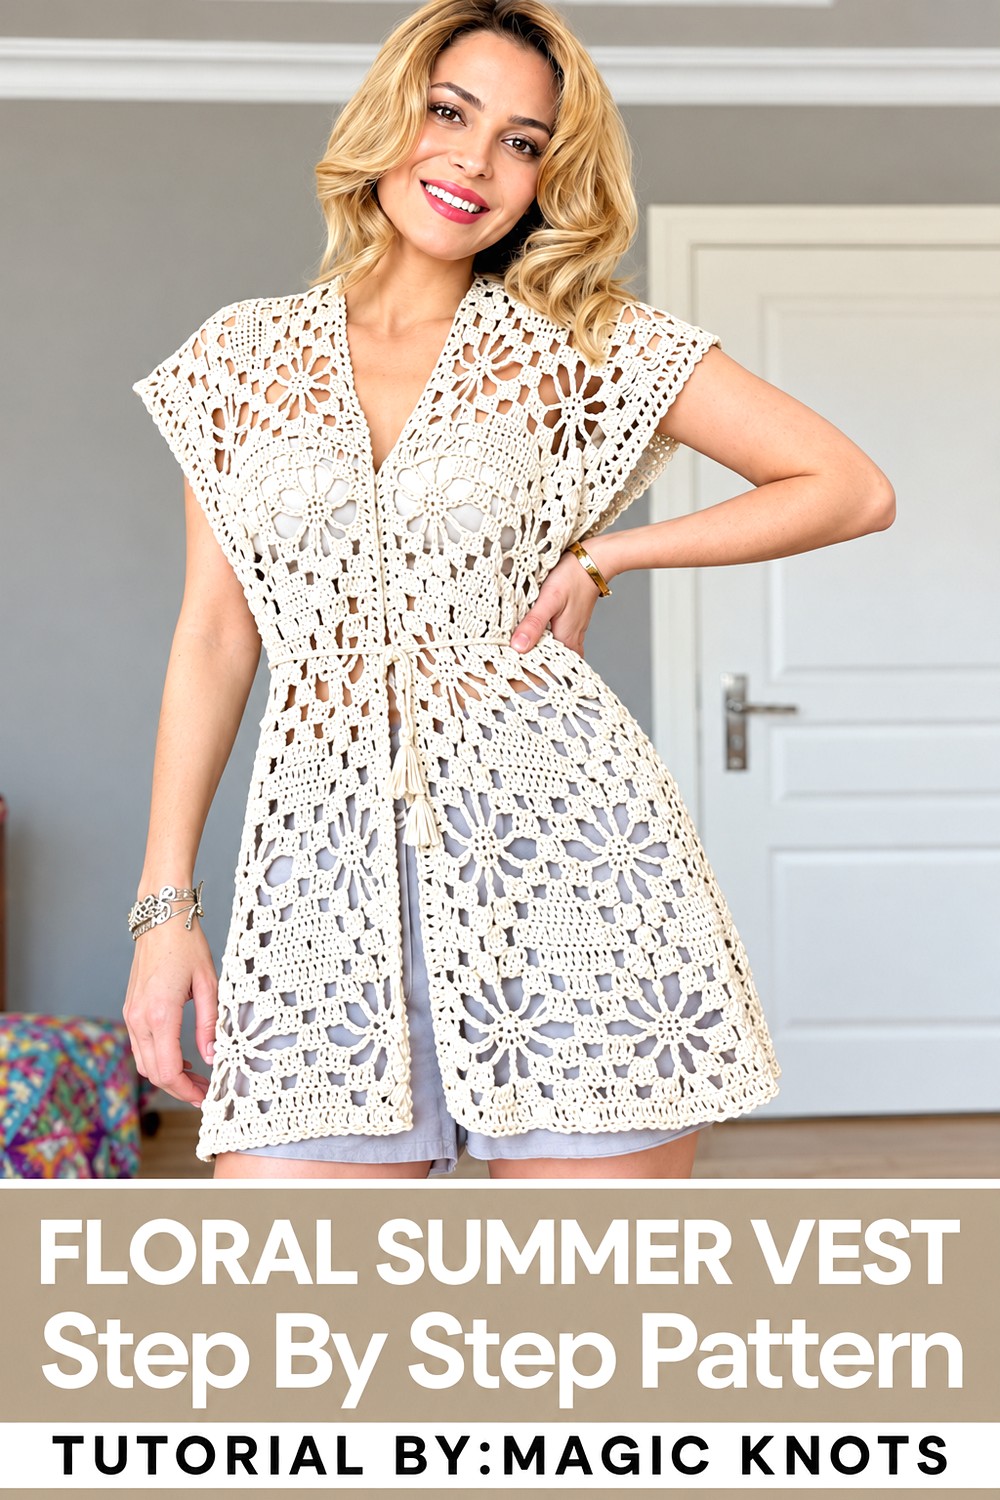
Crochet Sequined Vest Pattern
This crochet vest pattern is casual, elegant, and versatile, featuring a sequined cotton yarn for a subtle sparkle that adds sophistication. Designed with a loose fit and tassel-accented laces, it’s a flexible spring or summer project suitable for layering. The instructions are outlined in detailed, easy-to-follow steps for confident beginners or intermediate crocheters.
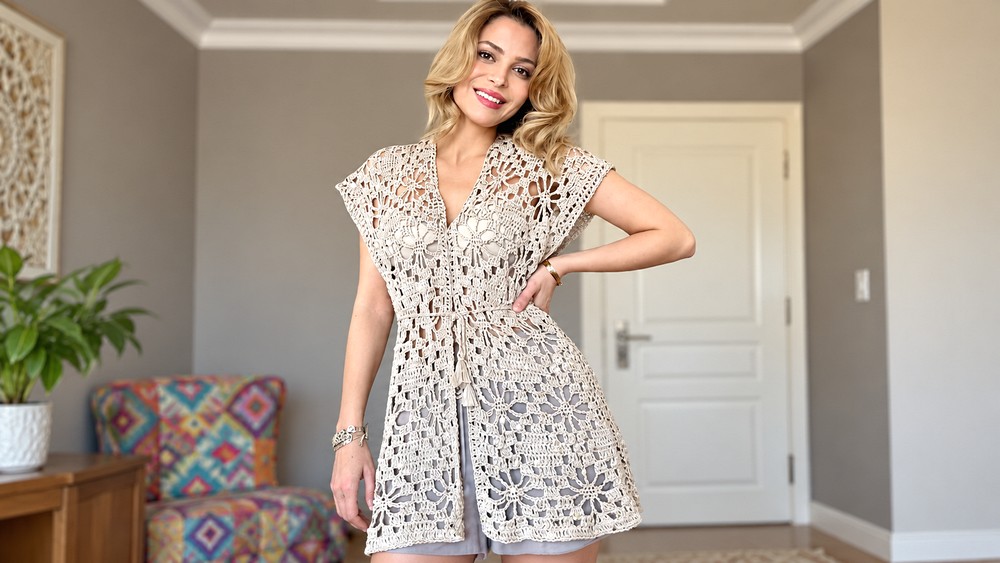
Skill Level
Intermediate
While the stitches are fundamental, this pattern incorporates decorative motifs, edge finishing, and sewing techniques that may require some experience with structured crochet projects.
Materials
- Yarn:
- Sens Shine Yarn (sequined yarn).
- Quantity: 2.5 balls (100 grams each) – totaling 250 grams.
- Yarn Specs: 75% cotton; 340 meters per ball.
- Crochet Hook:
- 3.5 mm crochet hook: Used for the entire pattern for a loose and casual drape.
- Other Tools:
- Scissors.
- Tapestry needle for sewing and finishing details.
- Measuring tape (optional).
Stitch Abbreviations
- ch – Chain
- dc – Double Crochet
- sc – Single Crochet
- sl st – Slip Stitch
Useful Tips
- Flexible Fit: This pattern is designed to be stretchy and loose. Avoid tight tension to maintain the casual drape.
- Sequin Yarn: Sequined yarn adds sparkle without bulk. Choose a cotton-based sequined yarn for a subtle and modern finish.
- Neat Seamlines: Use careful stitching when sewing the vest to maintain a polished appearance.
- Edge Finishing: Take your time when working on the edges, as they define the shape and structure of the vest.
- Customization: Adjust the width, length, and sleeve openings to suit your personal style and body size.
Pattern Instructions
Vest Base
The vest begins with a simple foundation of double crochet rows, followed by decorative motifs to create a dynamic design.
Foundation Chains and Base Rows:
- Ch 95 as the foundation chain. (Adjust the number of chains for larger or smaller sizes.)
- Round 1:
- Skip the first three chains and work dc into each chain across the row.
- Total: 95 dc (including edge chain).
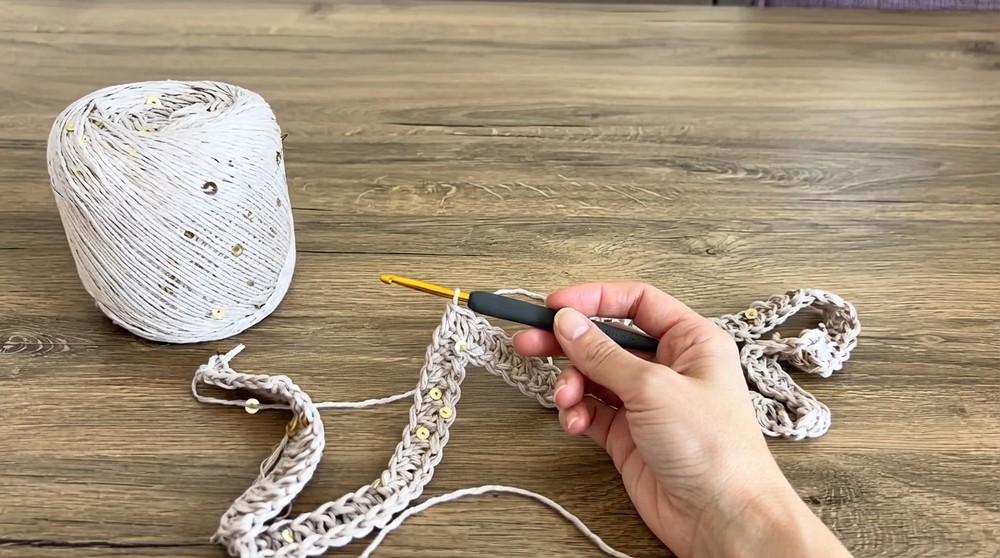
Pattern Rows with Decorative Motifs
Round 2: Basic Setup
- Ch 3 (counts as the first dc), turn.
- Dc into the next stitch, completing a total of 6 dc (including edge chain).
- Ch 2, skip 2 spaces, dc into the third stitch.
- Work 4 dc, one into each of the next 4 stitches.
- Ch 2, skip 2 spaces, dc into the third stitch.
- Repeat the pattern of 2 chains and skipping 2 spaces until the end of the row.
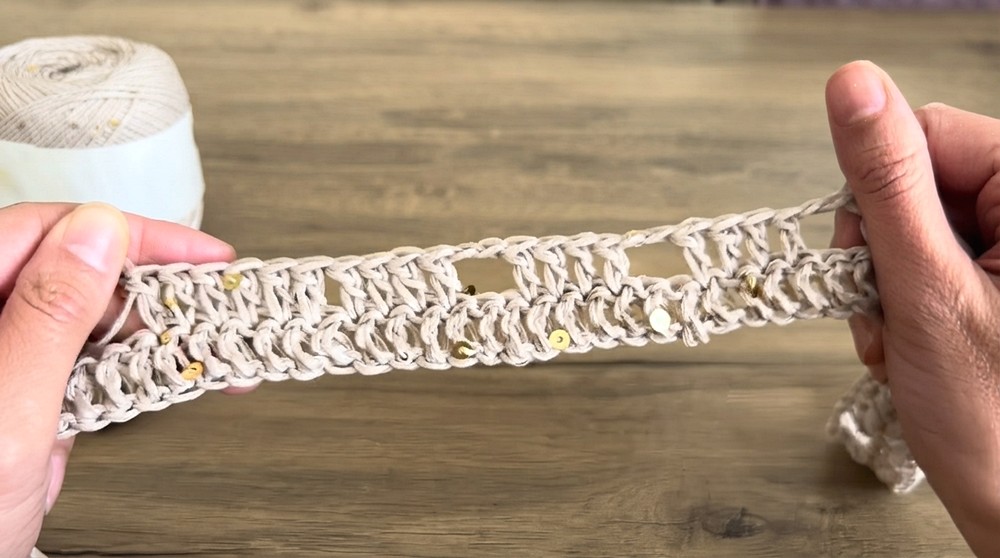
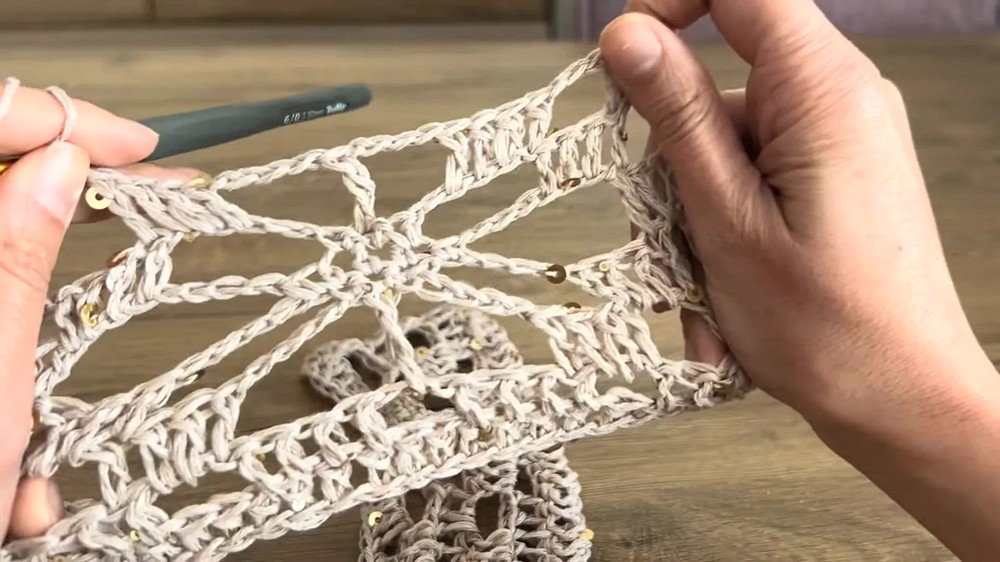
Round 3: Adding Flower Motifs
- Ch 3, turn (counts as the first dc).
- Begin with 6 dc at the edge.
- Ch 2, skip 2 spaces, and work 4 dc into the next group.
- Ch 5, wrap yarn twice and work 1 triple crochet into the middle point of the 4-dc group.
- Follow this motif to form a flower or spider-like appearance.
- Continue adding motifs in the middle points until the end of the row.
Repeating Rows and Adjustments
- Continue alternating rows, reducing the number of motifs and increasing the number of plain double crochets gradually.
- As the vest is worked upwards, symmetry is maintained by replicating the pattern in reverse on subsequent rows.
- Ensure 66–72 cm length (or desired length) is completed for the back and front panels.
Front Panel Structure
Dividing Panels for Neckline and Armholes
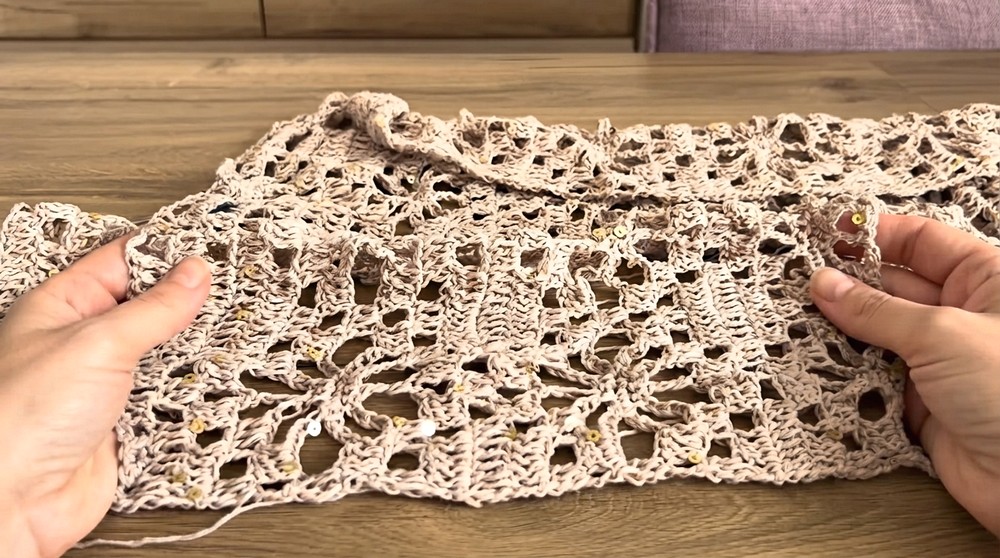
- Divide the vest into two equal halves for the armholes and neckline using stitch markers.
- Work rows on each side separately, maintaining the established pattern.
- Symmetry is crucial in designing the armhole edges to mirror the opposite panel.
Finalize Bodice Rows:
- Stop at six rows of spider motifs at the neckline and armholes, ensuring uniformity between the back and front panels.
- Add finishing row(s) of simple dc stitches at both the beginning and end for a clean look.
Edge Finishing
Inner Edges:
- Attach yarn at the neckline edge.
- Work 1 row of dc, inserting stitches into appropriate spaces along the edge for a smooth finish. Do not pull too tightly.
- Finish off and weave in ends with a tapestry needle.
Outer Edges (Side Panels):
- Begin just below the armhole and work 2 rows of dc stitches along each side, turning at the ends.
- Use 1 dc in each dc space from the previous row to keep edges crisp and uniform.
- Repeat similarly for the opposite side panel.
Sleeve and Waist Adjustments
Sleeve Openings:
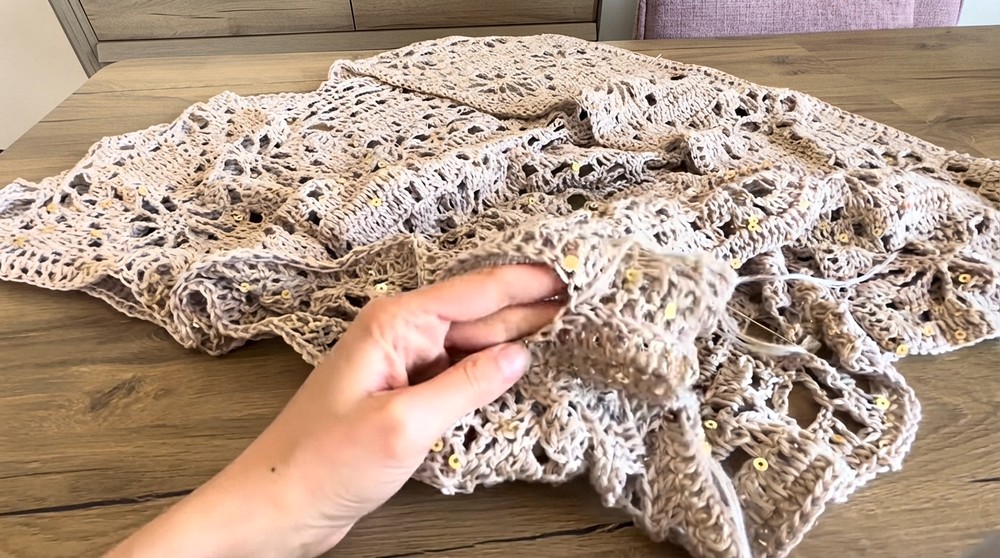
- Fold the vest and sew the sides using a tapestry needle.
- To create wide sleeves: Leave 12–15 cm for the armhole opening, adjusting based on your preference.
- Sew the side seams up to the armholes, leaving an open gap for the arms.
Tassel Lace Detail:
- Ch 150, creating a lace strand.
- Add tassels to the ends using leftover yarn for aesthetic flair.
- Run the lace through the waistline or keep detachable for styling options.
Measurements
- Width: 56 cm after edge finish. (Flexible due to cotton yarn stretch.)
- Length: Approximately 72 cm. (Adjust based on preference.)
- Sleeves: Wide openings at 12–15 cm.
- Lace Strand: 150 cm long.
Finishing Steps
- Weave in Loose Ends: Ensure yarn ends are securely hidden within the stitches for durability and a tidy appearance.
- Ironing: Slight ironing can enhance the vest’s drape and texture. Use low heat, especially on the sequined yarn, to avoid damage.
- Fit Testing: Wear the vest to test seams and lace placements. Adjust where necessary.
Conclusion
This sequined vest pattern beautifully combines casual functionality with an elegant aesthetic. Its loose fit makes it suitable for layering, while the shimmering yarn adds modern sophistication. The decorative motifs and finishing details ensure this project is rewarding and stylish. Thoughtfully constructed, this garment enhances any wardrobe for warmer seasons.